How to Make an Embroidered Patch With a Machine

I love my embroidery machine but sometimes things go wrong and then a brand new bag is pretty much ruined. I’ve never had too much success ripping out machine embroidery and getting it to look ok. I’ve been wanting to try patches so if something goes wrong, the only thing that I have ruined is a piece of felt.
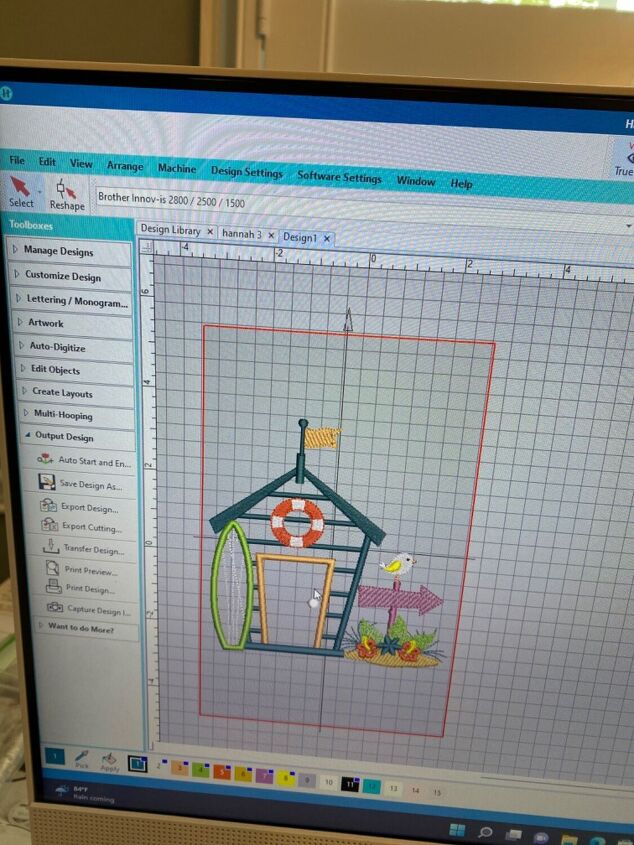
I started with a design in my embroidery software on my desktop.
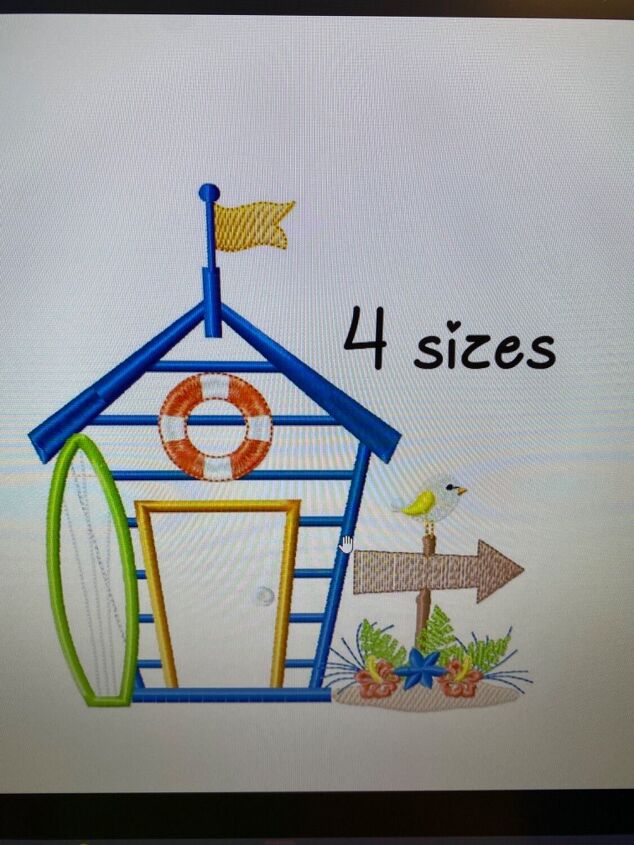
This is what it should look like in the end.
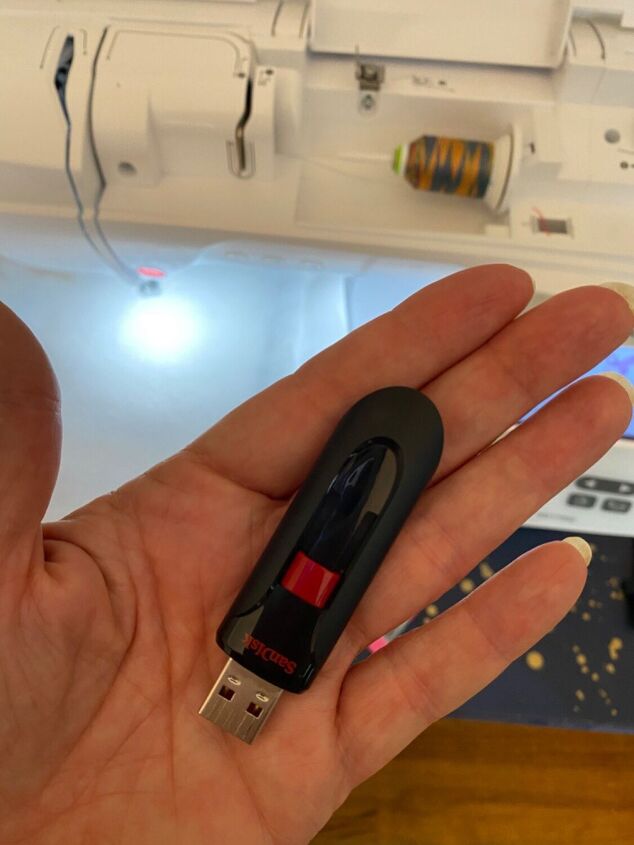
I save it to my usb.
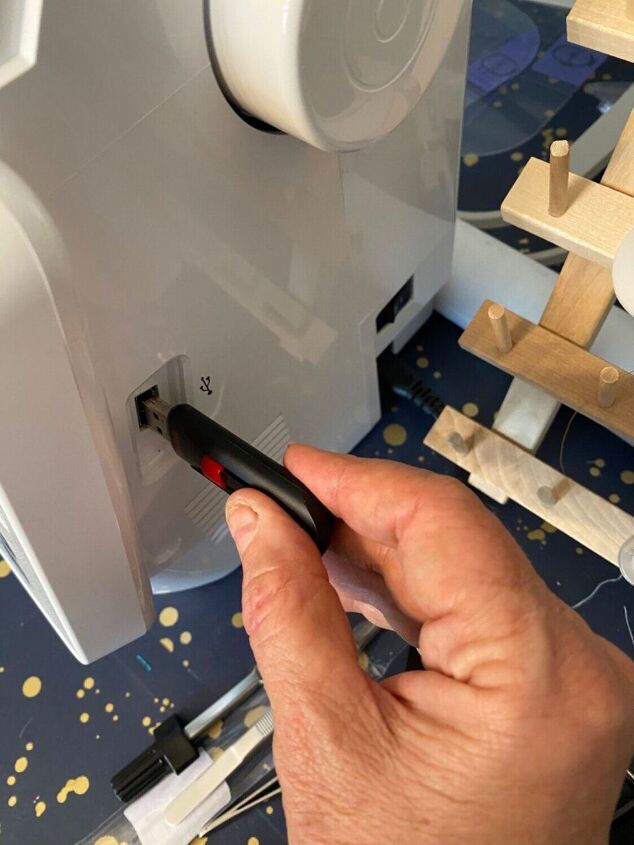
Put the usb in my embroidery machine. Actually, my machine should wirelessly connect to my computer but it doesn’t.
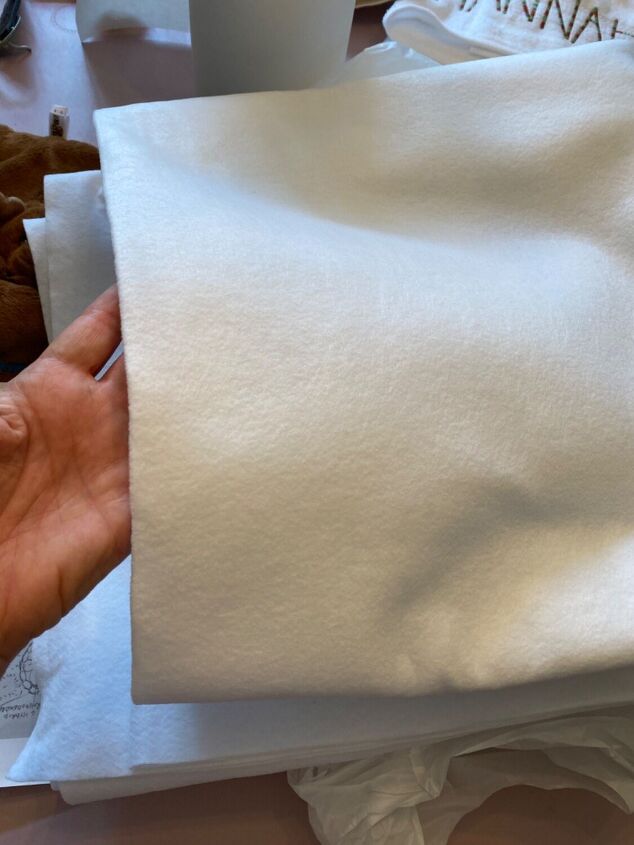
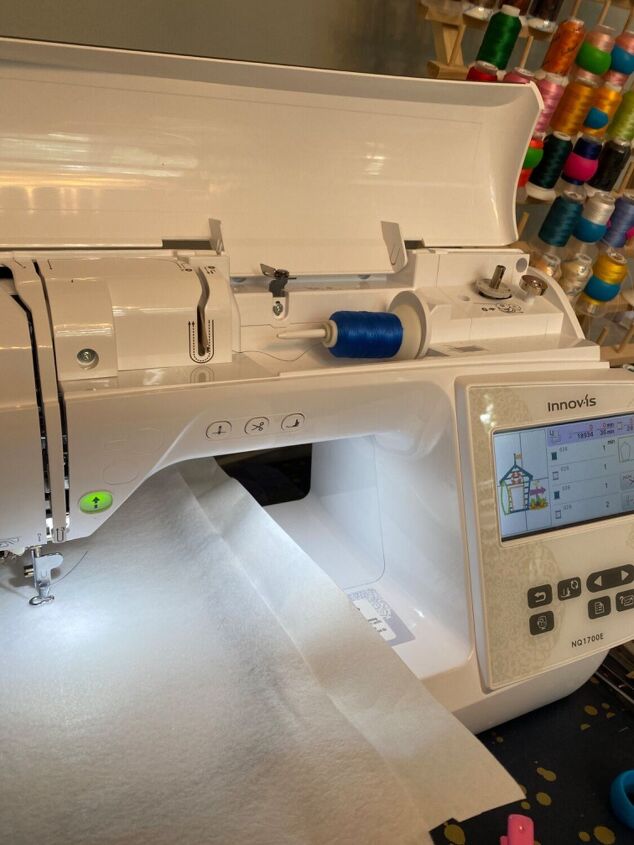
I’m doing my embroidery on felt.
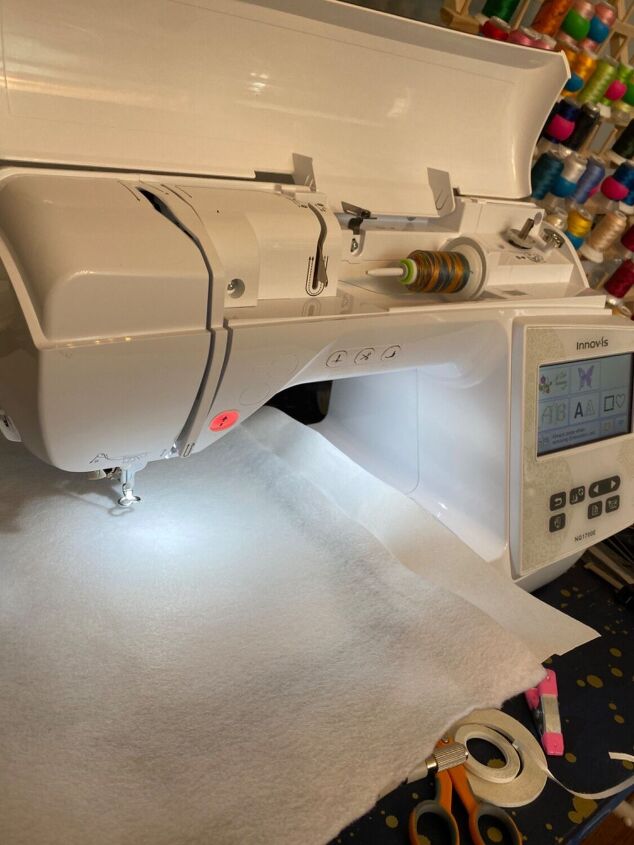
I have another tutorial where I explain hooping and stabilizer. So in this picture, I have hooped my stabilizer and I am floating the felt on top.
https://www.upstyledaily.com/posts/how-to-make-personalized-towels-using-machine-embroidery-44449471
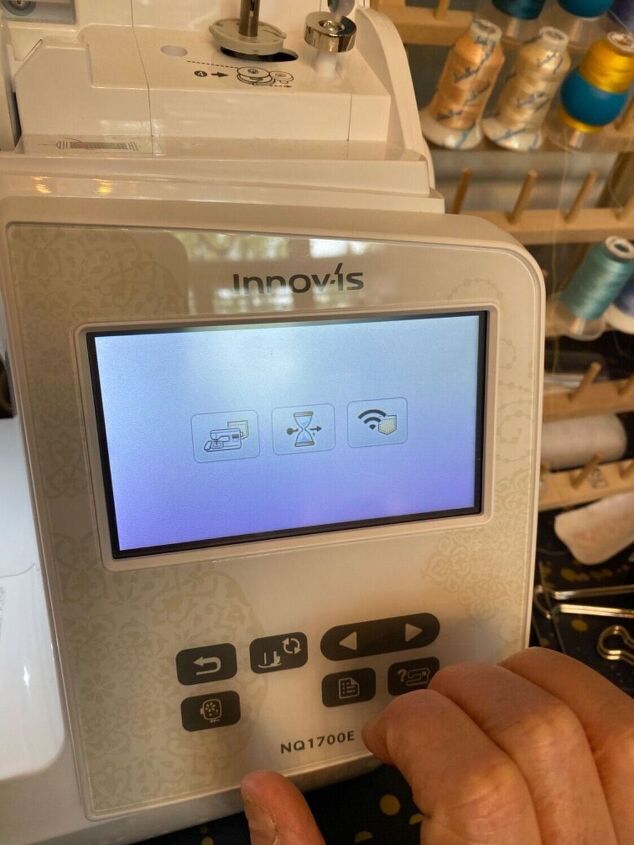
I select the usb option.
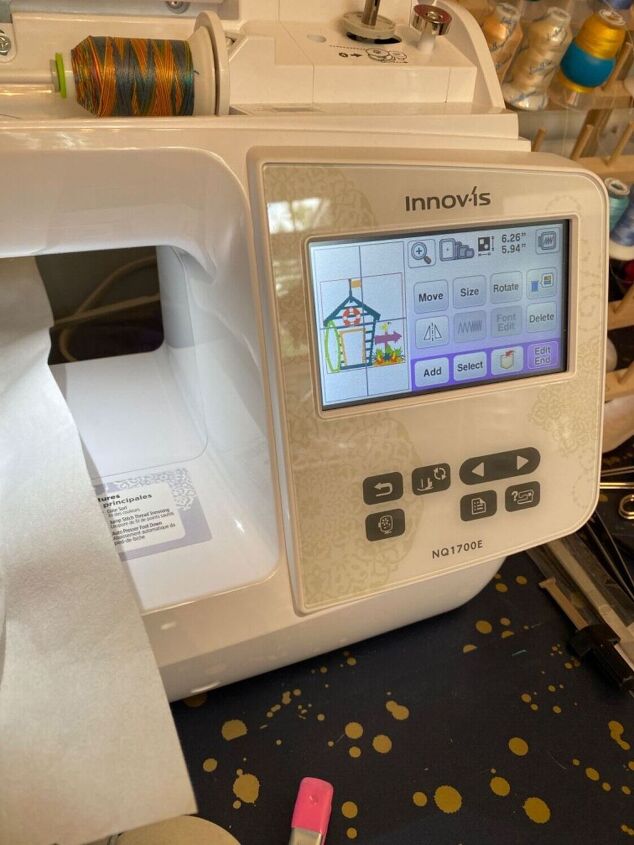
With my design brought up, I’m ready to begin.

I select my colors. I use my own color palette most of the time.
Loaded and ready to go.
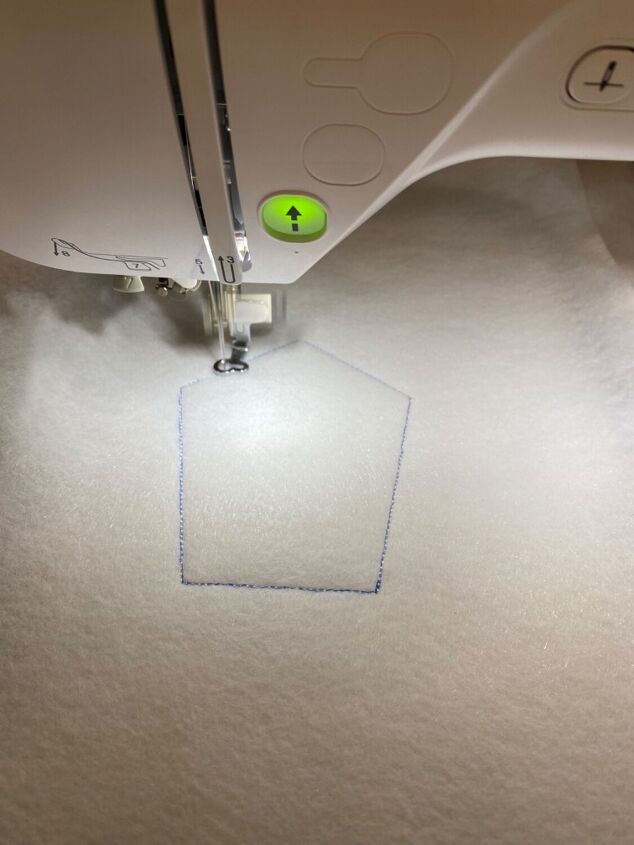
First it puts down a placement stitch.
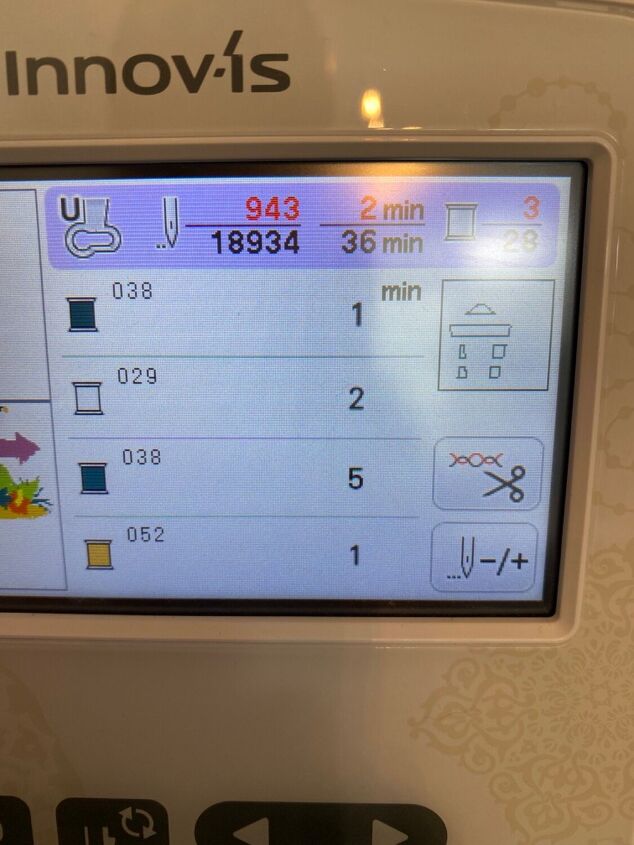
This is what the screen that tells me to change colors looks like. There were so many thread changes in this design.
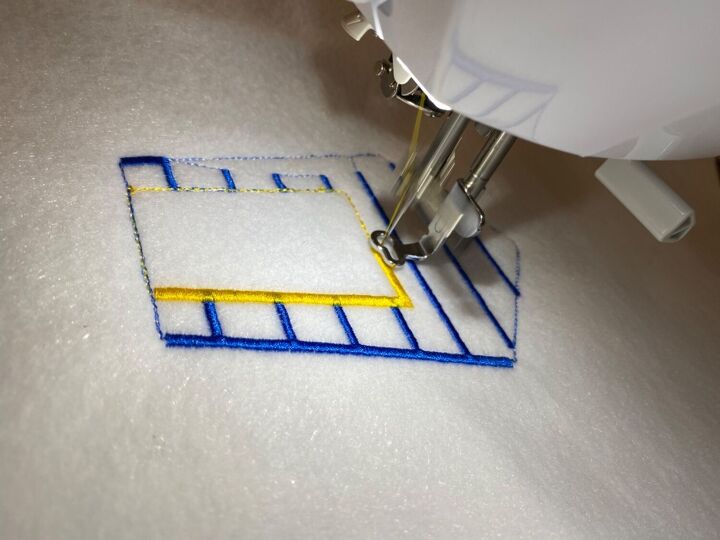
It takes awhile before the design looks like it’s supposed to.
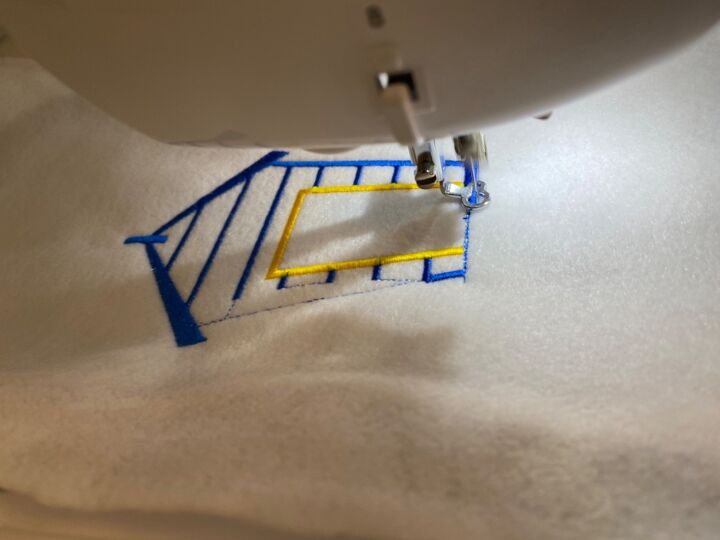
Starting to get there…
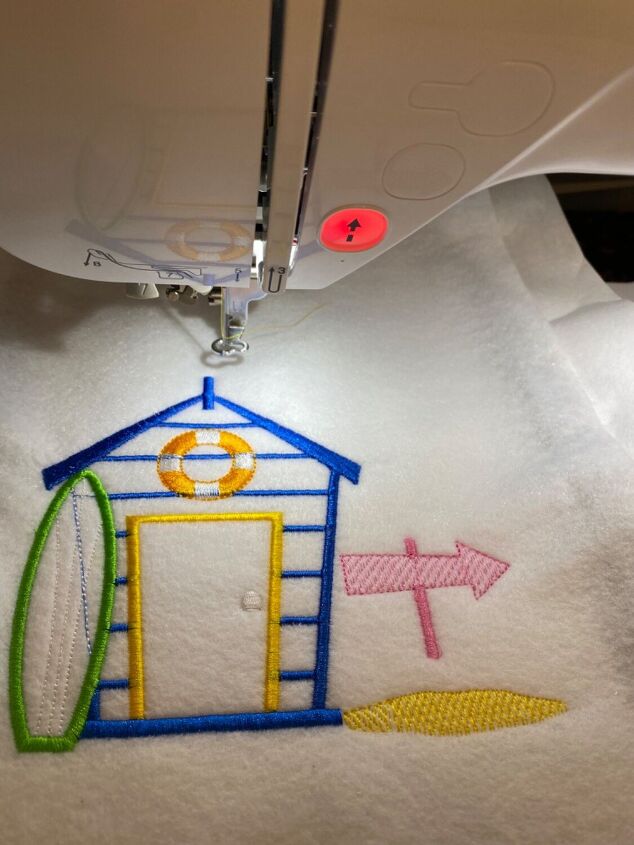
Better…
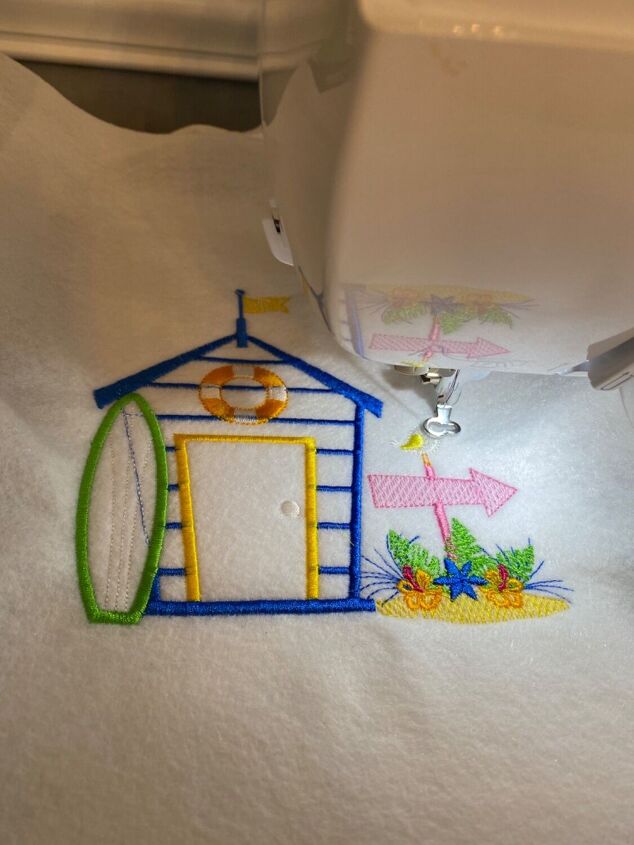
Almost done!
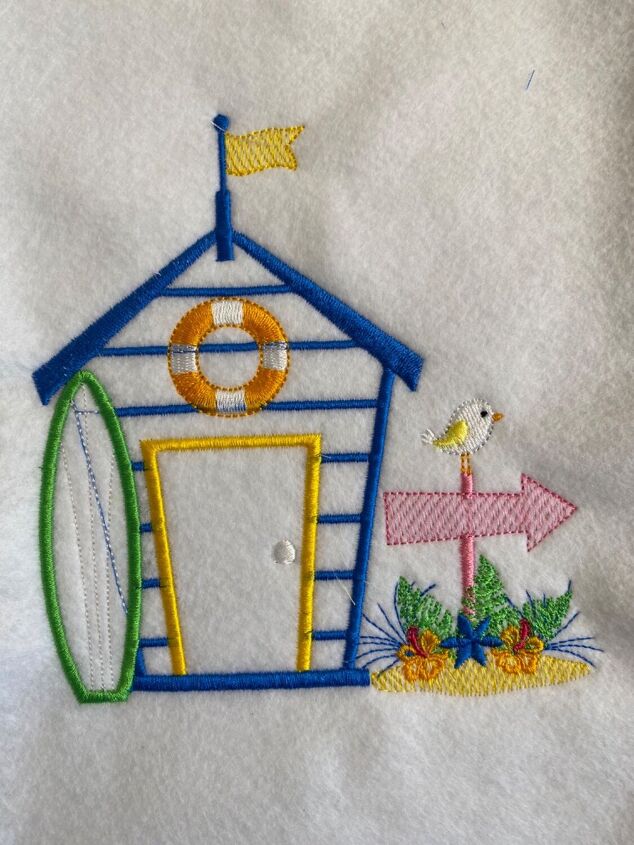
This is the finished design.
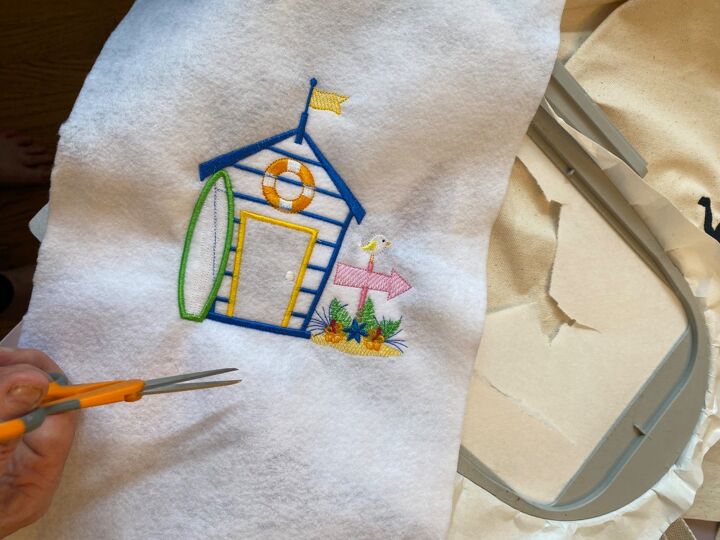
To make a patch, I just cut around it carefully leaving a small boarder.

I used E6000 glue to attach it to the bag.

I couldn’t have picked better colors to match this beach towel. That was a complete accident. Happy accident.
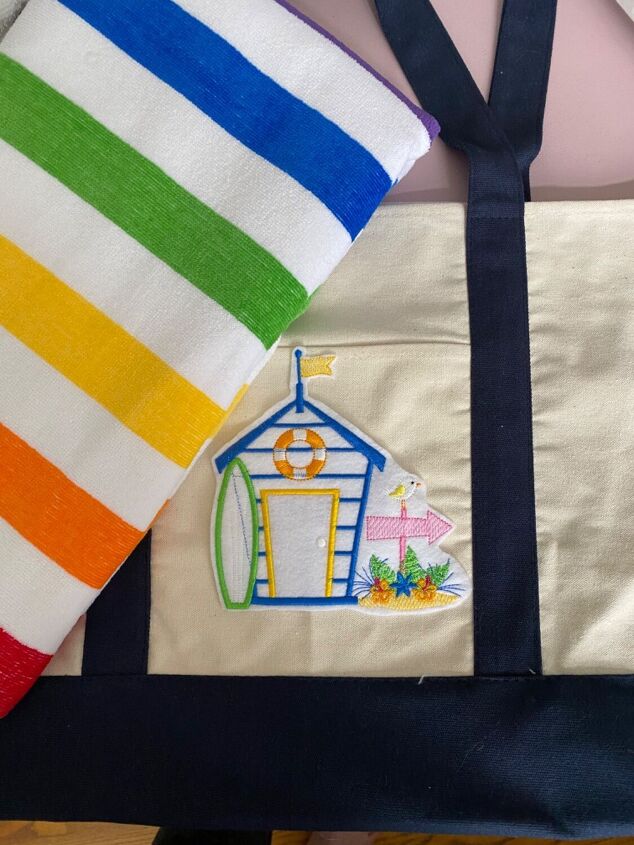
You could even embroider someone’s name on the bag too.
The author may collect a small share of sales from the links on this page.


Comments
Join the conversation