How to Sew a Patch Pocket

Hey guys! Are you ready to learn how to sew a patch pocket? Follow along and learn through these simple steps.
Best fabric scissors!
Tools and materials:
- Topstitch thread
- Sewing machine
- Fabric
1. Cut and iron
Start by cutting out a pocket. Then iron down the seam allowance, and cut away the bulk from the corners.
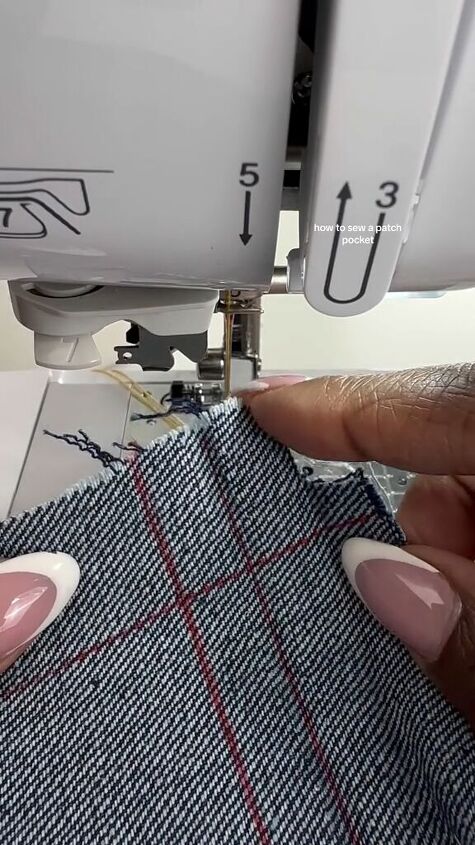
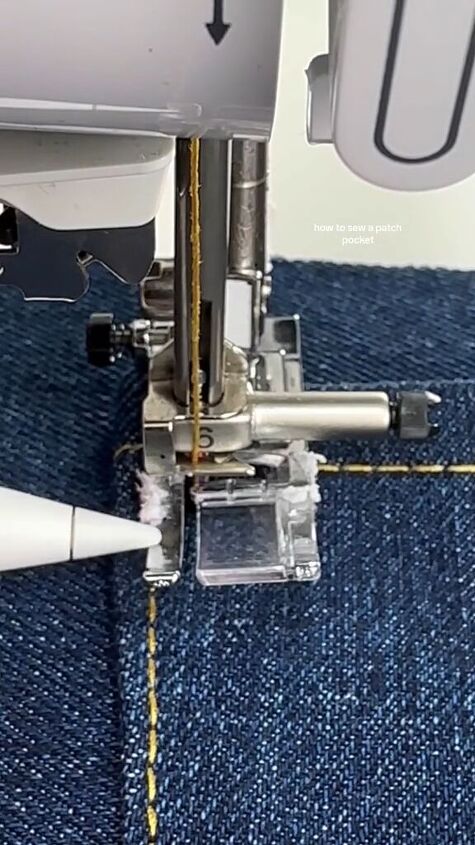
2. Sew in the seam allowance
Line up the edge of the seam allowance with the presser foot. Sew using topstitching thread.
3. Row one
Place your pocket on the fabric and pin it in place. Start topstitching at the right hand upper corner.
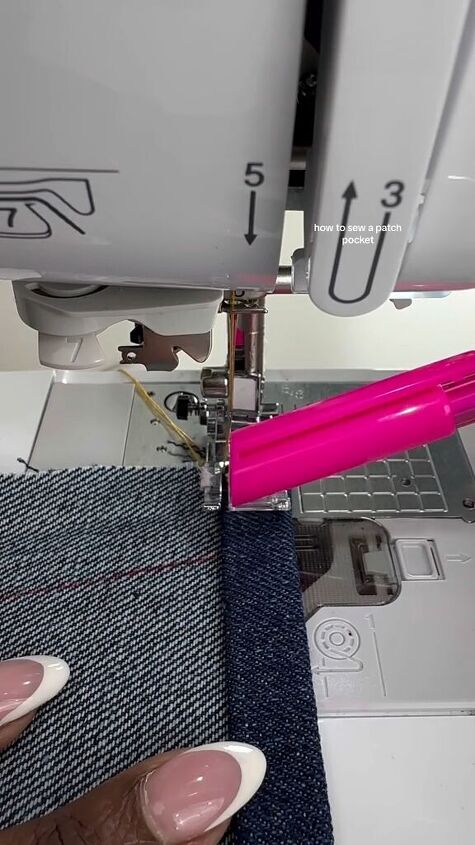
Count your stitches and then pivot around to line the presser foot with the roll line.
Sew down and around 1/8 inch away from the roll line.
When pivoting at the corners, make sure the groves on the presser foot still line up with the roll line.
You can count your stitches to make sure both sides have the same amount of stitches.
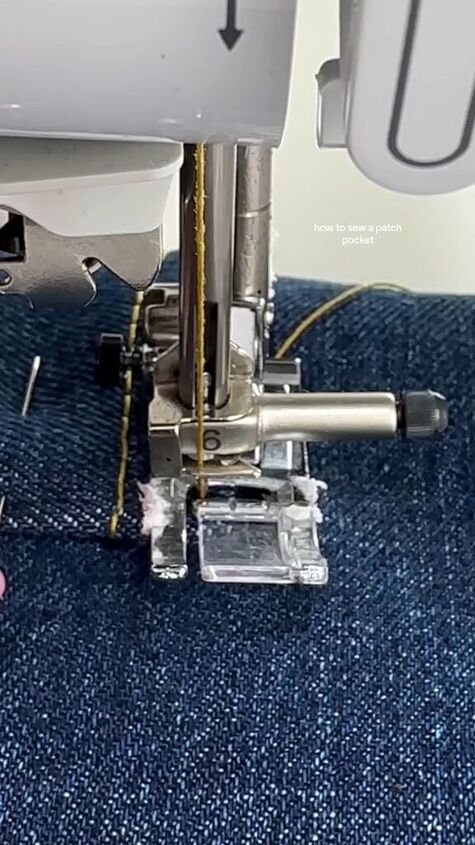
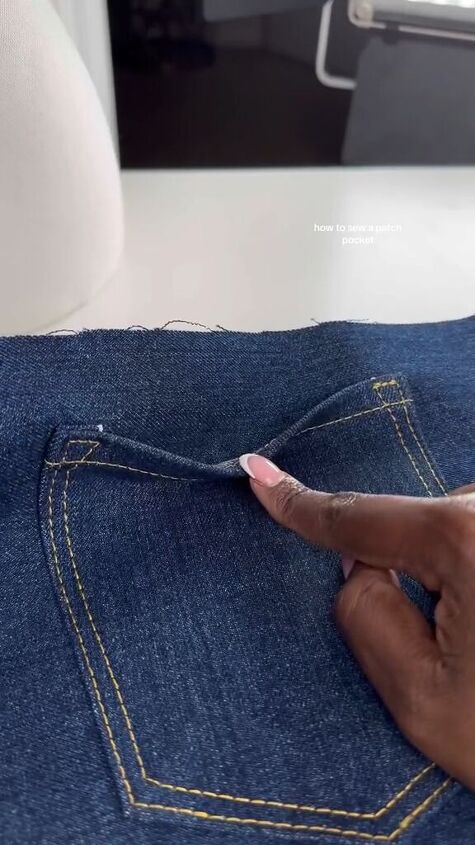
4. Row two
When you get to the left corner, slow down and pivot. Make sure the presser foot is still lined up with the edge of the pocket.
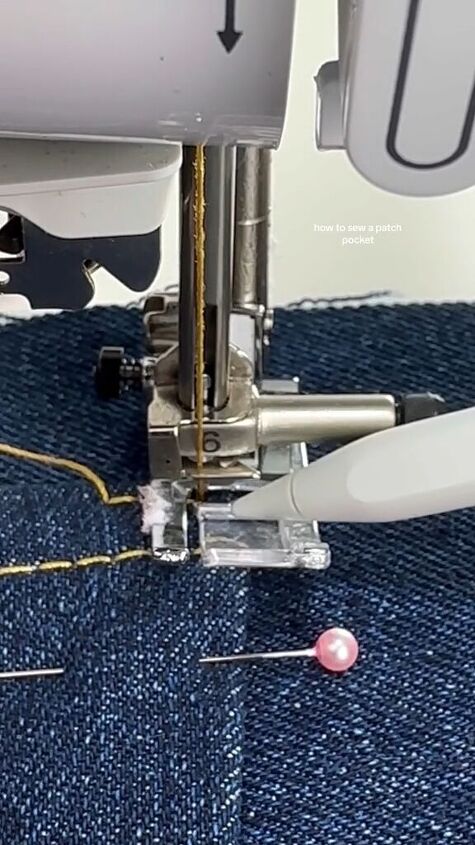
Pivot again, walk the presser foot towards the first row of topstitching, and pivot again.
Line up the outside edge of the presser foot with the first row of topstitching, and sew till you get back to the other side.
How to sew a patch pocket
Sewing a pocket is easy when you know the proper technique. Use topstitching thread and count your stitches, if necessary.
Leave me a comment and let me know how your pockets come out.
Next, You NEED This Sewing Hack for Bulky Seams.
Follow my TikTok: @.keycult
The author may collect a small share of sales from the links on this page.


Comments
Join the conversation