Sleeve Hem Tutorial: How to Shorten Jacket Sleeves

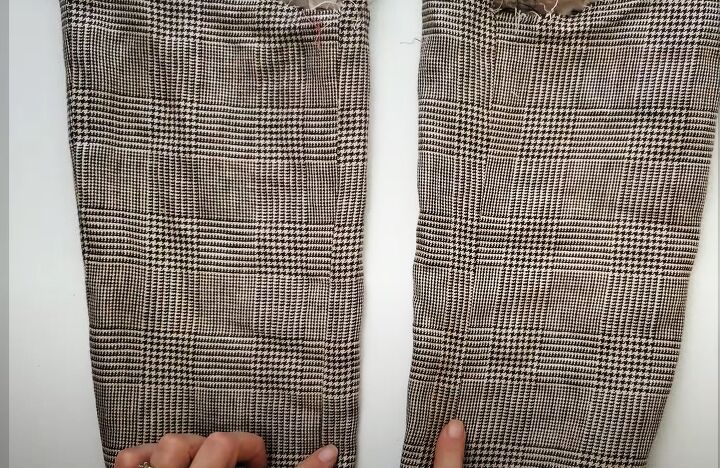
My brother bought this half lined jacket that fits him really well, except that the sleeves are a couple of inches too long.
I can’t shorten them from the sleeve hem as I would normally do because the buttons and buttonholes are functioning.
So I’m going to show you how to shorten a sleeve from the top.
Tools and materials:
- Hand sewing needle and two colors of thread
- Seam ripper
- Iron
- Ruler
- Fabric marker
- Scissors
- Pins
- Fusible interfacing or knit-stay tape
- Sewing machine
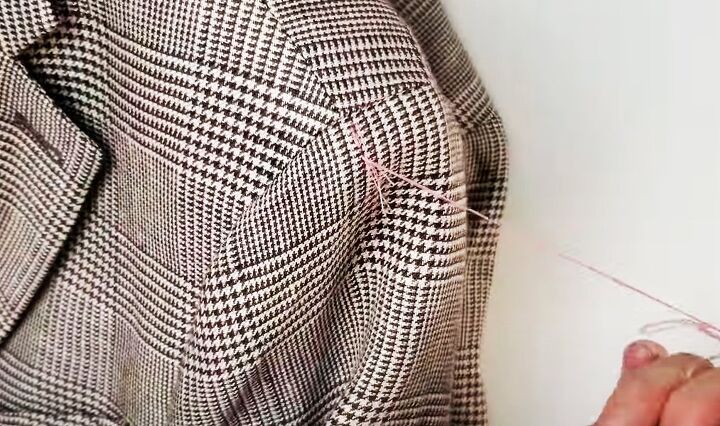
1. Thread marks
A tip I got from @DowntownTailoring was to make thread marks on the jacket and sleeves where the seams are, so that I can put them back more easily.
I used a different color for the left and right sleeves.
Remember to extend the marks on to the sleeve past the cutting line, which I didn’t do!
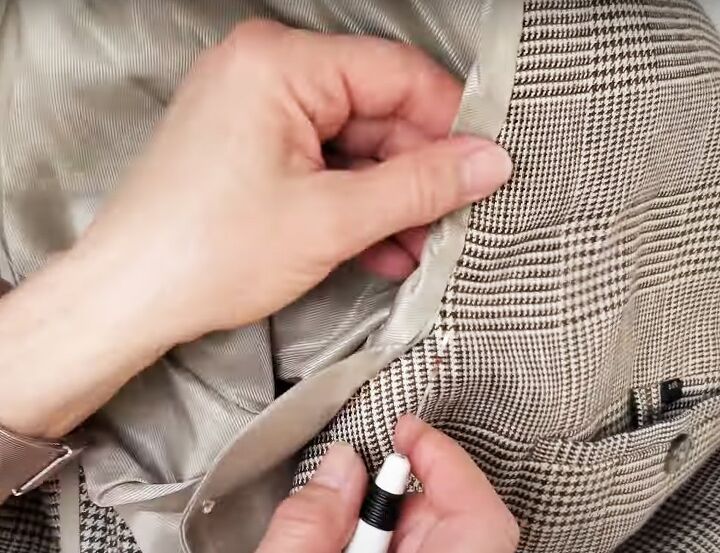
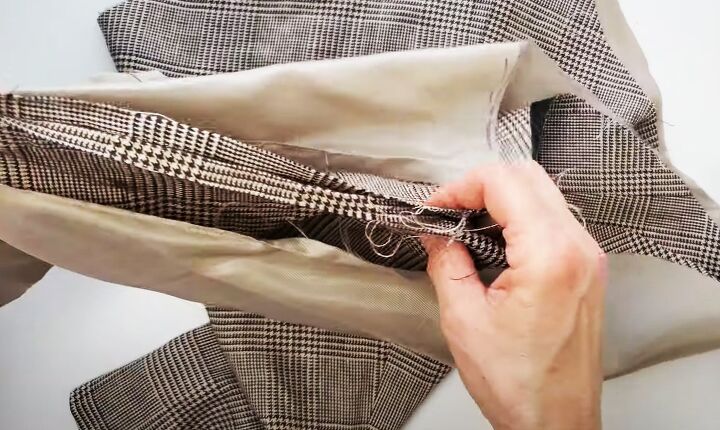
2. Remove the sleeves
Use a seam ripper to remove the sleeves completely, including the sleeve head.
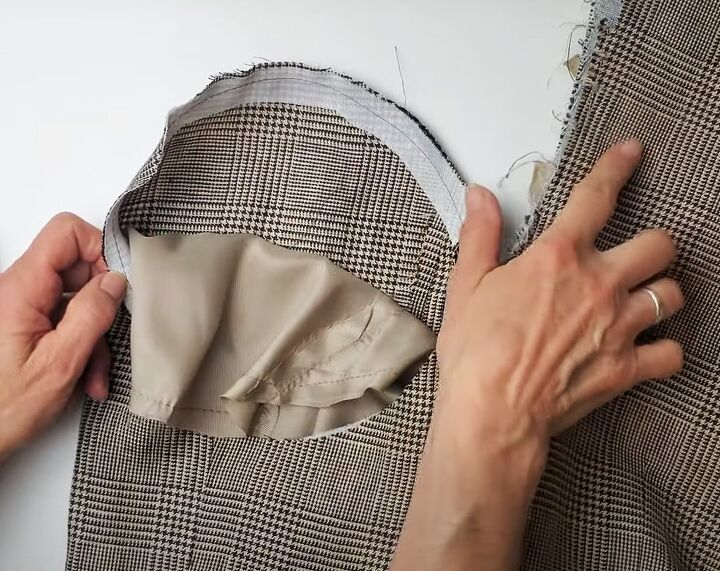
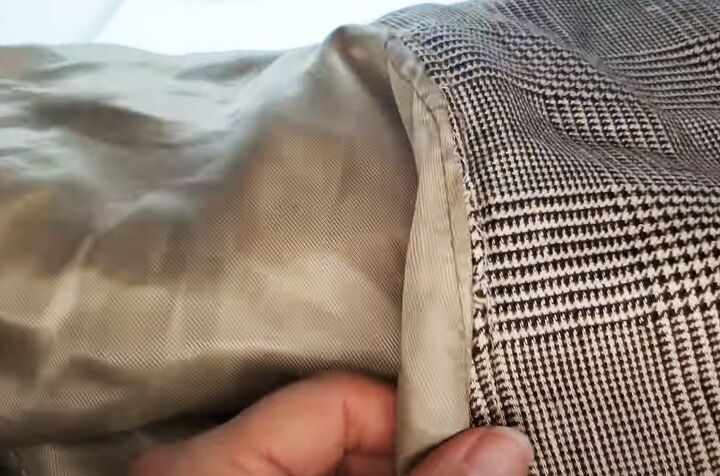
In a lined jacket, the sleeve seam lining is the last to be sewn up so it’s the easiest to open.
Open this seam up to the armhole so you can reach the top of the sleeve from the inside.
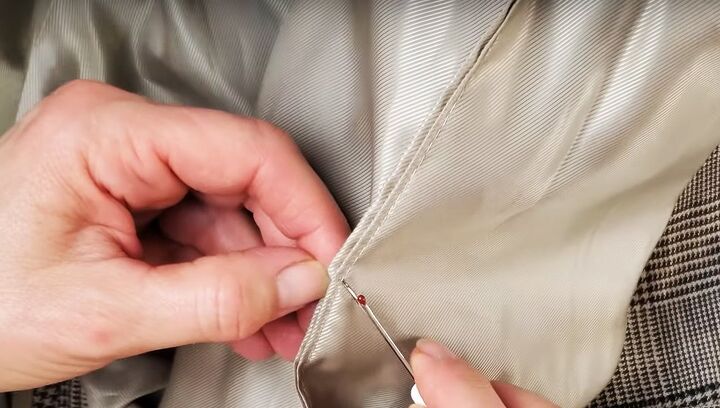
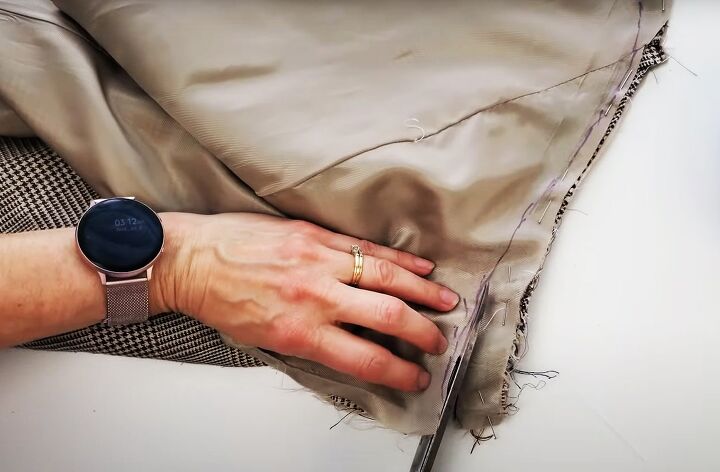
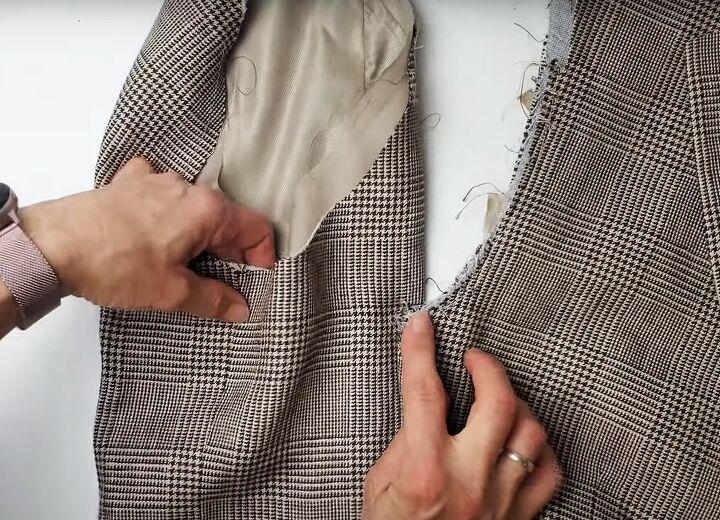
3. Open the sleeve seam
Open up the front sleeve seam - the one that doesn’t have the buttonholes.
You only need to open it about two-thirds of the way down so you can lay the sleeve head flat.
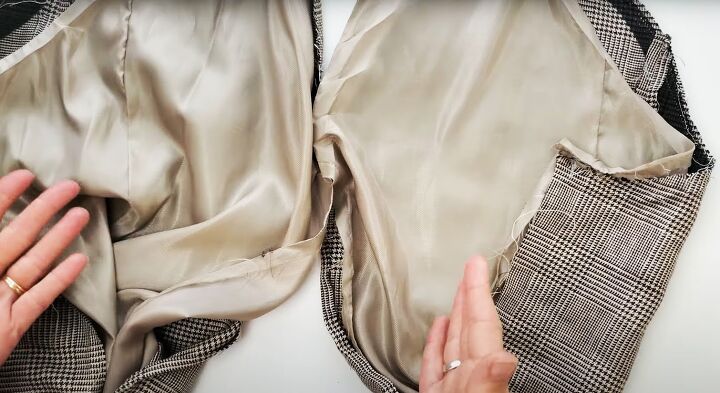
Open the lining seam in the same way. Press both the sleeve and the lining flat.
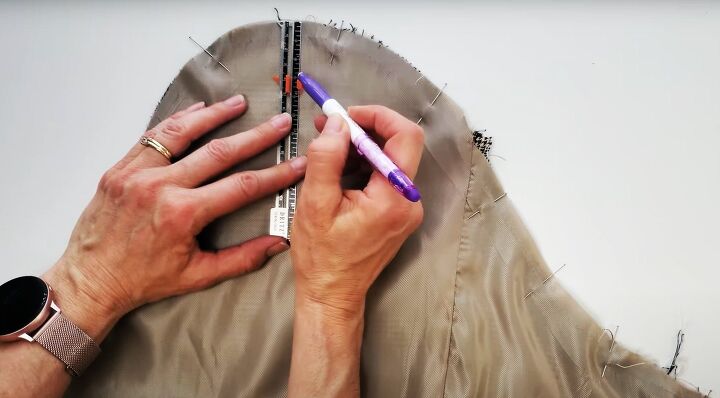
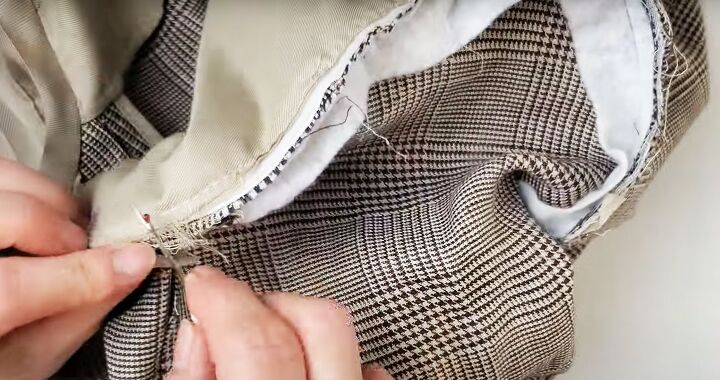
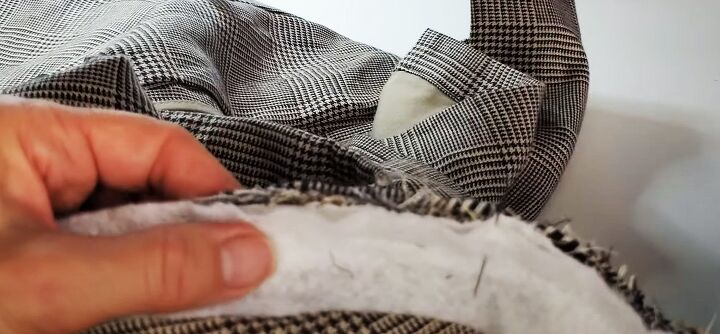
4. Cut the sleeve head
Pin the lining to the sleeve head.
Measure the amount you need to shorten the sleeve by from the highest point on the sleeve head.
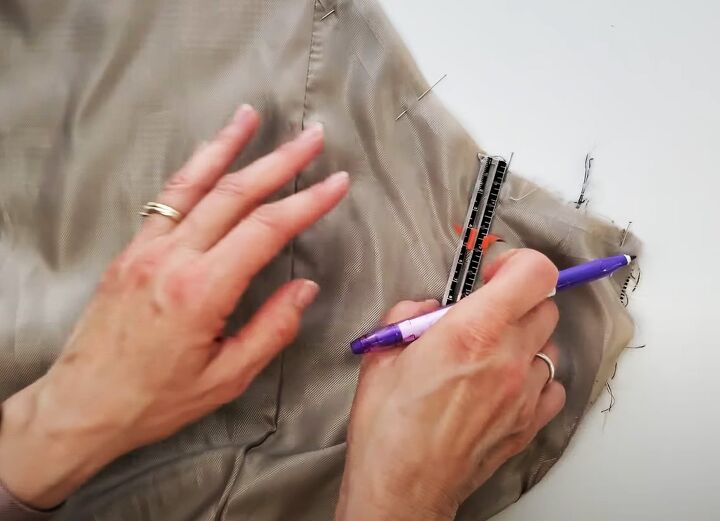
Measure the same amount down from the lowest point.
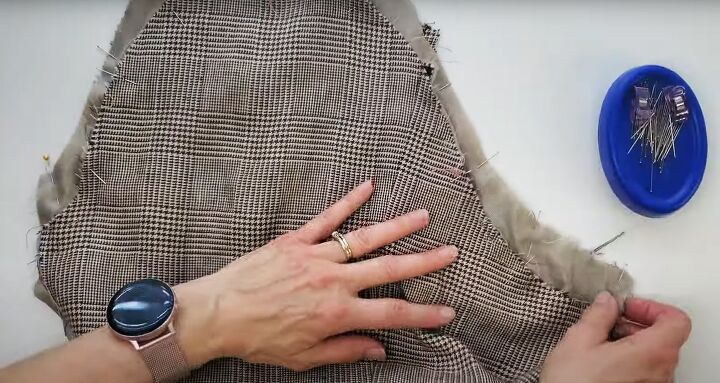
Place the other sleeve on the new marks, so you can use it as a pattern to draw a new sleeve head.

Pin the two sleeves together with the right sides facing, matching the thread marks and seams.
Cut through both sleeves along the new line.
5. Sew the front seams
Join the sleeve and lining seams, leaving a gap on both of them.
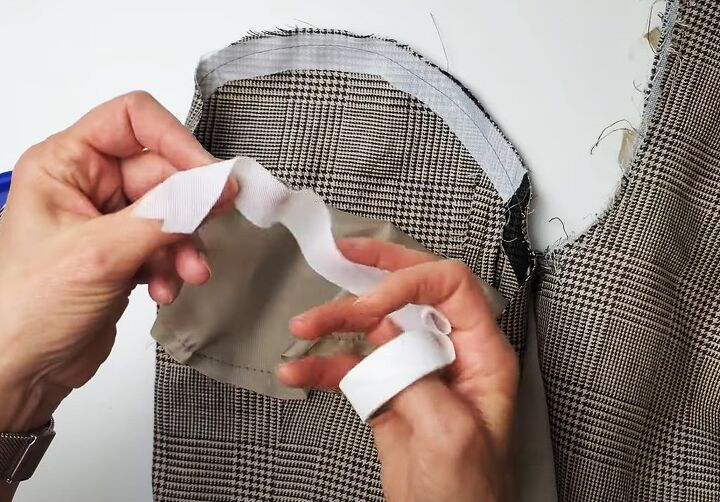
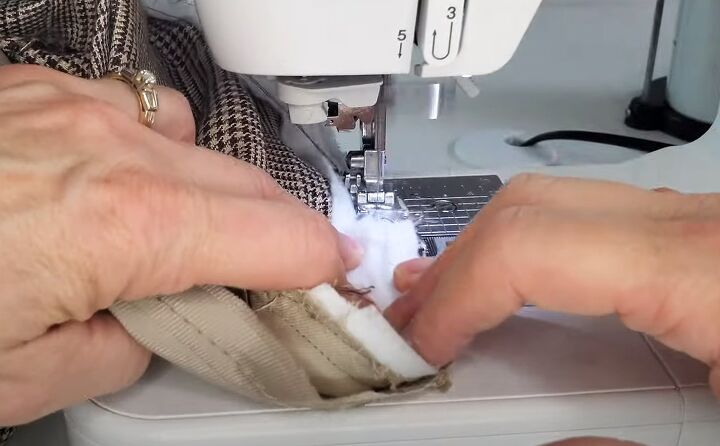
6. Prepare the sleeve head
Replace any interfacing that was cut off with fusible interfacing or knit-stay tape.
Sew a row of gathering stitches across the head of the sleeve and lining.
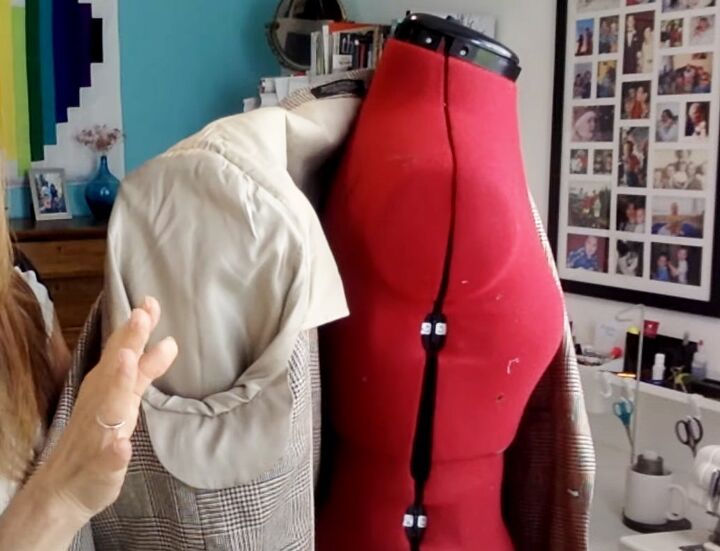
7. Insert the sleeves
Pin the sleeve fabric to the jacket armhole at the lowest thread marks, with the right sides together.
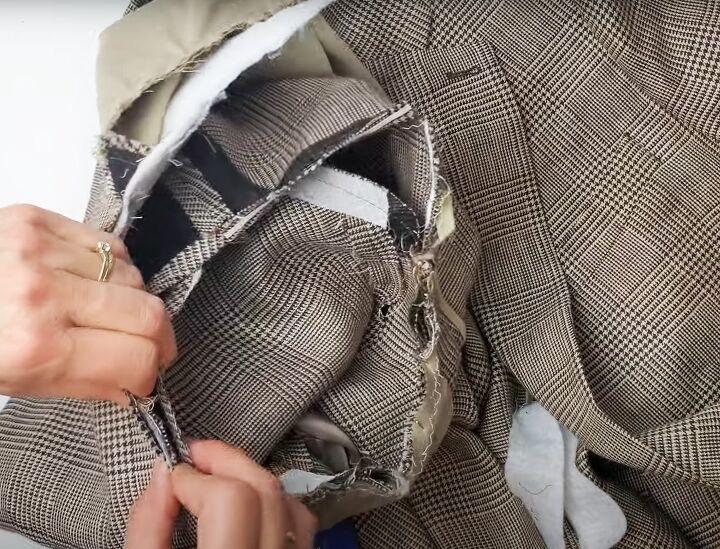
Flip the sleeve inside the jacket. Matching the seams and thread marks, pin the outer fabric of the sleeve around the armhole.
Use lots of pins and try to keep all the layers together, as far as possible.
I was able to sew through all the thicknesses of the outer sleeve, jacket, shoulder lining and shoulder pad.
Use the gathering threads to ease the top of the sleeve to fit.
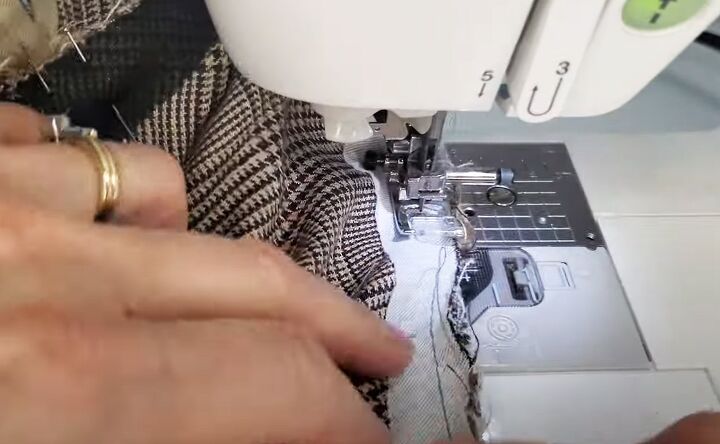
Sew all the layers together with the sleeve side uppermost.
Re-attach the sleeve head tape, lining up the raw edges so the sleeve head extends into the sleeve..
Before attaching the lining, make sure the seam allowance is pressed towards the sleeve and not towards the jacket.
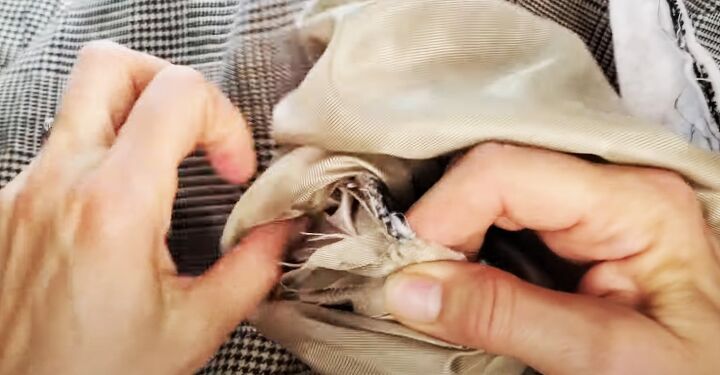
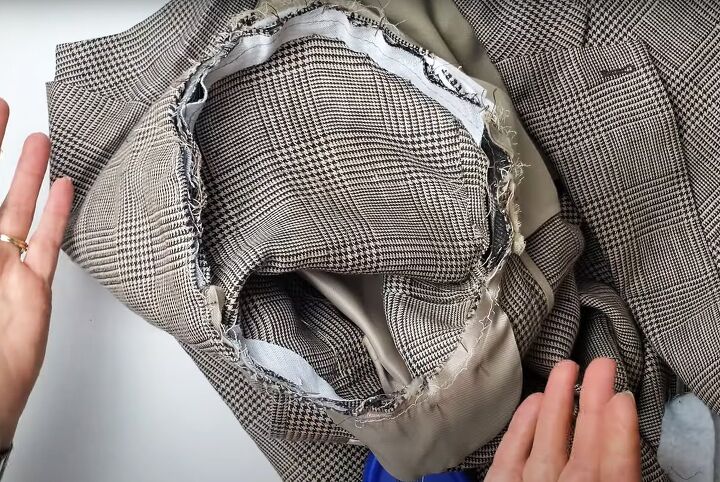
8. Re-attach the lining
The lining is attached to the sleeve head from the inside, so there are no raw edges showing on the inside of the jacket.
Use the openings in the sleeve and lining seams to ensure the lining isn’t twisted inside the sleeve.
Pin the top of the jacket and lining seams together, with the right sides facing.
Pin the lining around the armhole, sandwiching the body of the jacket between the lining and the outer sleeve.
Sew around the circle with the sleeve uppermost and the lining as the bottom layer.
You may need to sew it in sections.
I sewed around the seam a second time, as my stitching wasn’t very even the first time.
Pull the sleeve through the opening in the lining.
Close both the openings.
Insert the second sleeve in the same way. It will be a lot less nerve-wracking, I promise!
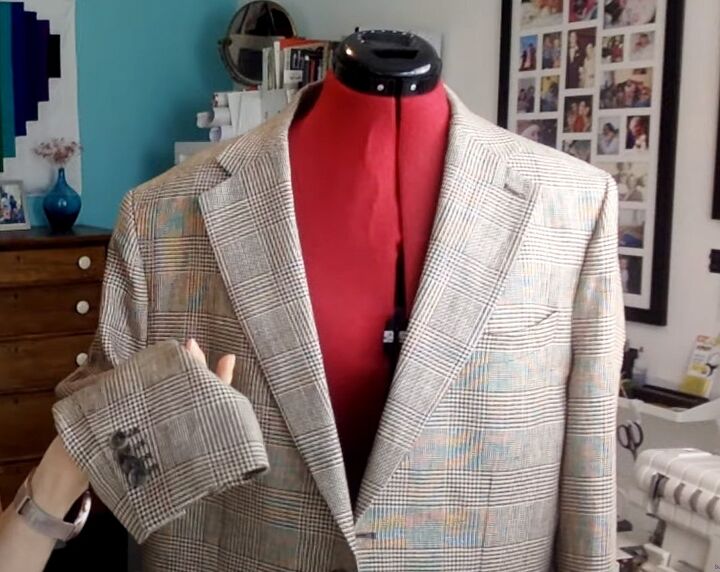
Sleeve hem
I was really pleased with the outcome. I wouldn’t have known anything had been done to the shoulders of the jacket, they look exactly the same as they did before.
I was very relieved that I didn’t have to touch the sleeve hem at all and that the buttons and buttonholes remained intact.
All in all, this is an alteration I would do again. It’s not for a beginner, but if you have some sewing experience under your belt, you won’t find it too difficult.
The alterationists I called said they would charge $125 a sleeve for what I did, so it’s definitely cost effective to do it yourself.
Let me know if you’ve tackled anything like this or if you’re now inspired to give it a go.
The author may collect a small share of sales from the links on this page.


Comments
Join the conversation