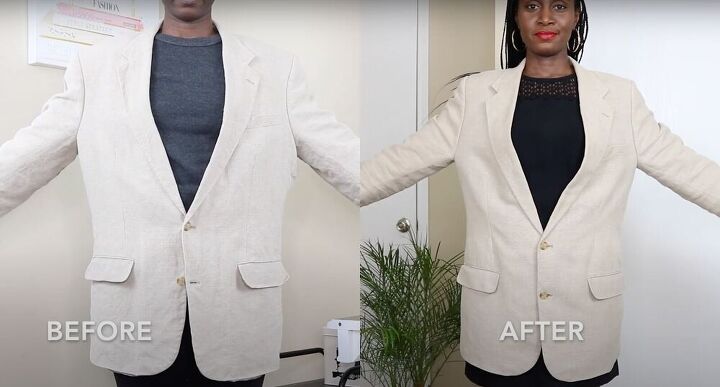
Make a Woman's Fitted Blazer From a Men's Blazer

I wanted to put together this very detailed guide for how to alter a men’s blazer. This tutorial covers everything you could possibly need, so make sure to read until the end and double-check that you aren’t missing anything.
Tools and materials:
- Fitted blazer (optional)
- Oversized blazer
- Measuring tape
- Seam ripper
- Tailor’s chalk
- Interfacing
- Scissors
- Sewing machine
Find your measurements
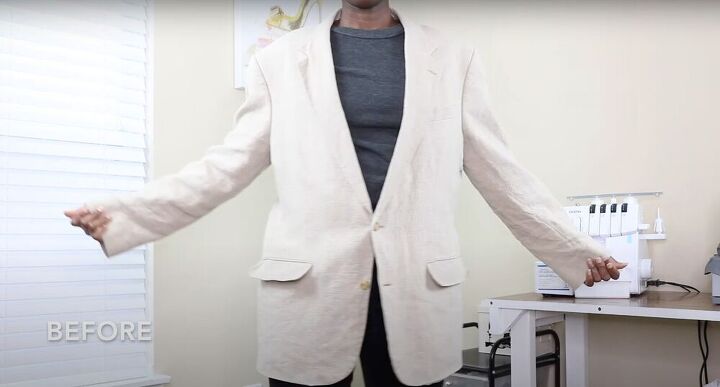
For me, I started with a women’s blazer that I already own and know fits well. I used this for my measurements, but if you don’t have a blazer you already like, feel free to just take your measurements using a measuring tape the old-fashioned way. Measure your shoulders. Next, transfer your measurements onto the oversized blazer and pin where you will cut.
If you don’t have a fitted blazer you could also mark off your shoulder by trying the oversized blazer on and feeling the edge with your fingers. Feel free to move around until you find a spot that fits best.
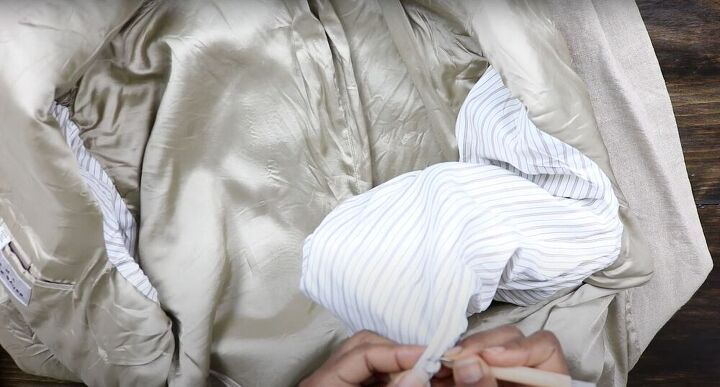
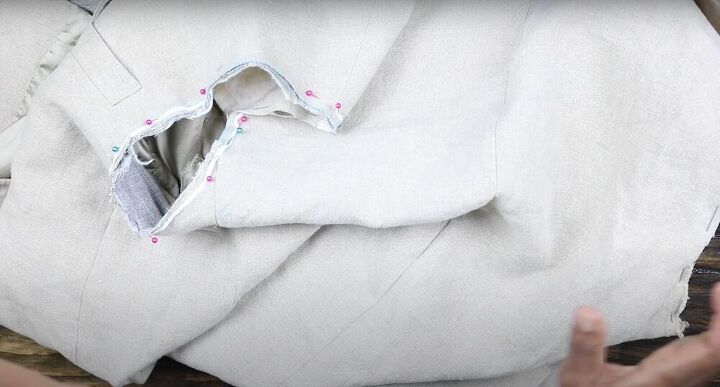
Separate the lining
Find the opening of the blazer (generally in the sleeve) and use a seam ripper to begin separating the fabric. Once you’ve torn an opening, reach in and pull the blazer out and separate from the lining. In this case, the sleeve was actually sewn separately from the rest of the blazer, which is okay because we are taking the entire thing apart. However, in a case where you were looking to simply make the waist smaller, this might pose a problem.
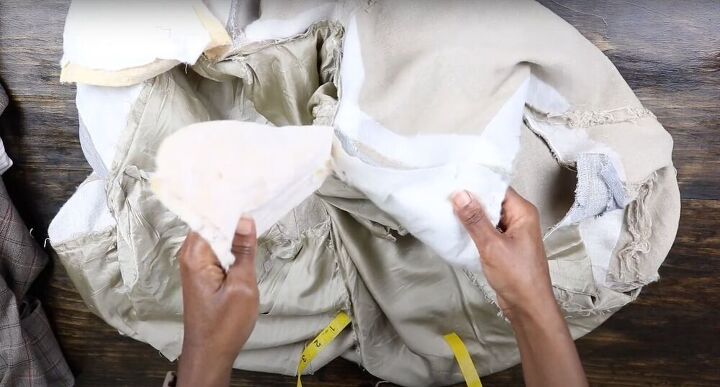
Remove the sleeves and shoulder pads
Go back in with your seam ripper and detach the seam from the shoulder point. At this point, you should be left with just what looks like a sleeveless vest. Now, remove the shoulder pad from the blazer - this is to keep it in one piece so that we can reuse it later after cutting the fabric.
Find your measurements
Turn the blazer right side out and lay it flat. Now, take the fitted blazer and lay it on top of the oversized one to align the shoulders. Pin the spot where you will cut. (If you did this earlier, this step can be ignored). Now, make sure your blazer is laid flat so that you can best mimic the way it would fall on your body. Now align the sleeves with the sleeve hole and pin through the top blazer and onto the oversized one to mark off your area. Finally, use some tailor’s chalk to mark off the pinned points. Remember, you need a seam allowance so make sure to fold your fabric in for a clean seam.
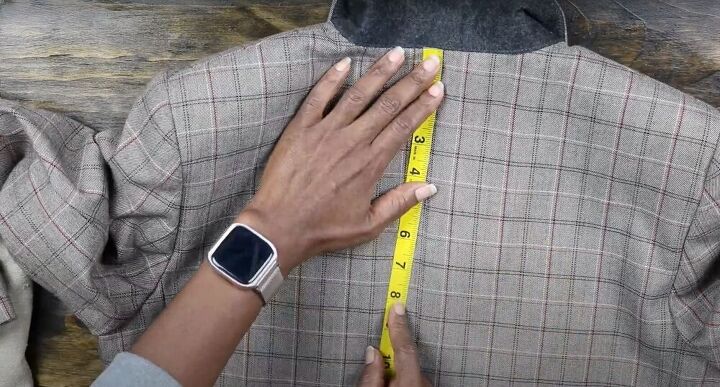
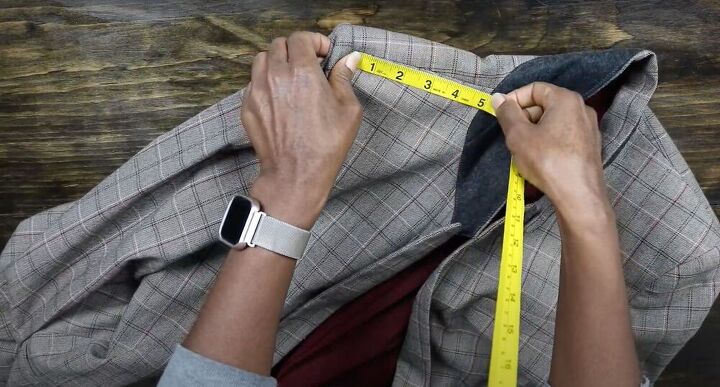
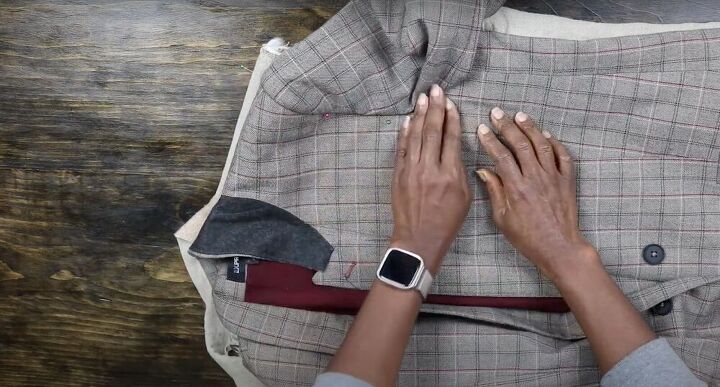
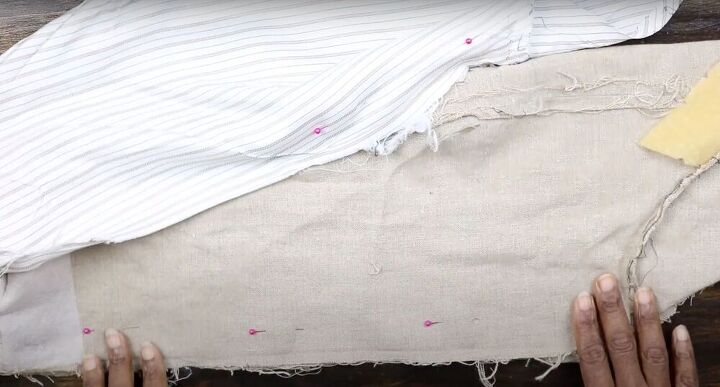
Reduce the back
Take your fitted blazer and lay it on its front, beside the oversized blazer. Now, measure from the neck until the bottom point of the armhole (pictured above). Then, measure from the bottom of the armhole across to the middle. Repeat this process onto your oversized blazer to transfer the measurement. Mark off your spots with the tailor’s chalk. Finally, draw a line from the bottom of the armhole until the hip area.

Find your fit
Unpick the side seam and move it over to where your line was drawn. This will change the shape of the armhole, so make sure to re-mark it. Additionally, make sure the measurement for the middle area under the arms matches from your fitted blazer. To take the front in, you can now make the armhole smaller.
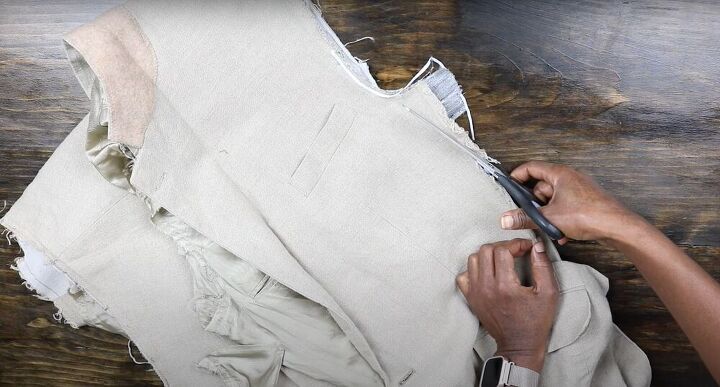
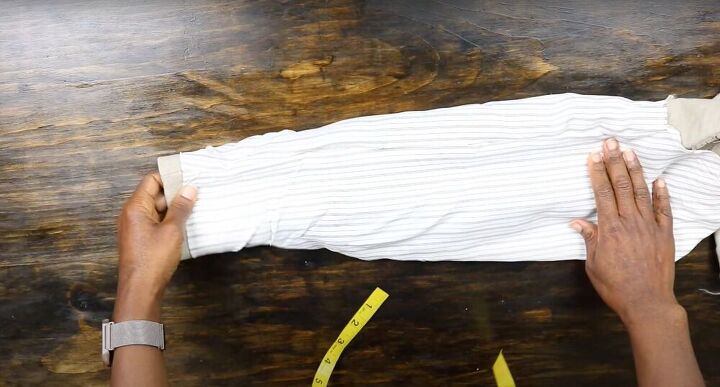
Cut the sides
Mark off your new seam line and then cut off any excess fabric (remember not to cut too close and to keep a seam allowance). Repeat the steps on the other side to make sure the blazer fits right. For a cleaner cut, iron the edges of your fabric before cutting them. (Remember to cut the middle part as well as the edges by the armhole).
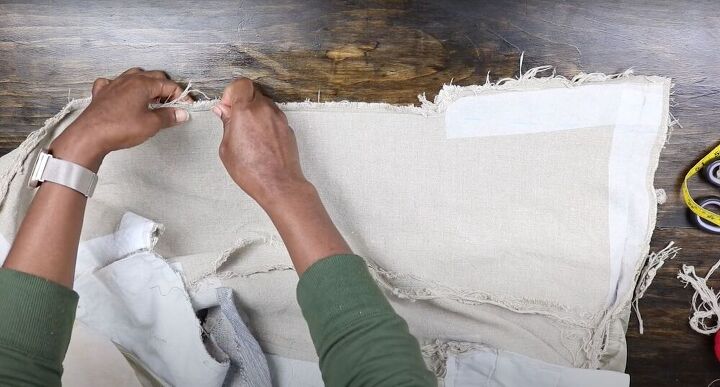
Make your darts
Align the seam allowance of the middle part with the line we marked along the back. Pin to secure. Repeat that on both sides and then stitch the sides. Next, we are going to take in the darts to give the blazer a more fitted and feminine look. To start, fold the dart into two and then use a pin to mark the middle point. Place another pin half an inch down, diagonal, and pushing towards the middle point. Repeat on the other side and stitch the dart.
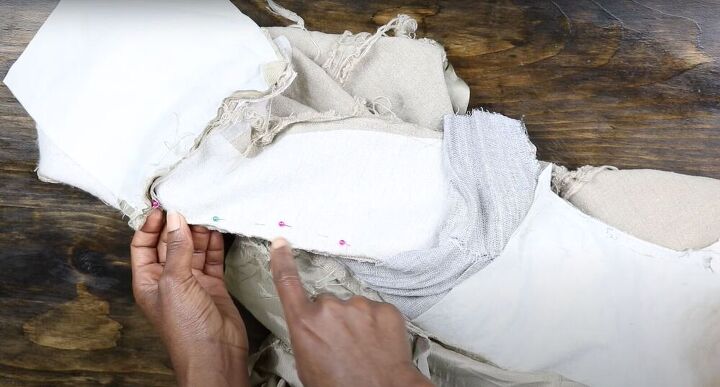
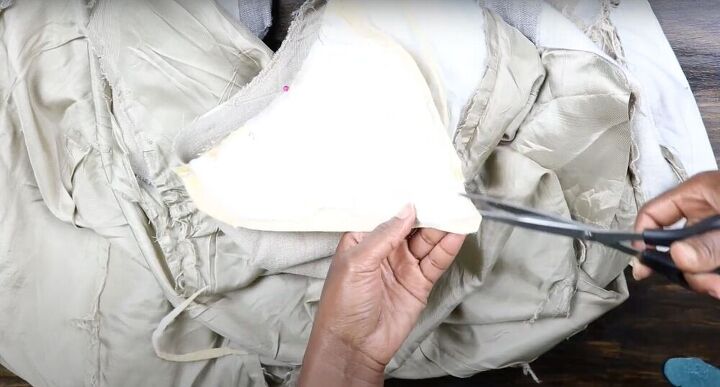
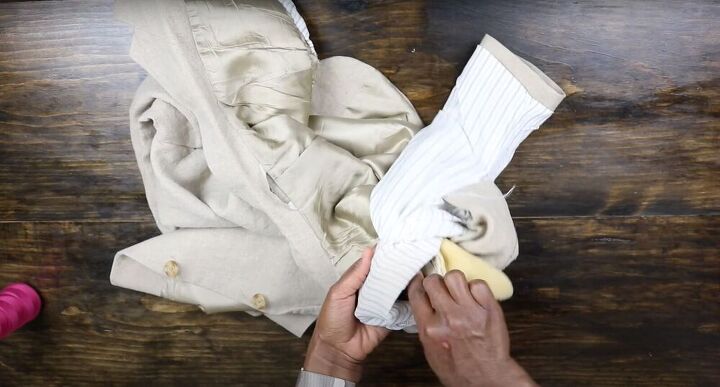
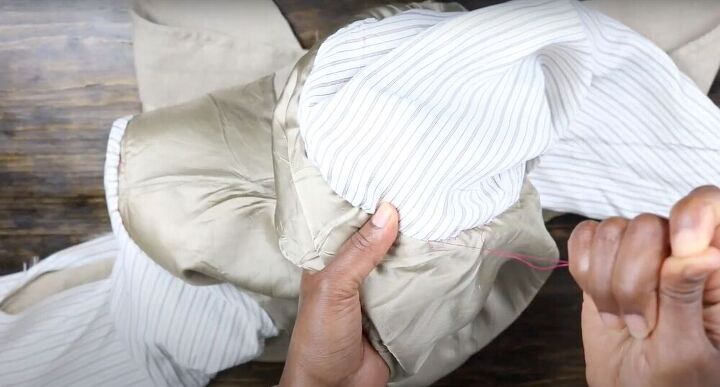
Close the vent
Turn the blazer inside out and detach the lining from the outer shell of the bottom of the blazer. Then, use a seam ripper to open the back. Next, pin the vent together and stitch all the way down the line running down the middle of the blazer. To get a clean stitch, press in the seams to flatten and redirect them. Redirecting the seams will ensure that the back lay flat without the vent.
Cut your shoulders
Draw a line from the shoulder down to meet the new seam line we created. Once you have traced out your new measurements, use some scissors to cut off any excess fabric - remember to factor in your seam allowance before cutting. Keep in mind that blazers have lots of layers, so cut your outer shell and then cut the rest of the layers as needed.
Create the armholes
Because the back of the armhole had some interfacing, I went ahead and replaced it. Next, I pinned the armhole all around to keep all the layers aligned and secured. I tried to stay as loyal as possible to the existing shape of the blazer and let it dictate my shapes and stitching as much as possible. Finally, stitch the armhole again to reinforce it and then press the interfacing into the back-side.
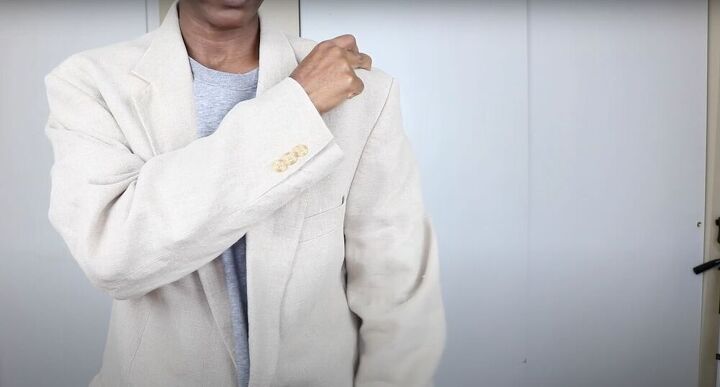
Fit the shoulder pads
Align the middle of the shoulder pad to the middle part of the shoulder and pin it in place (when pinning, make sure to curve the shoulder pad so that it lays as flat as possible). After that, you can see where the excess material is and cut it off. Cut very close to the seam and trim around until the shoulder pad fits seamlessly into the shoulder.
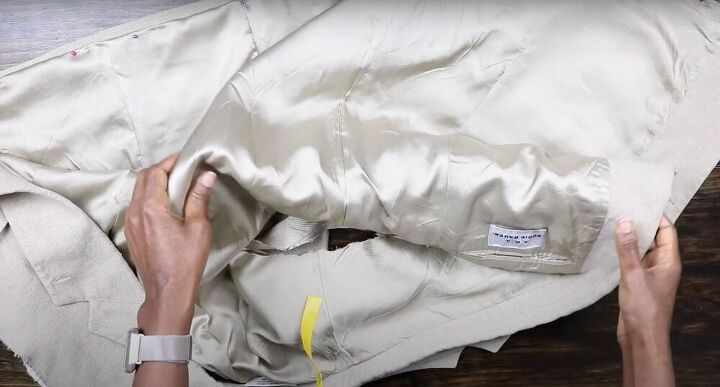
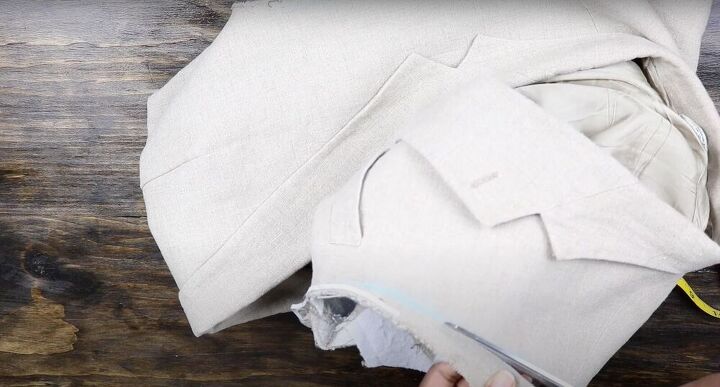
Repeat on the lining
Repeat all the steps we just took for the lining of the blazer. This means cutting the sides to take in the back and front, adjusting the armholes, and more. (I then had to go fix a mistake. My fabric had stretched from the wash and had to be adjusted, so my advice is to avoid putting your blazer in the washing machine).
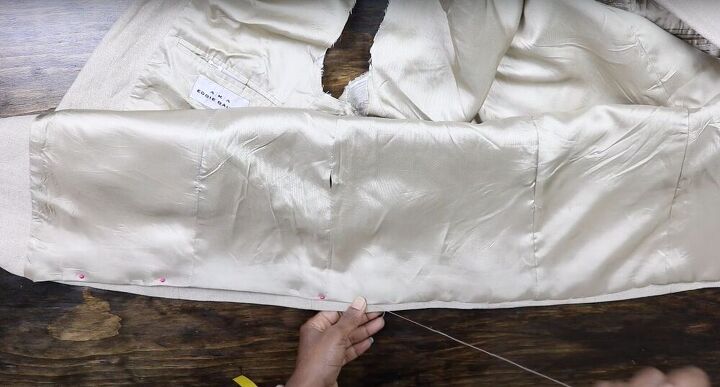
Connect the lining
After you’ve adjusted the lining, tuck in the hem of the lining to the hem of the shell and pin it in place. Next, use a needle and some thread to secure the lining in place before turning the blazer inside out, and stitching it to reinforce it. Once you’re done, cut off any excess fabric. Stitch the hem half an inch all the way around, turn the blazer right side out and remove the tuck from before (if you do not have excess fabric, removing the tuck is not necessary).
Alter the sleeves
The first thing to do is detach the lining from the sleeve. Next, measure one inch from the cuff and mark it with a pin. Continue pinning up the entire sleeve and then repeat this same process with the lining. However, make sure to leave an opening in the lining so that you will be able to slip it back inside. Stitch along the pinned area and then trim off any excess fabric.
Connect the lining
Press the opening seams of the sleeve and the lining and stitch them together. Remember to have the lining be about an inch up on the sleeve so that the cuff remains.
Attach the sleeves
Slip the sleeve inside the blazer and align the seams together. Once the seams are aligned begin pinning all around the armhole. Next, use a needle and thread and sew the sleeve in place. Next, place your hand through the hole we left in the lining and pull the shoulder through the sleeve. You want the right side of the sleeve lining to be on the right side of the blazer lining. Align your seams again, (mind the blazer sleeve) and stitch the lining onto the armhole. Once you have the loose hand stitches connecting the lining, add some pins. Finally, finish by pulling the lining back through so that everything is aligned like it’s supposed to be and using a sewing machine to stitch it down.
Attach the sleeves
If you prefer a different method to attach the sleeves, simply sew the sleeve onto the armhole normally and then lay your lining over it and connect it with a hand stitch.

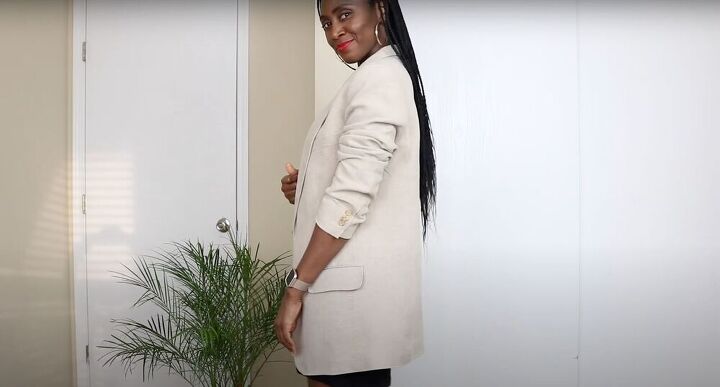
I hope this tutorial helped you guys out, I tried to really walk you guys through all the different steps. This should teach you everything about how to make a fitted blazer, from finding the right fit to sewing the best sleeves!
The author may collect a small share of sales from the links on this page.


Comments
Join the conversation
I love this!!
Looks great and it also looks like a LOT of work. But you ended up with a custom fit and it is well done!