Thrift Flipping: How to DIY a Cute Pink Lace Army Jacket

This jacket was my inspiration for the thrift flip we’re about to do.

What I love about it is the pink lace sleeves and army jacket combo. I didn't like the shade of pink, the shade of army, and the shape of the jacket, but that's the beauty of DIY, we get to make it our very own.
This DIY is something that you can do with anything with sleeves, you can create custom statement sleeves on absolutely anything. The technique is so fun and so beautiful.
Let’s get started!
Tools and materials:
- Pink doilies
- Tablecloth
- Army jacket
- Fabric dye
- Scissors
- Rotary cutter
- Bleach in spray bottle
- Pins
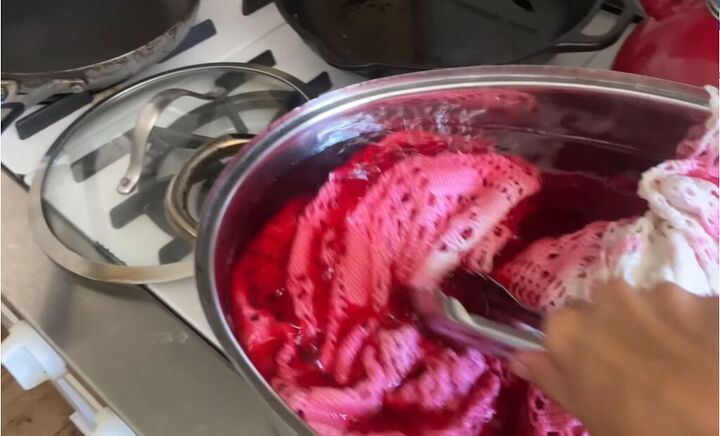
1. Die the lace
I thrifted a white lace tablecloth so the first step was to dye it pink with fabric dye.
I let it soak for about an hour and a half to two hours and then I rinsed it in the sink and then threw it in the wash.
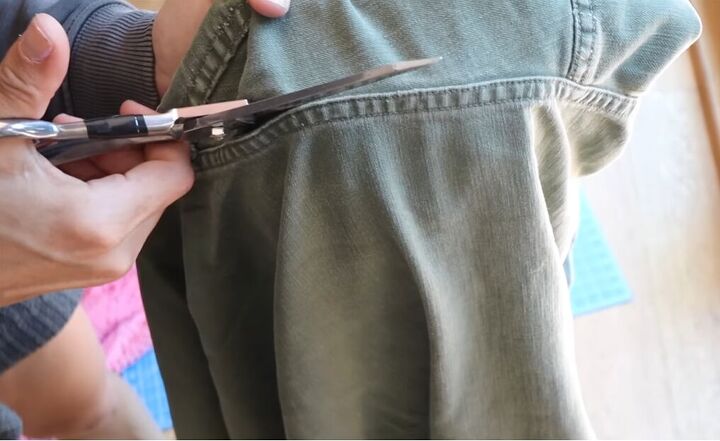
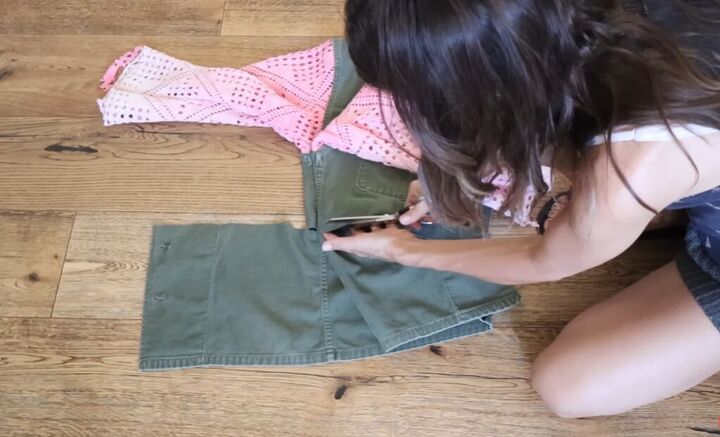
2. Remove sleeves from the jacket
In order to remove the sleeves and make it easier to sew later, I recommend cutting right along the edge of the existing seam line.
You want to maintain the seam on the jacket because we're going to sew the sleeve right into that.
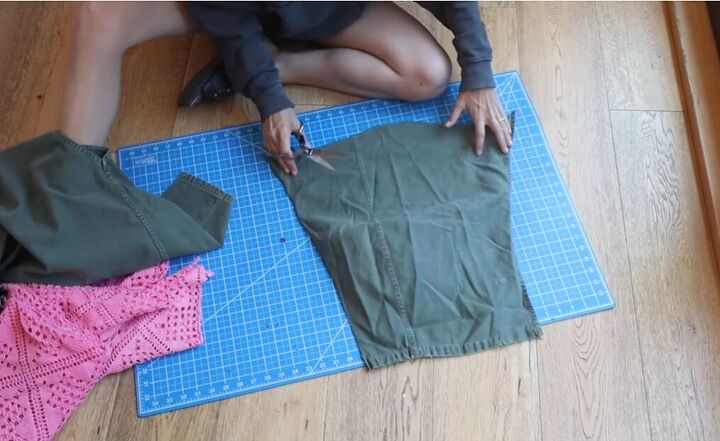
3. Open sleeves up
Once you’ve removed the seams, open one of them up by cutting along the center seam.
This will give you a perfect pattern piece that can now be used to recreate your sleeves.
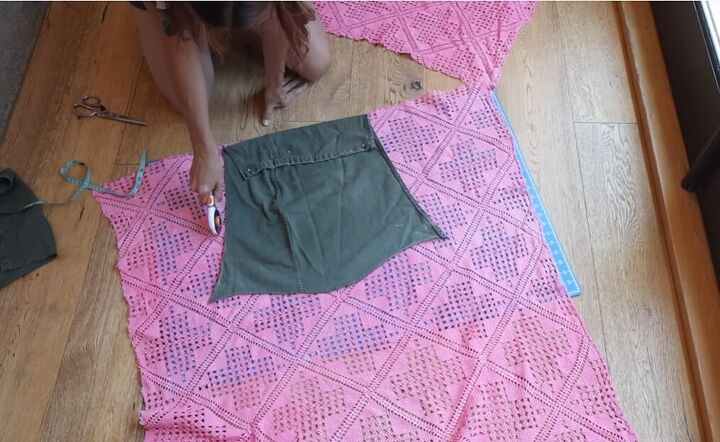
4. Cut the lace sleeves
Next, cut out the lace sleeves. For me, it was important that each sleeve would have the same lace pattern, so I made sure to cut them at the same place on the tablecloth.
You can crop the sleeves if you want, but make sure you don’t mess with the top of the shoulder part because that's what's going to fit into our sleeve perfectly.
I used a rotary cutter on a cutting mat to cut the sleeves.
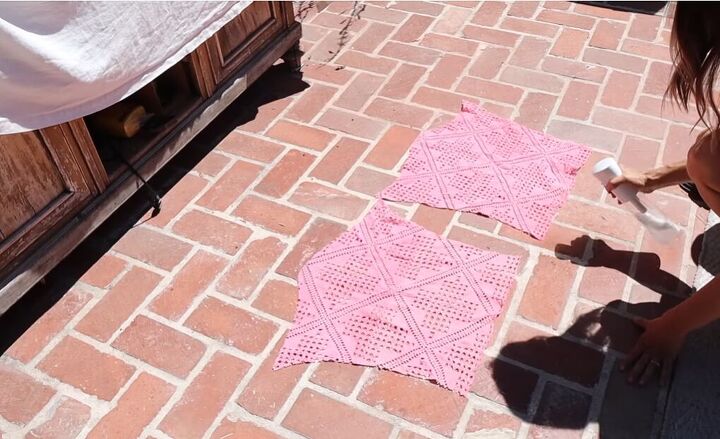
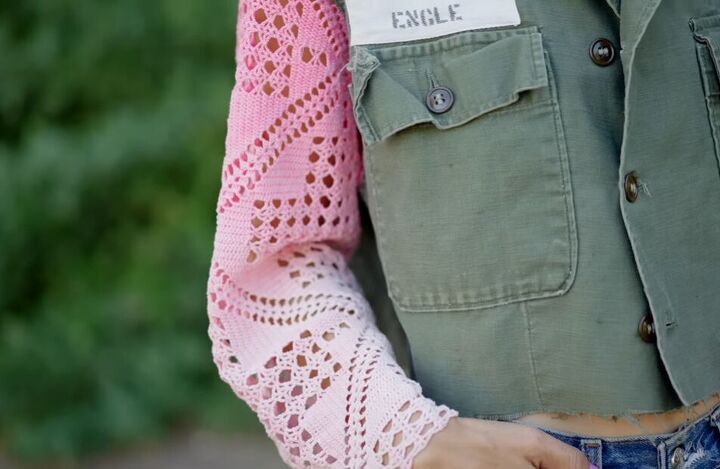
5. Bleach the sleeves
I wasn’t happy with the pink color of the sleeves, so I decided to do an ombre bleach and fade the bottom to give a vintage look.
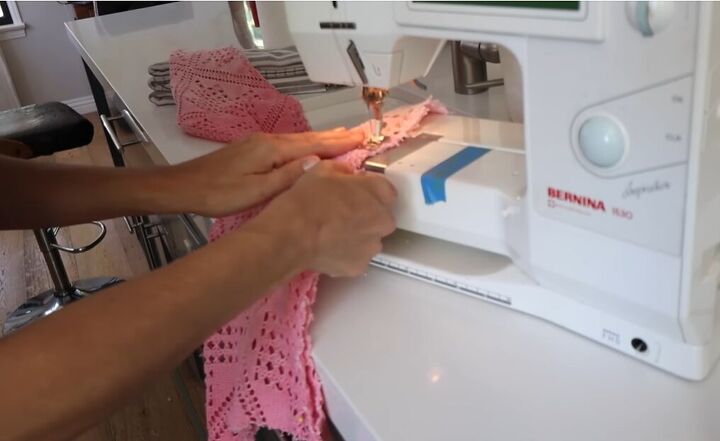
6. Sew the sleeves clothes
Fold your sleeves together and sew them closed.
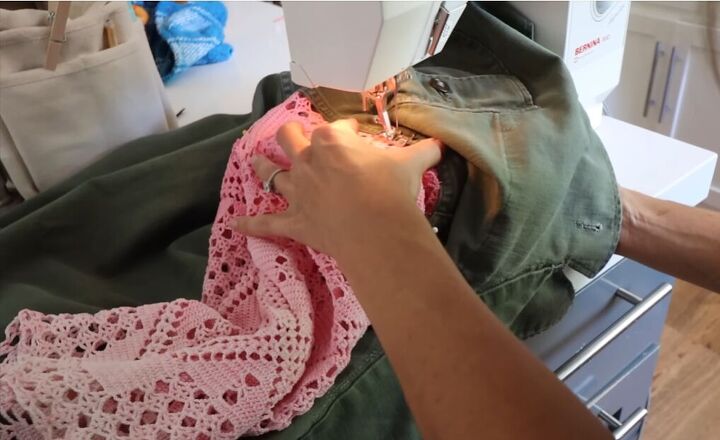
7. Attach sleeves to the jacket
Then pin the sleeves into the jacket, starting from the shoulder and then pinning the underarm.
This makes sure that you're perfectly even and anchored in the top and the bottom, and now evenly distribute the pins all the way around. Proceed to sew them down.
Because we cut this based off of our existing sleeve, it fits perfectly like a glove. When you’re sewing it on, sew it into the existing stitch line.
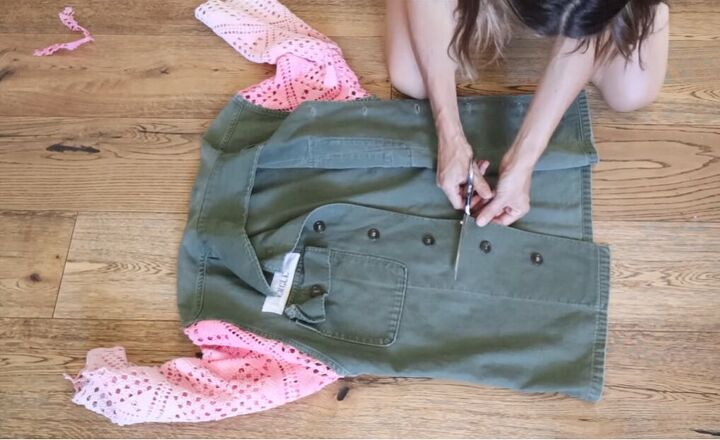
8. Crop the jacket
Next, I decided to crop the jacket to a length that I preferred.
Anytime you're cropping a jacket, you want to button the front to make sure the two sides are lined up perfectly even.
Cut the front of the jacket first and then line it up to make sure that it's even on the right and left seams.
My right seam was slightly longer than my left, so I had to cut off an additional half-inch. Then cut along the back.
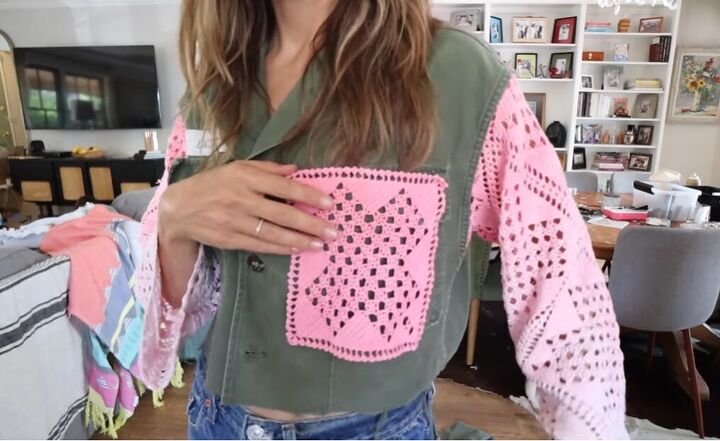
9. Add patches (optional)
I played around with the idea of adding in little patches but eventually decided against it, though you can add patches if you like.
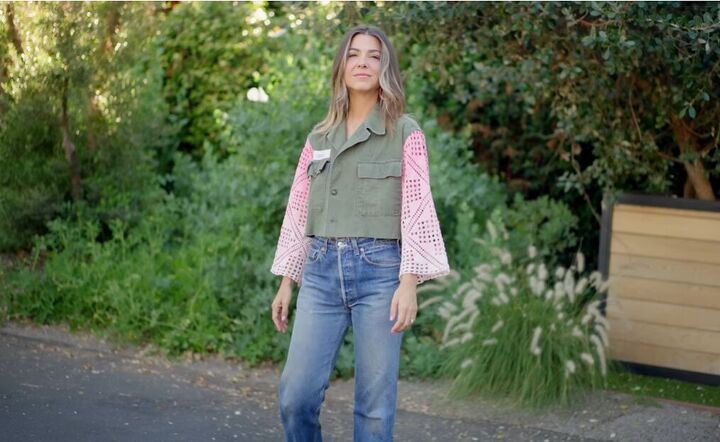
Thrift flipped jacket
Here is the finished jacket, I'm thrilled with how this came out.
The ombre bleaching to create a fade made all the difference in the world, and cropping it also gave me the desired effect that I wanted.
I love the mix of army jacket with lacy sleeves, it combines two different aesthetics to create a really unique piece.
Did you enjoy this tutorial? Leave a comment.
Then, check out my post on How to DIY a Sexy Denim Tank.
The author may collect a small share of sales from the links on this page.


Comments
Join the conversation