Simple Contouring, Highlighting & Baking Routine For a Natural Glam

Today I will be demonstrating my contouring, highlighting, and baking routine for you guys. Although contour may seem intimidating, with a few easy tips you can quickly learn how to contour like a pro.
Contouring can completely transform and glow up your face! Let's get started.
Best contour kit!
Tools and materials:
- Face spray
- Primer
- Foundation
- Under-eye corrector
- Contour kit with highlight and bronze
- Concealer
- Setting powder
- Bronzer
- Blush
- Mascara
- Highlighter
- Lipstick
- Makeup brushes
- Beauty blender
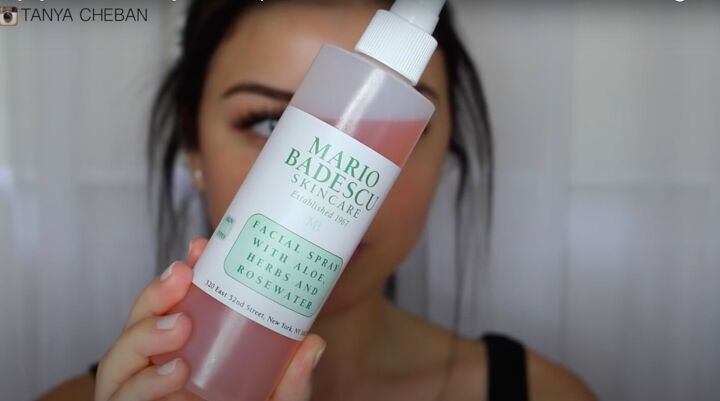
1. Face spray
Spray your face thoroughly with a moisturizing face spray. This will help clean up the skin and moisturize.
This step feels really refreshing!
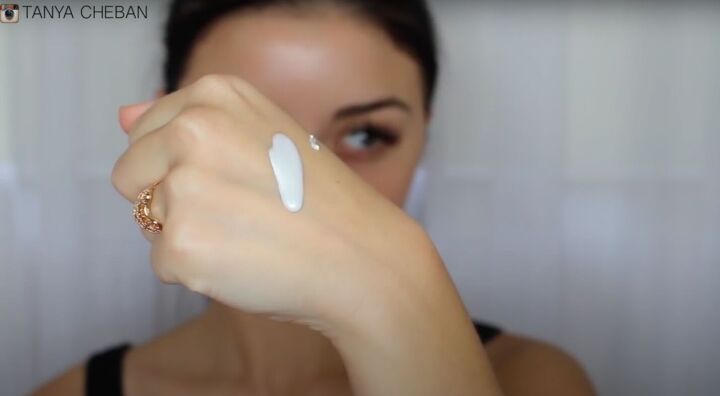
2. Prime
Apply your face primer of choice to your skin. This will give your face a glow as well as a dewy finish. I think this is really important, especially in the winter when skin can get really dry.

3. Apply foundation
I am using a stick foundation. I love stick foundations because they are so easy to use to touch up your makeup throughout the day.
Apply the foundation across your cheeks, center, and perimeter of your face.

4. Blend out the foundation
Using a makeup brush, buff the foundation away in circular motions while pressing the product into your skin.
Keep working the product into and around your face until it is all blended and smooth.
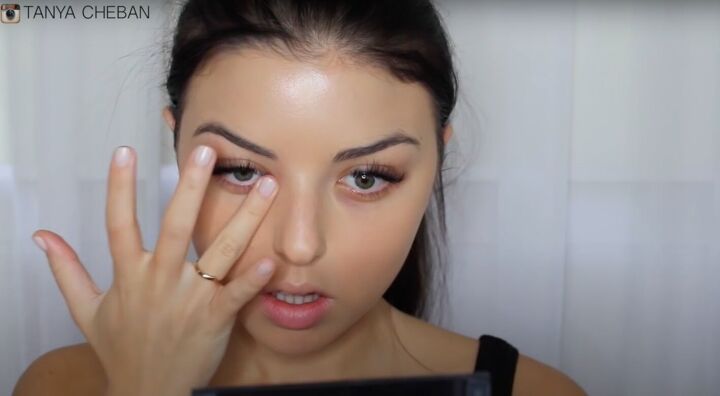
5. Apply under-eye corrector
I just started using this product. Basically, you are supposed to apply this under-eye correction right before you apply your concealer and it's supposed to correct the darkness under your eyes.
Take a small amount on your ring finger and pat it right underneath your eye where any dark circles may be.
This will brighten up the under-eye area.
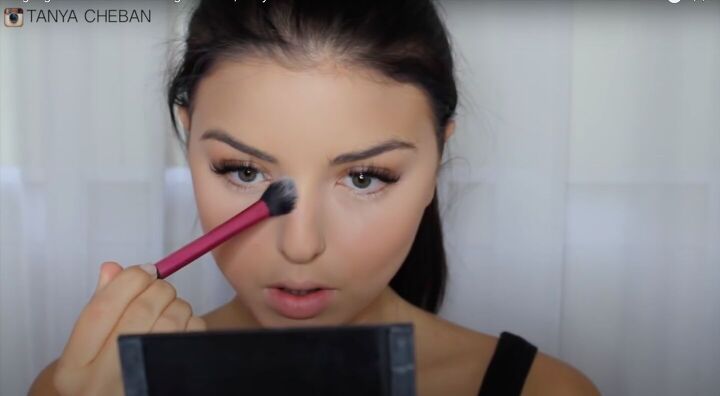
6. Apply highlight
Apply the highlighting shade in a triangular shape below the eyes. Use very light strokes to apply the product evenly.
Apply more highlight to your chin and cupid's bow. This will balance everything out.
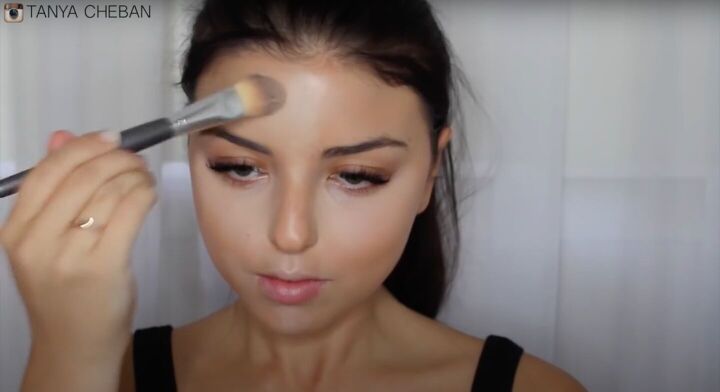
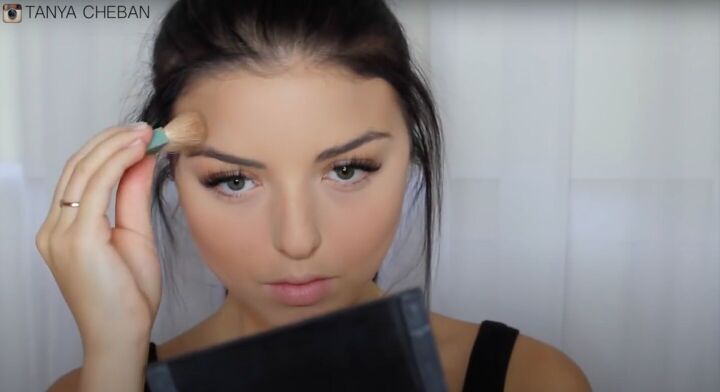
Apply highlight to the center of your forehead and the corners of your mouth. This will help brighten your face.
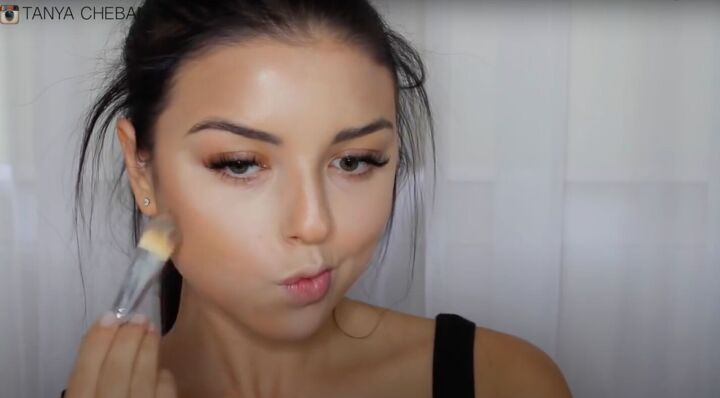
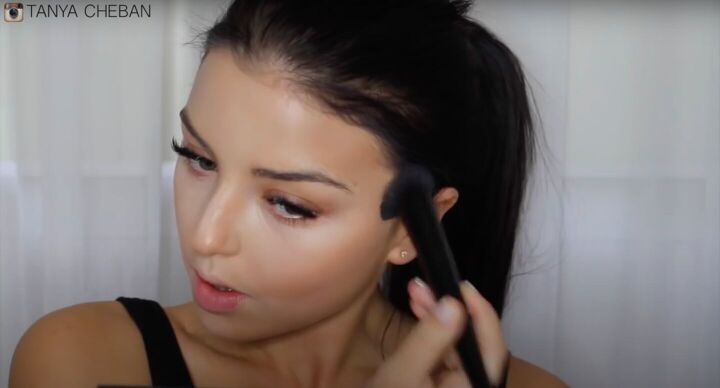
7. Apply bronzer
I am mixing two bronzing shades together but you can use whichever color you prefer.
Start by applying the product to your temples and the hollow of your cheekbones, working your way around the perimeter of your face.
When applying bronzer to your cheekbones, you want to stop halfway to your mouth so that it doesn’t look too muddy and unnatural.
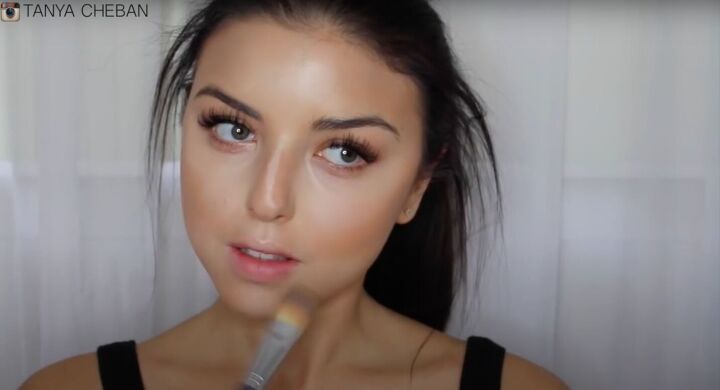
Apply the bronze to the tip of your nose and the bottom of your lip. This will create the illusion of a fuller bottom lip.
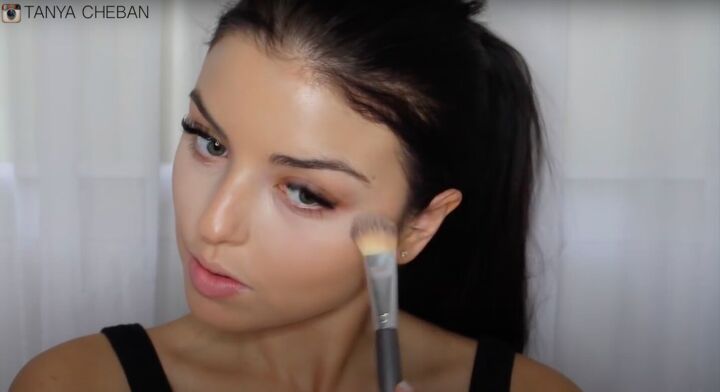
8. Blend
Use a foundation brush to buff out all the edges of the contour. I like to blend out the contour really well because I like my makeup to look a little more natural.
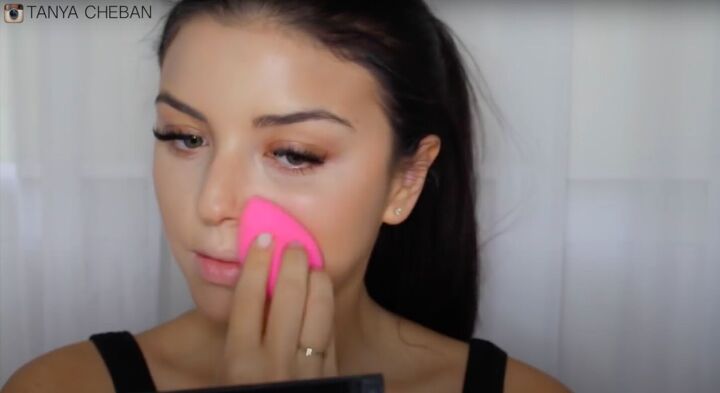
Use a beauty blender to go over your face again. This will make everything really smooth and pick up any excess makeup that is sitting on your face.
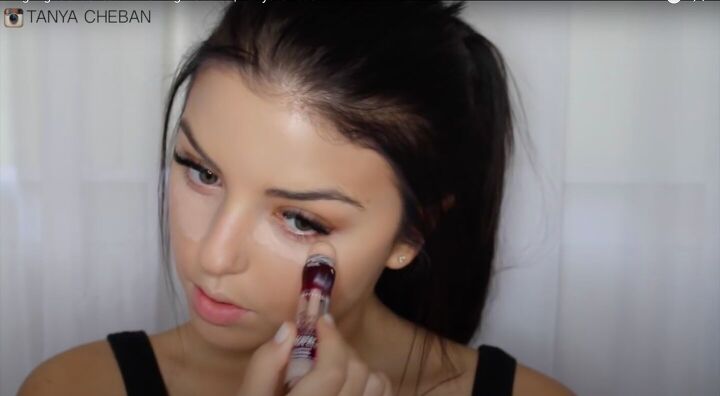
9. Apply concealer
Gently apply concealer underneath your eyes and blend out with a beauty blender.
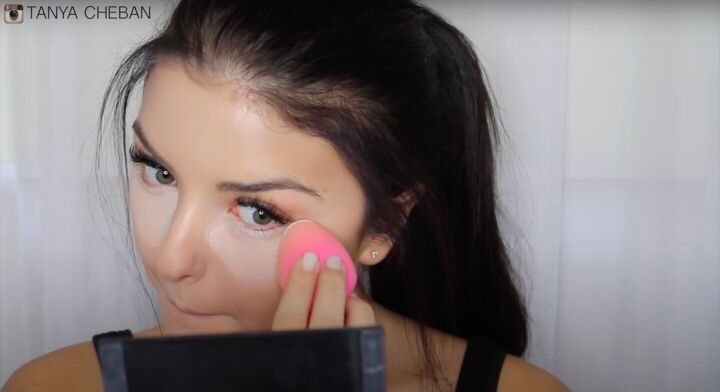
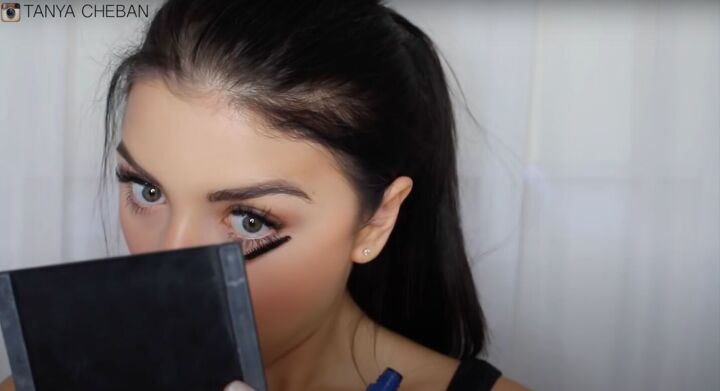
10. Set the look
Apply the setting powder underneath your eyes and let it sit for two to three minutes. This is going to help set the concealer and makeup.

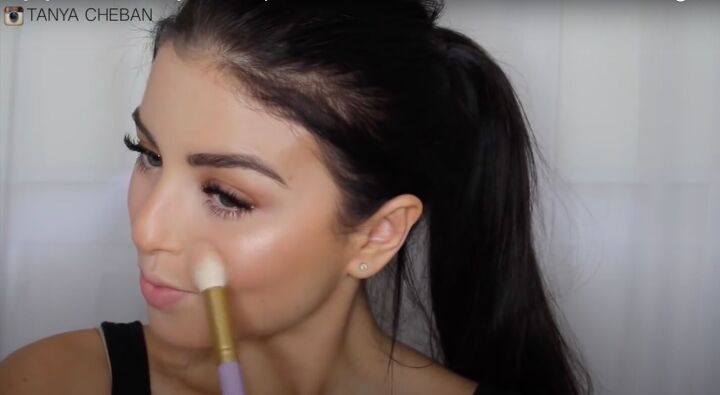
11. Apply more bronze
Apply more bronze to your cheekbone area, dusting off the setting powder as you go.
I find that this makes the makeup look so much more natural.
Use a clean makeup brush to go over your skin and finish dusting off the setting powder.
Apply your bronzer of choice to your cheekbone and temple area. Blend out the product in circular motions.
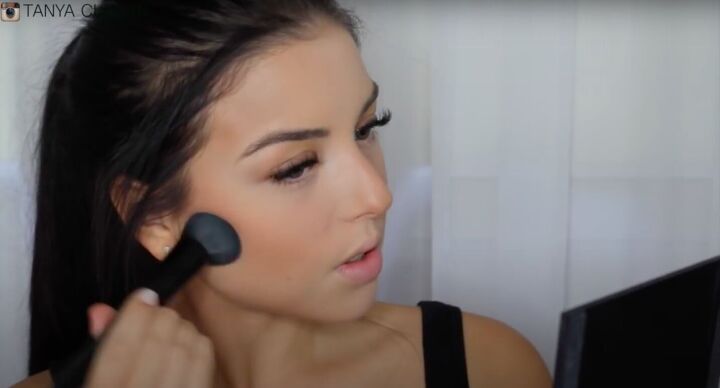
Take the same clean makeup brush from earlier and go over your skin again to make sure there are no harsh lines and that everything looks natural.
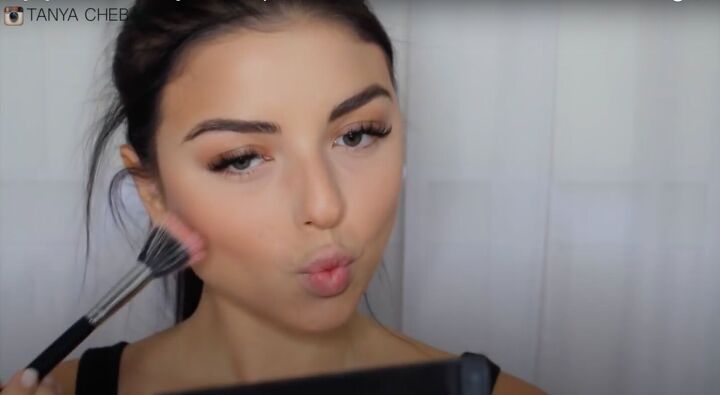
12. Apply the blush
Apply your blush of choice in circular upwards motions to get a nice wash of color.
13. Apply mascara
Apply your mascara of choice as needed.
14. Apply more highlighter
Apply highlighter to your cheekbones, brow bones, nose, and cupid's bow.

15. Apply lipstick
Apply your lipstick of choice. I am going for a more natural look to offset the contour.
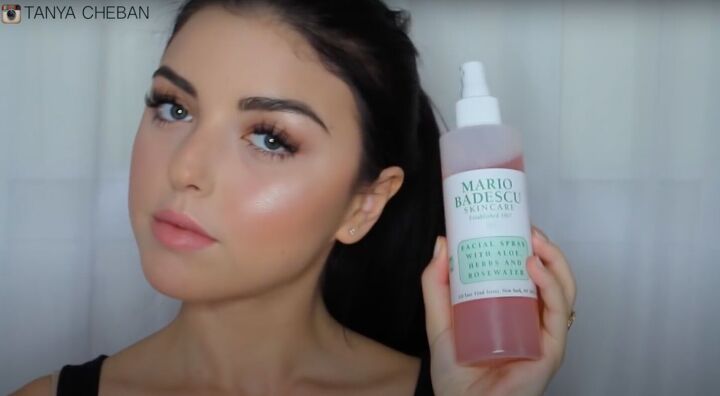
16. Apply spray
Spray your face with a moisturizing spray. I used the same spray as before, which feels lovely on my skin.
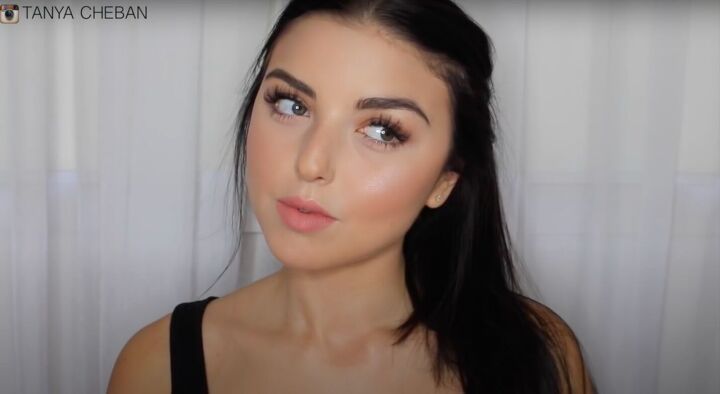
Contouring, highlighting, and baking routine
This is the finished look! These steps are how I achieve a fully contoured face. As you can see, I prefer a more natural-looking glam. So if you are like me, these steps are definitely for you!
Let me know in the comments below what you think.
The author may collect a small share of sales from the links on this page.


Comments
Join the conversation
Very pretty and not at all overdone.
“Very long and involved process for a “natural” look.