Cute and Easy Vintage Hairstyle to Wear With a Snood

Hi all! In this vintage hairstyle tutorial, I will show you a fabulous permed hairstyle that you can wear with the snood.
Follow along as I walk you through step by step.
Tools and materials:
- Snood
- Hair pins
- Setting lotion
- Hairbrush
- Comb
- Hairspray
- Pomade/wax
- Bobby pins
- Alligator clips
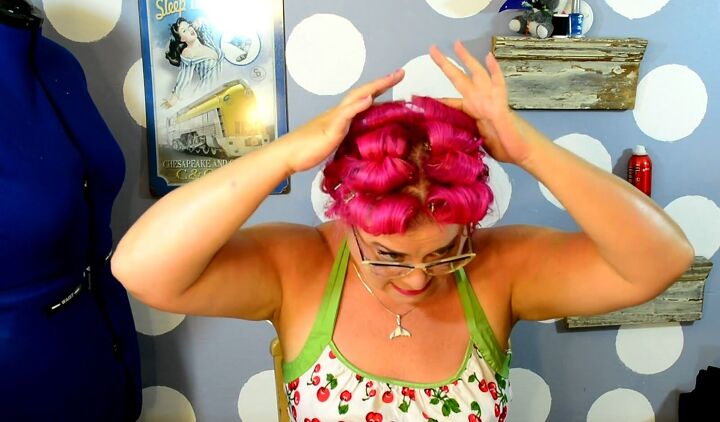
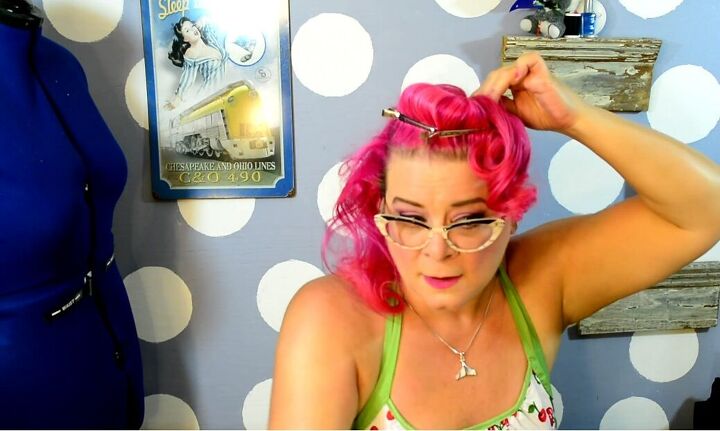
1. Pin hair overnight
First, do an overnight pin curl set. Set the hair dry and then spritz it over with a little bit of water and setting lotion to lock in the curls.
To create the curl pattern, section off the entire crown of the head and roll everything in alternating directions.
Roll the curls on the side and the back towards the face and lay them down flat.
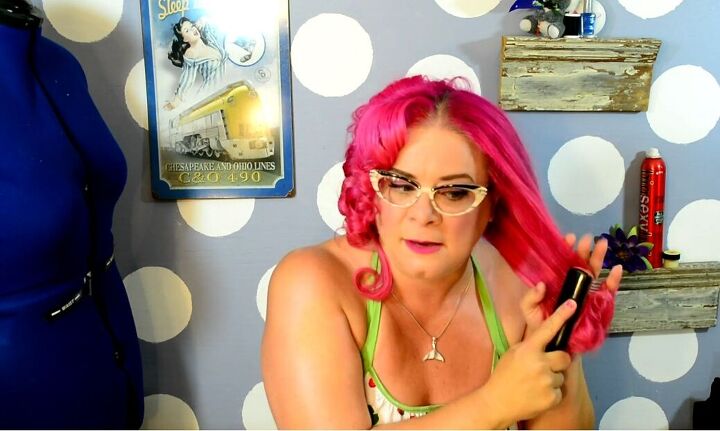
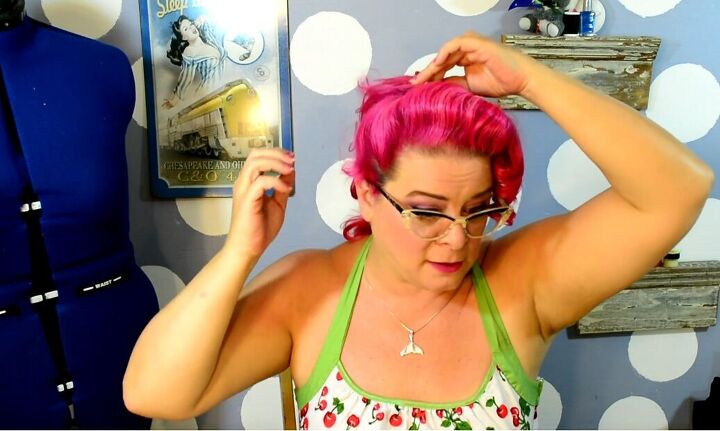
2. Brush curls out
The next day, release the pin curls and brush them through to the bottom against your hand. Doing this tames the frizz.
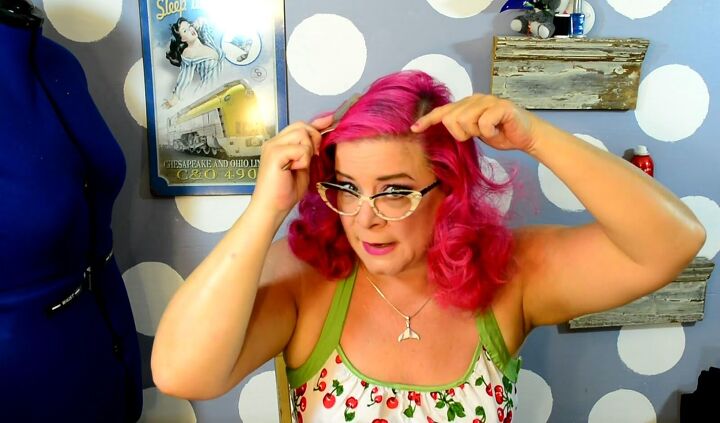
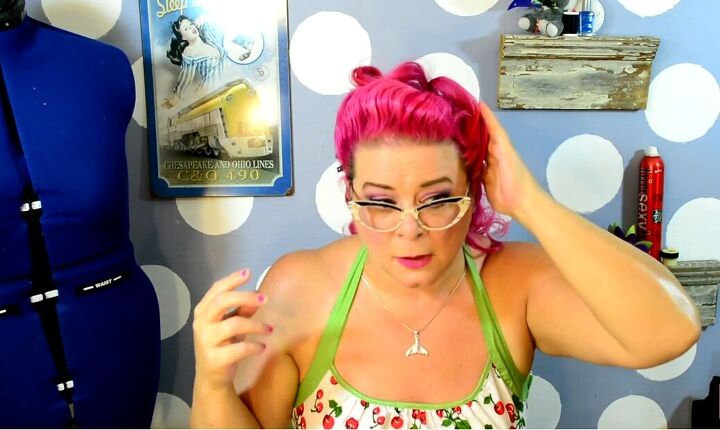
3. Section hair
Section your hair into a side parting from the corner of your forehead.

Then section off your hair, going from the end of the part down the side.
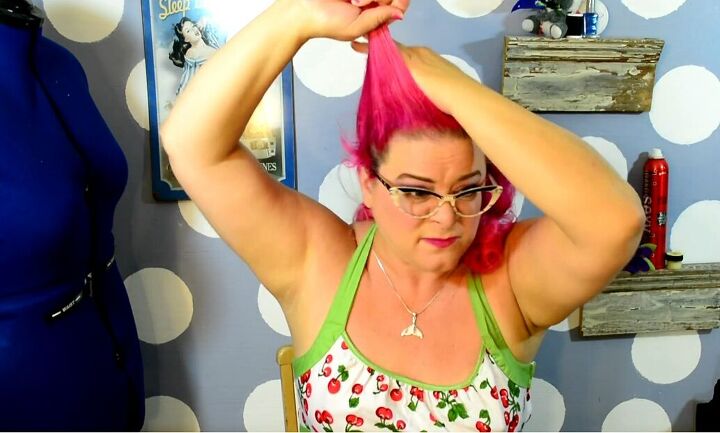
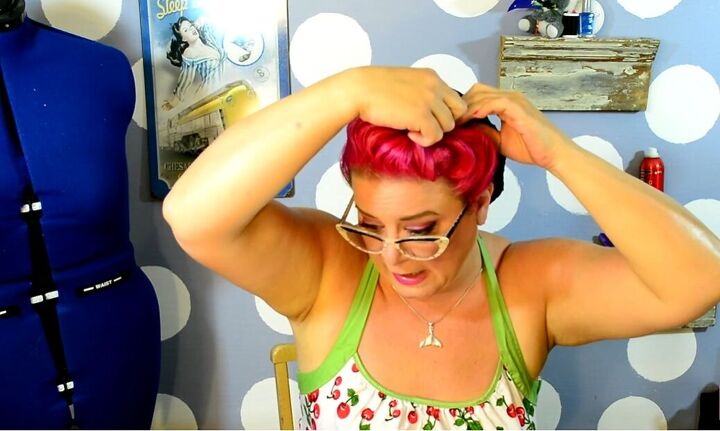
4. Backcomb hair
Backcomb your hair to make it nice and full.
I like to bring the hair forward and then backcomb as this helps you get more height. Once done, apply hairspray.

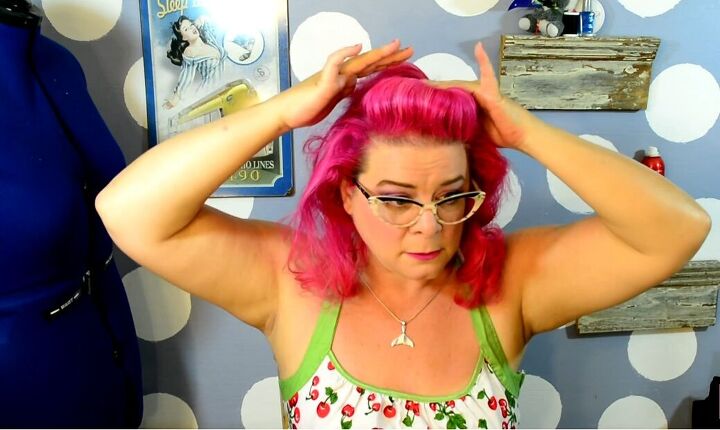
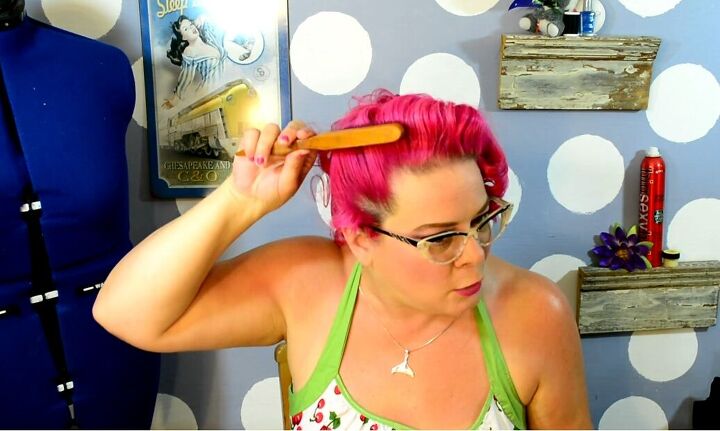
5. Comb hair
Now use a densely bristled brush to tame your hair.
Brush lightly over the top of your hair and on the sides. Then brush the ends nice and smooth.
6. Apply pomade
Take pomade or wax, and smooth it over your hair.
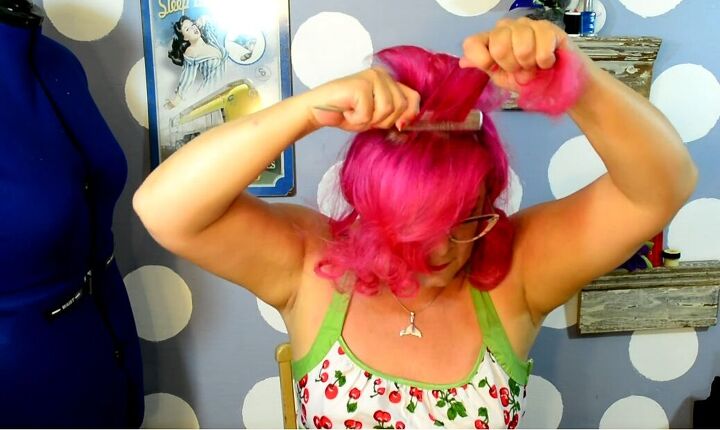
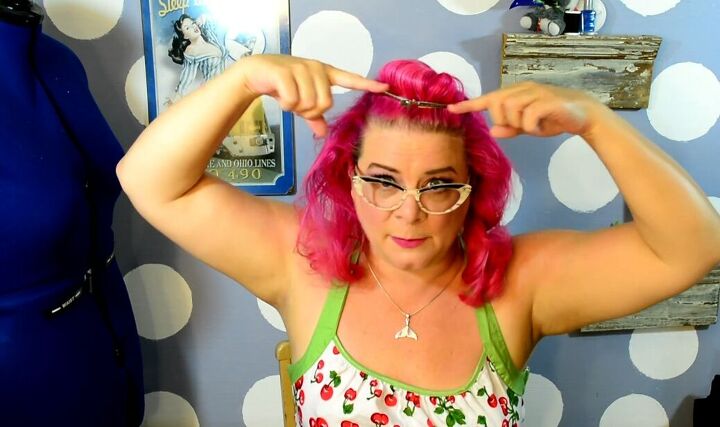
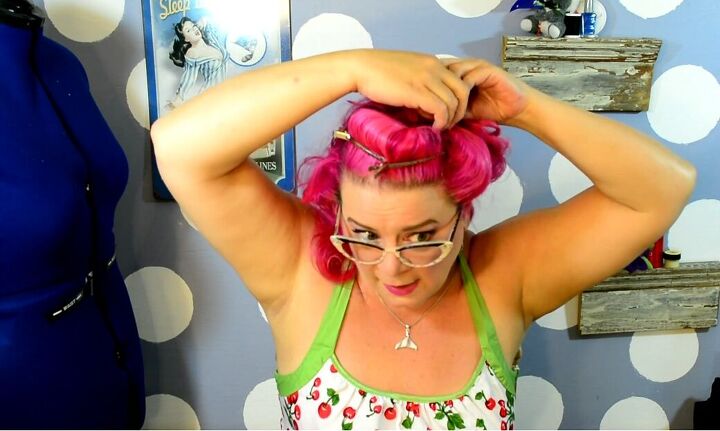
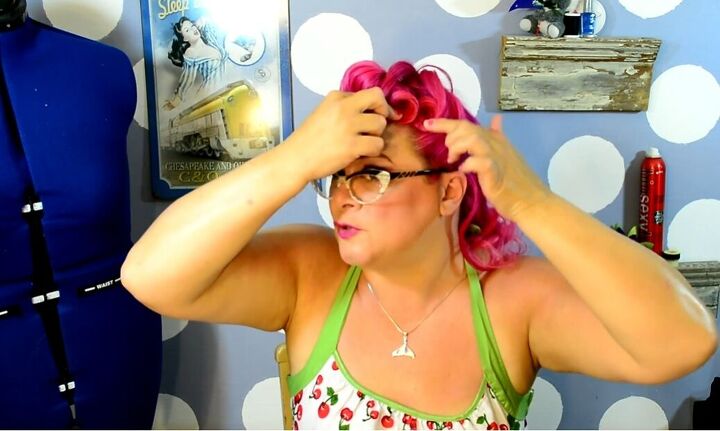
7. Push top section forward
Take just the top section of hair, give it a twist, and start to push it forward. You want to get some good height.
Once you have it how you like it, criss-cross the section with bobby pins and spray the hair down.
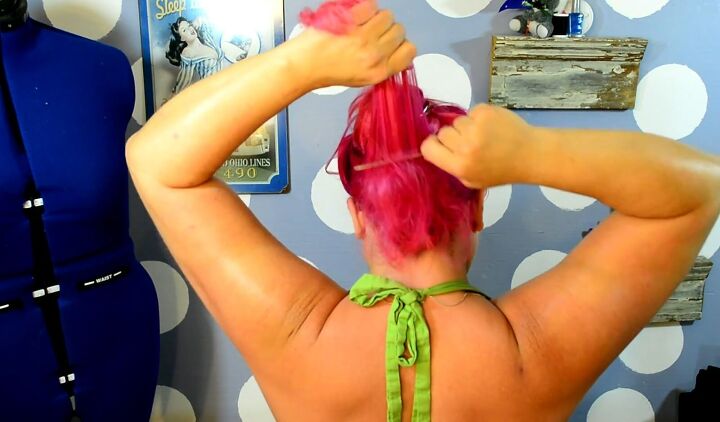
8. Add alligator clips
To enforce the wave in the hair, take a couple of alligator clips and pin them halfway through the wave.
Leave the clips in for as long as possible for maximum effect.
9. Pin hair on the side
Brush the hair on the smaller side of your parting, take some pomade, and run it through the hair.
Gather the hair and push it towards where you have pinned the top of your head.
Also, give it a twist so that the bottom, curly part of your hair reaches the front. Pin the hair in place.
10. Pin hair on the other side
Brush the outside of the last section of hair and use some pomade to smooth it out.
Then, repeat as you did on the other side. Grab onto the hair, pinch it together, and then push it out until you’ve matched the volume that you have on the top part.
Proceed to pin it in place.
11. Comb hair
To cover up the split between the top and side sections, spray your hair and then comb it while the spray is still wet.
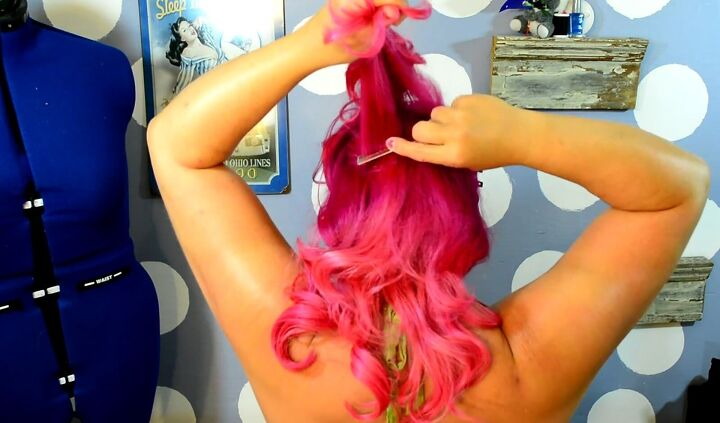
12. Create curls
Now grab the tail bit of hair that came from putting the hair up at the side, and we’re going to use it to add a little bit of pizzazz to the hair.
Separate that section of hair in two and take one section. Let the curl do what it wants to do and curl.
Then place it into the front section, take a bobby pin that matches your hair color, and pin it right at the base of the curl.
Then take the other small section of hair and do the same thing.
13. Backcomb hair
Nobody wants a limp snood, so before applying the snood, we're going to create some volume in our hair.
Section off the hair at the back, clip up the upper section, and backcomb the lower section.
You want to make your hair really big and poofy. Basically, we're making our hair fill out of hair that is still on our head.
Bunch it right up at the bottom and then pin it up on each side to keep it in place.
Put the rest of your hair down, and take a small section of hair at the top and backcomb at the base.
14. Clip snood in place
Take the snood, and wrap it around all of your hair at the back.
You want it to sit behind the hair you’ve styled at the front. Pin it right up at the top on each side and also behind the ears for added security.
Here is the finished look! The curls at the front of my head are well-defined and sit nicely in place.
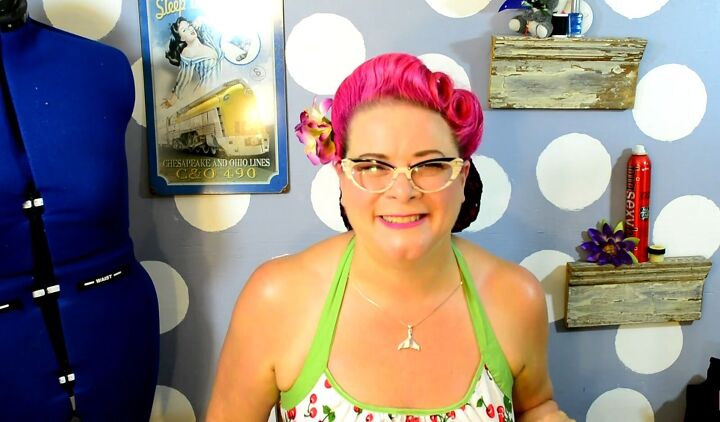
My hair also has really great volume at the top. I hope you found this tutorial helpful and you’ll give it a try!
For more vintage hair ideas, check out my Easy Rolled Vintage Updo Tutorial.
The author may collect a small share of sales from the links on this page.


Comments
Join the conversation