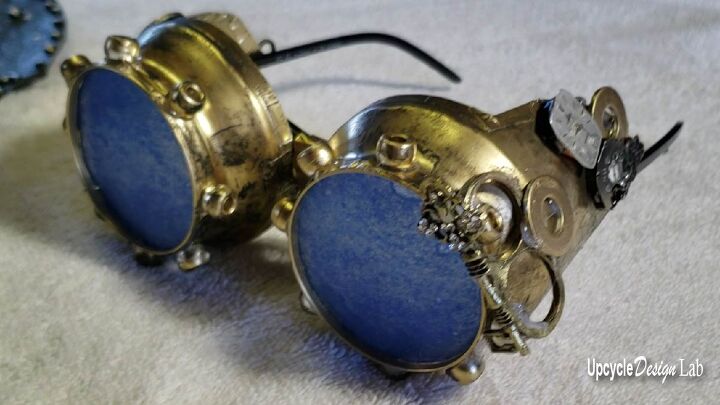
DIY Costume Steampunk Goggles - Upcycled Aluminum Cans
According to a recent poll conducted on my youtube channel that was neither scientific nor extensive, it has come to my attention that I am way too old or simply out of the mainstream as it pertains to dressing up for Halloween. That is due to my plan to wear a costume this year.
My statistics indicate that a mere 9% of the subjects polled will be dawning Halloween garb this year. This should not surprise me as most of my viewers are, shall we say, as seasoned as I am. And to be accurate, it has been several years since my last Halloween costume.
But now and again, I am prompted to join the silliness and frivolity of the season. And when I had this idea to make part of my costume from Aluminum cans, I can only describe my mood as tickled pink; nobody says that anymore do they?
Anyhow, if you want to know how to make some silly steampunk goggles, read on.
Step 1 – Collect Cans
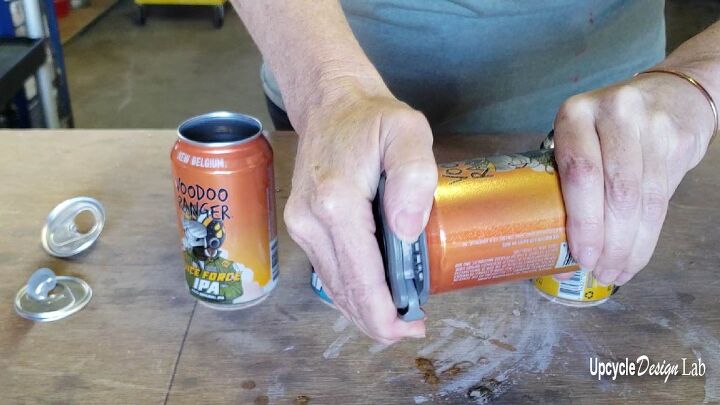
You will need four cleaned aluminum cans with the tops removed. I use a Draft Top tool to remove the lids from my cans. There are other methods to remove the tops, but this is the easiest way.
Step 2 – Cutting Cans
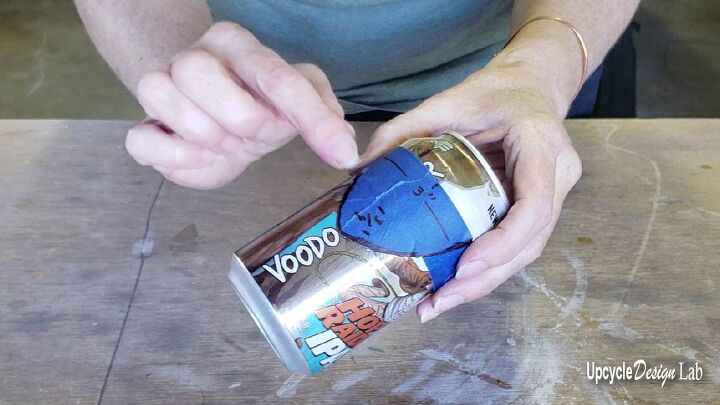
Two cans will make up the goggle shape, and the other will make the lenses.
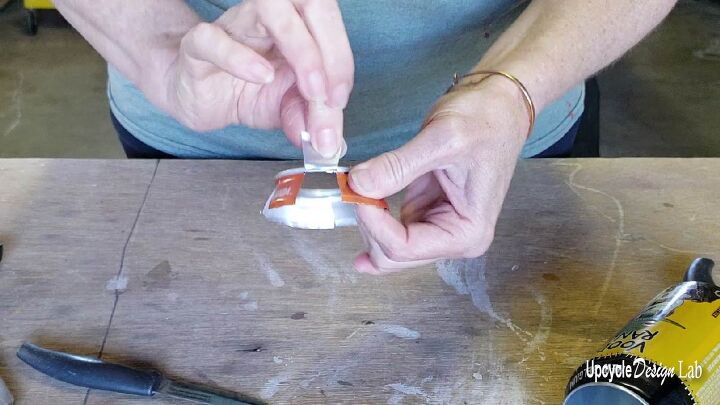
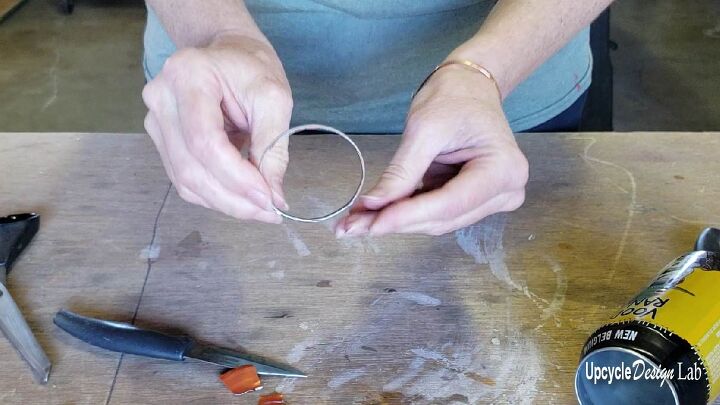
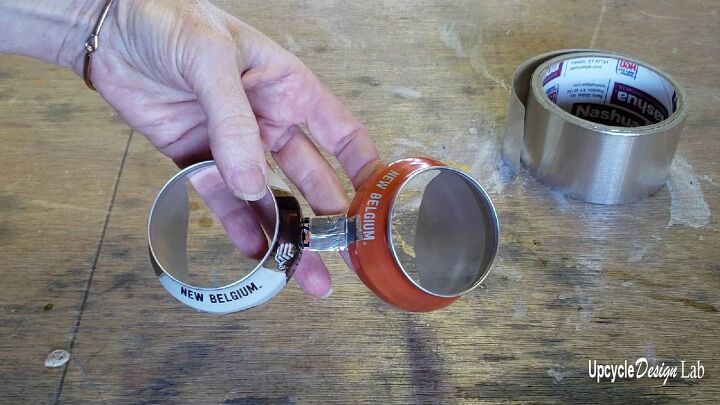
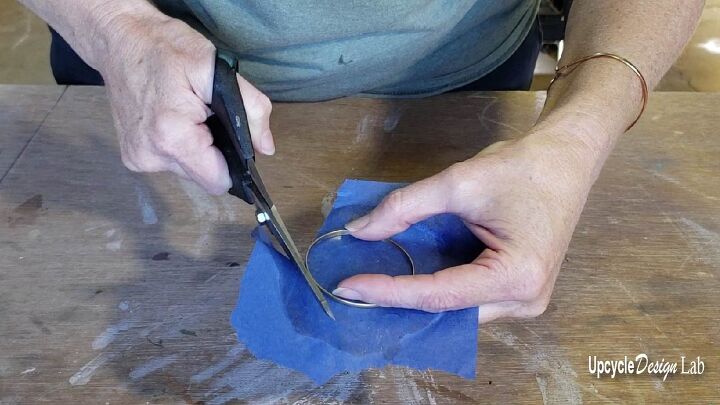
For the goggle lenses, I removed the top portion of two cans. Then I cut slits around the top ring a half inch apart. I folded the pieces back and forth to remove the excess metal from the ring to remove the excess aluminum.
I used painter’s tape to make a template and cut out the cans to make the goggle shape. You can design your own or find more information on my template dimensions in the video tutorial.
Step 3 – Assembly
To assemble the goggles I folded the small tab to 90 degrees and used metal tape to hook the two cans together. Then I applied additional tape to cover all the edges.
Step 4 – Painting
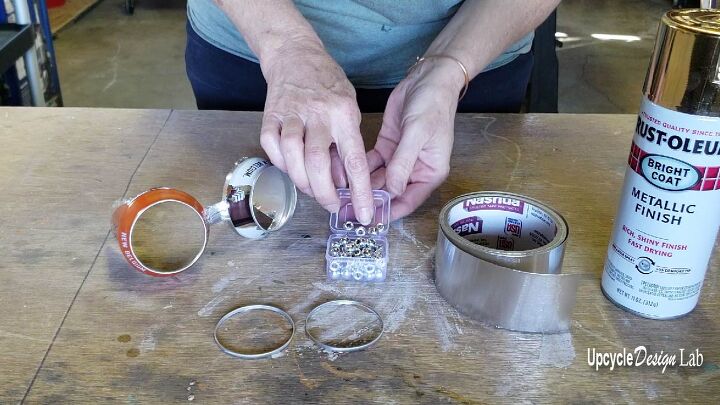
I added gold spray paint to my pieces. You will want to paint the goggle piece, the rings, a bit of metal tape about 6 inches long, and any other decorative elements you plan to use.
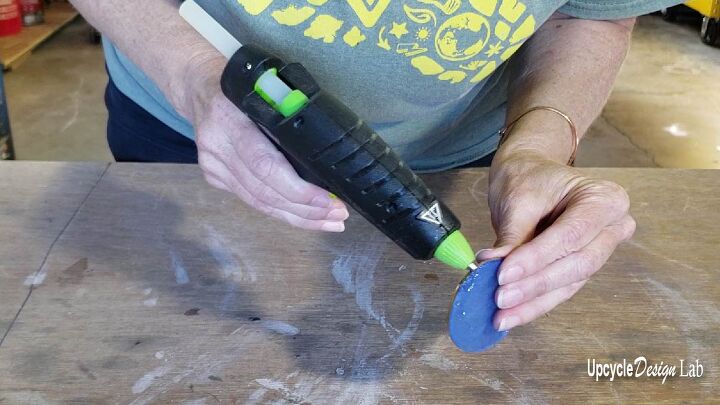
Step 5 – Making the Lenses
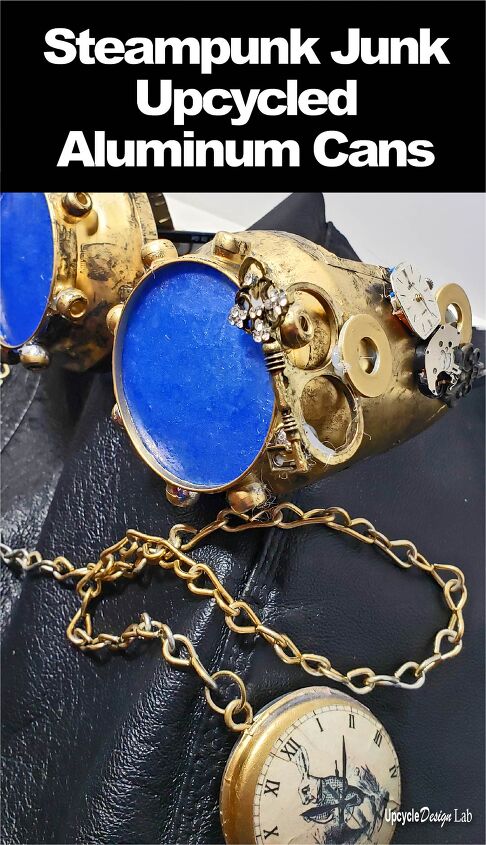
To make the lenses, I melted some hot glue with my iron and then added some tissue paper for color. Then I used the metal ring to cut out the lens slightly larger than the ring.
Next, I used the tip of my glue gun to reheat the glue and melt it into the ring.
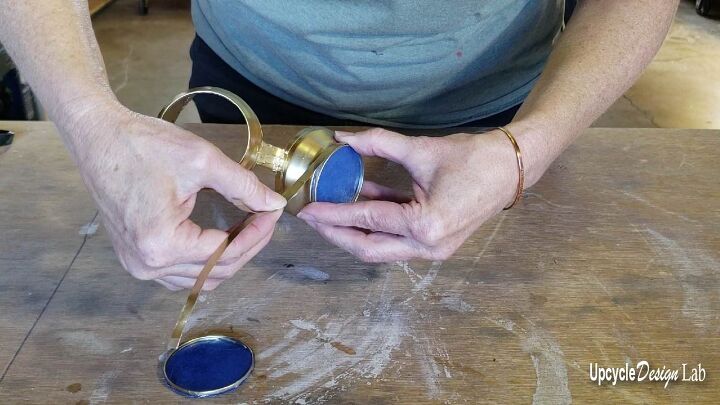
To attach the lenses to the goggles, I placed the rings on top of the goggles with the lens sandwiched between the pieces.
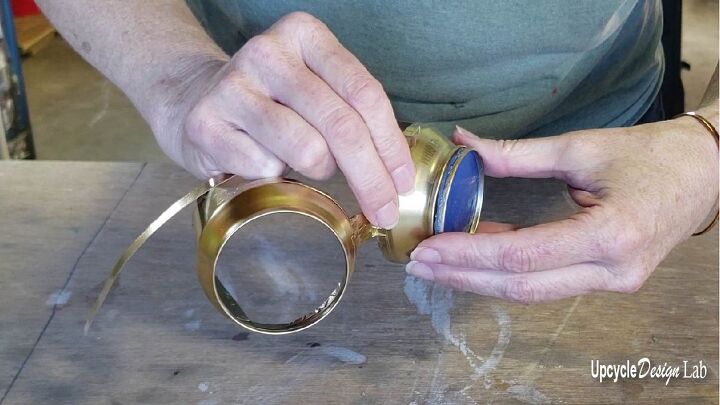
Then I attached the pieces with a thin strip of painted metal tape.
Step 6 – Embellishing
Finally, I gathered all my metal kabbobles and selected a few to glue to the goggles.
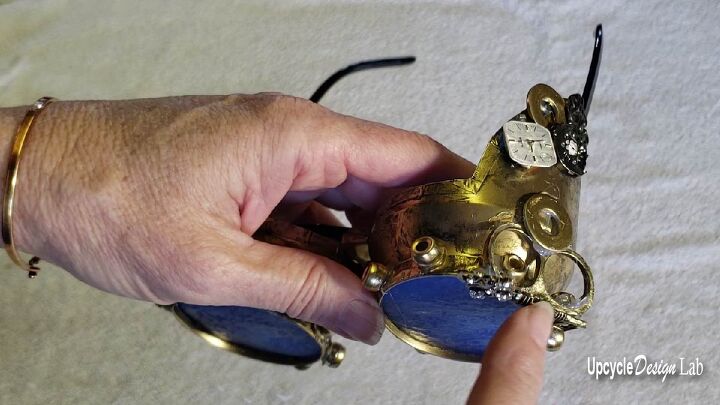
Step 7 – Finishing
To make the finish look more antique, I added some black acrylic paint and then blotted most of the color off with a paper towel.

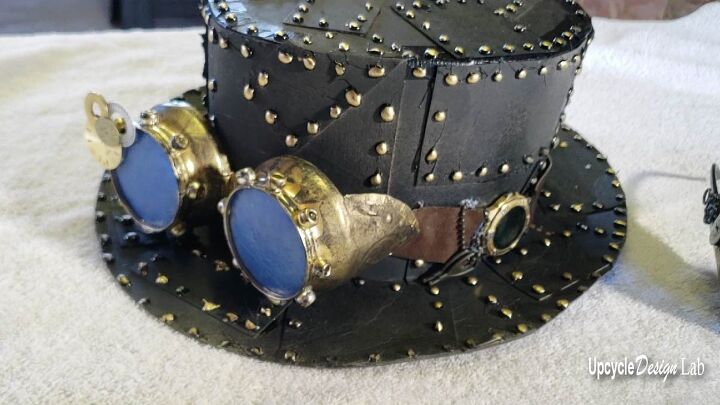
I made two pairs of goggles. The first pair I attached to some Dollar Tree glasses, and the second pair I attached to this cardboard hat.
Happy Upcycling,
Cindy
The author may collect a small share of sales from the links on this page.


Comments
Join the conversation
See? It's proof that we're not getting older....we're getting CRAFTIER!!
Well done, sweetie! Have a lovely Samhain!
Nevada