How to Use a DIY Eyebrow Lamination Kit - Easy Step-by-Step Tutorial

Want your eyebrows to look fleek and chic? Unless you are born with naturally thick eyebrows, you’ll know the struggle of making your eyebrows look tamer and more uniform. Instead of going the expensive route, you can use a DIY eyebrow lamination kit at home!
You’ll see the amazing before and after eyebrow lamination results, and let me tell you, they are great. Page down to see exactly what eyebrow lamination is and how to laminate eyebrows.
Tools and materials:
- DIY eyebrow lamination kit (I used the Elevate the Beauty Eyebrow And Lash Lamination Kit)
- Pads or washcloth
- Cling wrap (Saran wrap)
What is eyebrow lamination?
Also known as an "eyebrow perm", eyebrow lamination creates shiny, smooth brows that are set in shape for an extended period of time.
How long does eyebrow lamination last?
The DIY eyebrow lamination kit I bought says it lasts for up to six weeks, which is fantastic!
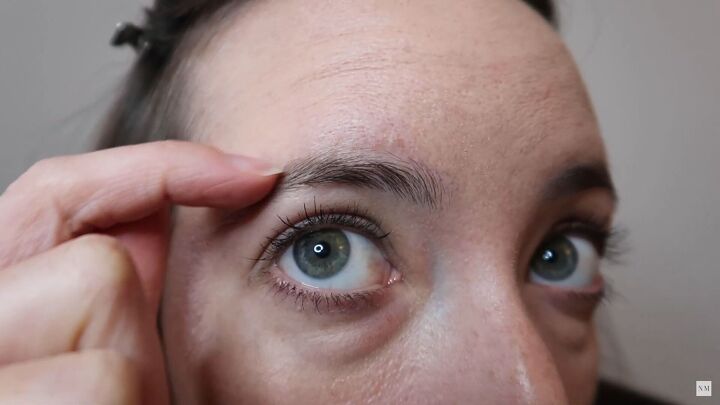
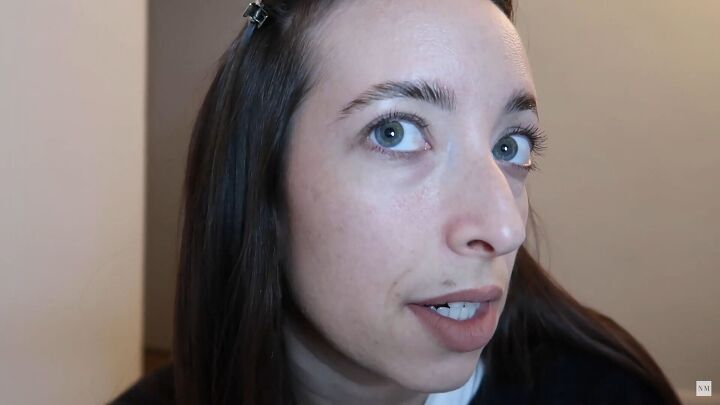
1. Check your eyebrows
So, as you can see, these are my natural eyebrows. They are a little all over the place and need to be filled in on top.

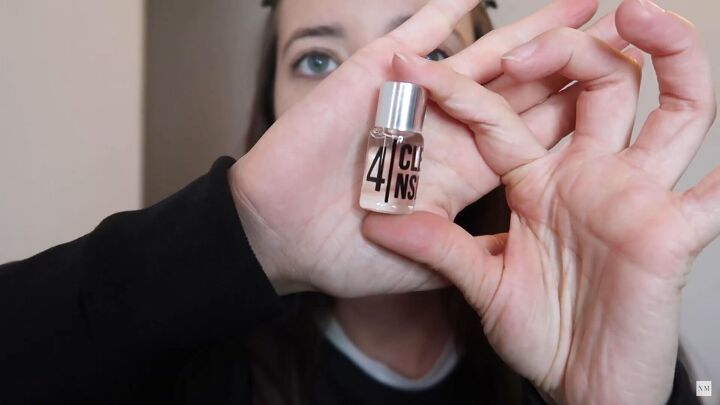
2. Prep time!
Here’s the DIY eyebrow lamination kit I am using for this tutorial. Be sure to read the instructions before use as other versions or brands may be different.
3. Use the cleanser
Before anything, it’s good practice to clean and wash your eyebrows. Here, I’m using the cleanser from this DIY eyebrow lamination kit.
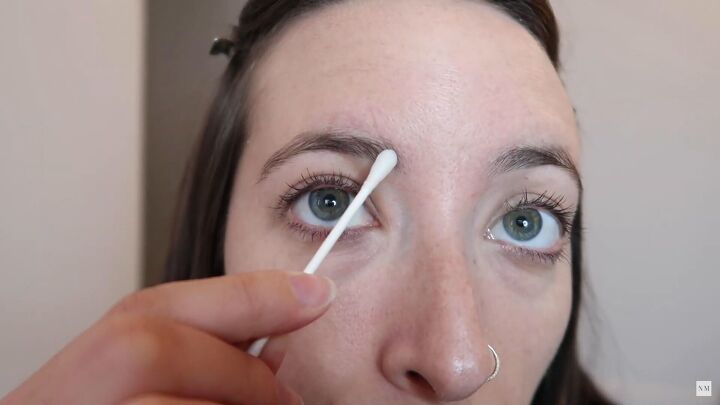
Pull your hair back, and using a Q-tip, dip the end in the bottle, and apply it to your brows.
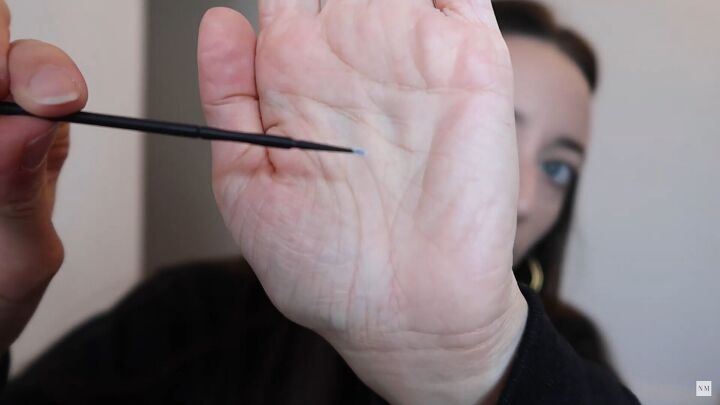
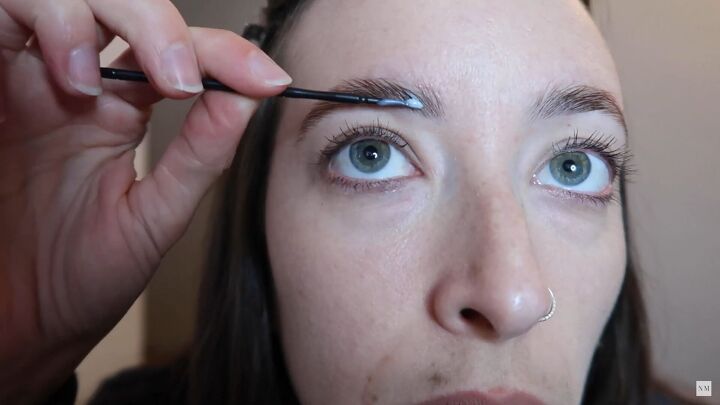
4. Use the lift solution
Dip a clean micro brush into the lift solution bottle.
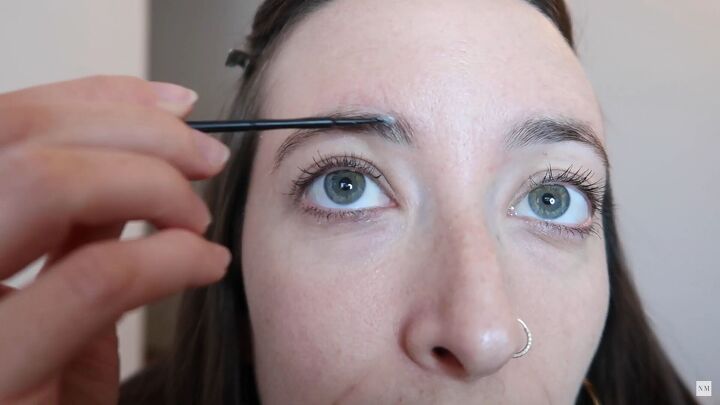
Now, cover the brow with this solution. Make sure your whole eyebrow is covered.
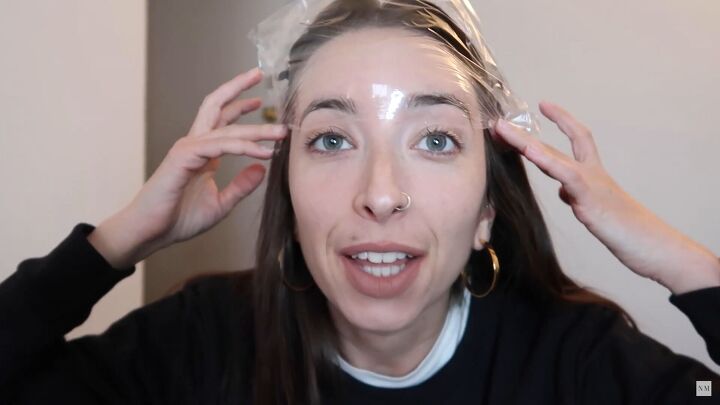
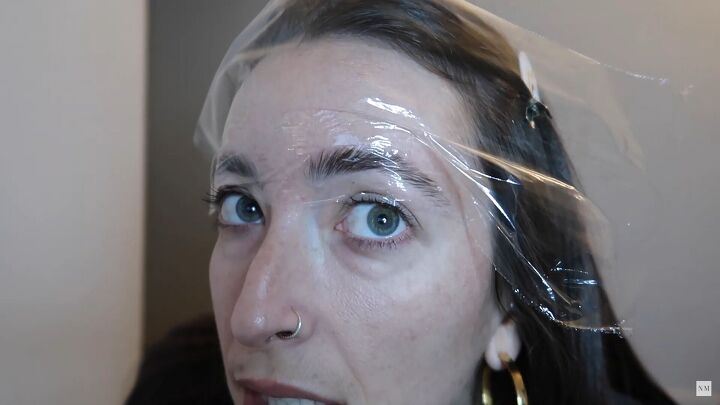
Cover your eyebrows with a piece of cling wrap (Saran wrap), and wait 8 minutes before removing the cling wrap.
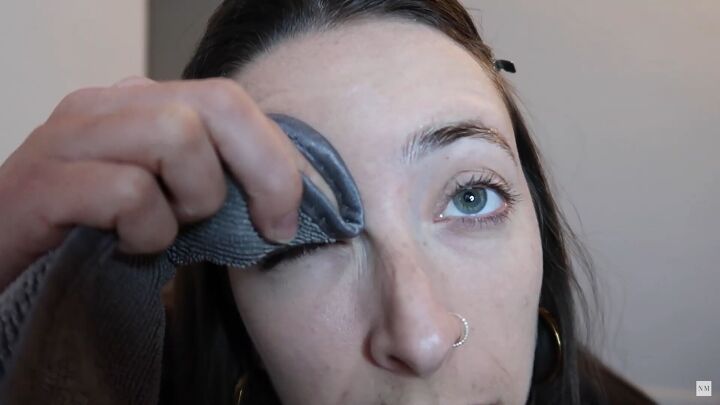
Wipe off the solution by either using a makeup remover pad or a cloth.

5. Use the fixation solution
Now, it’s time to use the fixation solution.
Brush your eyebrows with your desired direction.

I brushed my eyebrows a little up, so they look a little weird, but that’s the look I want.
Now, apply the fixation solution all over the brow using a clean micro brush.
Grab some clean cling wrap (Saran wrap), and again, put it over the brows. Wait 8 minutes before removing. I have to say, by this stage, I’m already impressed!

This is how it should look. Now, take off the solution using a cotton pad or cloth. When wiping, go the same direction as you want your eyebrows to be.
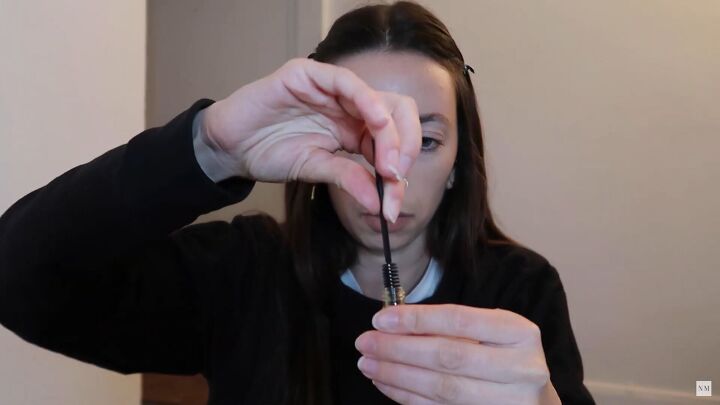
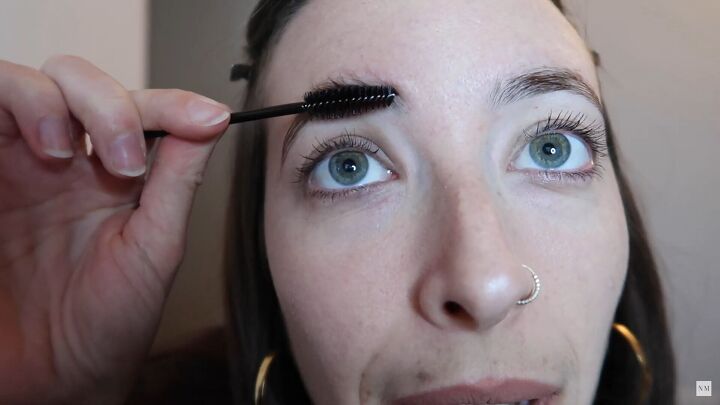
6. Use the nutrition bottle
Dip a clean mascara brush into the nutrition bottle.
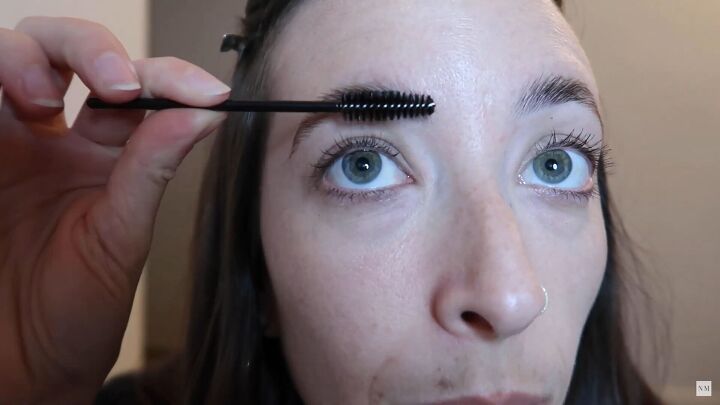
Then, lightly brush your eyebrows with the dipped mascara brush. Once done, keep your eyebrows dry for 24 hours. Try not to wet your face while showering.

Before and after eyebrow lamination
Are you ready for the before and after eyebrow lamination results? So, this is what my eyebrows looked like before. As you can see, they were dull, wild, and out of shape.
This is the result! It makes such a difference; it looks great! It actually lifts my eyes and gives me a fresher, cleaner look. I genuinely recommend considering eyebrow lamination; it’s inexpensive and looks great. Now that you know how to laminate eyebrows at home, there are no excuses. Enjoy!
The author may collect a small share of sales from the links on this page.


Comments
Join the conversation