Transport Yourself to Morocco With This Super-Indulgent DIY Hammam

I always try to pamper myself every weekend, and I feel it’s so refreshing and essential to do one thing special and relaxing for yourself, especially after a long, hectic week. This time, I decided to do a DIY hammam at home.
This DIY Moroccan hammam is the ultimate body exfoliation and spa experience. I’m going to show you how you can do your own with my hammam home spa tutorial. The pampering starts now!
Tools and materials:
- Towel
- Black Moroccan soap
- Argan oil
- Kessa glove
- Rhassoul clay
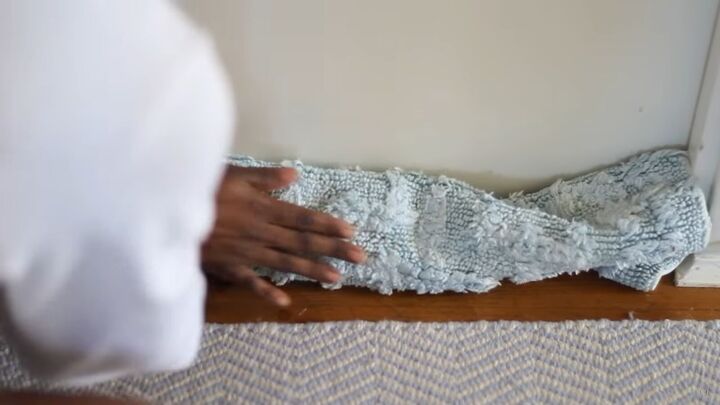
1. Block the openings
The key to having the perfect DIY hammam treatment is to ensure no cool air enters your bathroom. So, go ahead and block every opening, such as underneath the door and open windows. The aim is to create a sauna-like vibe!
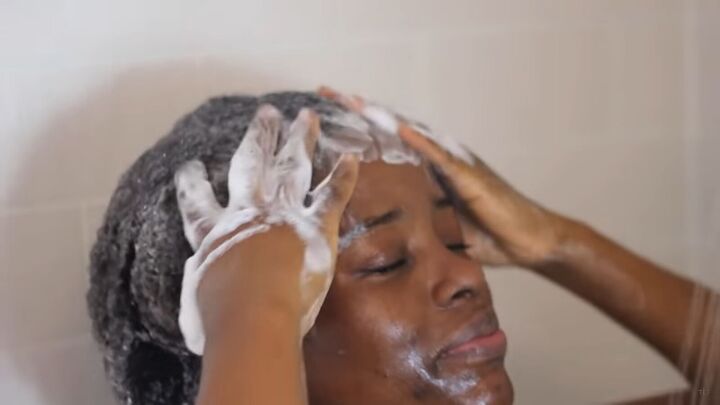
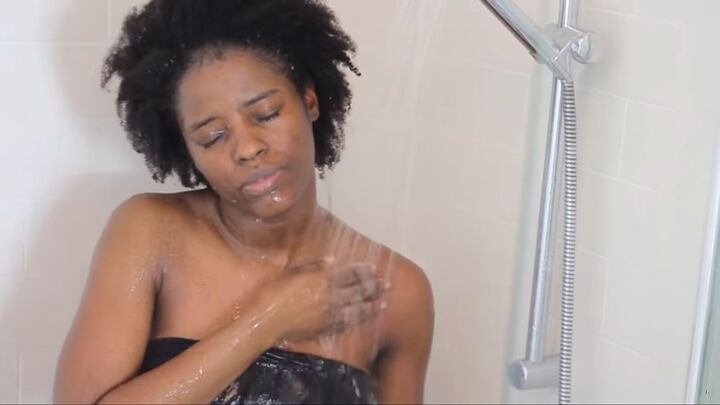
2. Wash yourself
Now, go ahead and wash your body and hair. You want to create the perfect setting for this amazing experience, and being clean is the best way! Take your time - don’t rush through this step.
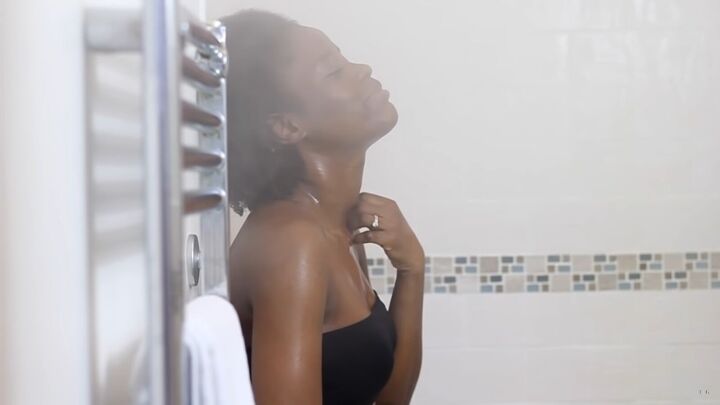
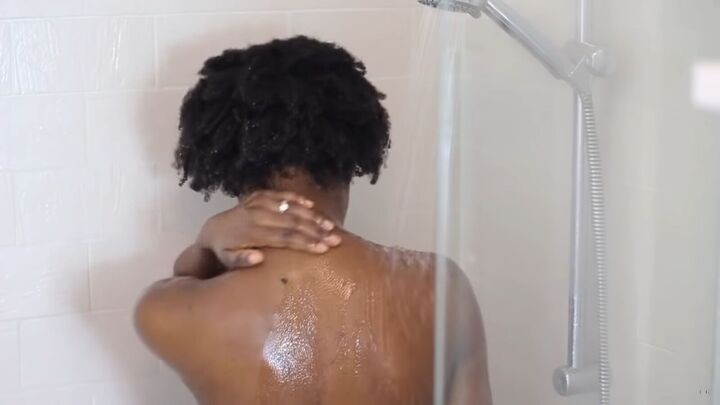
3. Let the hot water run
Let the shower or bath tap run at its hottest setting. It’ll relax you and the steam will leave your skin feeling ultra-soft and smooth.

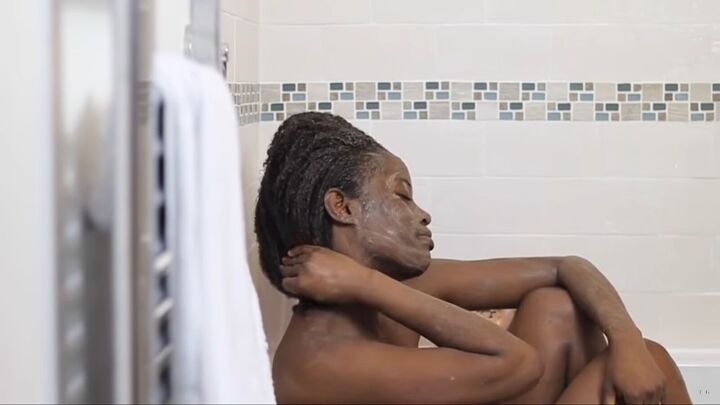
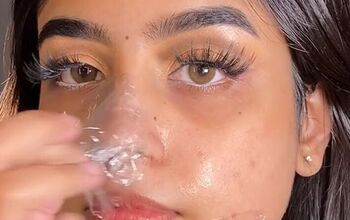
4. Apply the Moroccan black soap
This is the famous black soap that is used during a DIY hammam bath. Apply a layer over your entire body and leave it on for 10 minutes. Make sure you stay put in the bathroom so that the steam works wonders!
Once your skin is soft, you can go ahead and rinse your body.
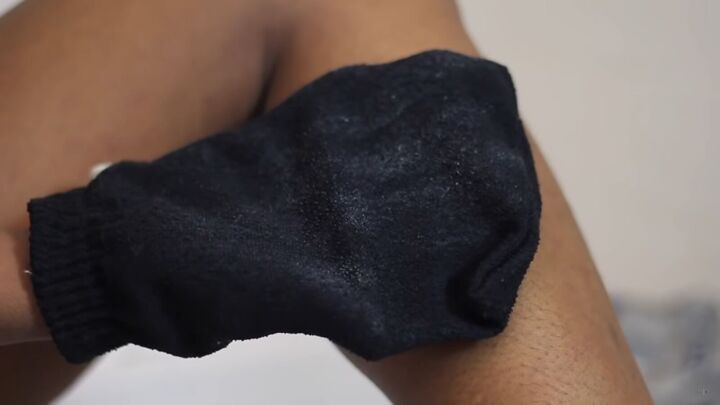
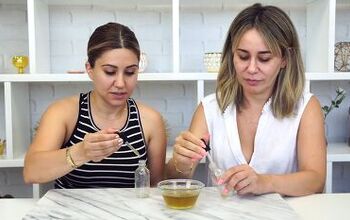
5. Start exfoliating
Now, take your kessa glove, wet it, and start rubbing it on your skin in circular motions. Can you see how much dead skin comes off? Eek! Be sure to scrub away at every part of your body, especially the areas that are prone to more dry/dead skin, such as your heels.
Tip: The kessa glove is really abrasive, so you have to be careful not to over-exfoliate your skin.
Once this step is complete, go ahead and rinse yourself and make sure to wash away all those dead skin cells!
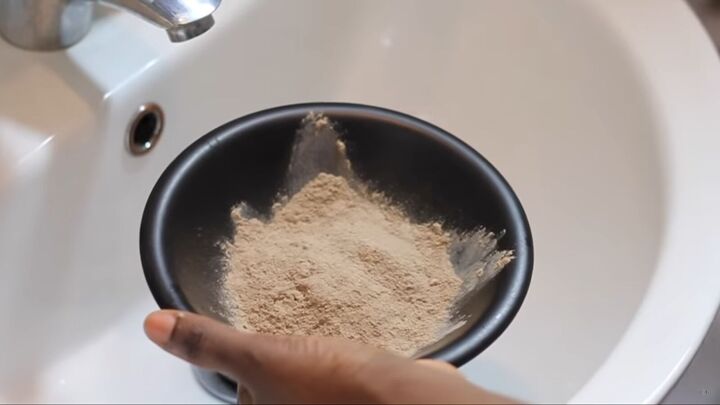
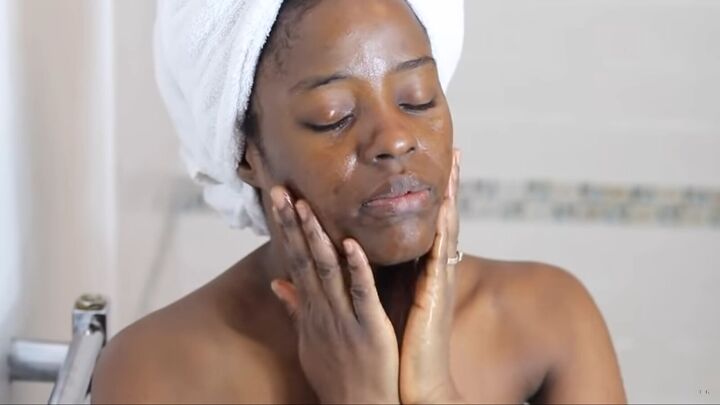
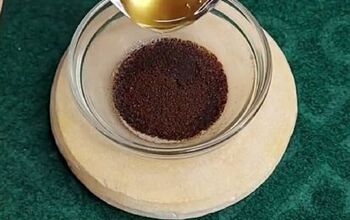
6. Add clay
In a traditional hammam, clay is also used, and in this instance, I’m using Rhassoul Clay from Nuts Organic, which also has rose petals. Mix the clay with a little bit of water to create a paste. The thickness of it is up to you - I like mine to be a little on the thick side.
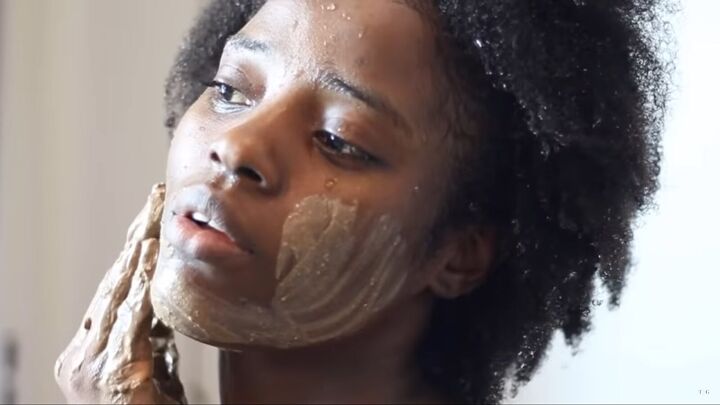
Now, rub the clay all over your body, including your face. I also ran it through my hair. It works as a great shampoo, by the way!
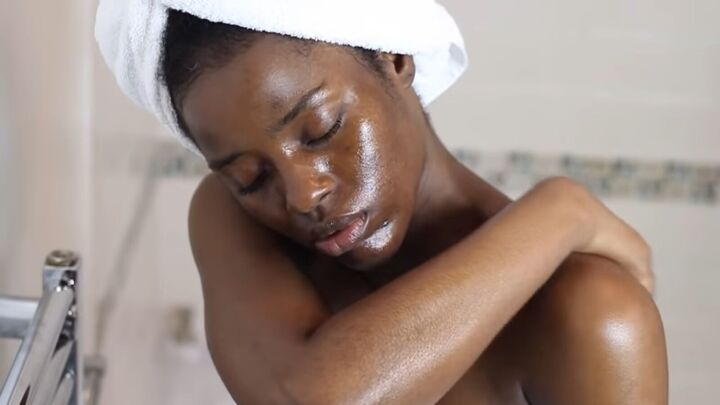
Now, sit in the bath with the clay on your body and soak in every invigorating moment! This is a good time to meditate, unwind, and clear your thoughts!

When you are ready, go ahead and rinse the clay off your body. I have to say, I felt super clean; in fact, I’ve never felt this clean in a really long time!
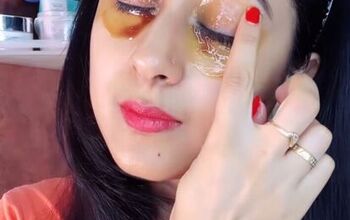
7. Apply argan oil
Now, top off your DIY hammam treatment by applying argan oil to your body. Wow - that’s all I can say! I felt purified, clean, fresh, and so relaxed after this.
Go ahead and pamper yourself by rubbing the oil and massaging your skin as you go along. It feels so good - you’ll thank me later!
DIY hammam tutorial
That completes the DIY hammam experience! I loved every second of this treatment. It was so indulgent and invigorating! Now that you know how to make a hammam at home, I suggest you treat yourself to some much-needed TLC and give this a go! Enjoy.
The author may collect a small share of sales from the links on this page.


Comments
Join the conversation
You are beautiful Torera, Thank you for sharing your tutorial. That last picture you should blow up and frame. By the way we both have the same last name. When my grandparents on my Fathers side came to the US many had to anglicize the last names because some ethnic names were too difficult to spell and pronounce. LOL a few years ago I went with a friend to a presentation about those that came before us and the gentleman said that the rumor of last names being changed was a myth. I raised my hand and said I am sorry but that is not true. Both my Grandparents on both sides names were changed because the pronunciation and spelling were supposedly too difficult. He got a bit flustered and said they probably asked to do that and I said no they didn't. They were told it would be easier for them to acclimate into the American way of life. Funny how people want to wash history and the things that went on in our past away. It is our history and we should acknowledge it.