How to Make a DIY Hard Headband With an Adorable Embroidered Design

Headbands are great, but most times, they come out a little on the flimsy side. So, I decided to make a DIY hard headband tutorial to show you how to sew a headband that stays in place.
So, if you want to get the exact measurements and the free headband sewing pattern to make one yourself, page down to see how it’s done!
Tools and materials:
- Linen
- Embroidery threads
- Interfacing fabric
- Scissors
- Measuring tape/ruler
- Free hard headband pattern
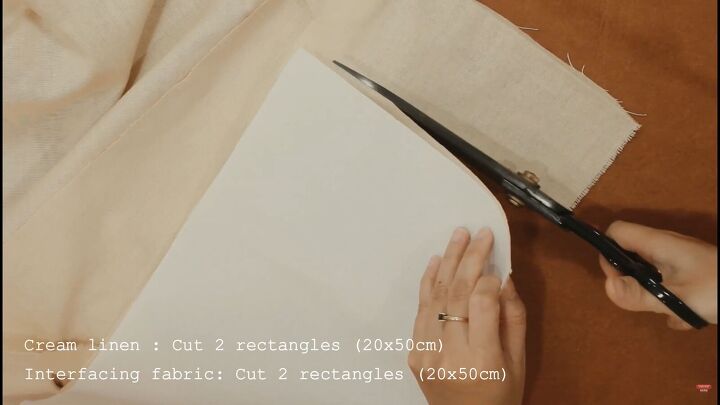
1. Measure and cut the fabric
Cut two rectangles of linen and interfacing fabric measuring 20 x 50cm (7.87 x 19.68 inches) each.
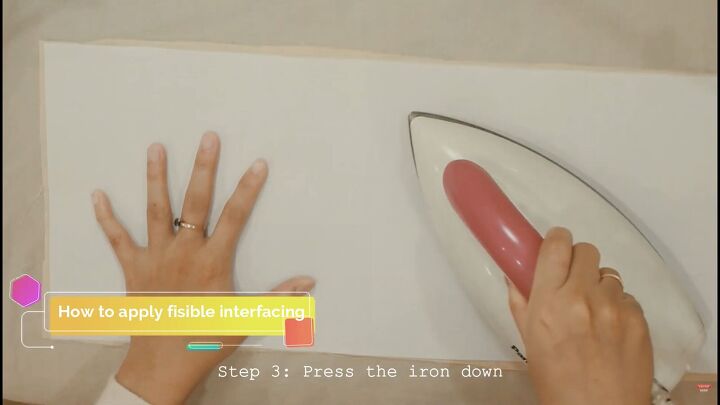
2. Iron the interfacing
Now, lay your linen fabric down and place the fusible side of the interfacing fabric down on the linen. Then, iron the layers, so the interfacing sticks in place. Make two pieces like this.
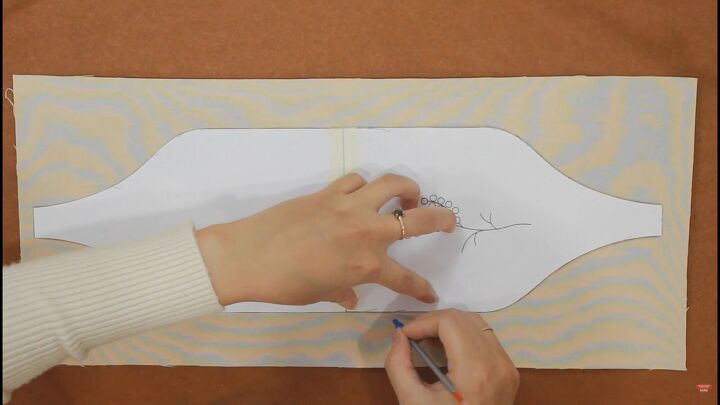
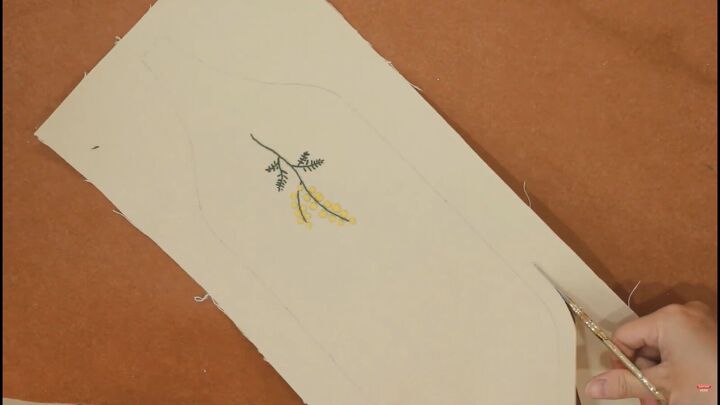
3. Trace the fabric
Print and cut the DIY hard headband pattern. Now, tape the pattern in the middle and lay it on the center of your hard fabric piece. Trace the pattern with a pen.
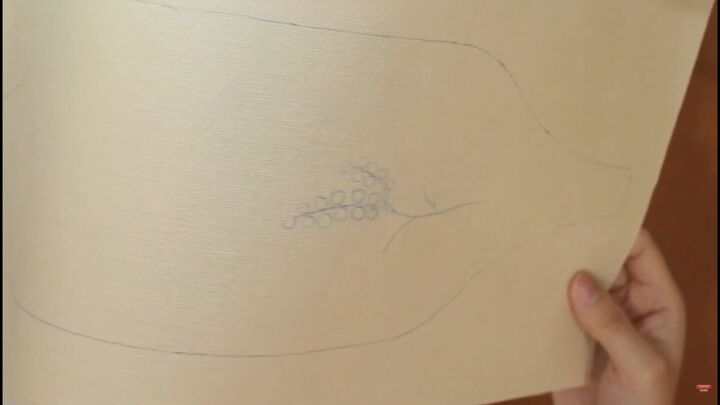
Also, trace or draw the embroidery design you wish to include.
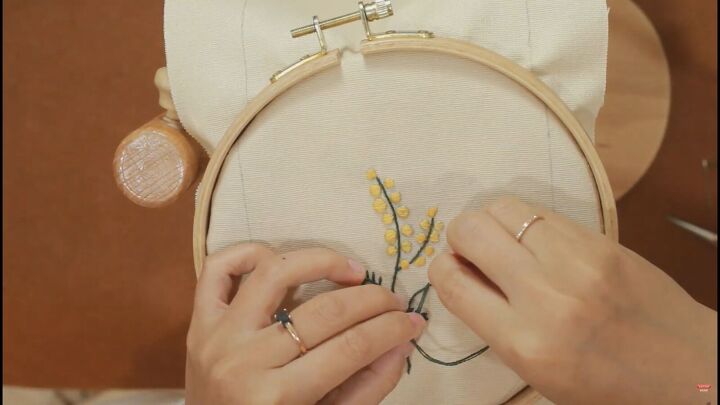
4. Embroider the design
Place an embroidery hoop around the floral design and start embroidering the pattern using colors of your choice.
5. Assemble the DIY headband
Cut around the pattern, using a little seam allowance, as shown.
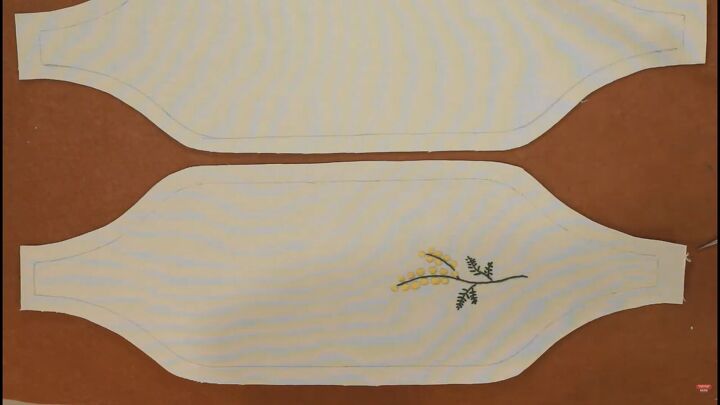
This is what you should have.
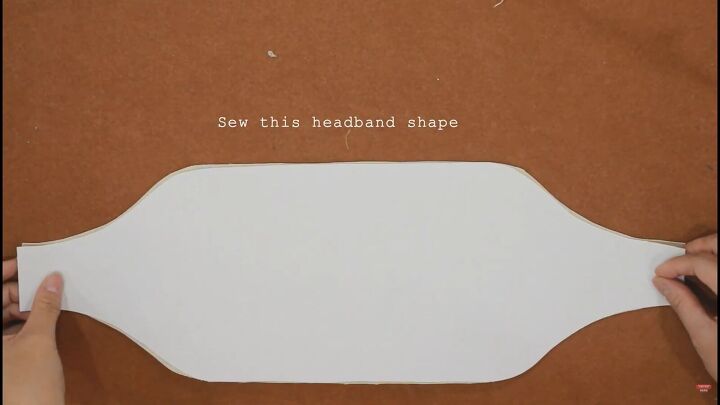
Place the fabric piece without the floral design onto the other piece, right sides facing.
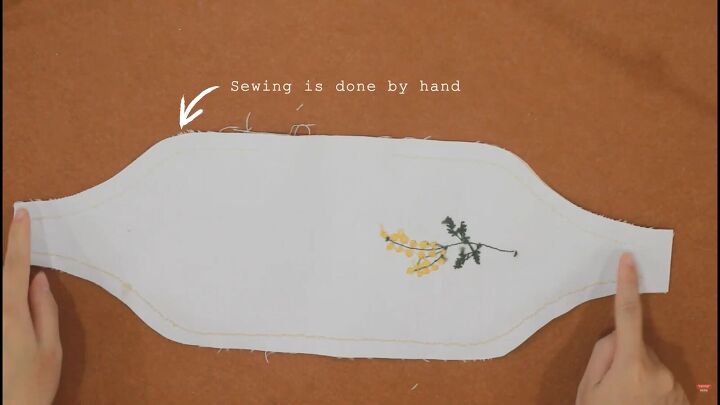
Sew around the pattern by hand. You could opt for a sewing machine if it makes it easier for you.
Also, leave a small gap open on top so you can turn it right sides out afterward. Do not stitch the short ends, either.
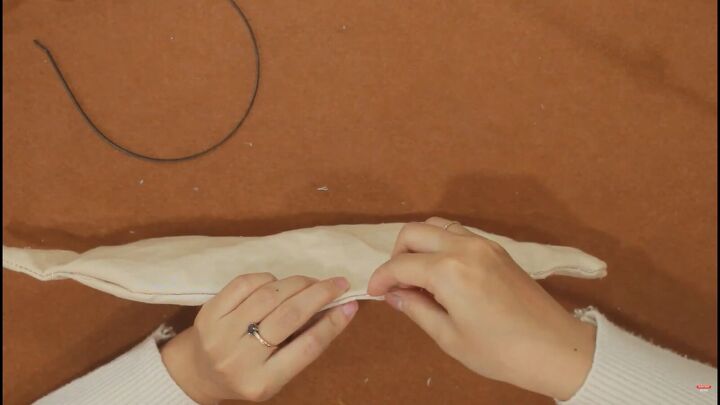
Turn the headband inside out and stitch the gap closed.
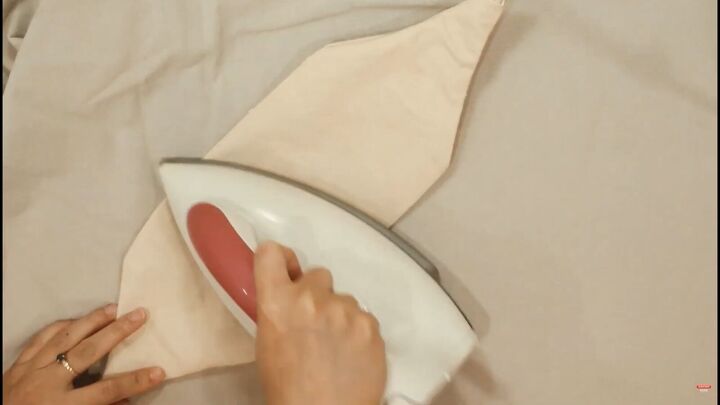
Then, press the headband.
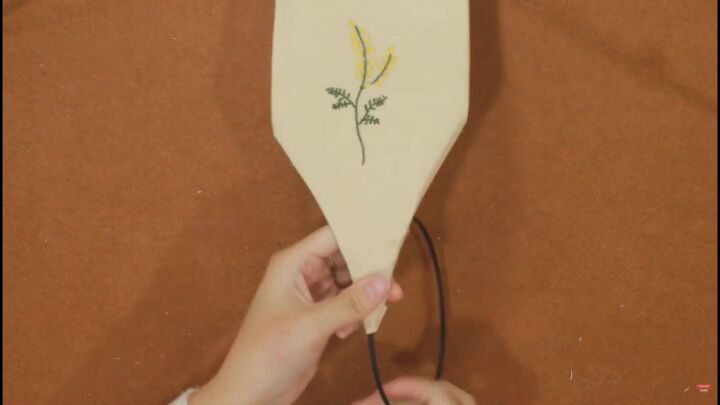
Insert a plastic Alice band through the sides of the fabric, as shown.
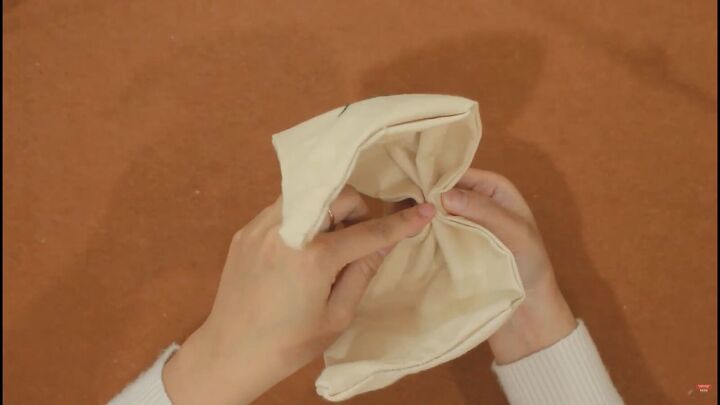
Fold the top fabric inwards, on both sides. This will create a cute bow-like structure.
Stitch the folds to secure them in place. Make sure only to stitch them around the bottom side so no threads are visible on the top.
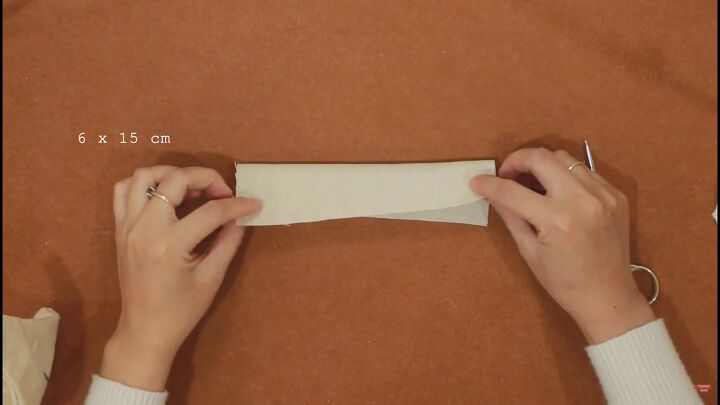
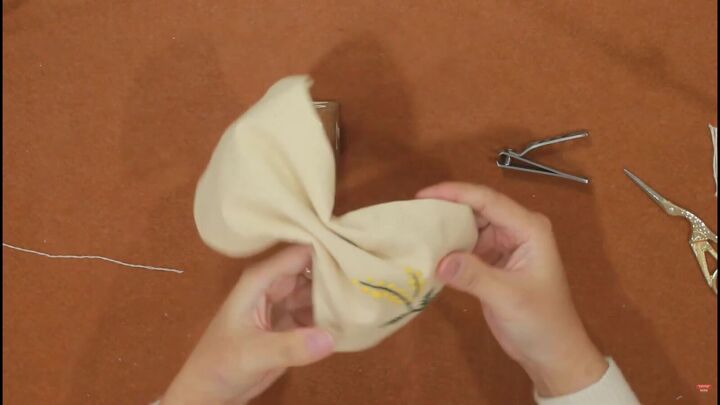
6. Add the finishing touches
Now, take a piece of linen fabric measuring 6 x 15cm (2.36 x5.90 inches). Fold in half lengthwise, and stitch along the raw edges.
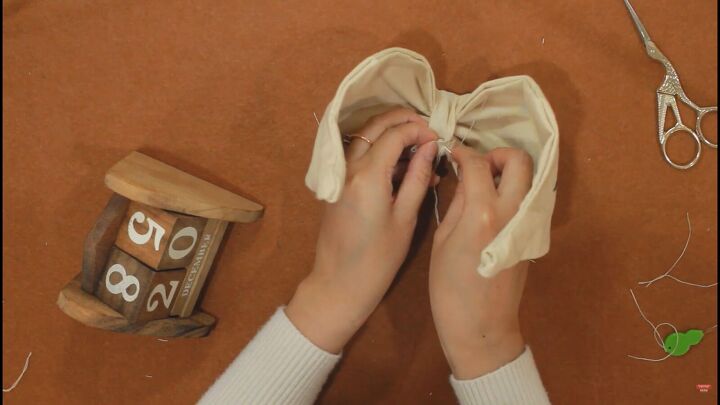
Place it over the folded part of the bow and sew the ends to secure it in place.
DIY hard headband tutorial
Your beautiful DIY hard headband is complete! I hope you enjoyed this great tutorial on how to make a hard headband from scratch. What color fabric will you be choosing?
Let me know in the comments below. See you next time for another awesome DIY.
The author may collect a small share of sales from the links on this page.


Comments
Join the conversation
You should add PLASTIC HEADBAND to the list of supplies! ; )