DIY Heart Stud Earrings

With Valentine’s Day coming up I thought I’d share how to make these cute heart stud earrings. They are super simple and you will only need three materials.
Materials
Here’s the materials you need to make these earrings:
- 22 Gauge Silver German Style Wire x 14cm
- Earring Butterfly Backs x 1 pair
- 11/0 Ruby Red Silver Lined Seed Beads x 16
Tools
- Round Nose Pliers
- Chain Nose Pliers
- Flush Cutters
- Nylon Jawed Pliers
- Bail Making Pliers
- Nail file or file
The tool set I’m using in the video is the 6 Piece Chroma Plier Set. It’s so very cool. If you would like to know more, you can see it here.
Instructions
Watch the video or read the instructions below.
Cut the Wire
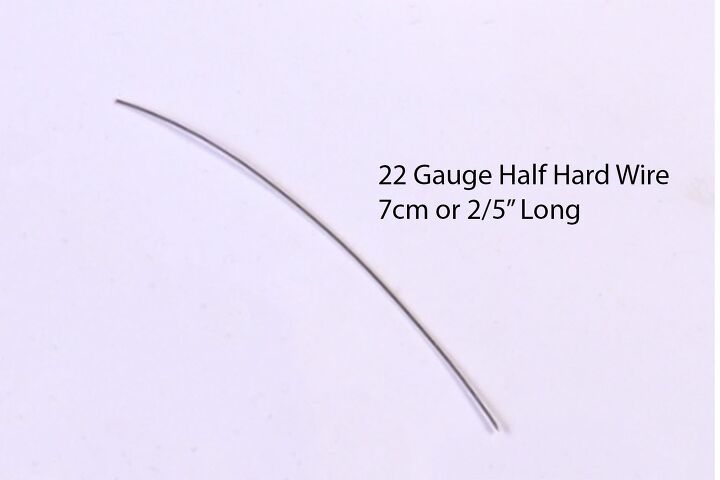
Cut a piece of wire about 7cm (2/5”) long. Use the nylon jawed pliers to straighten it if necessary.
Make a Loop
Make sure you have a flush cut, then make a small loop in the end of the wire. If you haven’t made loops before, please watch this video for extra tips.
Shape First Side of the Heart
Hold the loop you just made between the jaws of your bail making pliers using the smallest size. Wrap the wire around the plier so that it’s facing down. Pull it slightly over so that it forms the first half of the heart.
Using the flat nosed pliers, twist the loop so that it’s sitting flat with the wire.
Thread on the Beads
Thread on eight of the seed beads.
Shape the Second Side of the Heart
Using your chain nose or flat nose pliers, make a bend right at the bottom of the beads. Manipulate the wire until it looks like the bottom of the heart.
Use the bail making pliers as before to shape the top curve of the heart. Where the wire meets the first loop, make a bend so that end of the wire is pointing away from the loop.
Trim the Wire
Make a right angle bend in the wire where it intersects with the loop.
Cut the wire to approximately 1cm (0.39”). If the loop is sitting in front of the wire end, push it back so that the loop is behind the end. Pull back gently until you can push the end of the wire through the heart.
Manipulate the wire until it looks how you want it to look.
File the End
The last thing you need to do is file the end of the wire so that it doesn’t scratch the inside of your ear.
Then, of course, repeat the entire process to make another earring.
Jewellery I’m Wearing
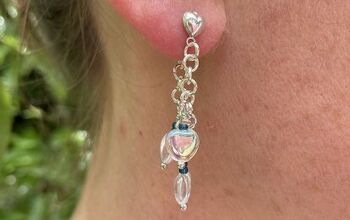
If you watched the video you will see that I was wearing my wire heart chandelier earrings.
The necklace I was wearing is my silver foil necklace.
PIN THIS FOR INSPIRATION AND SHARE WITH YOUR FRIENDS!!
⇓ PIN THIS ⇓
If you like this tutorial and want to see more, make sure to visit my blog. Also, follow me on Facebook HERE, Instagram HERE and Pinterest HERE.
Come by and say Hey!
Enjoyed the project?
The author may collect a small share of sales from the links on this page.








Comments
Join the conversation