3 Unique Ways to Make a DIY Leather Bracelet - Easy Gift Ideas

In this tutorial, I’m going to show you how to make three styles of DIY leather bracelets. I designed these bracelets with men in mind, but really anyone can rock them. They look super professional and when people see the end result they won't believe that they were homemade. Let’s get started!
Tools and materials:
- Stainless steel hook closure
- Nappa cord
- Epoxy glue
- Popsicle stick
- Scissors
- Stainless steel lobster clasp
- Braided nappa cord
- Round leather cord
- Thread
- Binder clip
- Magnetic clasp
- Flat leather cord
- Round leather cord
Hook bracelet
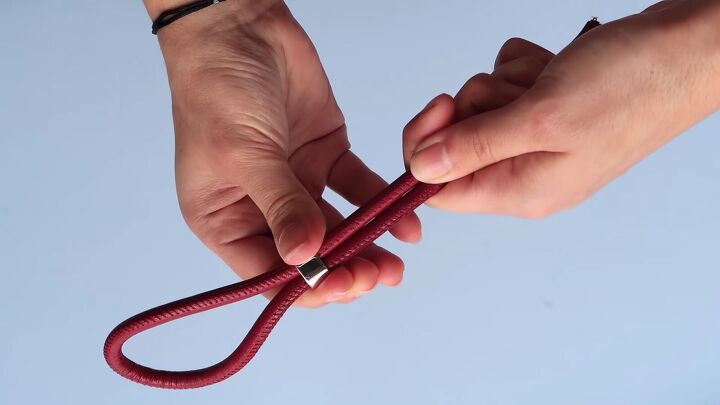
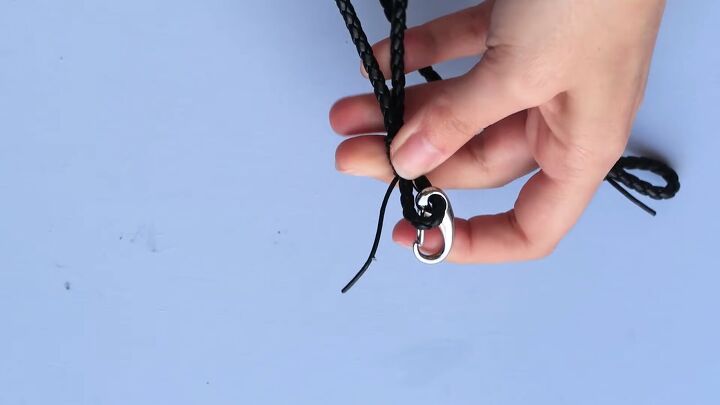
1. Add slider piece to the cords
For this first bracelet, start by folding your cord in half, put both sides through the slider piece and slide it all the way to the other end, creating a small loop.
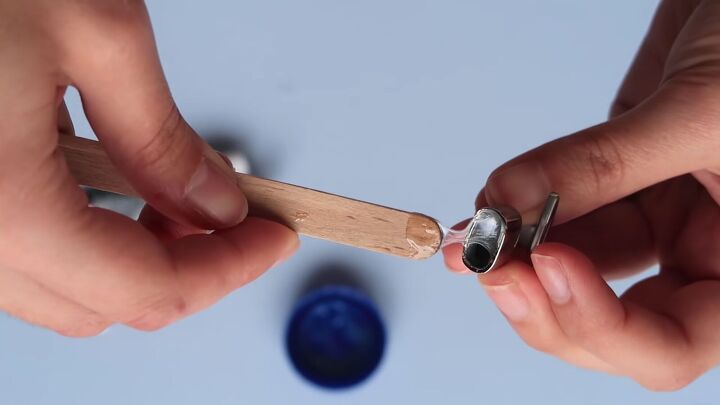
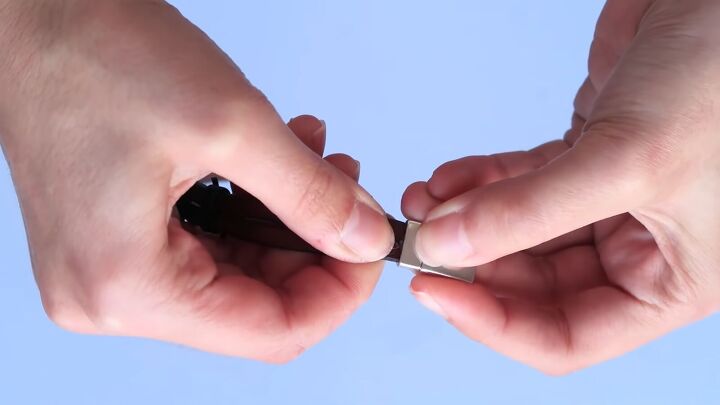
2. Glue on the hook piece
Next, you will need to glue the hook piece to close the bracelet. To do this, my suggestion is to use a popsicle stick.
The epoxy glue comes in two tubes and you need to mix equal parts of both before applying. Once the glue is right, it will likely never come off, it is really really strong.
Apply the mixture to the inside of the hook piece and be careful not to get glue on your hands. Then, place the ends of the cord inside and let it dry overnight.
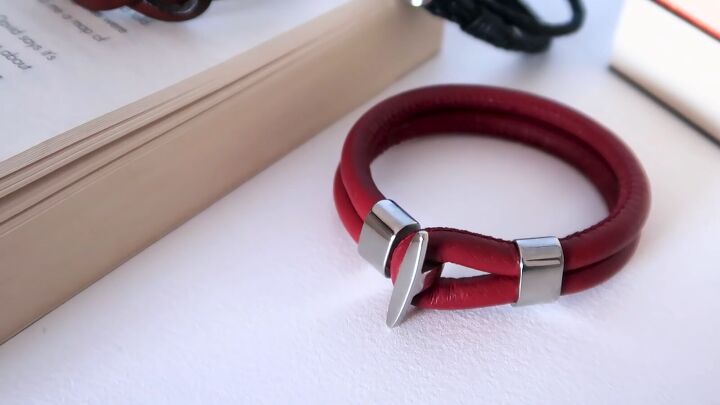
Here we have our hook bracelet. It only required a few simple steps but the high-quality materials used make this a really special piece.
Wrap bracelet
1. Create a loop
For this wrap bracelet, you will need two types of cords: a 4mm braided cord and a 1mm round cord.
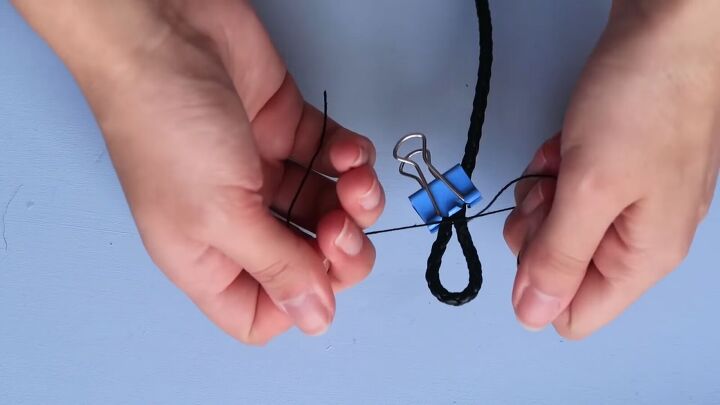
To start, remove the piece of tape holding the ends of the braided cord and fold the end, creating a loop that you can hold together using a clip. Once clipped in place, you can tie a piece of thread to hold it.
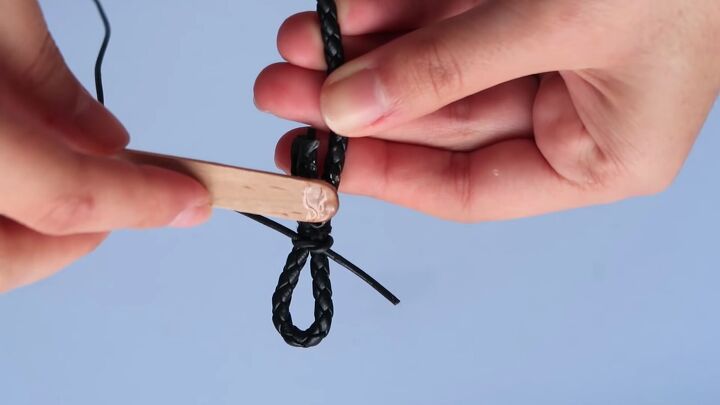
2. Wrap around cord
Tie and wrap a piece of the 1mm leather cord around this folded part. Then glue it in place again by putting glue on a popsicle stick. Attach the clip again and leave it all to dry.
3. Add the closure
Make sure to measure how much cord you will need for the bracelet and do the exact same thing on the other side, but this time also add the closure. Cut the excess cord once it is dry and that is it.
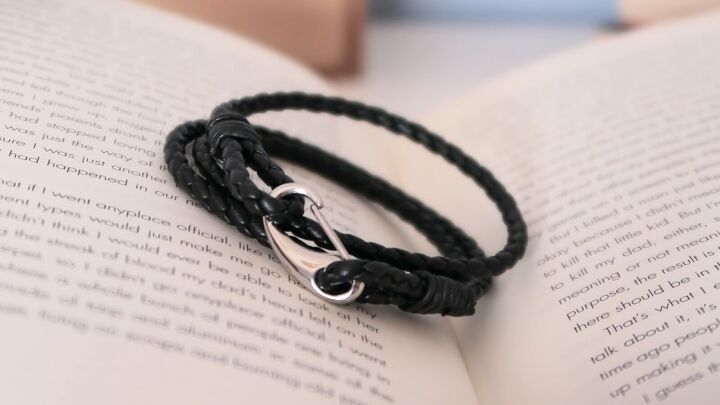
Here is the finished wrap bracelet. As you can see, I made mine long enough so that it will wrap around my wrist three times.
Infinity bracelet

1. Make the loops
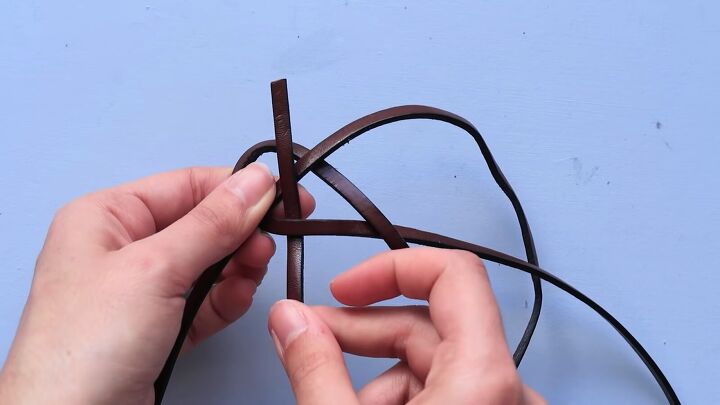
For the infinity knot bracelet, start by cutting a 1-yard flat leather cord in half. Then, create a loop where the top strand of the cord is overlapping the other one.
Now, with the other piece of the cord, place it behind your looped piece, pulling half over the cord facing the bottom, as shown above.
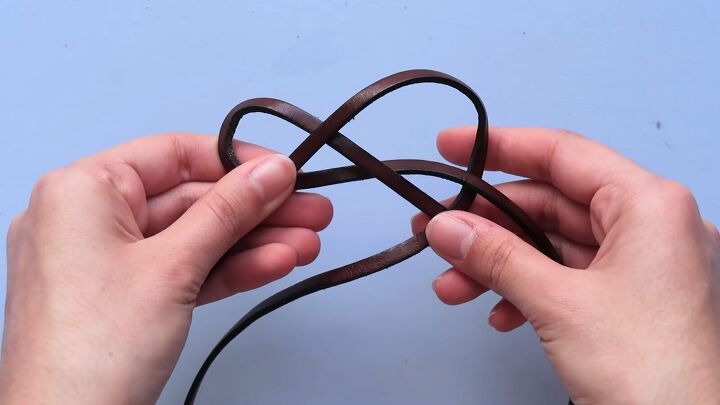
Bend the top half over the loop.
Next, take the bottom one and weave it from under the loop over the part you just put on top and again under.
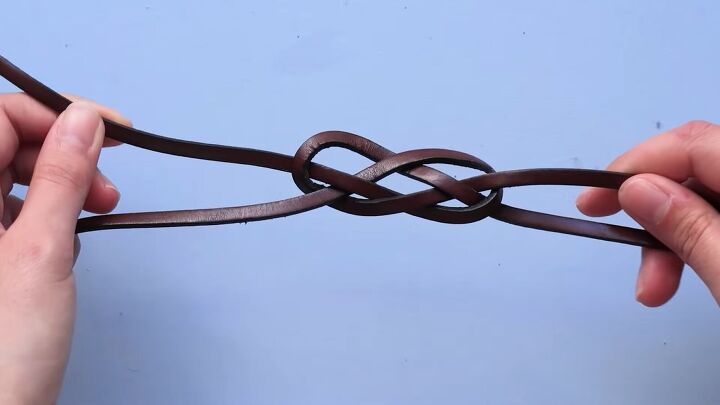
Tighten it and adjust the cord so that is stays as flat as possible.
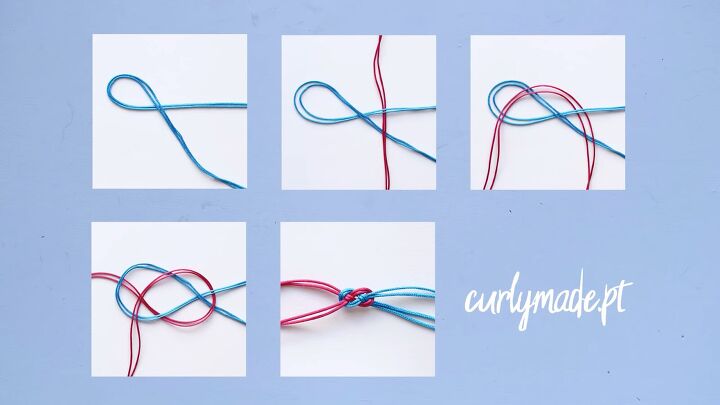
If you have difficulty understanding where each piece needs to go, check out these step-by-step photos that help to break it down a little more.
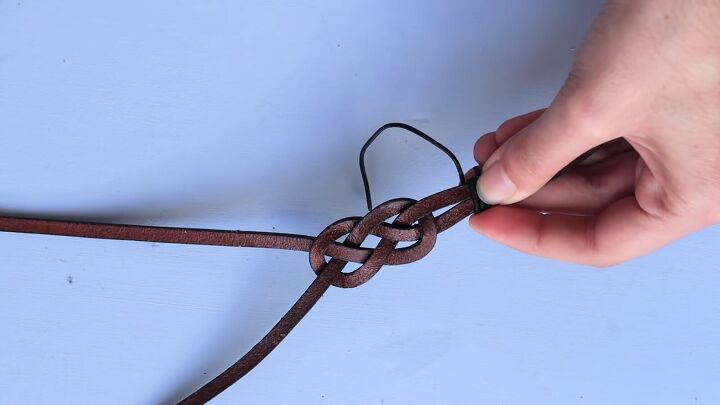
3. Add the smaller cord
Next using the same 1mm cord from the previous bracelet, wrap it around a few times to make these, let’s call it the hold section, which will keep the strands closer together.
Apply your epoxy glue to help hold this smaller cord in place. Once done, cut any excess cord.
4. Attach magnetic clasp
To close, apply some epoxy glue to the insides of your magnetic clasp and then insert the strands inside. Let it dry overnight and then it’s ready to wear.
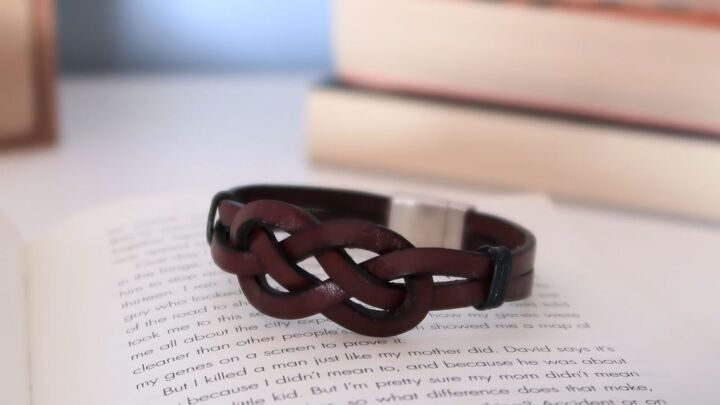
The crossover loop details look so pretty.
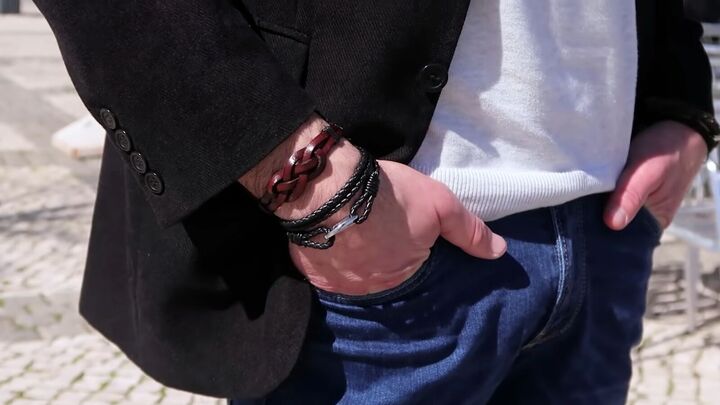
DIY leather bracelet tutorial
Those are the three DIY leather bracelets. Each has its distinct style, but all are equally beautiful and high quality. They make for great homemade gifts as well. So what are you waiting for? Give them a go!
The author may collect a small share of sales from the links on this page.


Comments
Join the conversation
These are great! Perfect for Christmas gifts - I always struggle with ideas. Thank you!!
I love them all!