Save a Fortune With This DIY Gel Nails Tutorial

I’m constantly asked how I do my nude gel nails. Although there is some cost involved in buying the tools for this gel nails DIY, it will save you a fortune on salon visits in the long-term.
So, without further ado, here is the ultimate tutorial for your at-home gel manicure. Let's get started!
Tools and materials:
- Acetone
- Cotton balls
- Cuticle remover
- Nail prep tool (double sided cuticle pusher)
- Gel polish
- Nail dryer
- Striping brush tool
- Topcoat
- Cuticle oil
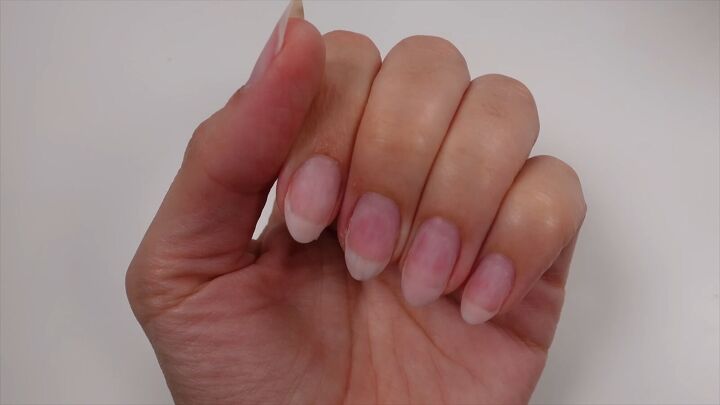
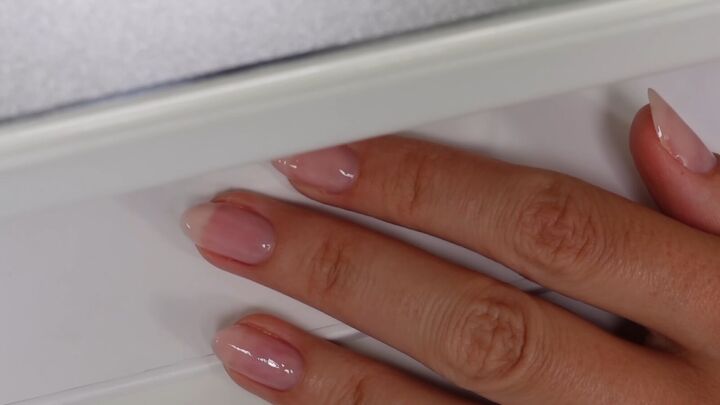
1. Shape your nails
Shape your nails and remove any old polish. I recommend an almond shape, and then as time passes, they soften at the tips and become more oval.
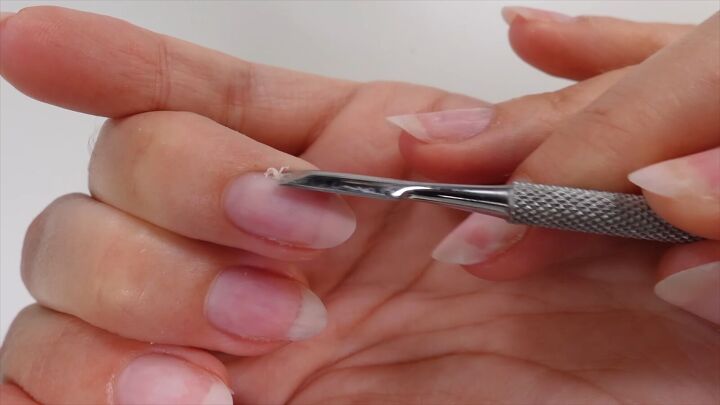
2. Tidy up the cuticles
Next, use a cuticle remover to get rid of any dead skin in the cuticle and side walls. Leave it to soak in for 15-20 minutes if you have the time.
Then, use a nail prep tool to remove all the dead skin. The tool I’m using is double-sided, with a cuticle pusher as well as a sharper side.
It’s crucial to place the edge of the tool flare against the nail plate to effortlessly lift off the dead tissue.
Before moving on, give your nails a good wash.
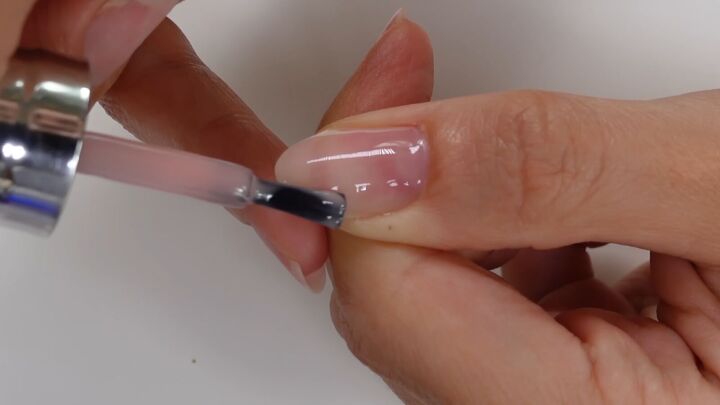
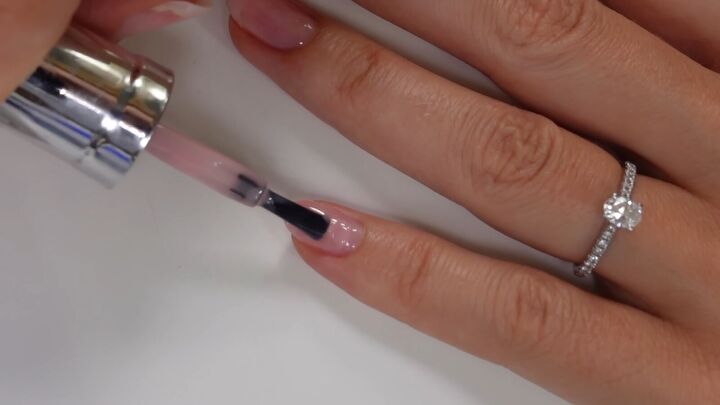
3. Apply first layer of polish, then cure
I am trained in nails, and the best tip I learned was to keep the polish bottle at body temperature to liquify the thick gel. Keep it snug against you while prepping your nails and it will make a huge difference.
The shade I chose is very sheer at first, but once you build it up it becomes opaque and the perfect nude.
Start in the middle of the nail and pull the brush down to completely coat the nail.
Then, go back up to the cuticle, leaving the tiniest of gaps between the nail plate and cuticle to create a tiny trench where the topcoat can sit. (See video 2:50 -3:35)

Repeat this thin, first layer on all the nails, then cure them (99 seconds). Then do one nail at a time to build it up, then cure it again.
4. Apply a slip layer
Paint the second layer using the same process as above.
The layer should be nice and thin. It will be like a “slip” layer to tell the gel where to sit. (*Do not dry the slip layer! It needs to be wet to guide layer 2.)
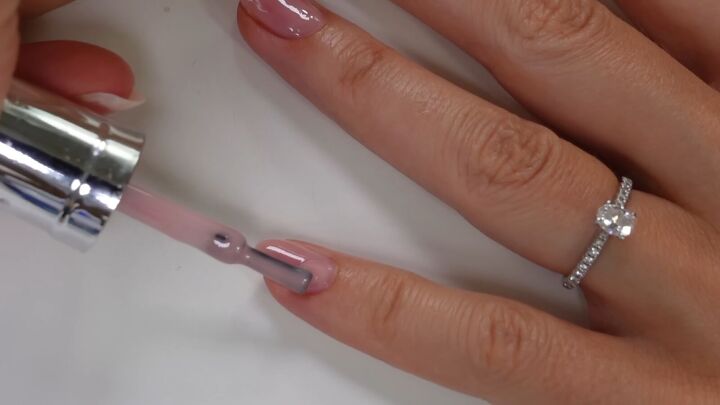
5. Apply a second layer of polish
Now start a slightly thicker layer, starting at the back of the nail, and using the edge of the brush, very softly, work the polish backward and forward, side to side.
Then, drag the resulting bead toward the tip of the nail, all the while using a very light hand. (See video 5:20- 5:50)
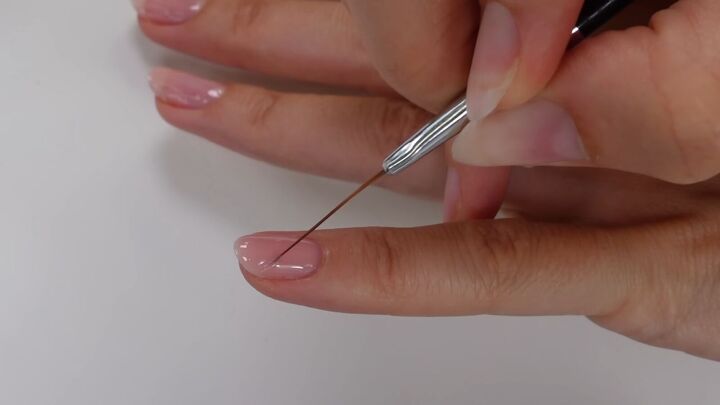
6. Pull with a striping brush
Use a striping brush to pull the gel down onto the side walls, allowing you to get close to the edge without touching the skin.
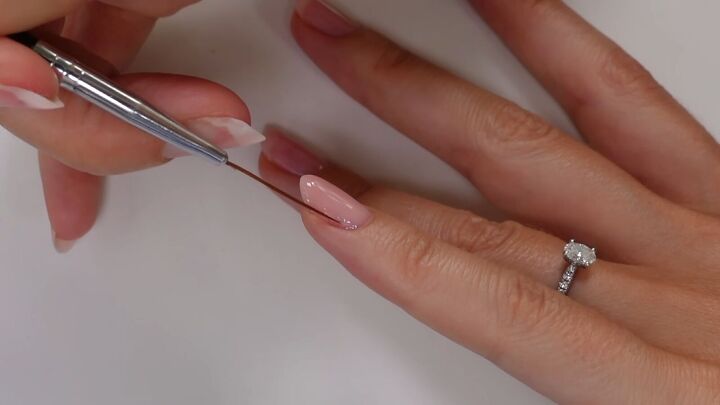
You can also use this tool to gently guide the gel toward the apex (center) of the nail, where the gel should be the fullest.
And since the gel is slippery, you might need to guide some of it gently back to the tip of the nail.
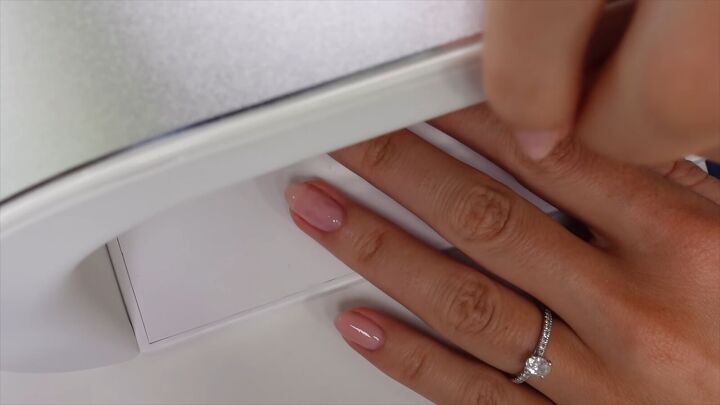
7. Utilize gravity, then cure
Then, turn your nail over to allow gravity to pull the gel toward the center of the nail.
Next, you can either cure it for the full time, or a half of the amount of time, just make sure that it’s in long enough so it doesn’t ripple.
8. Repeat
Do the same process on your next nails. (Apply a slip layer that remains wet. Then apply a thicker layer as explained above. Manipulate the polish as needed with the striping brush and cure.)
For tips regarding the removal of the gel polish, see the video at 8:52 - 9:40.
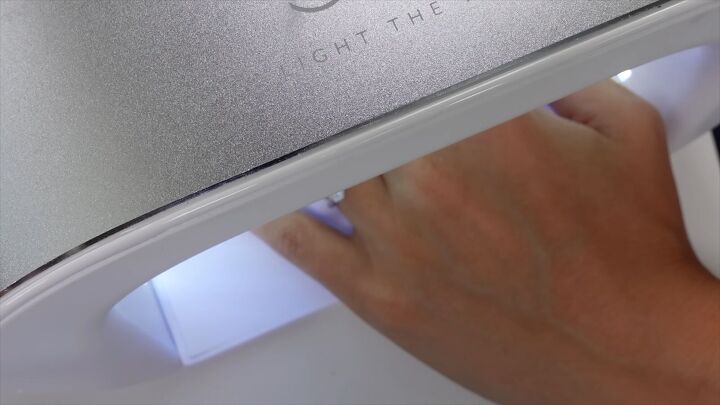
9. Do a 2-minute cure
Once you’ve finished your last nail, do a full, 2-minute cure on full.
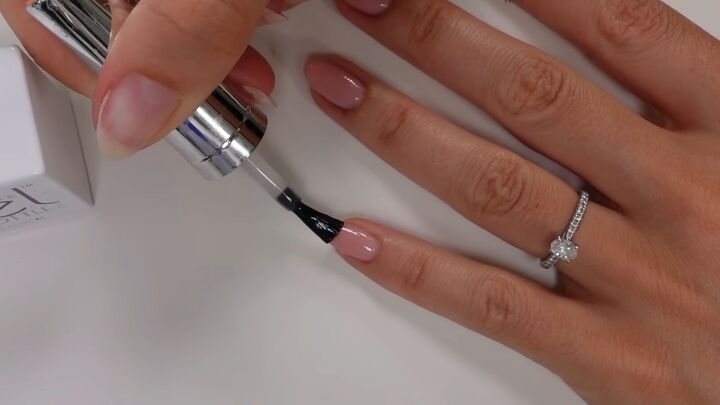
10. Apply a topcoat
Finally, apply a topcoat to give a beautiful, glassy finish.
Make sure you get right down toward the cuticle, without touching the skin, but still touching the nail plate, around that trench that we left. Cap off the free edge slightly.
Then do a final cure for 2 minutes.
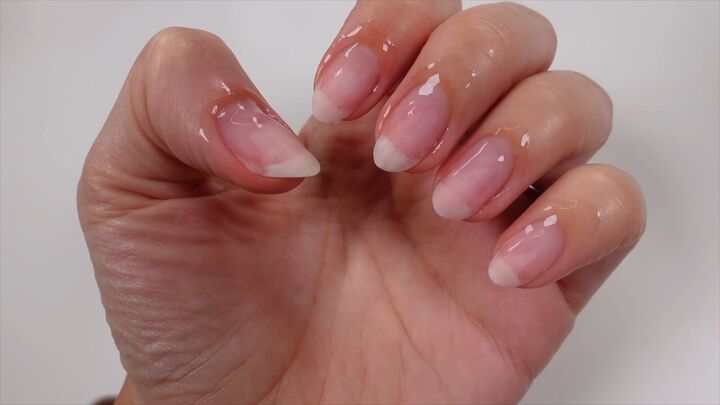
See how glass-like they look!? You can apply cuticle oil at this point too.
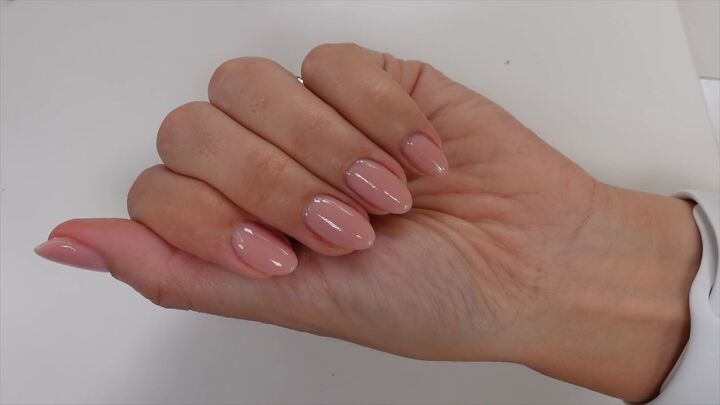
DIY nude gel nails
What do you think of these nude gel nails? Let me know in the comments below.
For more DIY nail content, check out my post on At-home Hailey Bieber Glazed Donut Nails.
Products featured:
- CND Cuticle Away: https://amzn.to/3CahW4V
- The Gel Bottle BIAB - Teddy: https://bit.ly/3hHpEpZ
- The Gel Bottle Extreme Shine Topcoat: https://bit.ly/3jFiOlB
The author may collect a small share of sales from the links on this page.


Comments
Join the conversation
Where can I purchase this product?