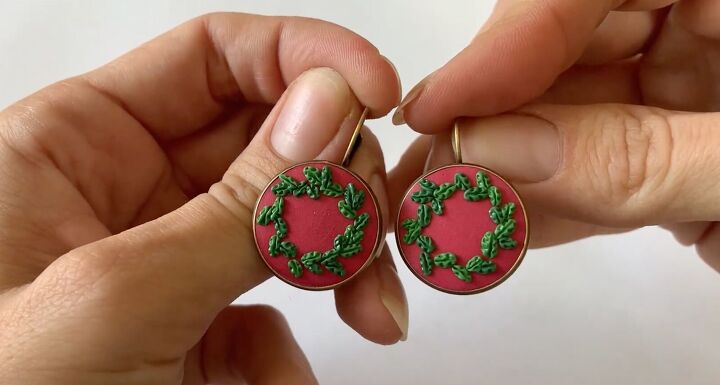
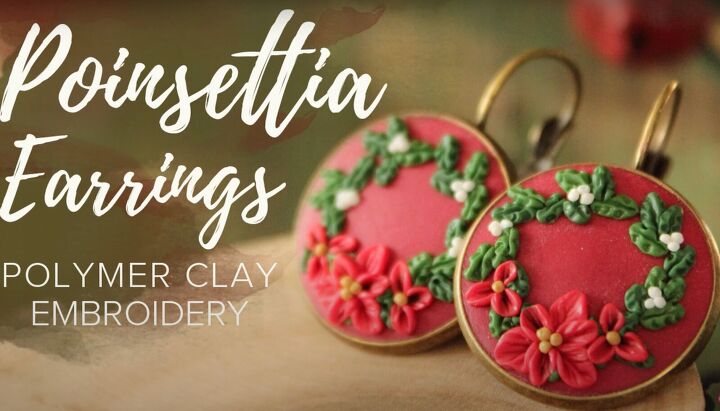
These Intricate DIY Poinsettia Earrings Are Made From Polymer Clay

The house is decorated for Christmas and you’ve planned the menu. You’ve got a Christmas sweater or beautiful party dress ready to wear. What’s left? Why beautiful red poinsettia earrings of course!
You can either make these DIY polymer clay Christmas earrings to complete your outfit or to gift a dear friend. This Christmas clay earrings tutorial is perfect for the holidays! Let’s get started!
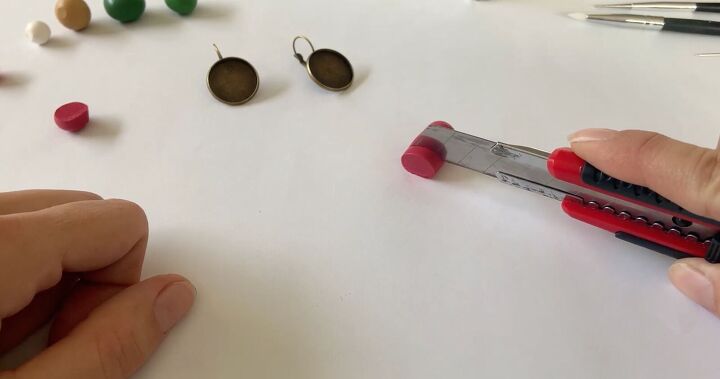
Tools and materials:
- Polymer clay: red, 2 shades of green, gold, and white
- Clay knife or X-acto knife
- Needles
- Dotting tool
- Circular tube (for pattern)
- Rubbing alcohol
- A few squares of toilet paper
- Circular earring backs
Polymer clay needs conditioning or kneading it before use to make it softer, pliable, and easy to use. Follow the instructions on your clay to finish your product.
1. Make the base
Roll the red clay. Cut 4 equal size pieces with the clay knife. Set aside the two outer red pieces for the poinsettias. Roll the two inner pieces in the palm of your hand to make them into balls.
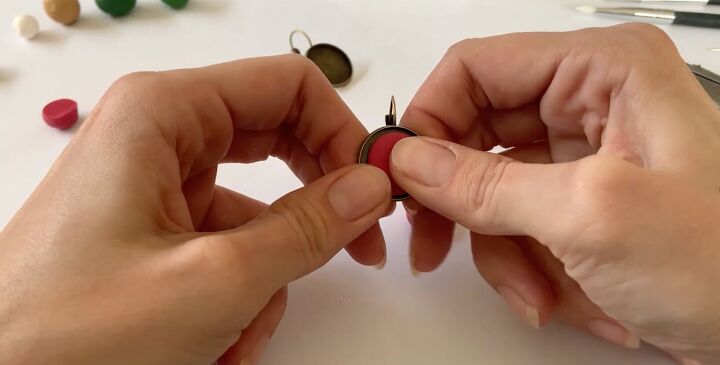
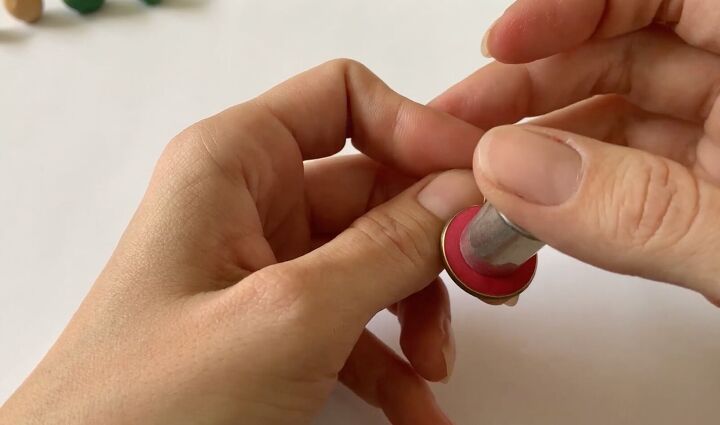
Place each one of these two pieces into the earring back.
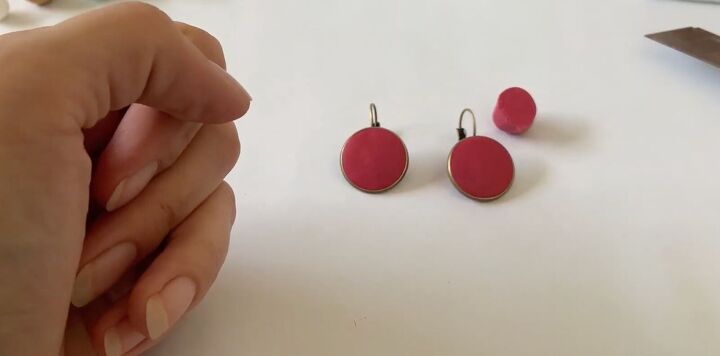
Flatten the ball with your fingers until it fills the entire earring back completely.
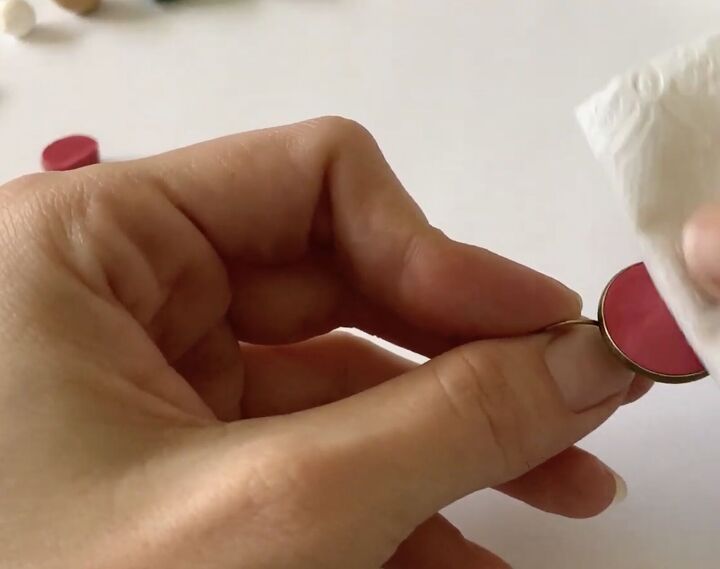
2. Clean the base
Put a little rubbing alcohol on a few pieces of toilet paper. Gently clean the surface of the red clay to remove all dirt and fingerprints. Let them dry.
3. Make the wreath shape
Use the circular metal tube to make a perfect circle in the center of the earring back in the red clay. Press it into the surface until you have your circular pattern.

4. Add the wreath
You’ll use both shades of green. Roll out the green clays into very thin logs. Use the clay knife to cut about 40 tiny little pieces, 20 from each shade. Roll each piece with your fingers into a thin oval type shape.
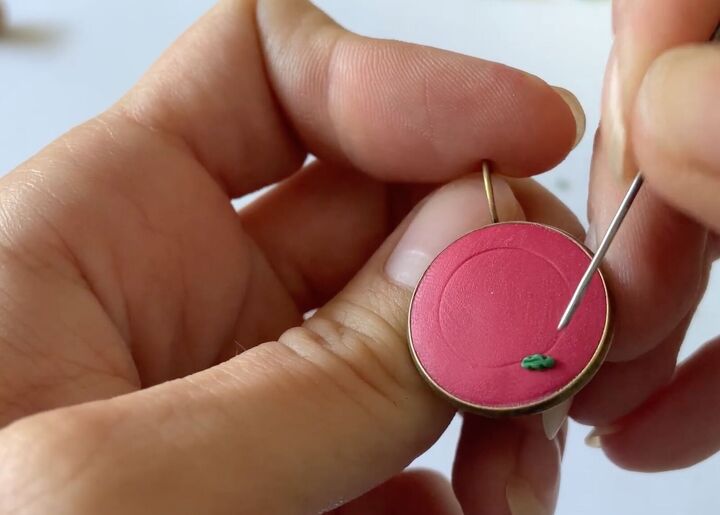
Use the needle to pick up each one of the green balls. Press the needle in the center once you’ve applied it to give it a leaf like shape.
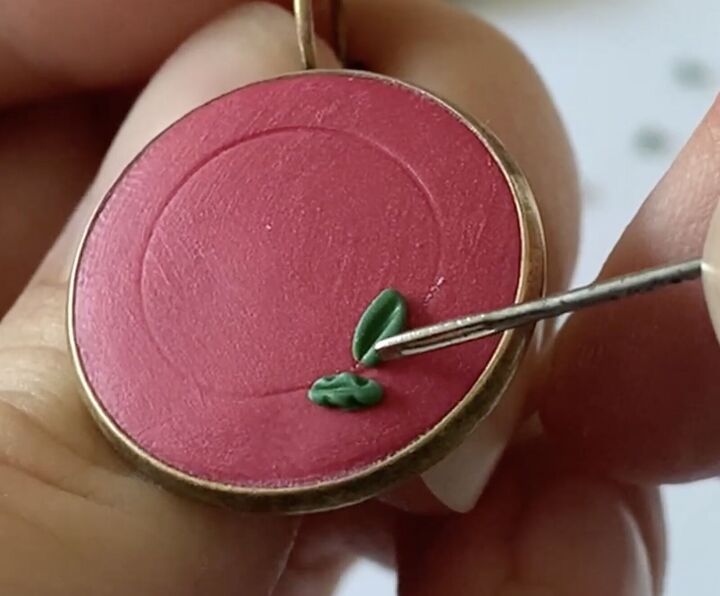
Turn the needle around so you’re using the eye part of the needle to create texture in each leaf and leaf-like veins. Alternate the greens and follow the circle.
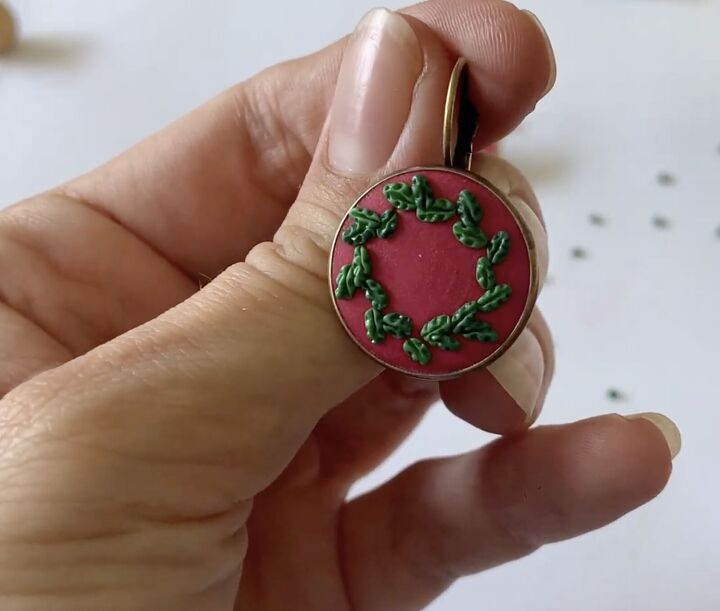
Stagger the leaves in a vague star-like shape to give a life-like effect.
Follow these steps for the second earring.
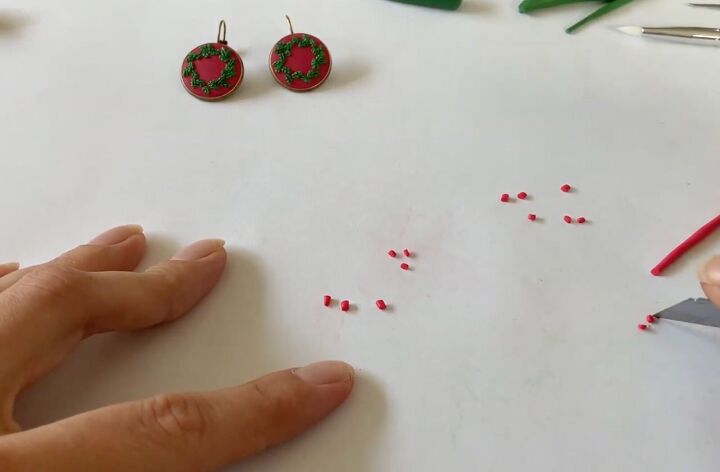
5. Add the poinsettias
Use the two leftover pieces of the red clay. Roll them into thin logs. You’ll cut off three different sizes of the red using your clay knife. You’ll need 6 larger balls, 6 medium-sized balls, and 12 tiny balls.

Roll each one of these pieces with your fingers. Use the larger pieces to start.
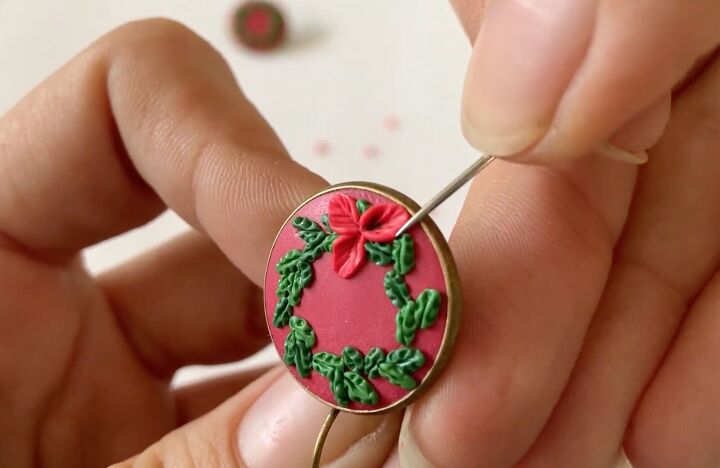
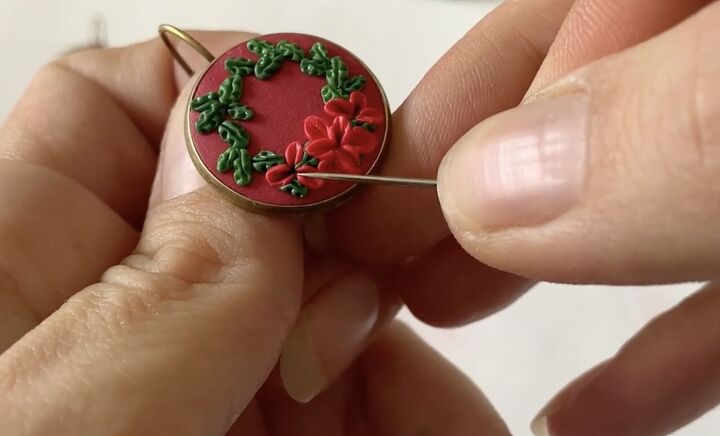
Lift up the larger pieces with the needle. Place at the bottom of the earring right in the center. Use the pointed end of the needle to deepen the groove to create a poinsettia-like petal.
Take the second larger ball and do the same thing, placing it adjacent to the first. Then add the third larger ball on the opposite side.
Each earring has one larger poinsettia.
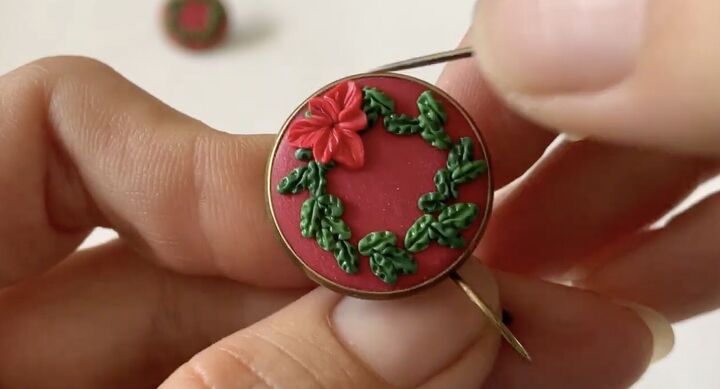
Take the medium-sized balls and add them in the spaces between the larger flower petals to create smaller petals. Use the needle to create lines, dimension, and depth.
Then take the smallest red petals and make a 3-petaled poinsettia on either side of the larger poinsettia using the same technique.
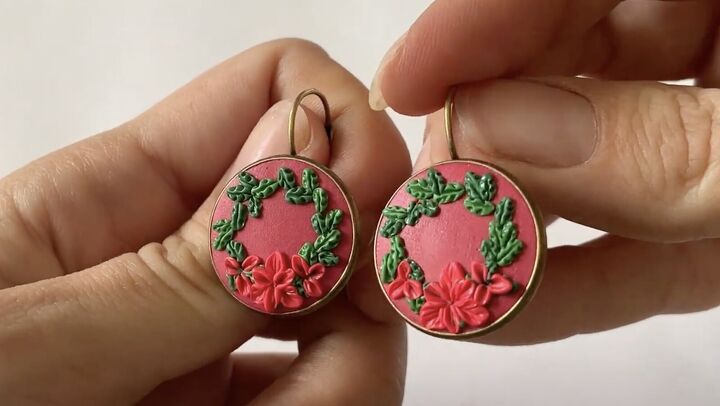
When you’ve finished the first earring, follow the same method for the second earring.
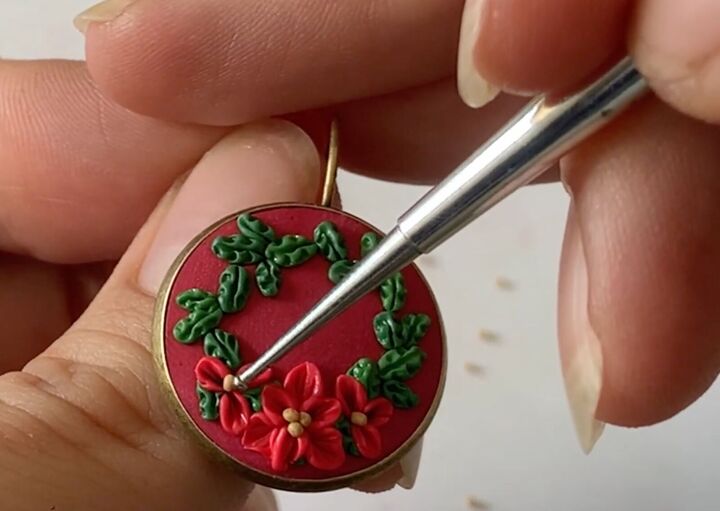
6. Add the stamen to the flowers
Roll the gold clay into a thin log. Cut 10 tiny little balls. Roll the balls with your finger. Use the dotting tool to apply the gold centers.
The larger poinsettias get 3 balls each, and the smaller flowers one each.
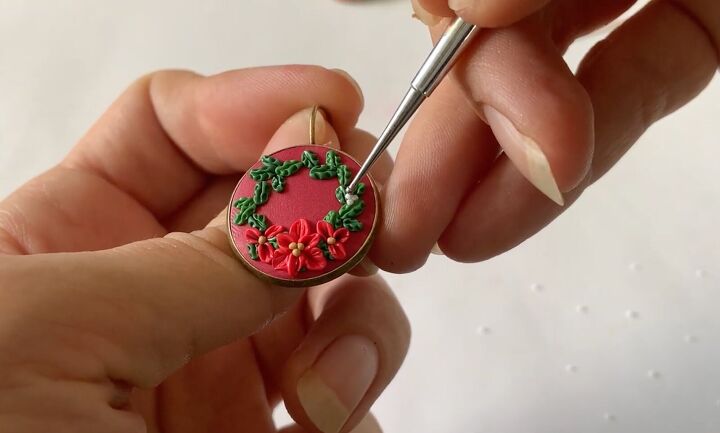
7. Add the Christmas decorations to the wreath
Roll out the white clay into a thin log. Cut into tiny pieces and roll into tiny balls. Place the white balls on the wreath, equal distance from each other along the top.
Each earring uses about 12 of these white Christmas decorations. They even look a little like mistletoe.
8. Bake
Follow the directions on your polymer clay instructions to cure the earrings. You'll need to gently pop the design out of the earring backs to bake, then glue them on once they're hardened and cooled.
Poinsettia earrings tutorial
I hope this Christmas polymer clay earrings tutorial helps you make these beautiful red poinsettia earrings! Let me know in the comments if you made these for yourself or as a gift.
The author may collect a small share of sales from the links on this page.


Comments
Join the conversation