How to DIY an Easy Protein Treatment for Curly Hair

Bonjour everyone! Follow along with this step-by-step tutorial to learn how to make a DIY protein treatment especially formulated for wavy and curly hair.
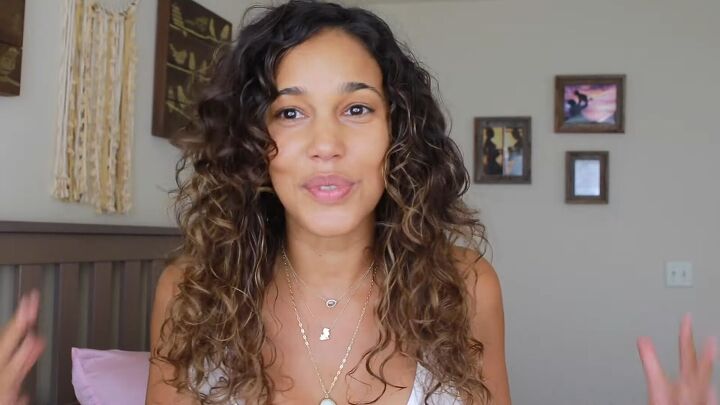
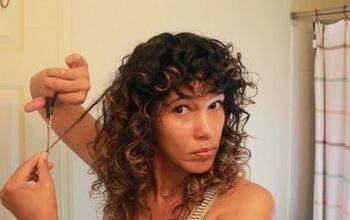
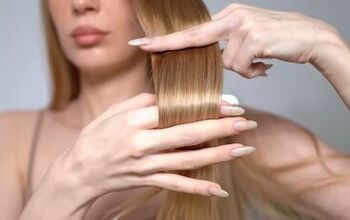
I’m starting with this before image of my day 3 curls that are in dire need of revival. The curls feel dry, brittle and they look over-elongated.
Tools and materials:
- Rice water
- Honey
- 1 egg
- 5 oz yogurt
- Whisk
- Bowl
- Spoon
- Cosmetic bottle
- Shower cap
- Microfiber hair towel
- Shampoo
- Leave-in conditioner

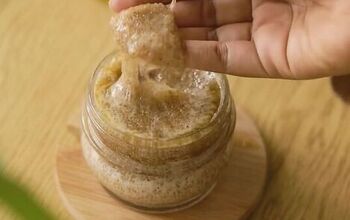
1. Add yogurt, 1 egg and honey into a bowl
Start by emptying a small yogurt (about 5 oz) into your mixing bowl. The yogurt flavor isn’t critical–I used blueberry!
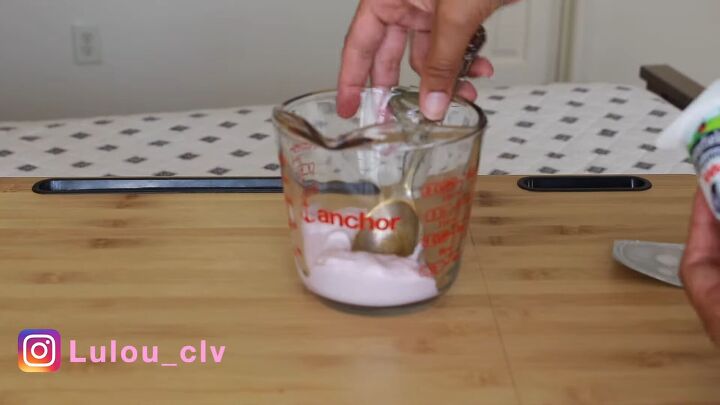
Crack 1 egg into the yogurt.
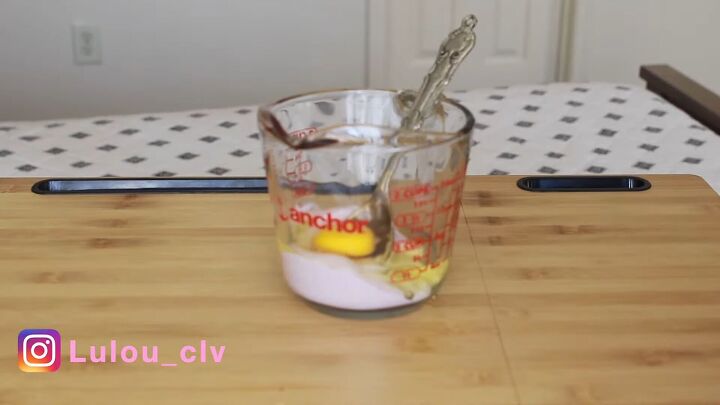
Then add about 1 tablespoon of honey into the mixture. Then mix with a whisk until well blended.
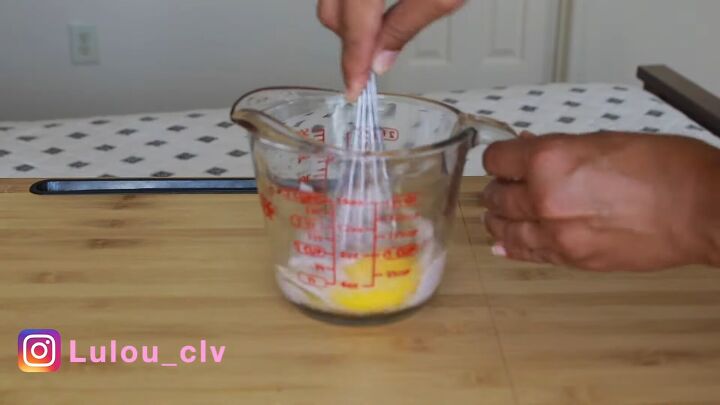
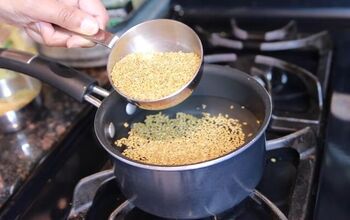
2. Add rice water and mix
Now, shake the rice water container and add about 2 tablespoons to the bowl. Then mix again.
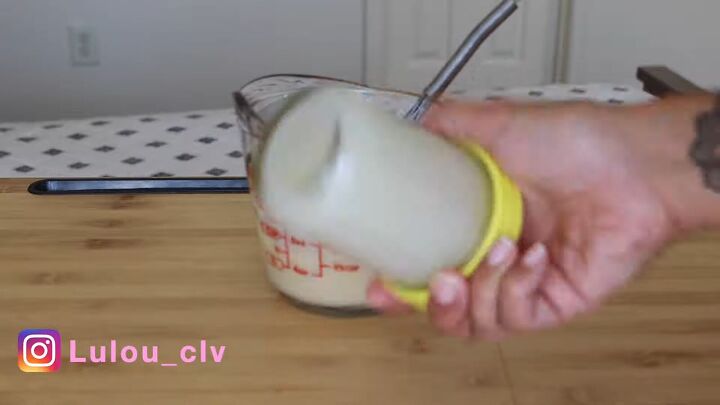
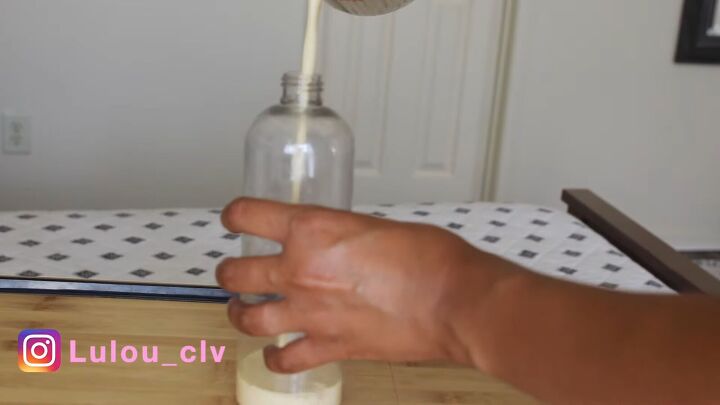
3. Transfer to a cosmetic bottle
Once everything is well blended, transfer the mixture to a bottle.
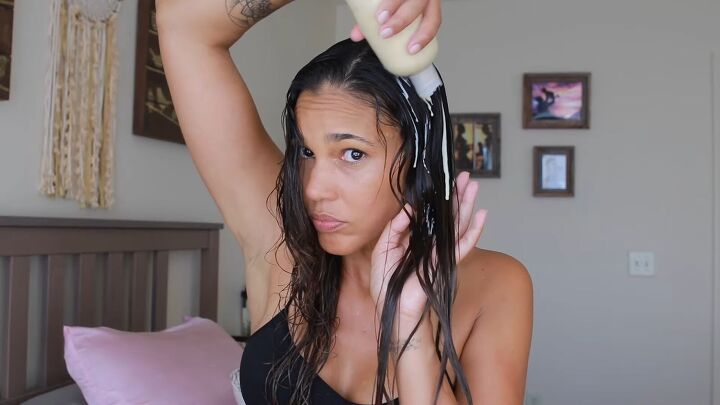
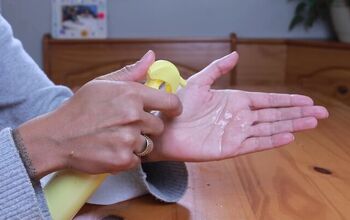
4. Apply your DIY protein hair treatment
Now that your protein treatment is complete, wash your hair as usual. Then, apply with your fingers to wet hair generously.
Also work the treatment through with a brush.
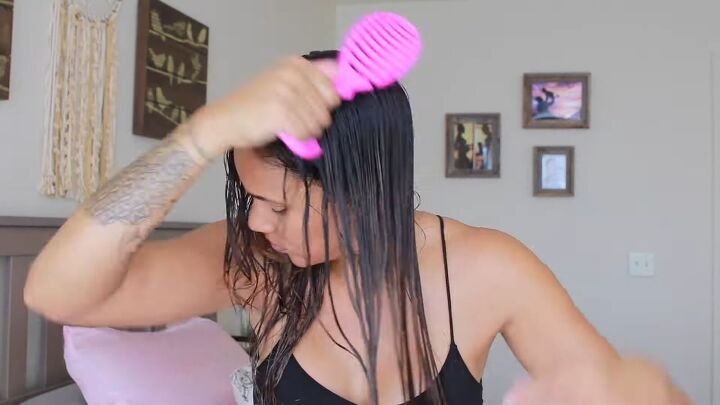
You want to really saturate your hair, plus you shouldn’t save the concoction because the yogurt gives it a short shelf life.
So, I definitely recommend that you apply the treatment in the bathroom to avoid making a mess.
5. Cover your hair
Soak a small microfiber towel in warm-hot water, as hot as you can stand, and place it on your head.
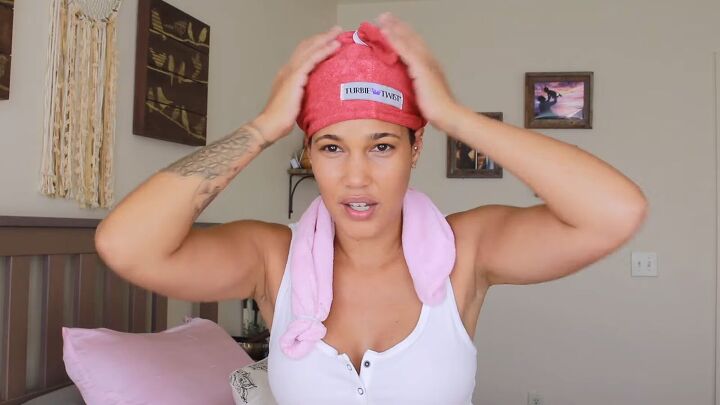
Then cover it with a shower cap or plastic bag.
Mine is a shower cap that can be heated in the microwave, so I heated it as well and put it on top of the warm towel.
Leave this on for about 25 minutes.

6. Shower off the treatment and style
In the shower, rinse off the treatment with warm water. Then shampoo your hair and detangle.
Once the hair is clean, put some rice water in a cup or bowl and dunk your ends in it and then pour the rest over your head.
Then squeeze out the excess liquid. Finally, apply leave-in conditioner and scrunch your curls.

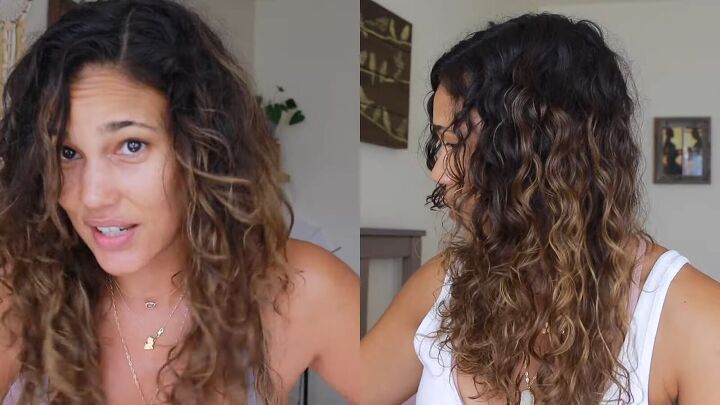
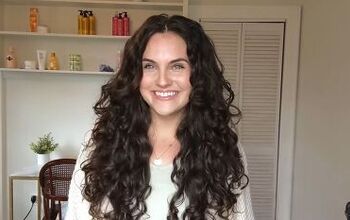
Diffuse your hair to dry. Here are my final results! My curls feel more hydrated and defined.
Here you can see the before and after, side by side:
DIY protein treatment for hair
Every ingredient in this DIY protein hair treatment is natural and serves a purpose. The yogurt restores moisture to the hair and scalp.
The egg improves hair elasticity, adds shine and heals damage. The honey seals in the moisture and strengthens hair follicles.
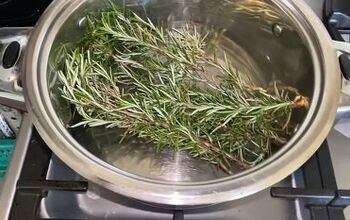
The rice water aids with hair regeneration and contains amino acids and vitamins that provide nourishment that your hair needs.
The heat step allows your hair to absorb all of these benefits.
I hope you enjoy making and using this DIY protein treatment for hair. For another curly girl hair DIY, check out my easy flax seed gel recipe.
The author may collect a small share of sales from the links on this page.


Comments
Join the conversation