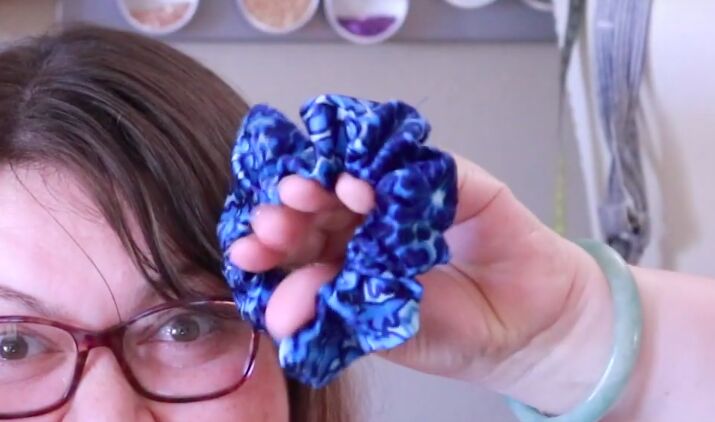
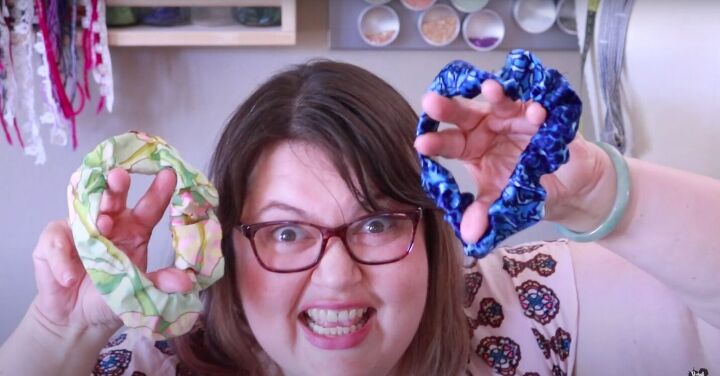
2 Different Ways to Easily Make a DIY Scrunchie

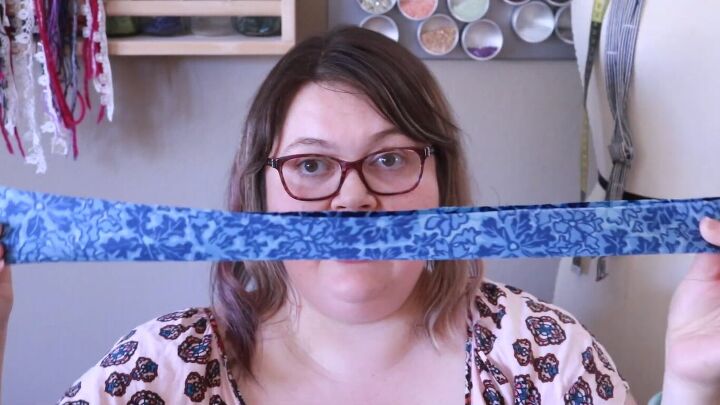
Today, I am going to show you how to make DIY scrunchies using your scraps. The guidelines for making these scrunchies are super easy. All you need to know is that your fabric needs to be anywhere from 18 to 24 inches long and about three to four inches wide. They are going to look so cute!
Tools and materials:
- Sewing machine
- Needle
- Thread
- Fabric
- Elastic
- Safety pins
- Pins
- Iron
DIY scrunchie method 1

1. Cut out the fabric
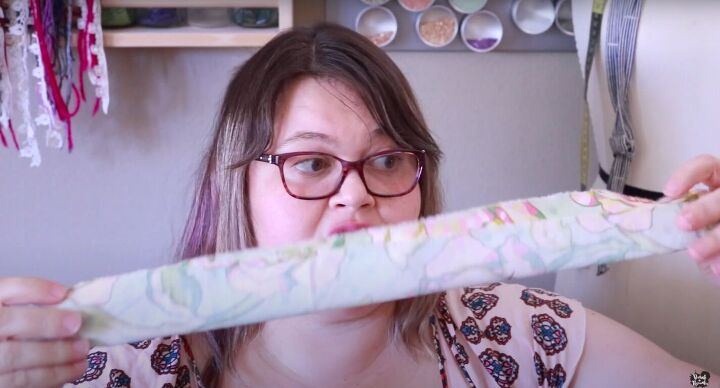
Cut out your desired piece of fabric to 22 inches long by 3.5 inches wide. We are leaving a quarter-inch seam allowance.
2. Fold your fabric
Fold your fabric lengthwise so that the right sides are together.
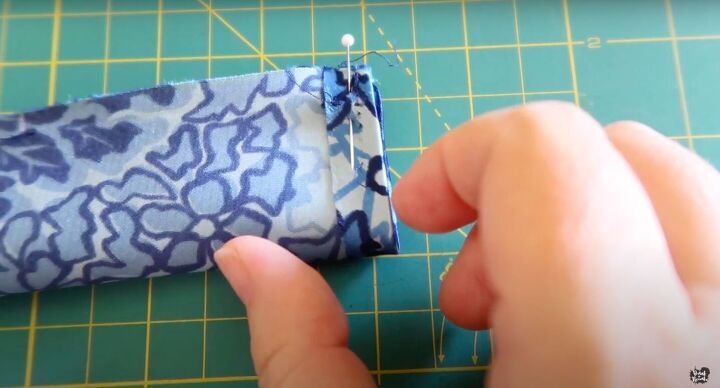
3. Prep the ends
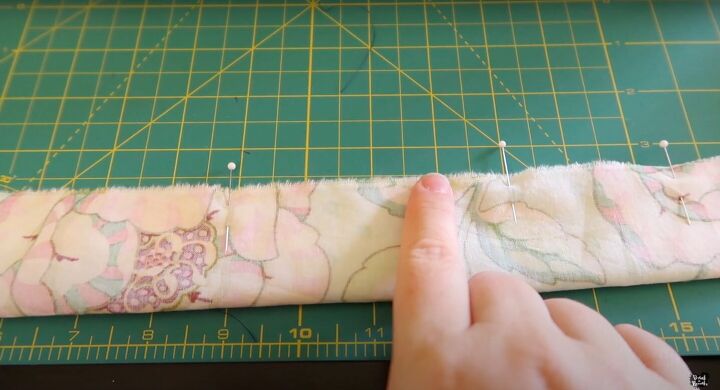
Fold back one edge so that it is a clean-finished edge, then pin it.
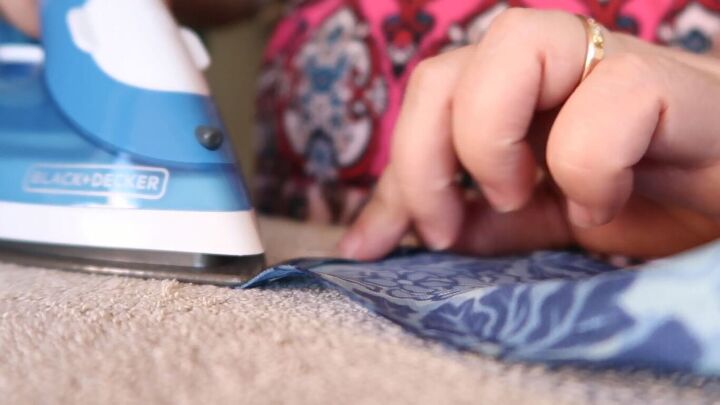
Press this edge with an iron.
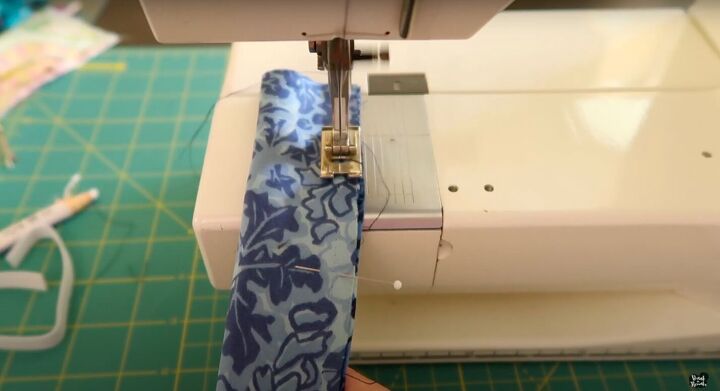
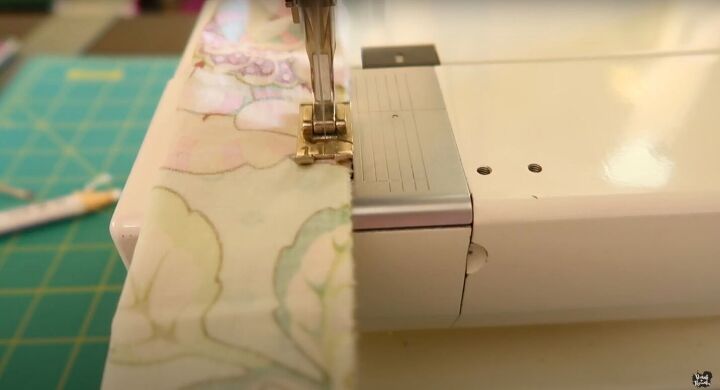
4. Pin and sew
Pin the rest of the fabric down its length, then sew along the pins.
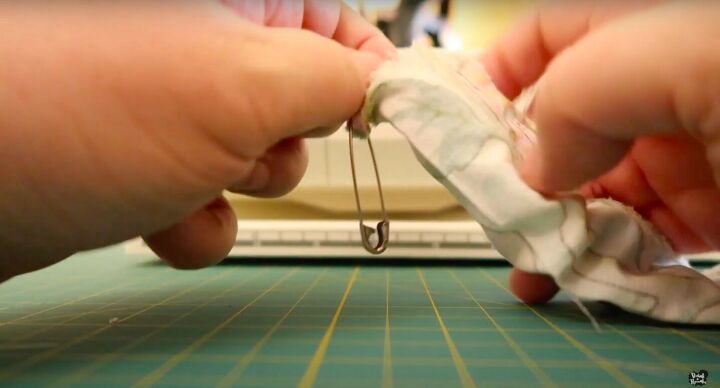
5. Turn the fabric right side out
Pin a safety pin to the edge of your now sewn-up fabric and tuck it inside.
Using your fingers, you are going to guide and pull the safety pin through and out the other side so that you now have turned your fabric right side out.
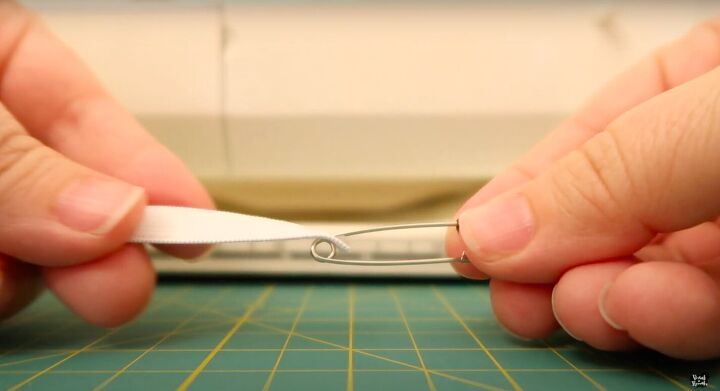
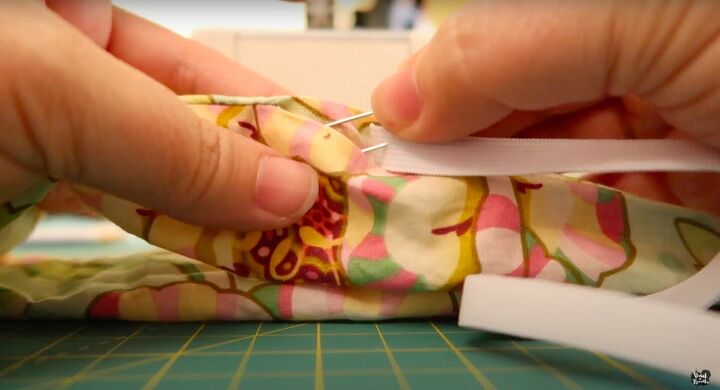
6. Add the elastic
Attach the safety pin to your elastic and gently feed it through the tube until it comes out of the other side.
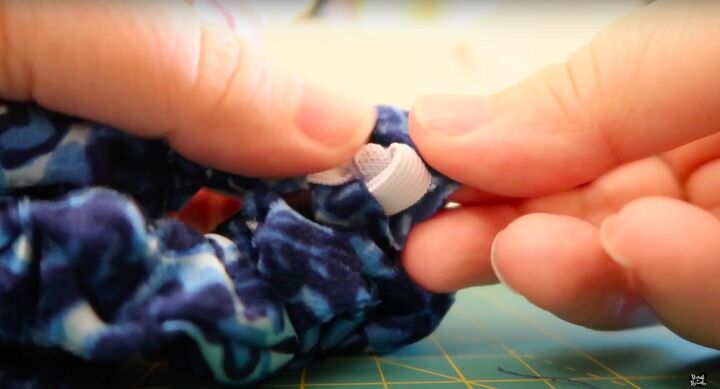
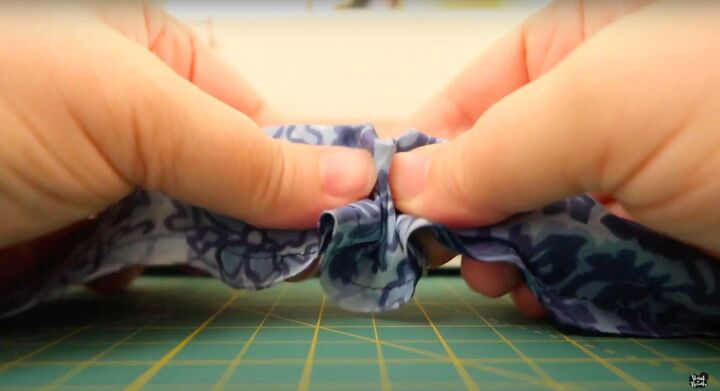
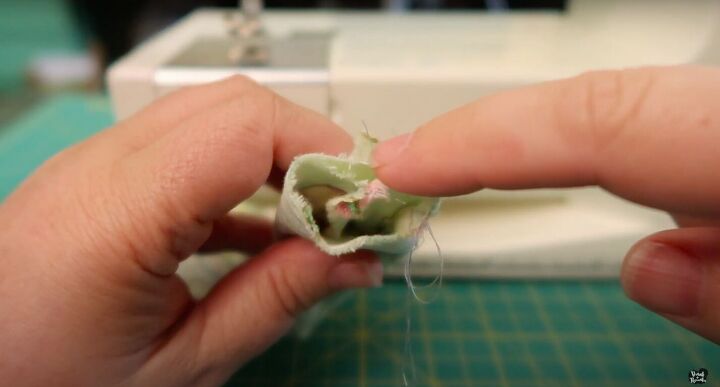
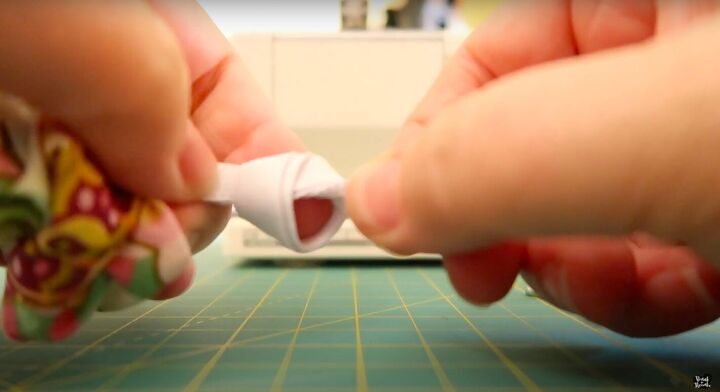
7. Tuck in the knot
Tie the ends of the elastic into a knot and tuck it into the scrunchies so that it doesn’t get in your way when you sew it together.
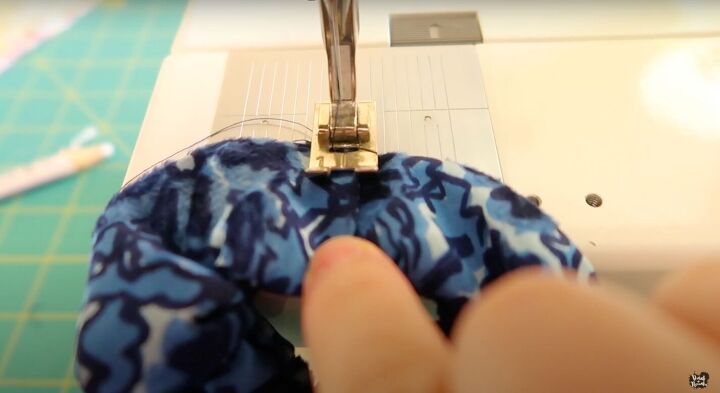
8. Finish the scrunchie
Stitch the scrunchie shut with your sewing machine.
You’re done! This method is a bit simpler but it is super easy and will get you a basic scrunchie quite fast.
DIY scrunchie method 2
1. Fold the fabric
Fold the fabric lengthwise with the right sides facing each other.
2. Prep for sewing
Pin the fabric down its length, but this time make sure to leave the center open.
3. Sew up the fabric
Sew up the fabric along the pins. Remember to leave the center open.
4. Turn inside out
Pin a safety pin to one edge and pull it through the tube to the other edge but not through it.
5. Stitch up the edge
Lay the fabric with the stitching along the length flat against your surface so that the edges create a circle shape. Hand-sew the edges shut with a running stitch.
Make sure the stitch is very small and about a quarter-inch from the edge of the fabric.

6. Turn the fabric right side out
Pull everything out through the center hole so that the fabric is right side out.
7. Add the elastic
Attach the safety pin to your elastic and gently feed it through the tube until it comes around to the other side.
8. Tuck in the elastic
Tie the ends of the elastic into a knot and tuck it into the scrunchie that it doesn’t get in your way when you sew it together.
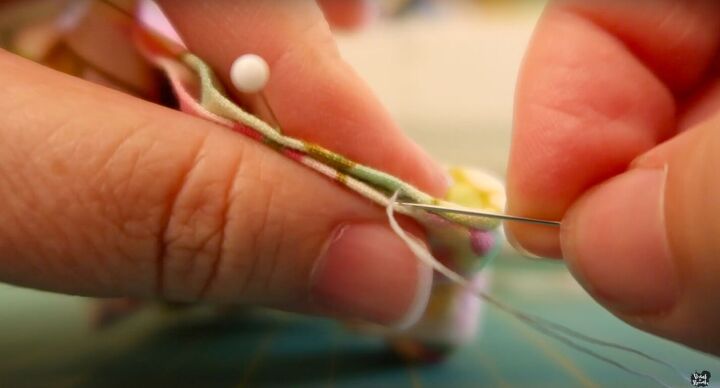
9. Sew the center closed
Hand stitch the center hole shut using a slip stitch.
How to make a DIY scrunchie tutorial
That’s it, two methods to make a scrunchie! Use whichever method you prefer, either way you will have a cute and artsy homemade scrunchie. You can wear these in your hair or on your wrist.
Let me know in the comments below if you try this at home!
The author may collect a small share of sales from the links on this page.


Comments
Join the conversation
I have made clothes since age 2. I cut vest for tiny frogs my mother and I found eating insects @ fire department lights at LAKE Sherwood in Ca. I used LONG THIN METAL HOOKS TO PULL THE ELASTIC THROUGH THE CRUNCHY instead of the safety pin. My mom sewed Cowboy outfits & garments for the Western pictures we were in 1946-1958.