2 Ways to Make a DIY Scrunchie

Scrunchies are the perfect way to add a retro detail to your style. I, for one, have been loving the scrunchie trend! I always have a ton of scrap fabric sitting around so I thought, why not use it to make a tutorial on DIY scrunchies? I’ll be showing you 2 methods to make these fabulous hair accessories.
Tools and materials:
- Fabric
- Scissors
- Hair ties
- Safety pin
- Sewing machine
- Needle and thread
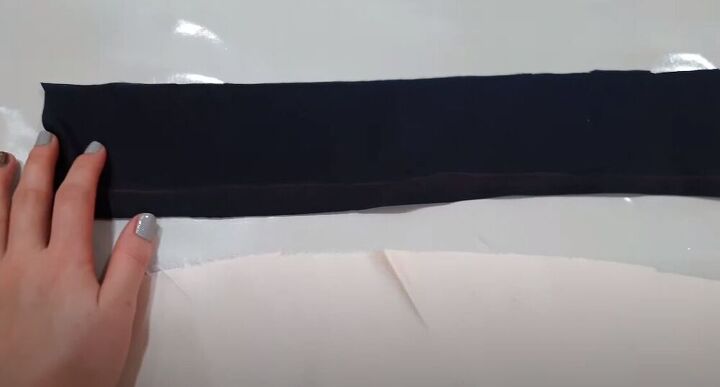
Before you begin working on your DIY scrunchies, you will need some strips of scrap fabric. These two pieces are both 4 inches thick but one is 20 inches long and the other is 16 inches long.
You will, of course, also need some hair ties.
Hem the fabric
The first step is folding in the edges of the fabric twice and hemming them.
Sew around the hair tie
Next, sandwich the hair tie in between the fabric. In this step, the right side of the fabric should be touching the hair tie.
Then go ahead and sew as close to the edge as possible. You should leave a gap and not sew the edges of the fabric strip together.
Turn the fabric
To turn the fabric out, take a safety pin and pin it to one end of the scrunchie. Turn the pin so that it is inside and pull it through until you reach the other side.
Sew closed the gap
To close the gap, put one end inside the other and sew.
For the second method repeat the same steps as the first but rather than sewing the ends together with the machine, hand sew the ends of the scrunchie together.
These scrunchies are not only the best way to make use of scrap fabric but they are an awesome accessory as well!
Enjoyed the project?
Suggested materials:
- Fabric
- Scissors
- Hair ties
- Safety pin
- Sewing machine
- Needle and thread
The author may collect a small share of sales from the links on this page.


Comments
Join the conversation
Great ideas!