Easy Detachable DIY Shirt Collar Tutorial

Today, I am going to show you a DIY shirt collar project you are going to love. I will show you how to embellish a collar on a shirt and how to make a detachable pattern so you can use just the collar and mix and match it with other shirts.
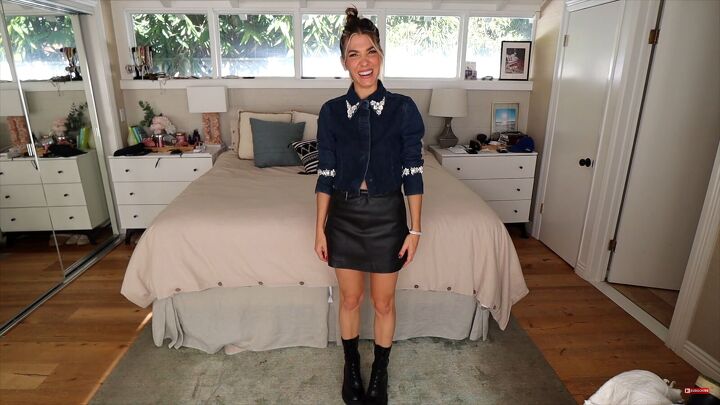
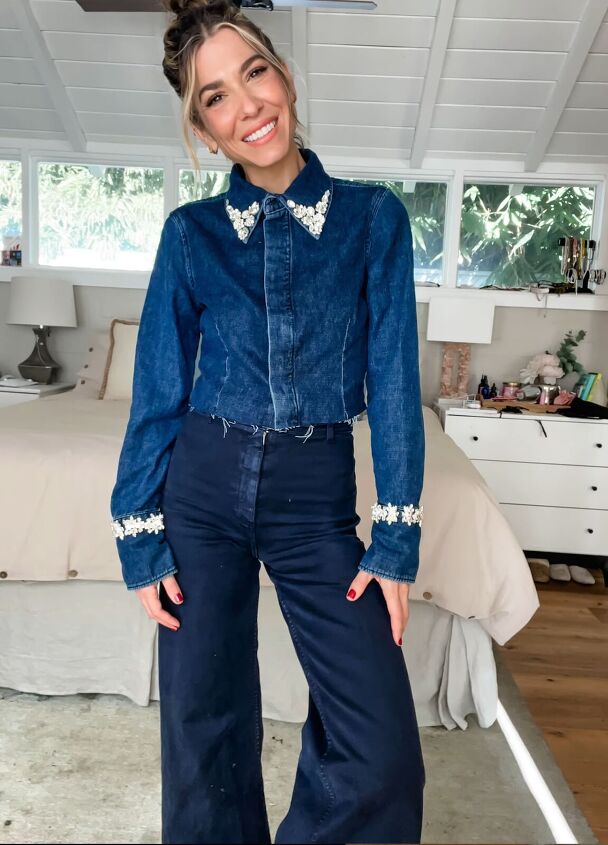
To get started go through old clothes, or go to a thrift store and try on shirts just to check out the collar. You will need a collar that buttons snugly around your neck. I ended up finding a couple of shirts to work with. Aside from finding a shirt to use for a detachable collar I also found a cute denim shirt that I didn’t want to cut up.
So, you are going to get two tutorials here. I will show you how to embellish the collars and cuffs of a shirt, and how to embellish and create a detachable collar.
Pick your embellishments according to your preferences, grab some E6000 glue, a needle and thread for reinforcing, and let's get started!
Tools and materials:
- 1 or 2 collared shirts
- Embellishments
- Strong glue (E6000)
- Needle and thread
- Scissors
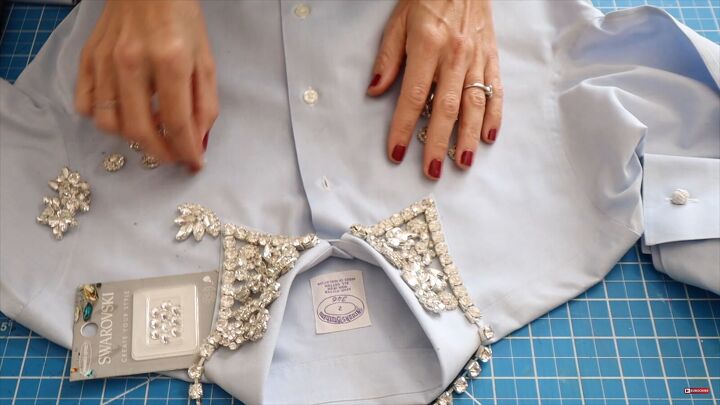
Decorative collar and cuff
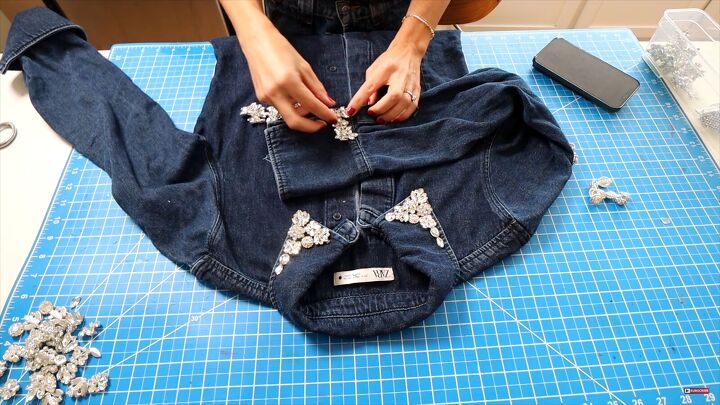
1. Plan and lay out your design
The first thing you want to do is grab your shirt and all the embellishments and start to plan your design.
This is the fun part because there’s no commitment. Lay things out, take a look, and see what you like.
Once the design is finalized you will be gluing things on, so this is the stage that you want to be really free with it.
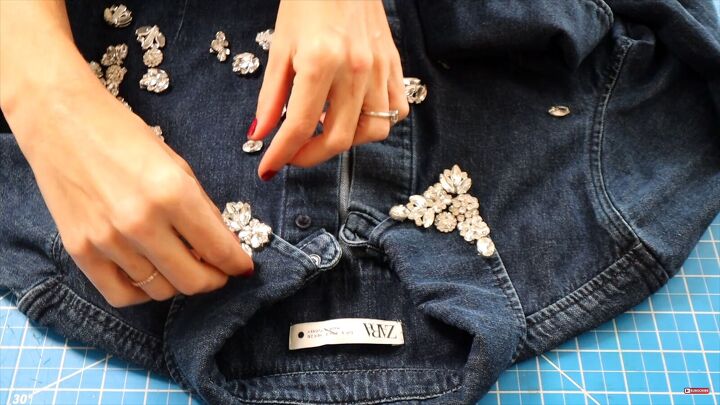
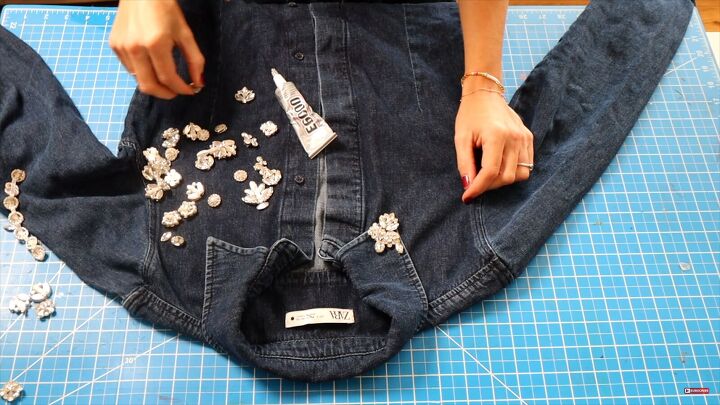
2. Matching sides
Once you do one side, make sure you have enough matching pieces to repeat the pattern on the other side.
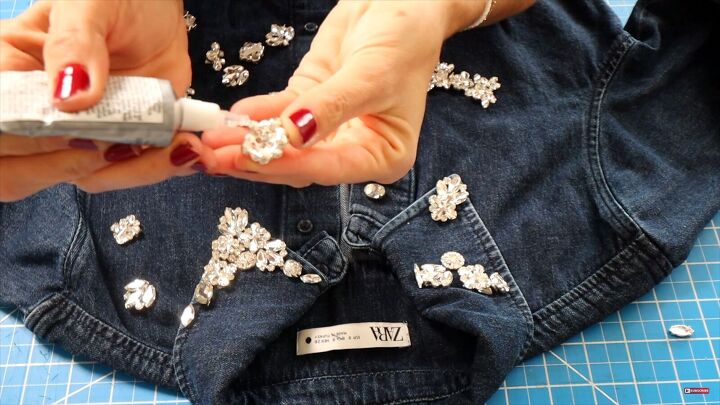
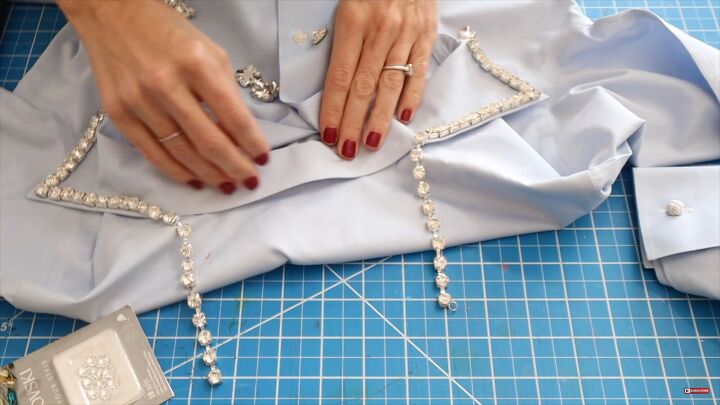
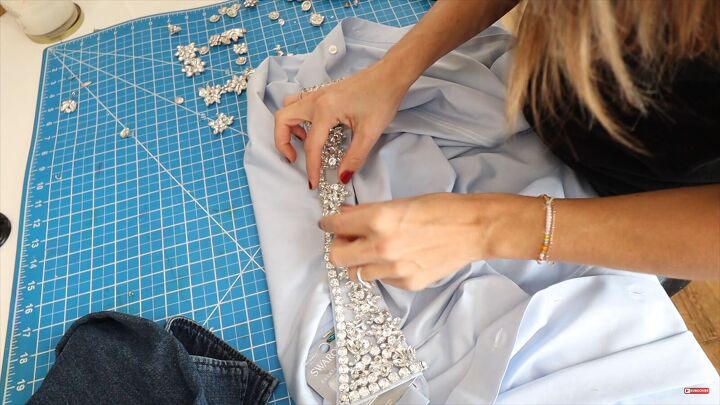
3. Glue
Now it’s time to glue everything on. Use a generous amount of your E6000 or whichever strong glue you choose.
I recommend leaving one side laid out while gluing the other side. This way you can use one side as a guide to help you get the pattern right.
When gluing embellishments to the cuffs, start with one side. You’ll want to leave that side to set and dry for at least an hour before you move to the other side.
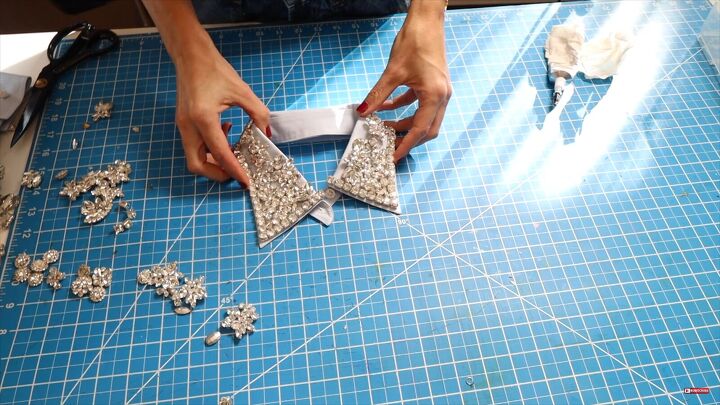
Detachable collar
1. Plan and lay out your design
Apply the same techniques for the detachable collar as you did for the decorative collar.
Take your time lining things up and planning your design.
Be intentional about making sure everything is balanced and straight.
2. Dry and open
If you’ve started working on the front of the collar and you have decided to decorate the entire collar, give the front design some time to dry.
Then open up the collar so you can access the back of it, by laying the entire thing flat.
3. Solve the puzzle
Laying out your embellishments is kind of like solving a puzzle.
The way you lay out your design will depend on the size of your collar, on the size and quantity of your embellishments, and how tight you want them.
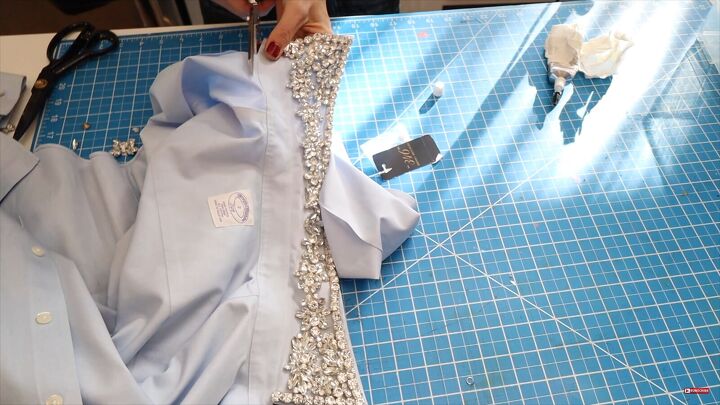
4. Cut it off
Once you have finished your design it’s time to cut off the collar. Cut it off as close to the edge of the seam as possible.
Make sure to include the part of the collar that has that top button so that you can close it and it can function as its own separate piece.
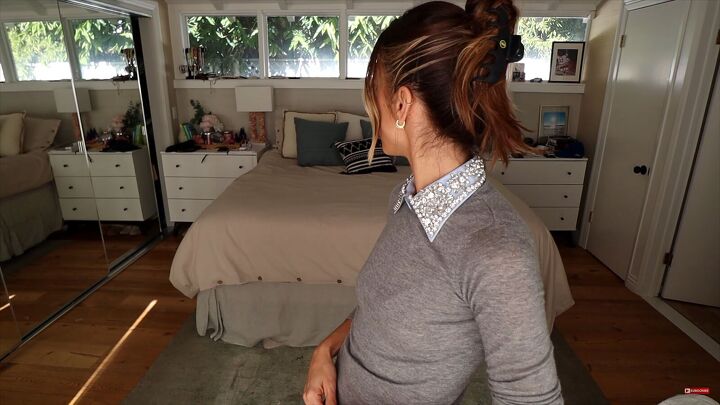
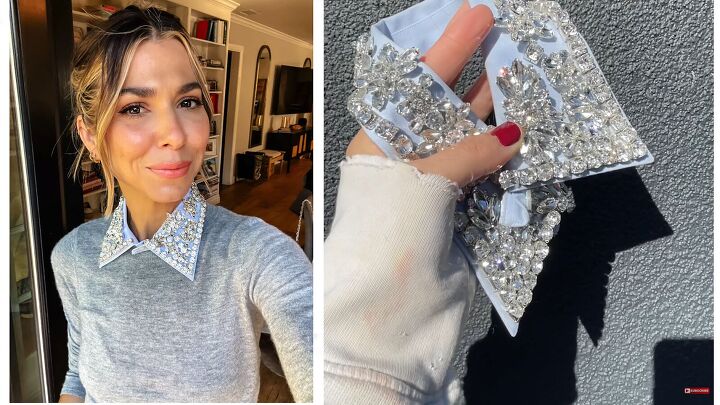
DIY shirt collar
I hope you guys enjoyed these DIY collar ideas. These were such simple and easy projects and I love the finished products.
What do you think? Leave me a comment and let me know how your collar came out.
Next, check out my Easy No-sew Ruffle T-shirt Upcycle Tutorial.
The author may collect a small share of sales from the links on this page.


Comments
Join the conversation
how does this attach to the shirt that you wear it with?
How would you wash the shirt