How to Make Cozy DIY Slippers With Faux Fur - Perfect For Cold Nights

Ah, Winter! The time we get to really enjoy that hot cocoa and wear the comfiest pair of slippers ever! You can make your own DIY slippers with this sewing slippers tutorial! Make your own comfy pair of DIY slippers with fur and enjoy the feeling of warmth and coziness on cold winter nights.
Want to learn how to make fur slippers? I’ve got you covered. Let’s start!
Tools and materials:
- Fleece fabric
- Wool fabric
- Paper
- Pen
- Scissors
- Sewing machine
- Thread
- Needle
- Pins
- Shoe for size
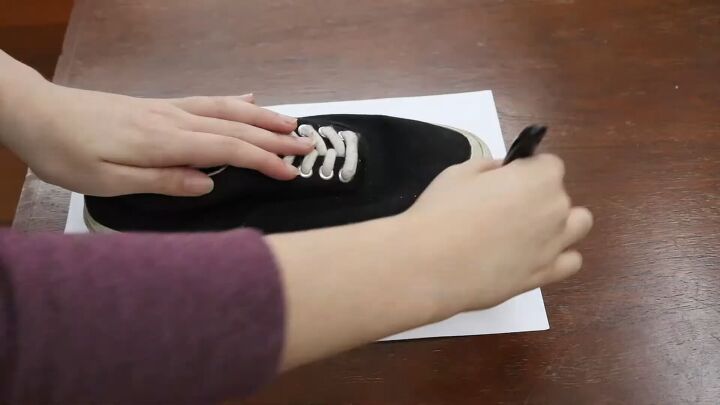
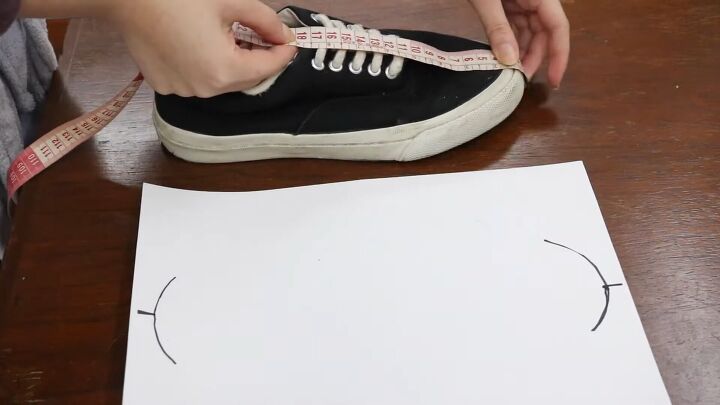
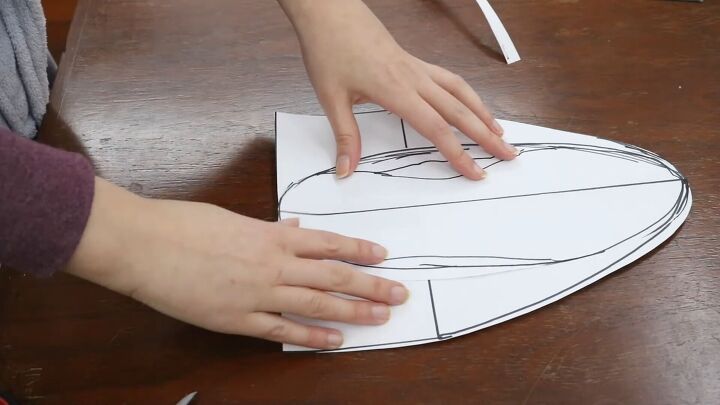
1. Make the bottom DIY slippers pattern
On a piece of paper, trace the sole of your shoe, as shown. Then, draw a mark in the center. Remember to widen the inner corners of the sole.
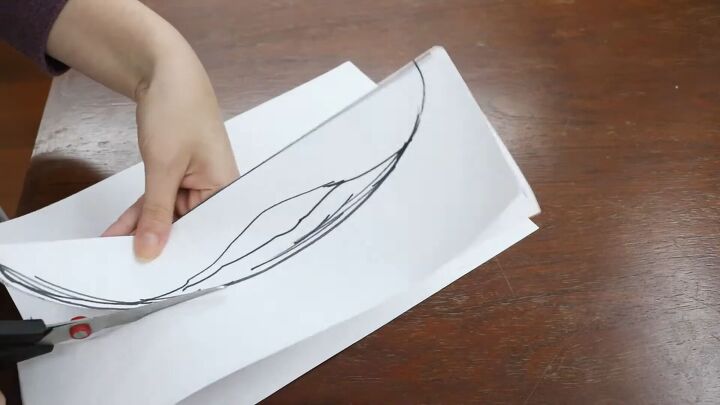
Now, fold your paper in half, and cut around the pattern.
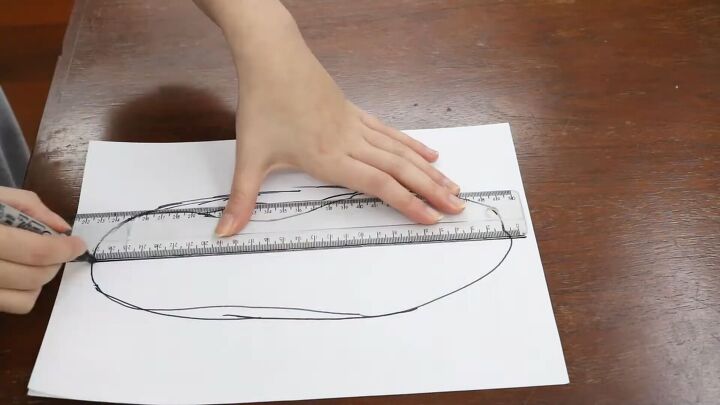
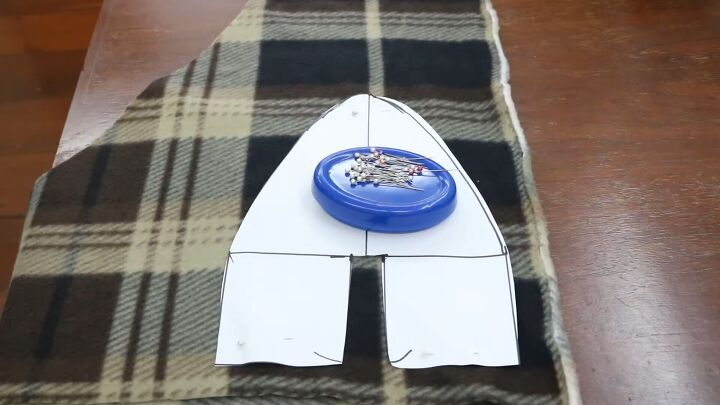
2. Make the top part
On another clean sheet of paper, mark the middle and start tracing the outline of the first pattern.
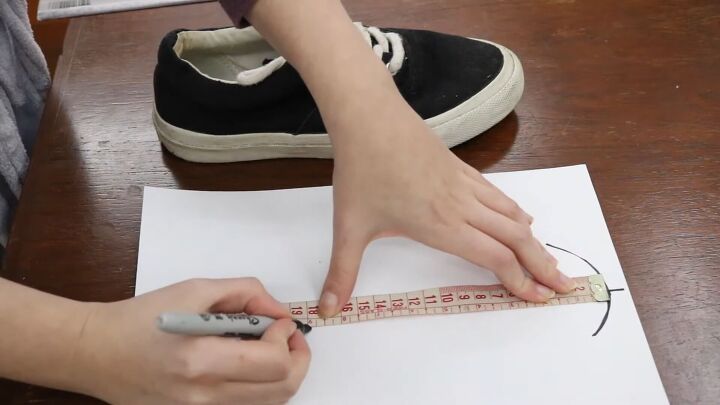
Next, measure your actual shoe, from the top to the opening in the middle. Then, mark that measurement on your pattern.
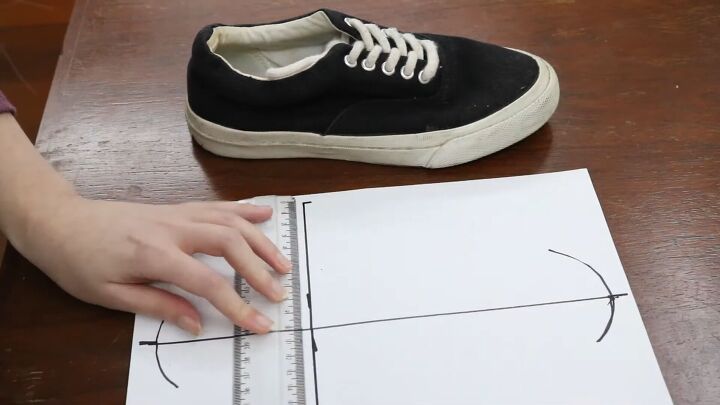
Also, mark the widest part of the shoe in the center and transfer the measurement on your paper, as shown.
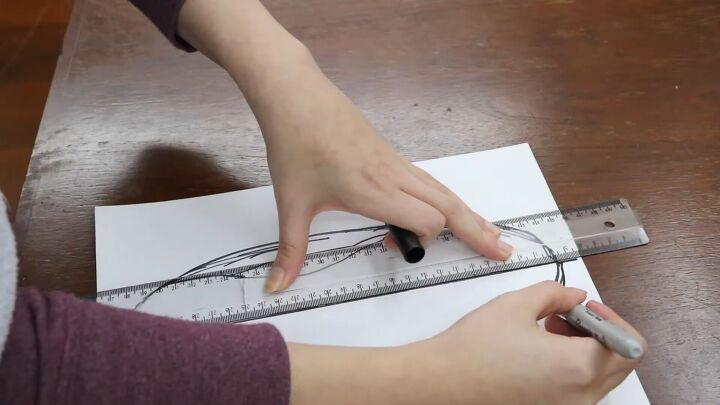
Now, connect the lines.
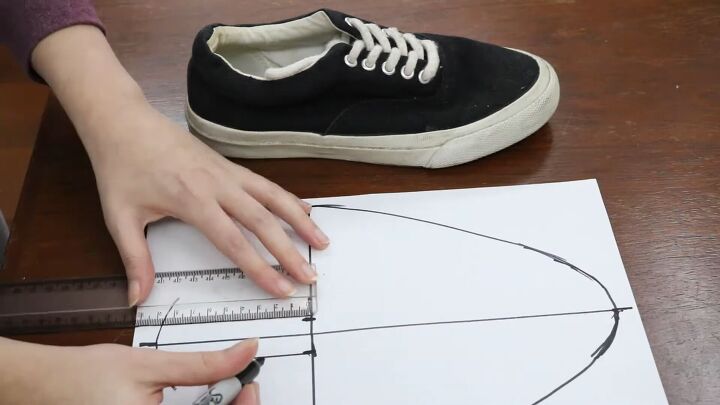
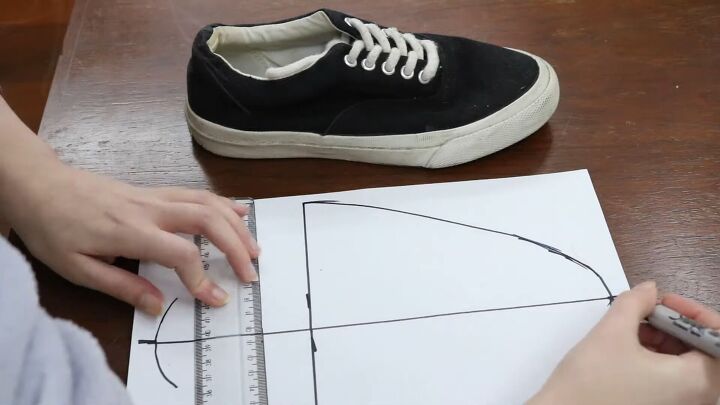
The connecting point in the middle will be the opening of the slipper, so draw a 1cm (0.39 inches) mark on either side and then draw vertical lines from each mark downward.
Finish the pattern with straight, connecting lines on the sides and bottom.
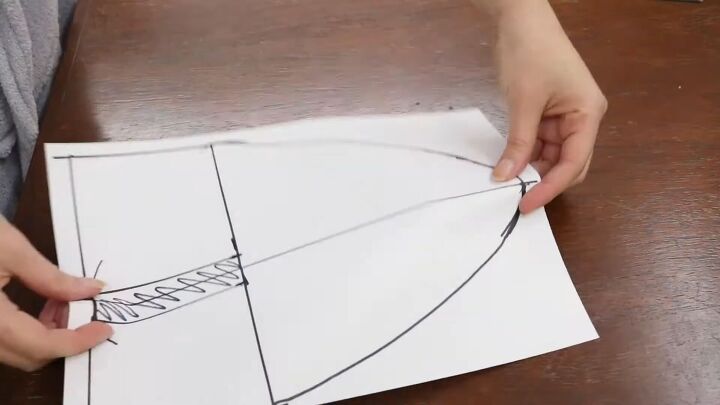
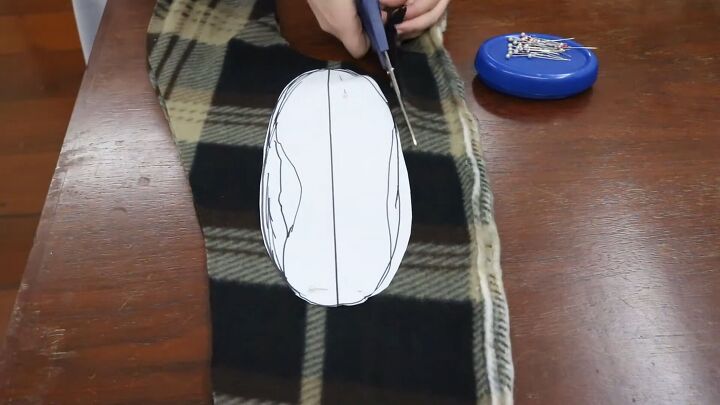
Fold your pattern in half and cut around the pattern. Also, cut out the middle rectangle.
Now you have a top and bottom part! Ready to make DIY sheepskin slippers? Let’s get sewing.
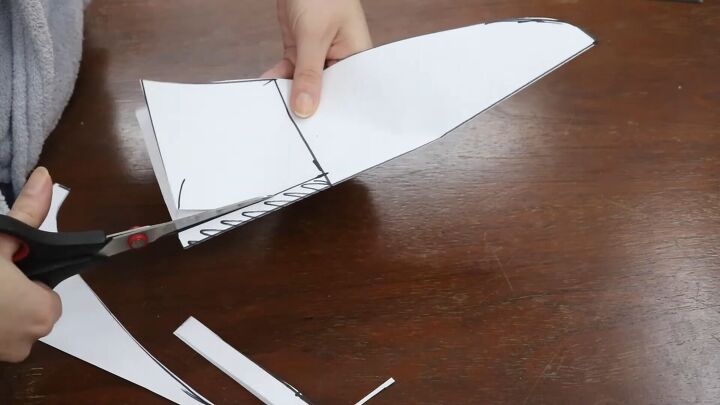
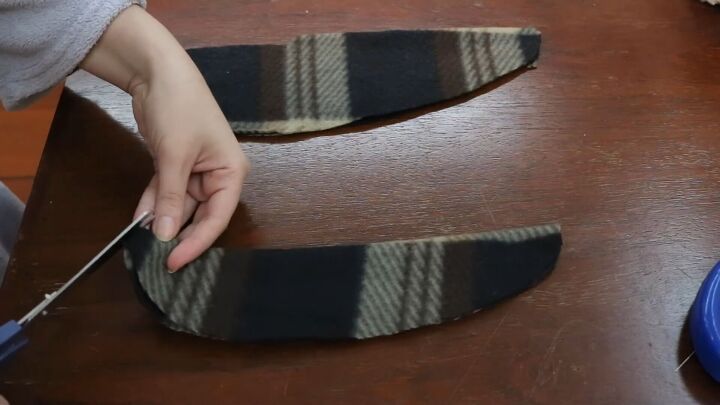
3. Cut the pattern
Now, pin the pattern onto your soft fleece fabric and cut around accordingly.
Make sure to fold the fabric, so you have two layers, and leave 1cm (0.39 inches) for seam allowance. Also, repeat this for the bottom part of the DIY slippers.
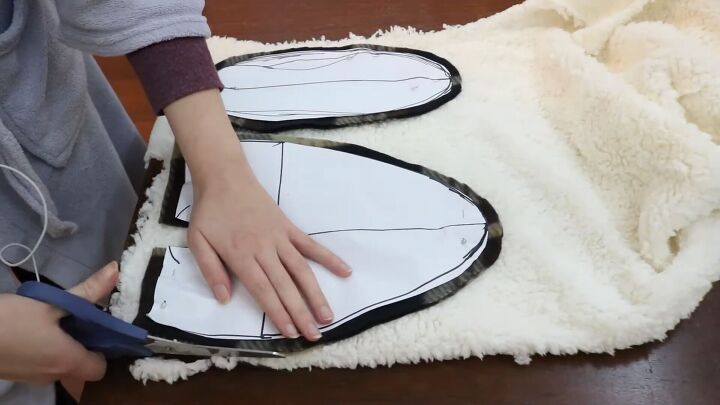
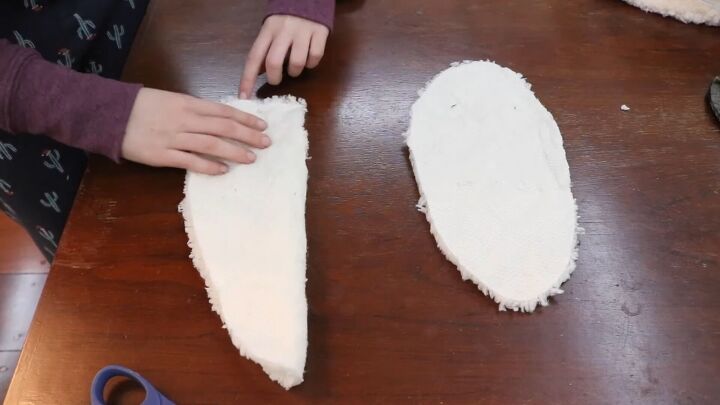
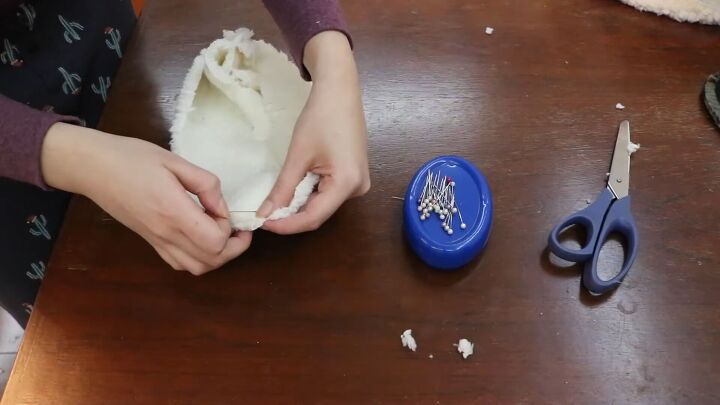
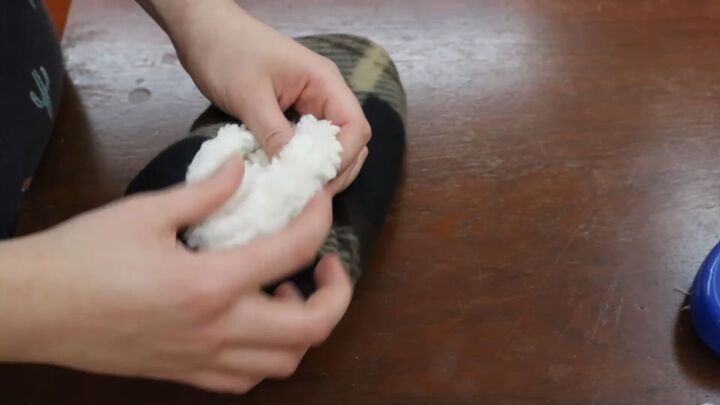
For the lining, use a faux fur fabric. Place the front and bottom fleece pieces on the lining, and cut around.
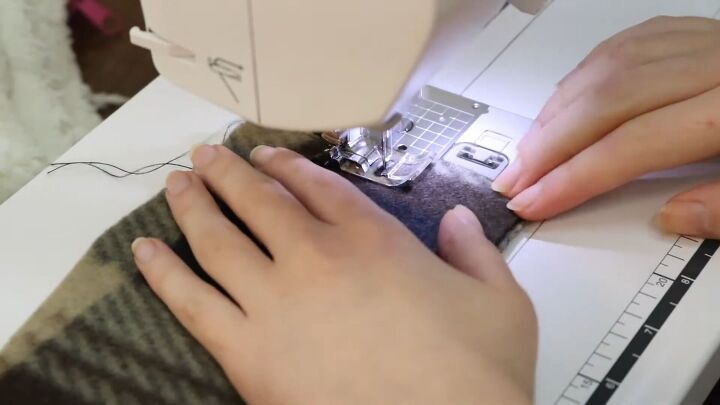
4. Sew the slippers
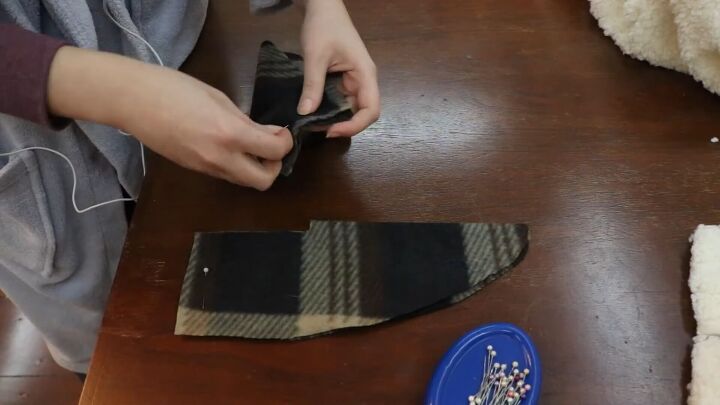
Starting with the top fleece layers, fold each piece in half, and sew the bottom edge. Also, snip the top tip of each piece.
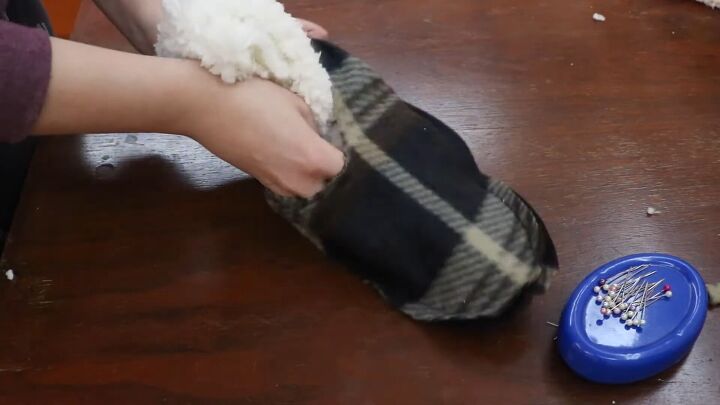
Fold the bottom piece in half, mark the middle, and cut the tips on both sides, too.
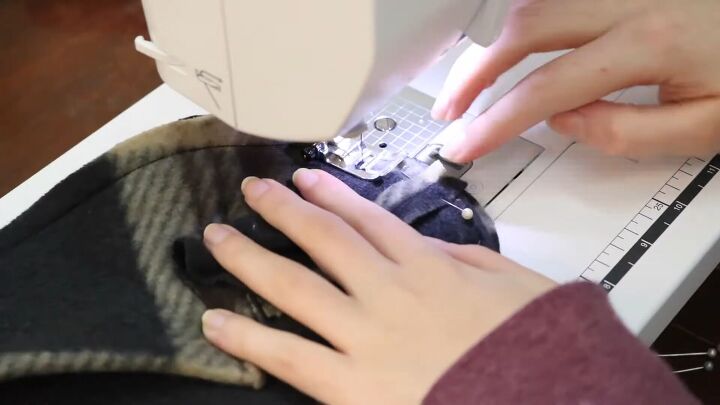
Now, pin and sew both of these layers together, right sides facing.
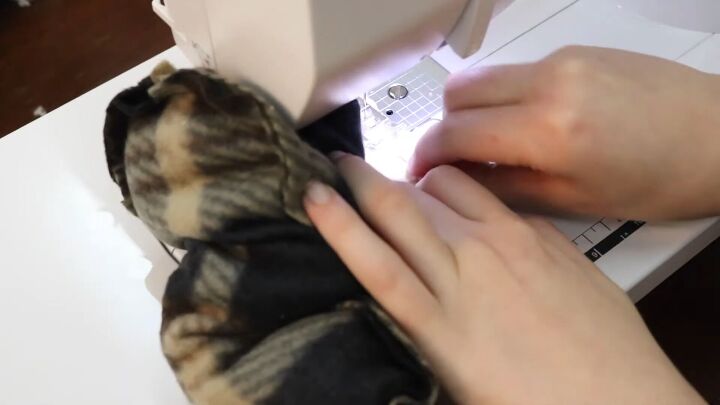
Do the same for the top lining piece, but do not stitch a straight line across the bottom. Rather, stitch on both sides of the bottom edge and leave an opening in the middle.
For the front and bottom piece, repeat the same process as the outer fabric. Pin together, and stitch all around.
Turn the lining fabric right sides out and insert it into the front-facing piece. Pin the edges of the opening.
Stitch the lining and outer fabric together.
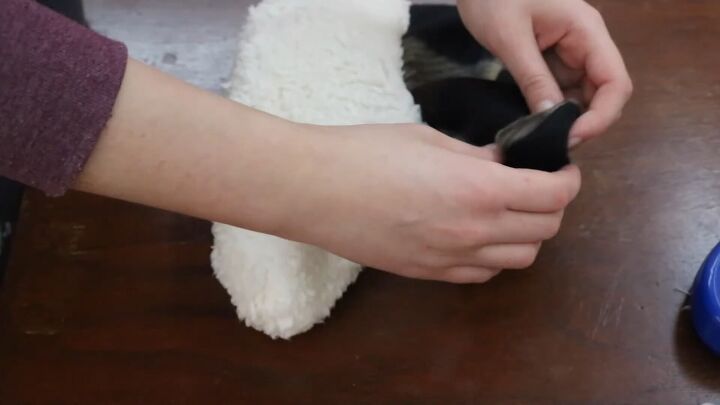
Remember the opening in the lining? Well, it’s time to use that gap to turn the lining right sides out.

Now, put the lining back into the slipper, as shown.
Finally, stitch the gap closed and do this by hand, so it’s easier to get to the raw edges.
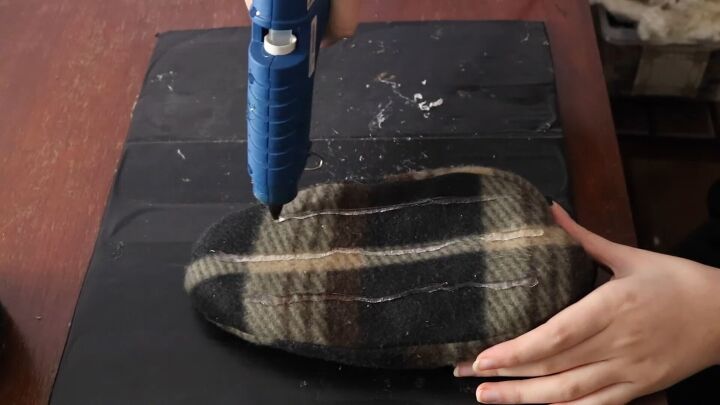
5. Add non-slip lines (optional)
To be safe, add a little hot glue onto the soles of the DIY slippers to ensure you won’t slip. Pretty cool hack, huh?
DIY slippers tutorial
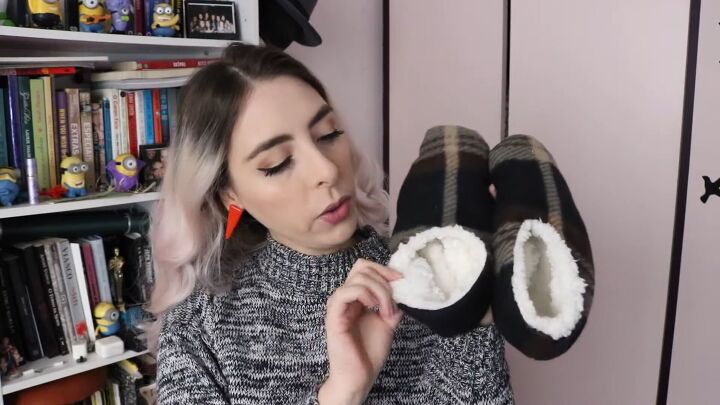
So, there you have it - comfy DIY slippers with faux fur! I love how you can literally make these DIY slippers to fit anyone’s size. It’s also super easy, and you can be as creative as you want.
I hope you enjoyed this tutorial and thanks for tuning in!
The author may collect a small share of sales from the links on this page.


Comments
Join the conversation
If you have fabric faux and otherwise you want to get rid of, should not cost $15.00 Cute booties, but you can pick some up for sale at ******* or ****** for less..But cute idea and you are using your brain!!