3 Cool DIY Toilet Paper Roll Crafts to Make Attractive Jewelry

You can do so many things with a toilet paper roll to recycle it into something useful instead of throwing it away. In this tutorial, you will find three toilet paper roll crafts that make gorgeous jewelry ideas, including toilet paper roll earrings and toilet paper roll bracelets! Happy crafting!
Upstyle Recommends!
Tools and materials:
- Toilet paper rolls
- Mod Podge or strong crafting glue
- Fabric
- Shoelace
- Wire
- Scissors
- Beads
- Headpins
- Shepherd’s hooks
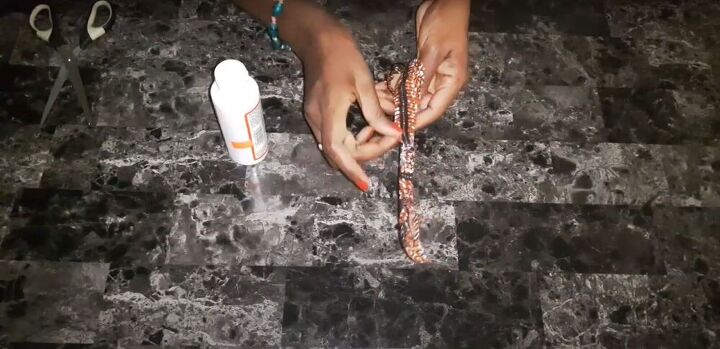
Lace-up wrist cuff
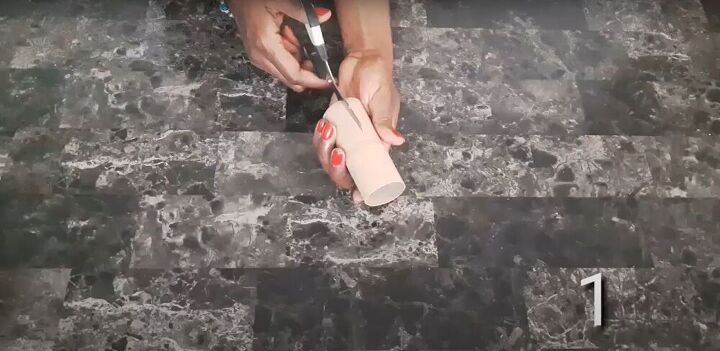
1. Cut
Cut the toilet paper roll lengthways.
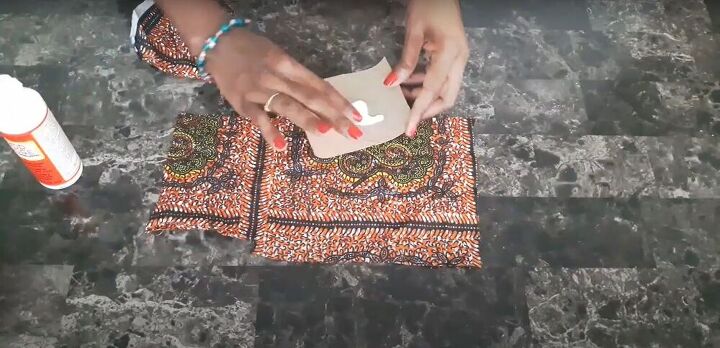
2. Cut and glue
Make sure you have enough fabric to cover both the outside and inside of the toilet paper roll. Apply Mod Podge to the inside of the roll and spread it all over the inner surface.
Cut a piece of fabric slightly larger than the inner surface of the toilet paper roll, and apply it to the glue. Use your fingers to press and smooth the fabric, so there are no bumps or bubbles.
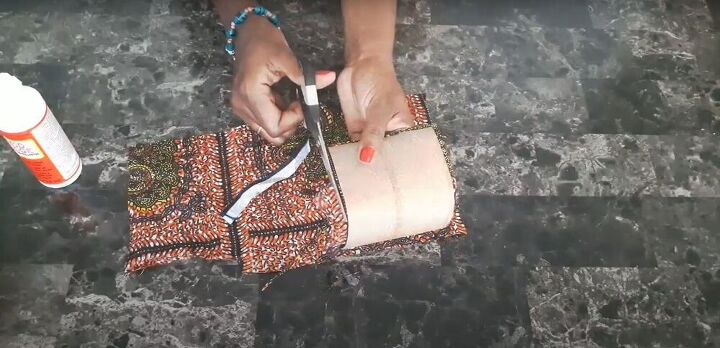
4. Cut
Cut the excess fabric, leaving just enough fabric on each side to be able to fold it over the edges of the toilet paper roll.
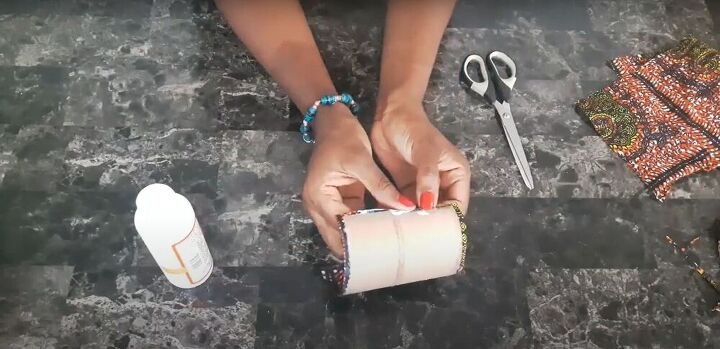
5. Glue
Apply glue to the edges of the outer surface of the toilet paper roll. Fold the inner fabric over the edges, and glue them down.
Repeat the process of gluing fabric, smoothing it down, and folding in the edges on the outer surface of the toilet paper roll.
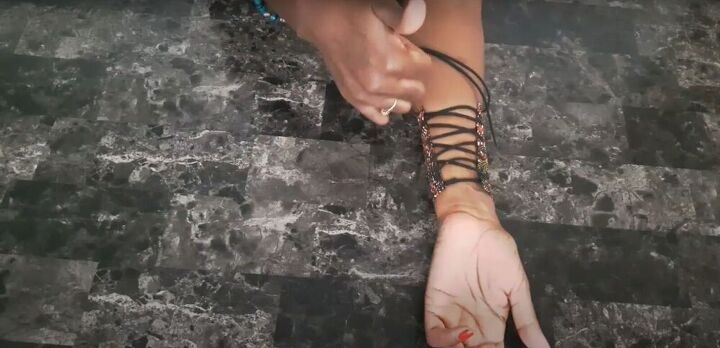
8. Insert laces
Make a row of holes, each about 2 centimeters (0.78 inches) apart from each other, along both side edges.
Insert a shoelace in a crisscross pattern through the holes, as if lacing up a shoe. Slide the cuff onto your wrist, and pull the laces to tighten them.
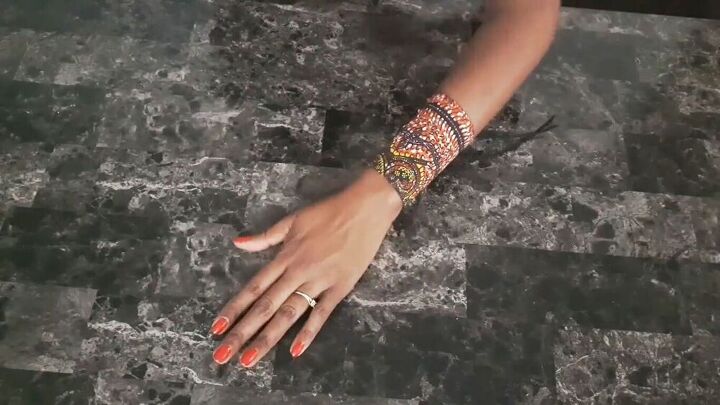
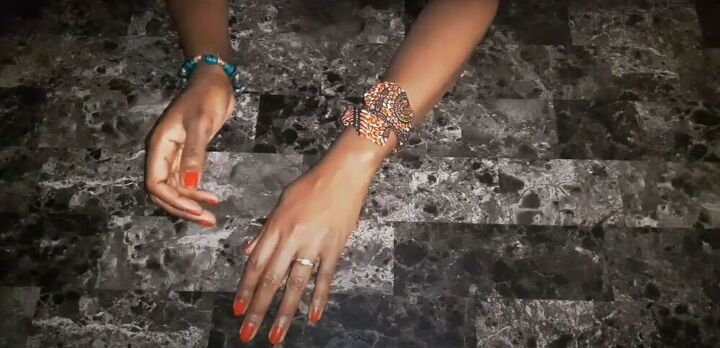
Here's the result!
Twisted bracelet
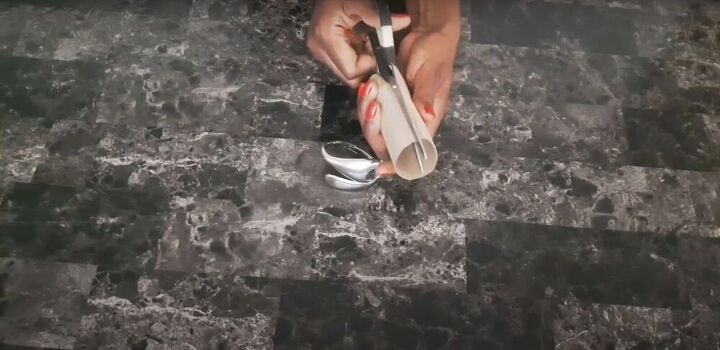
1. Cut
Cut two toilet paper rolls, each from one end to the other.
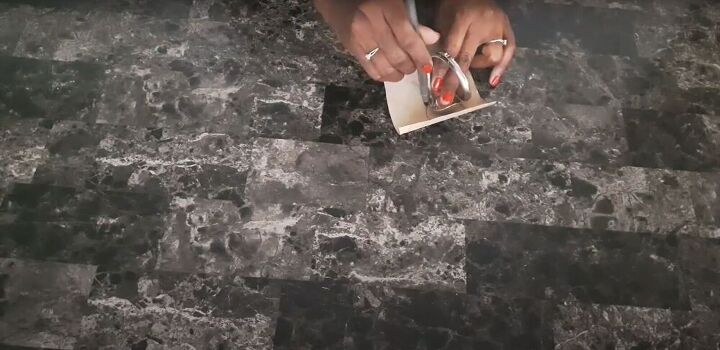
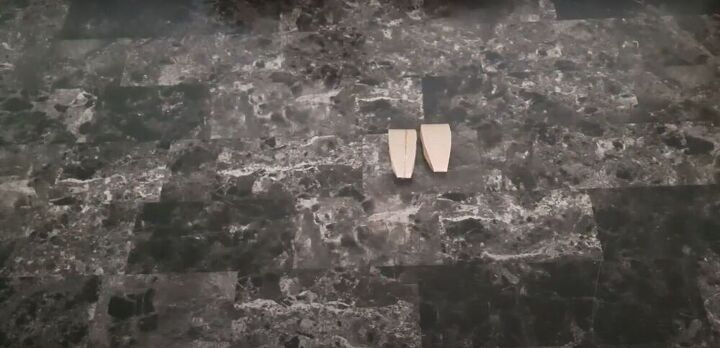
2. Trace and cut
If you have a bracelet in a shape you like, you can trace half of it onto the inside surface of one toilet paper roll, and the other half onto the second toilet paper roll. Otherwise, draw out the shape you prefer, half on one roll and half on the other. Then, cut out the shapes.
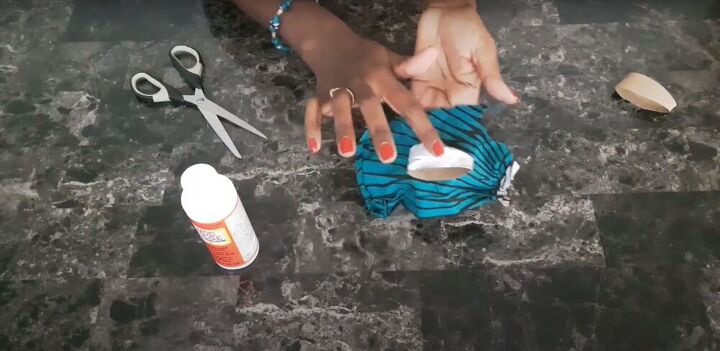
4. Glue
Apply glue to the outer surface of the upper half of the bracelet and attach the fabric. Cut the excess fabric from around the bracelet, leaving about half an inch of fabric to fold over the edges.
6. Snip
Make snips all along the fabric overhanging the edges of the bracelet. Apply glue to the overhanging fabric, and fold it over the edges of the bracelet.
8. Glue
Apply glue to the end of the top half of the bracelet, and attach the second half, fold a bit of the fabric over the second half, as well.
Cover the bottom half of the bracelet with glue, and attach the fabric using the same method used for the top half.
10. Attach wire
Bend a piece of wire so it is similarly shaped to the bracelet. Apply glue to the bottom half of the bracelet’s inner surface and lay the wire on the glue. Then, fold the overhanging fabric over the wire, and press down tightly to secure.
11. Attach fabric
Apply glue and attach the fabric to the top half of the bracelet to cover the wire there, as well.
12. Twist and wear
Bend the bracelet into a spiral shape, and slip it onto your wrist. Adjust as necessary.
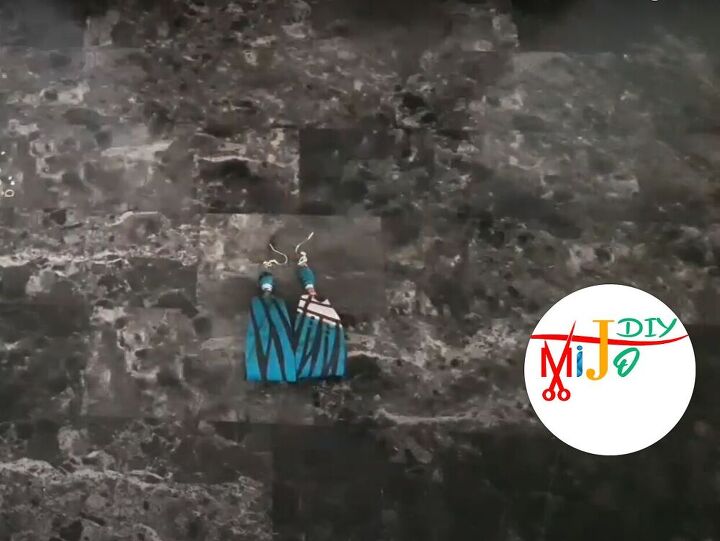
Toilet paper roll earrings
1. Cut
Cut two rings from the toilet paper roll, and shape them so each one is tapered on one end. Use one as a guide to help you shape the second one, so they will be symmetrical.
2. Attach fabric
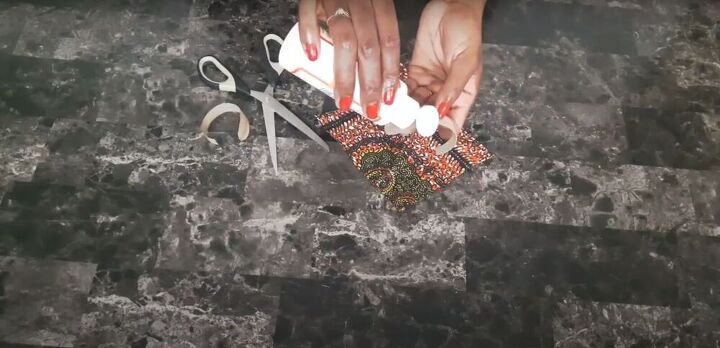
Apply glue to the entire outer surface of each toilet paper ring, and fold the fabric over the ring, pressing down and smoothing the fabric, so there are no wrinkles or bubbles.
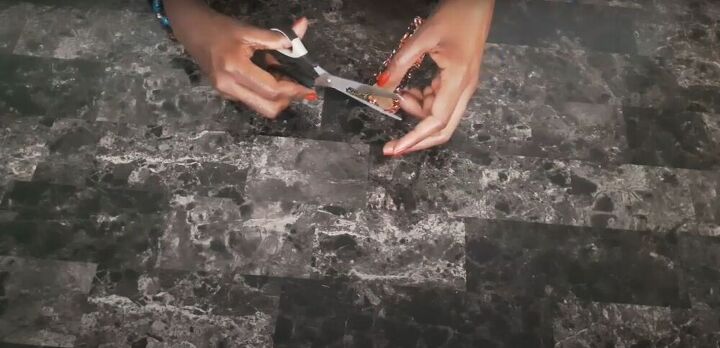
3. Cut and glue
Cut the excess fabric from around the edges of the ring, leaving enough overhanging fabric to fold over the edges and glue down on the inner surface. Apply glue to the overhanging fabric, and fold it over the edges of the ring, onto the inner surface.
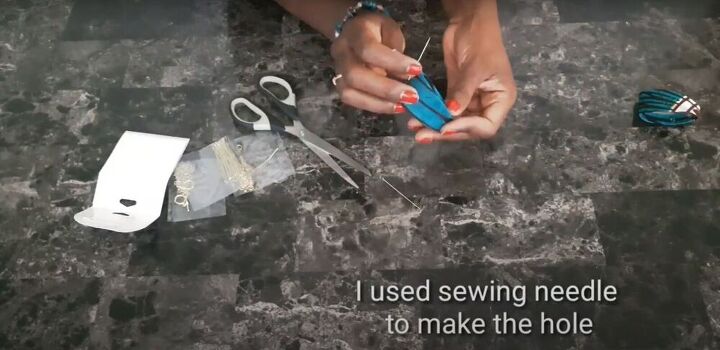
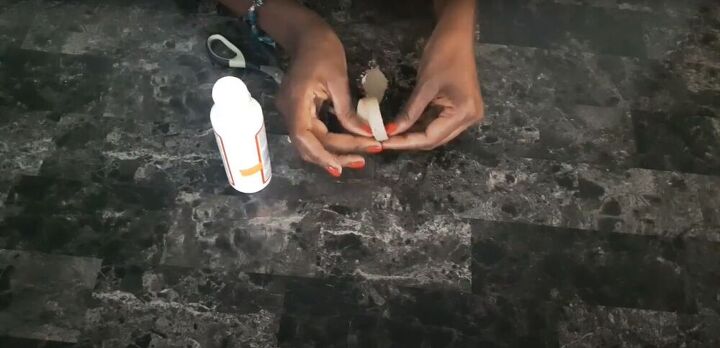
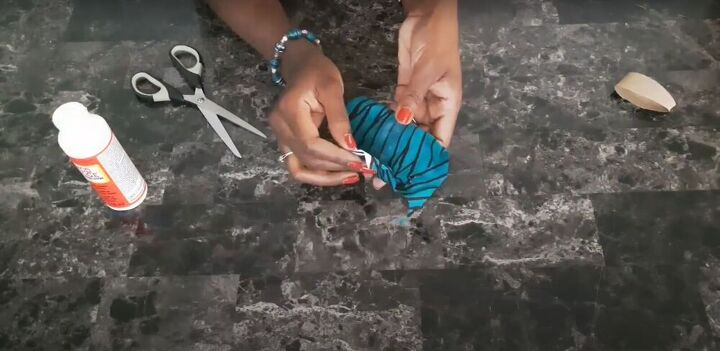
5. Make a hole
Use a sewing needle to make a hole in the center of the tapered end of the ring. Then, run a headpin through the hole you just made.
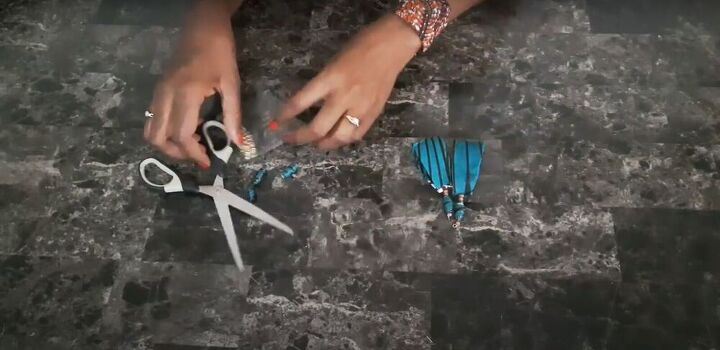
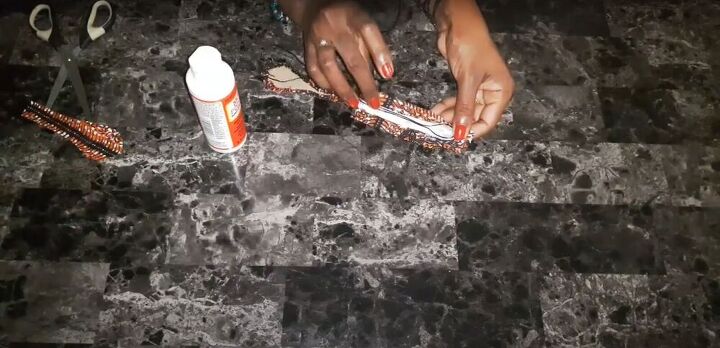
7. Apply beads and make a loop
Slide your preferred design of beads onto the headpin. Once you’re happy with your design, make a loop at the end of the headpin, and cut the excess wire.
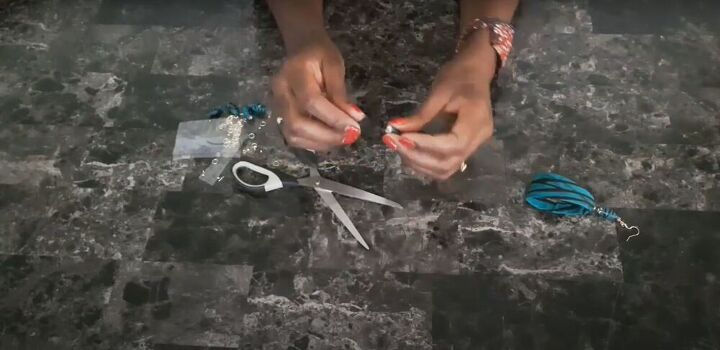
8. Apply shepherd’s hooks
Open the loop on the shepherd’s hooks, slip it through the loop at the top of the earring, and close it up.
If you enjoyed these DIY toilet paper roll crafts, let us know! Which idea do you like best?
The author may collect a small share of sales from the links on this page.


Comments
Join the conversation
Loved both - how creative!
Love your ideas but found it difficult to see individual steps. Printed fabric over busy background. Consider posting again with a white base and maybe brighter colored fabric. The contrast easier to see. But great ideas!!!