How to Make a Last-Minute DIY Ugly Christmas Sweater for the Holidays

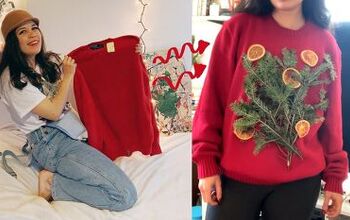
Today we are making an ugly Christmas sweater! This DIY is super easy and straightforward. Plus, it’s such a fun indoor craft for cold winter days.
Tools and materials:
- Oversized sweater
- Cardboard
- Colored felt
- Hot glue gun
- Scissors
- Pen/pencil
- Ribbon
- Pompoms

1. Choose your sweater
Choose an oversized sweater made with tight-knit fabric like cotton or polyester. This way, you can glue as many items as you would like to it without restricting your movement or items falling off.
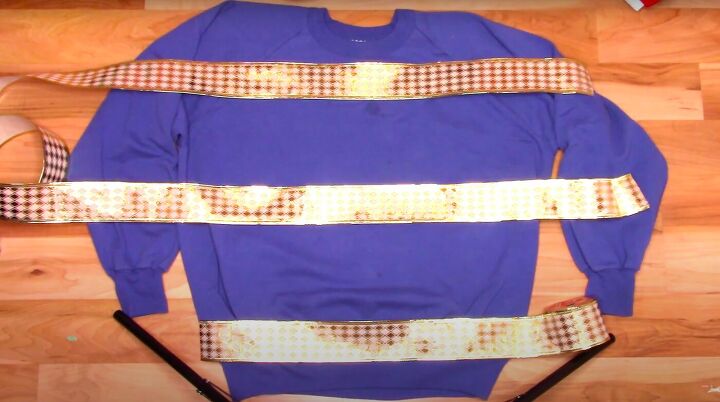
2. Lay out the ribbon
Lay your sweater out flat and place the ribbon across your sweater, leaving some space in between.
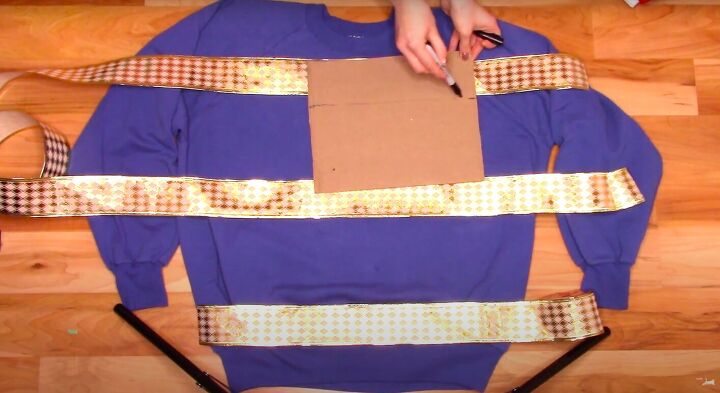
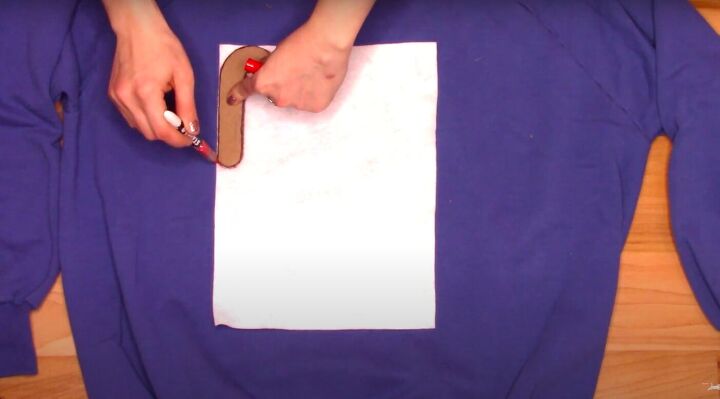
3. Plan your shapes
Take the cardboard and mark out the height you want the shapes in between to be.
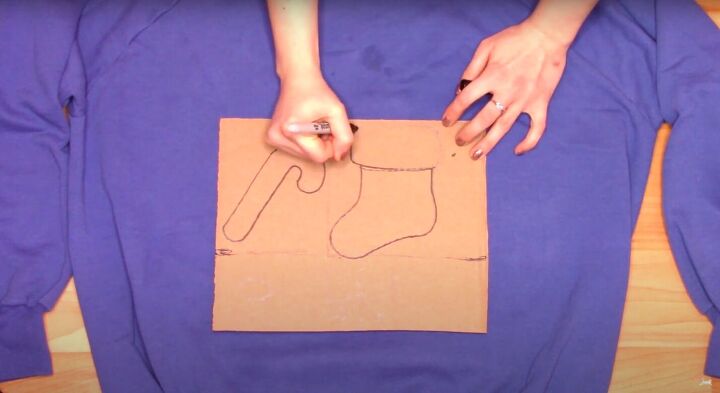
4. Draw the shapes
Draw festive shapes on the cardboard. I drew candy canes, stockings, bows, and holly leaves.
Feel free to draw whatever you would like.
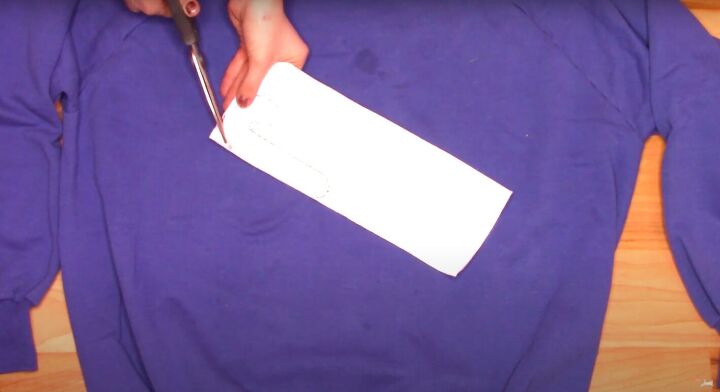
5. Cut out the shapes
Cut out the shapes to use as stencils.
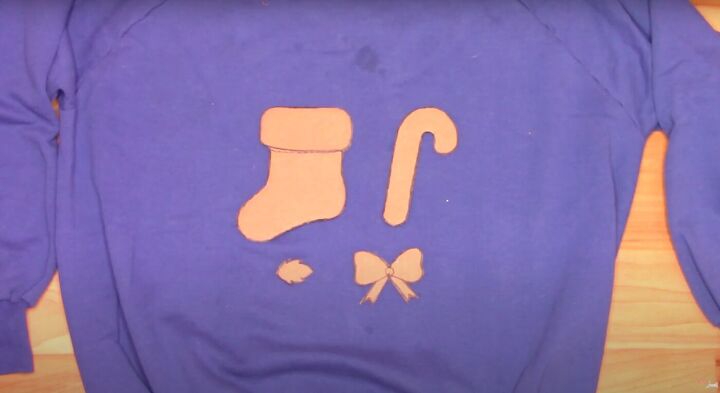
6. Trace the stencils
Trace the stencils you just created onto the colored felt.
7. Cut out the shapes
Fold the felt in half so that you can cut out more than one shape at a time, then cut.
In total, I cut out 12 white candy canes, three green stockings, three red stockings, six white stocking cuffs, six green holly leaves, and three red bows.
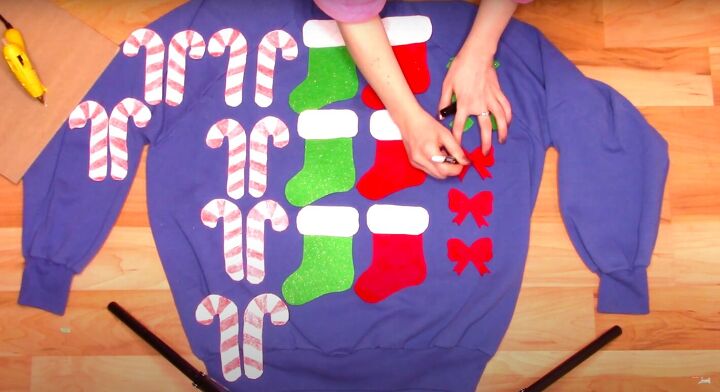
8. Add the designs to the shapes
Draw red stripes on the candy canes, making sure half are facing left and half are facing right.
Draw black details on the bows.
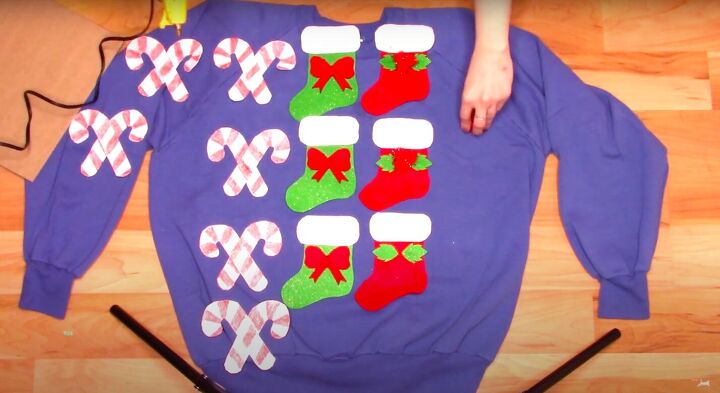
9. Glue the rest together
Glue the cuffs onto the stockings.
Glue the holly leaves to the red stockings and the red bows to the green stockings.
Glue three red pompoms to the center of each of the holly leaves.
Glue the candy canes together in a criss-cross shape.
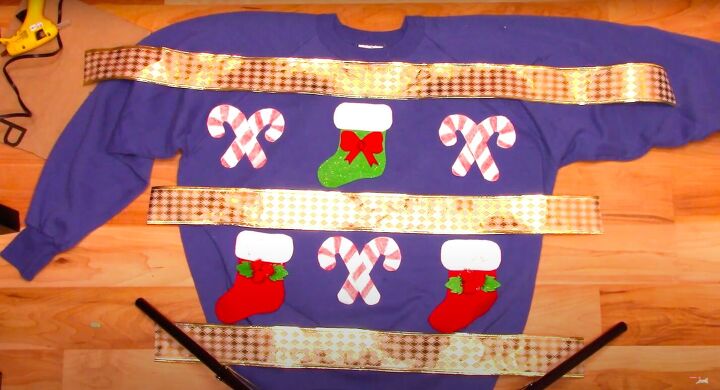
10. Prepare the design
Lay all the decorations out where you want them.

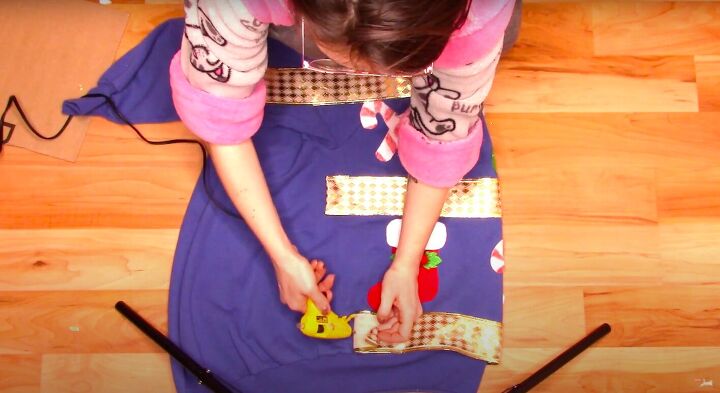
11. Glue your ribbons in place
Start by gluing only the center of your ribbons, we will do the ends later.

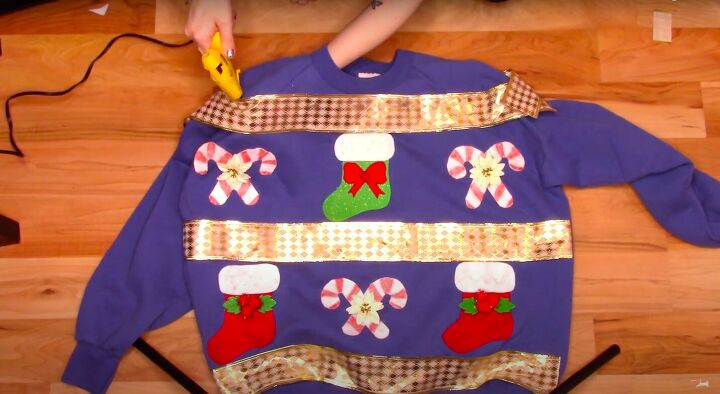
12. Glue the rest in place
Glue the candy canes in place.
I want the stockings to be pockets so I am gluing them a little differently. Glue the stockings only around the edges of the shape, leaving the top open.
13. Finish the bottom ribbons
Lay the sweater on its side with the sleeve down the center.
Trim and fold the ends of the bottom two ribbons, gluing down in line with the sleeves on both sides.
Repeat on both sides.
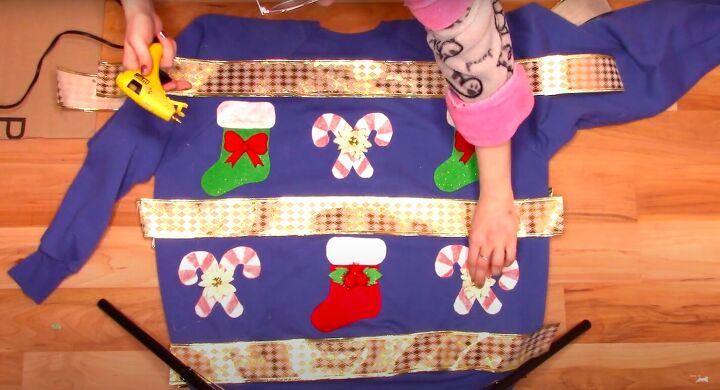
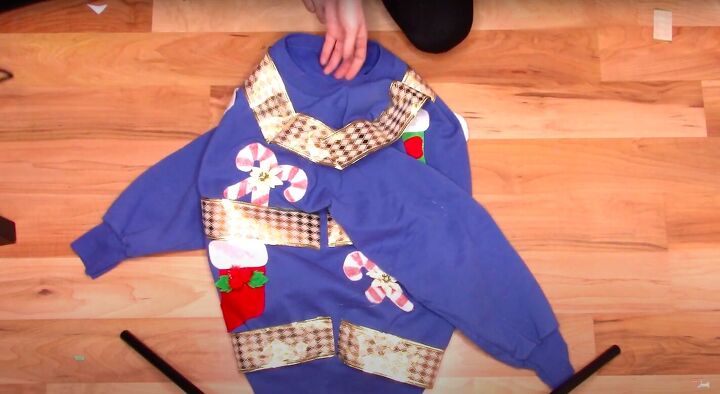
14. Glue the decorations on the back
Finish gluing the decorations on the back of the sweater.
At this point, I decided to add some decorative flowers to the center of the candy canes.
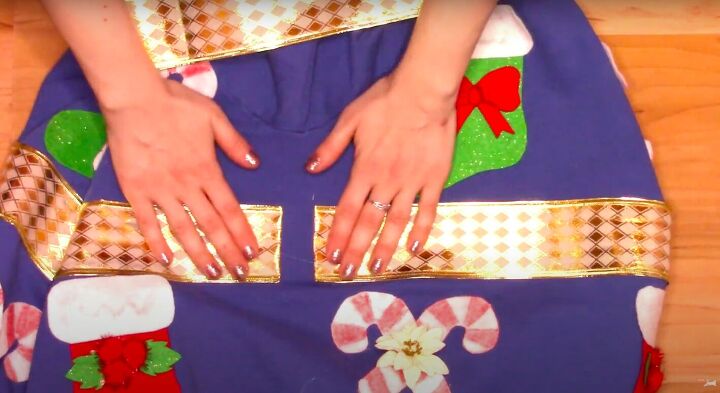
15. Leave a gap
Fold and glue the edges of the bottom two ribbons leaving a small space between the front and back ribbons to allow for some stretch.
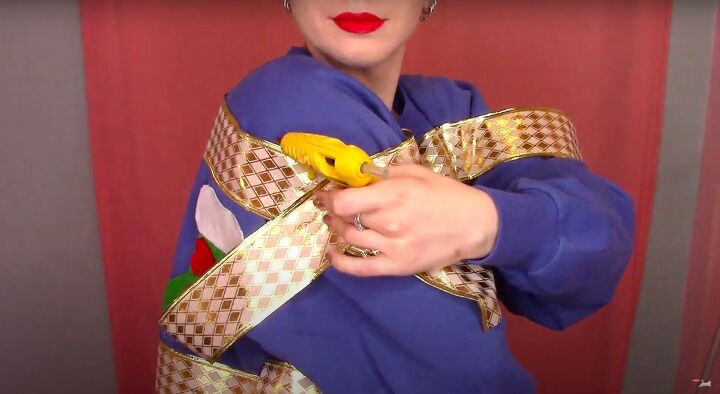
16. Finish the top ribbons
Put the sweater on and cross the ends of the ribbons at your shoulder so they are straight across when your arms are down.
Glue the ribbons together using your hot glue gun and repeat on the other arm.
17. Trim the excess ribbon
Lay the sweater down flat again and trim the excess ribbon, leaving enough to fold the ends.
Place one hand inside the sweater to spread out the arm and then glue the ribbon in place.
Repeat this process for the other arm.
18. Finish the look
Turn the sweater sideways again so that the sleeve is in the center.
Fold the ends of the ribbon so that they meet at a point and glue it down.
Repeat on the other side.
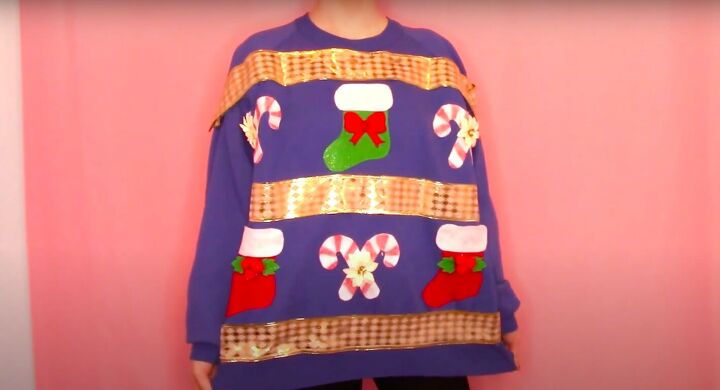
DIY ugly Christmas sweater tutorial
There it is, an ugly Christmas sweater! Super fun and super easy. Now you can make your own ugly Christmas sweater! Let me know what you think of this tutorial and the results, and share your own DIY ugly Christmas sweater ideas in the comments below.
The author may collect a small share of sales from the links on this page.


Comments
Join the conversation