12 Common Dramatic Makeup Mistakes & How You Can Fix Them

Today, I want to go over the most common mistakes for dramatic makeup, based on how I used to do this style of makeup as a beginner versus now.
I previously did a tutorial on common makeup mistakes and how to fix them, which was centered around everyday makeup. A lot of you seemed to like that so I thought I would do another one for glamorous and dramatic makeup.
The left side will be my mistakes and the right side will be my corrections. I'll still be doing my makeup well on both sides, so you can see the subtle differences in using different techniques.
Of course, this tutorial is not meant to offend or insult anyone. If you enjoy the way you do your makeup, feel free to ignore what I count as a "mistake." After all, makeup is subjective and down to preference.
However, if you're looking for advice as a beginner or you're interested in how different techniques can create different results, then this is the dramatic makeup tutorial for you.
Tools and materials:
- Primer
- Foundation
- Highlighter
- Cream contour
- Bronzer
- Blush
- Setting powder
- Eyeliner
- Brow liner
- False lashes
- Eyeshadow
- Lip liner
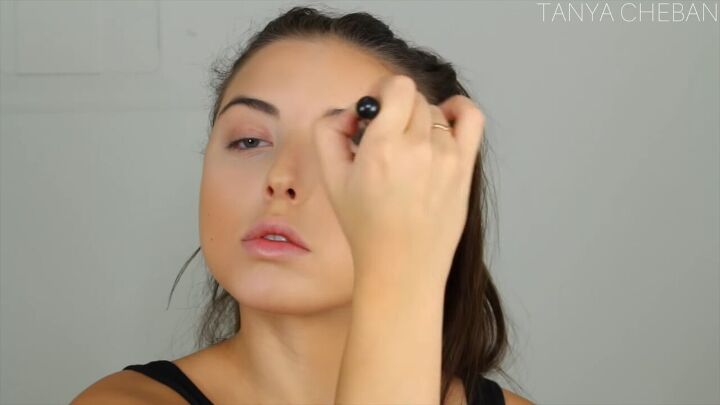
1. Not wearing primer
One of my biggest mistakes as a beginner was not wearing primer. It’s essential if you’re doing dramatic makeup.
Primer will help your makeup go on amazing, fill in any pores, and make your makeup last all day long.
2. Wearing light coverage makeup
When wearing dramatic makeup, you want your skin to look flawless because you want all the attention on your eyes and lips.
So, make sure you’re wearing full coverage if you’re spending a night out. A heavier foundation will also last much longer.
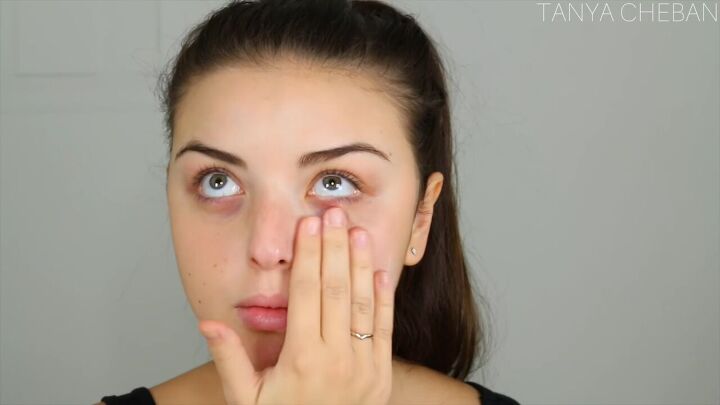
3. Underestimating skin tone
I always underestimated how tan I actually am and I’d go in with the lightest highlighting shade.
If you do this, you can neutralize that lightness with yellow-toned banana powder.
Now, I use a shade that’s only 1-2 shades lighter and complements my skin tone. The difference will really shine when taking photos at night, whether you’re at a club or using flash.
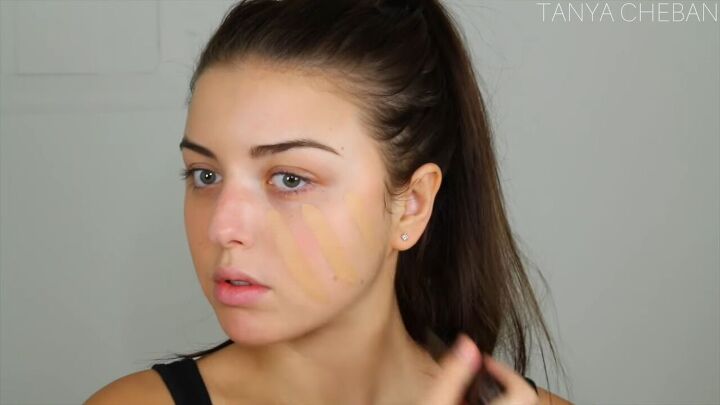
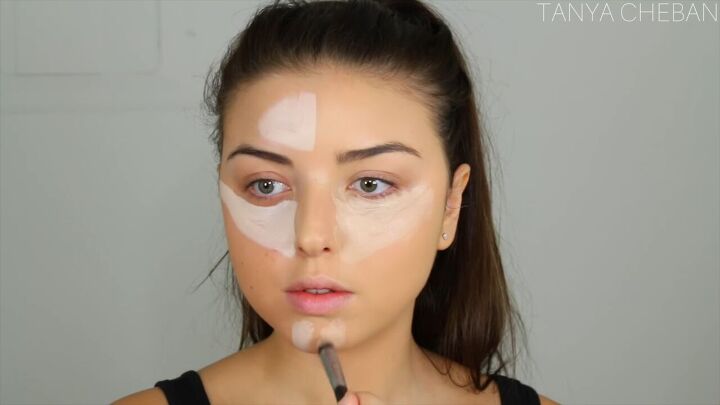
4. Blending contour all over the face
Cream contouring should be a way to enhance your natural cheekbone, but I used to blend out my contour product all over my cheek.
Cream contour is a base for bronzer, and is used to enhance natural bone structure. Keep it very localized to the areas you apply it to.
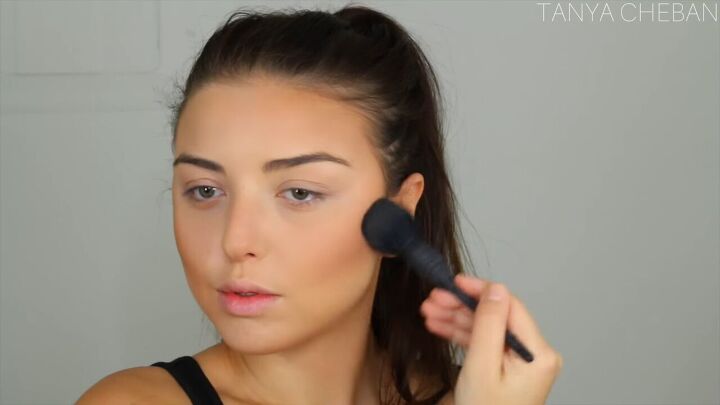
5. Using a no-color setting powder
I’m using very thinly milled setting powder underneath my eyes and around my nose as that’s where I get really oily and it’ll help control the oil throughout the night.
Then, I’m using a face powder that matches my skin tone to set the rest of my face.
I used to use a no-color powder that ended up giving me a white film all over my face.
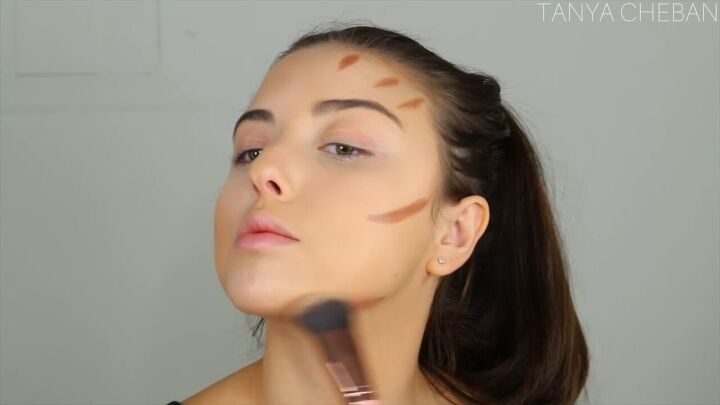
6. Using a bold contour in a straight line
I’m guilty of using a really warm contour that’s just a straight, bold line across my cheek.
Bronzer is meant to give you a sunkissed look, so pick a shade that’s warm or neutral, depending on your skin tone. Gently brush it in areas you need it.
For the contour, opt for something more neutral or cool. The bronzer and contour should come together and give you a really nice shape that’s defined and not too bold.
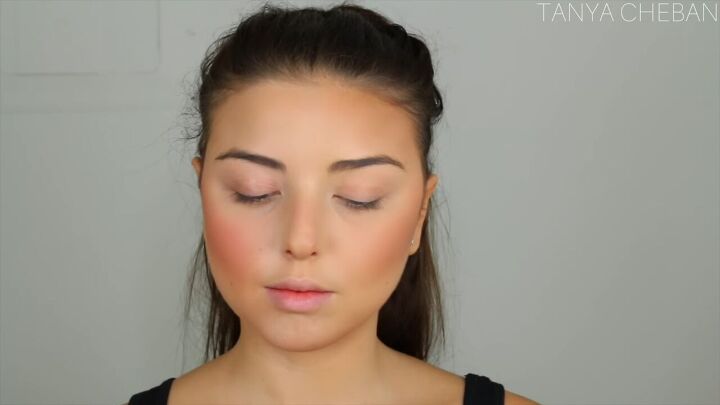
7. Being too heavy-handed with blush
Blush is meant to bring life back into your face, not just to add color to your cheeks, so go in with a light hand.
Where you apply your brush is going to depend on the shape of your face. I like to apply mine right above my contour because applying blush to the apples of my cheeks makes my face look rounder.
8. Placing highlighter on your cheek
I love to place highlight right on my cheekbone (the highest point), a little bit above my brow, the bridge of my nose, and the side of my chin. It gives me a glow I don’t have with dry skin and highlights all the right places.
A common mistake is to rub the highlighter into the apple of your cheeks. This clashes with the bronzer and the blush, then looks really messy.
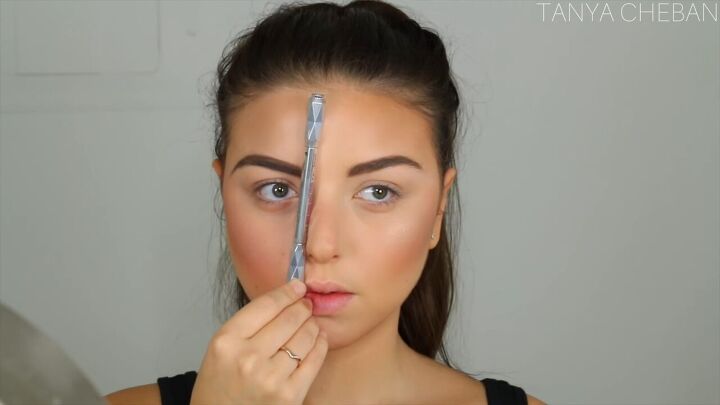
9. Drawing brows disproportional to the face
Brows frame your eyes, so you want to avoid drawing on a brow that’s too long or thick. Instead, define your original brow shape and don’t extend too much.
You can clean up your brows with a bit of concealer to give a lifted brow look. Don’t forget to set your brows with brow gel.
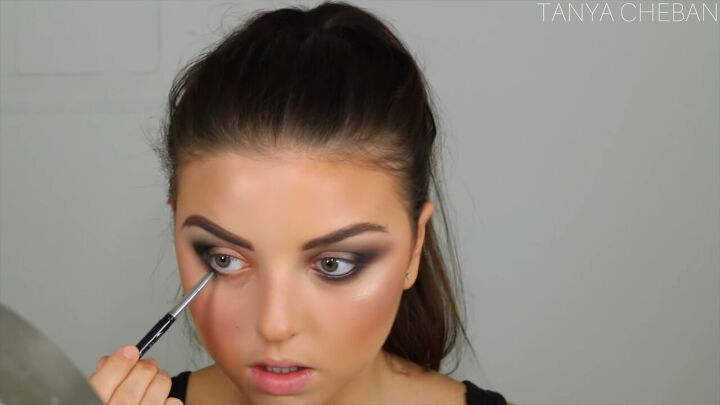
10. Applying eyeshadow without a base or transitional shades
With dramatic eyeshadow, a common mistake is to put eyeshadow directly on your lid and into the crease without any kind of transitional shade or base.
A base helps out with the intensity of the eyeshadow and keeps it vibrant all day and night, especially for dramatic smoky eye makeup.
Additionally, I used to always put my black eyeshadow below my waterline instead of on it. This left an awkward gap between my eye makeup and my eye.

11. Not trimming false lashes
If you don’t trim your eyelashes, your eyes will end up looking droopy. I like to trim mine to fit the exact shape of my eye.
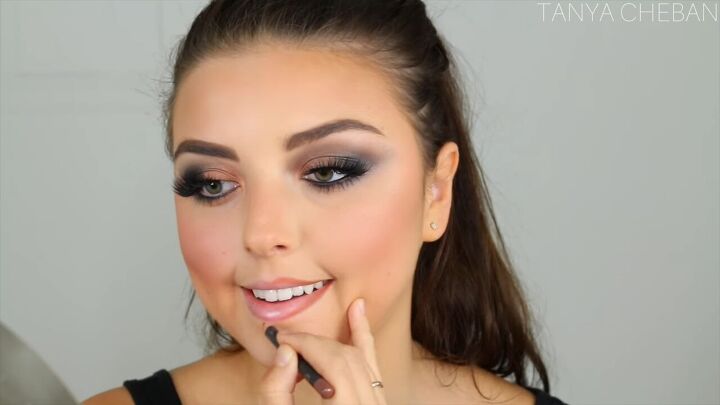
12. Not lining lips
Lip lining helps prevent lipstick from bleeding.
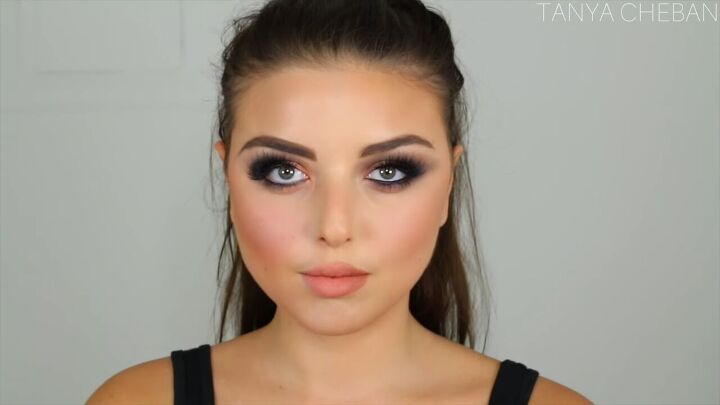
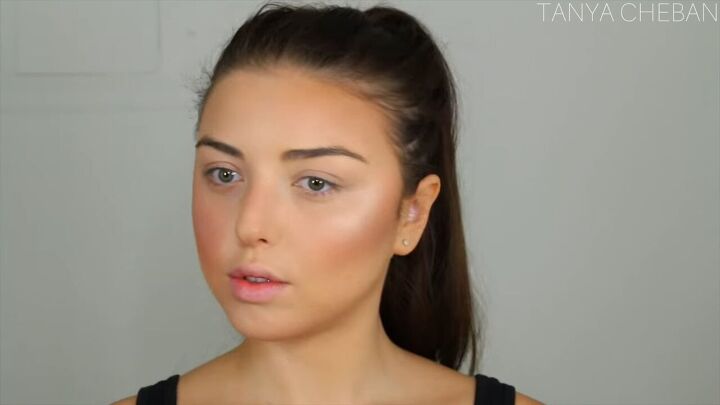
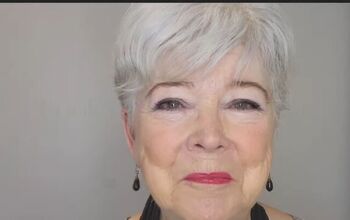
Dramatic makeup tutorial
Here’s the finished look! The left side is all of my mistakes, and the right side is how I fixed them.
The difference isn’t drastic, but as you can tell, the right side enhances my features as opposed to it just looking like I’m wearing a lot of makeup.
Let me know your thoughts on this dramatic eye makeup tutorial and what tips you wish you knew when doing your own dramatic looks!
Products used
Wrong Side:
Makeup Forever Water Blend Foundation
ABH Cream Contour Palette - Light
RCMA Powder
Too Faced Chocolate Soleil Bronzer
Physicians Formula Natural Blush
Becca Cosmetics Opal Highlight
Benefit Cosmetics Precisely my Brow Pencil
Right Side:
Elcie Pearl Radiance Primer
Hourglass Vanish Stick Foundation
MUF Pro Sculpting Palette 30
RCMA
MUF Pro Finish Setting Powder 123
MUF Bronze Fusion T5i
Becca Cosmetics Opal
Benefit Precisely my brow pencil
Mac Strip Down
Milani Nude Creme Lipstick
LA girl Setting Spray
Clinique Eye Kohl Pencil
Nubounsom Lashes Russian Black
The author may collect a small share of sales from the links on this page.


Comments
Join the conversation