Transform an Old Hawaiian Dress Into an Adorable Midi

If you’ve seen any of my tutorials, you know that I recently inherited a whole bunch of old clothes after my grandmother passed. The original plan had been to donate them, but I wanted to take them instead as a way to stay connected with her. So I’ve taken to refashioning a bunch of her clothes. In this tutorial, I’ll show you how I upcycled this old Hawaiian maxi into a super cute over-the-knee dress.
Tools and materials:
- Dress
- Scissors
- Seam ripper
- Sewing pins
- Sewing machine
- Hem tape
- Fray Check glue
- Fabric dye
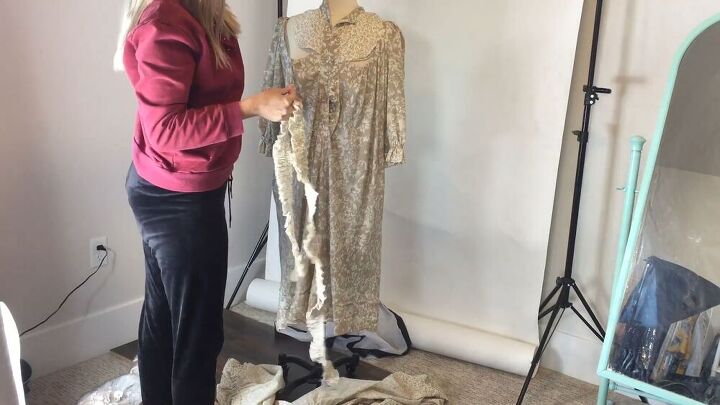
I started off by removing the fabric I didn’t need. That included the big ruffle at the bottom of the dress, the ruffle around the yoke of the dress, and the ruffle around the neck of the dress. Later I decided to also remove the sleeves.
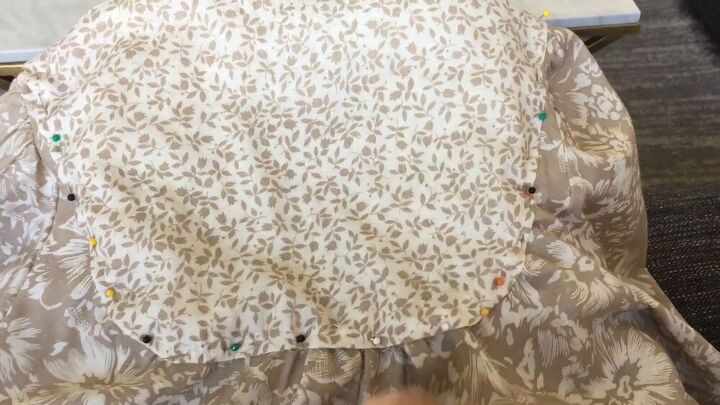
Once those ruffles were out of the way, I had to pin the yoke back in place so that I could sew it. I also had to sew together the collar piece where I removed the ruffle.
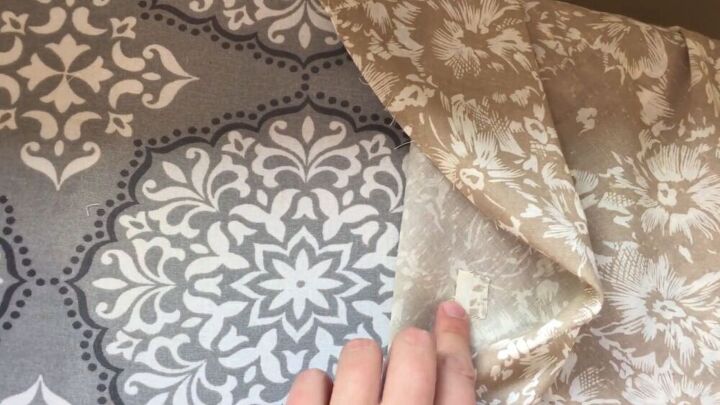
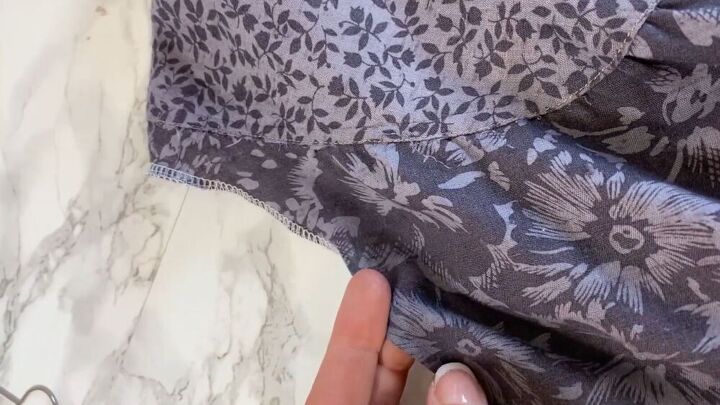
When I removed the ruffle from the bottom of the dress, I accidentally made a hole in the material. So the next thing I had to do was fix that hole. What I did was flip that part of the dress inside out and use hem tape. I stuck on the hem tape and ironed it on, then I ironed on a scrap of the material behind the hem tape. Lastly, I used some Fray Check glue to seal it from the other side.
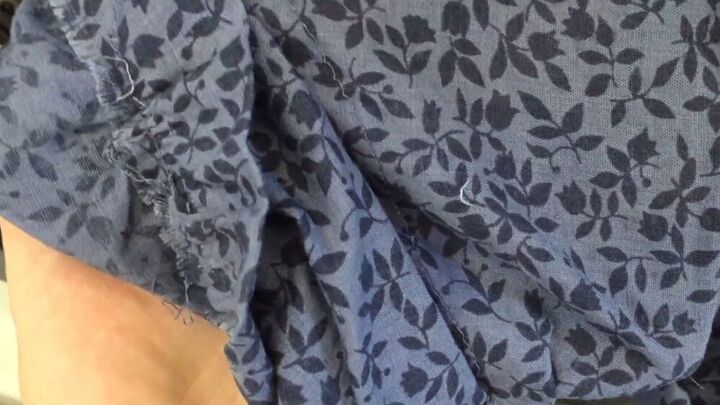
I decided to dye the dress blue. I used a mix of Rit DyeMore Synthetic Fiber Dye and Rit Navy Blue All Purpose Dye just to cover all my bases in terms of the fabric. I washed the fabric so that it was evenly wet, then I mixed the dyes, added water, and poured it into my washing machine. The color came out a faded blue, but I wanted it to be more navy. So I made another dye mixture, this time adding in some black dye as well, and put it in the wash for another round.
Once my dress was dyed and dry, it was time to serge the different ends of the dress. I serged the armholes so that they’d be clean and neat before adding any sleeves to them later. I also serged the bottom of the ruffle that I had previously removed from the bottom of the dress. I then took my gathering foot and went over it twice to create a gathered ruffle to add to the bottom of the dress.
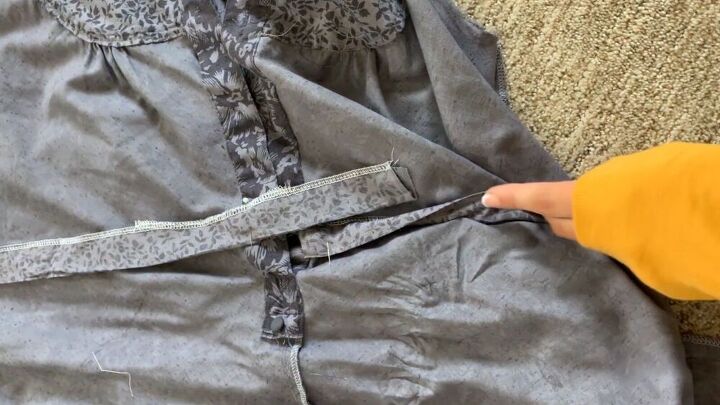
Next, I added a casing around the waist, just above the pockets. I did this by sewing the top of it and then flipping it up and sewing the bottom, which was now on top.
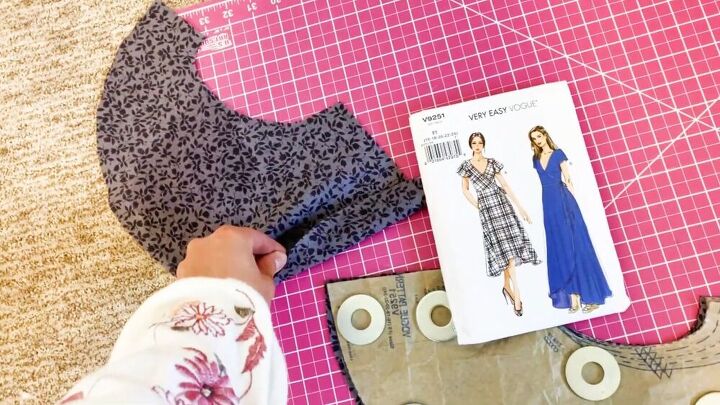
The pattern I used for the sleeves was the flutter-sleeve piece of Vogue pattern 9251. I didn’t have enough fabric to cut the sleeves out in one piece so I cut out two pieces for each sleeve and then connected them together. I used my narrow hem foot to go around the curve of the sleeve.
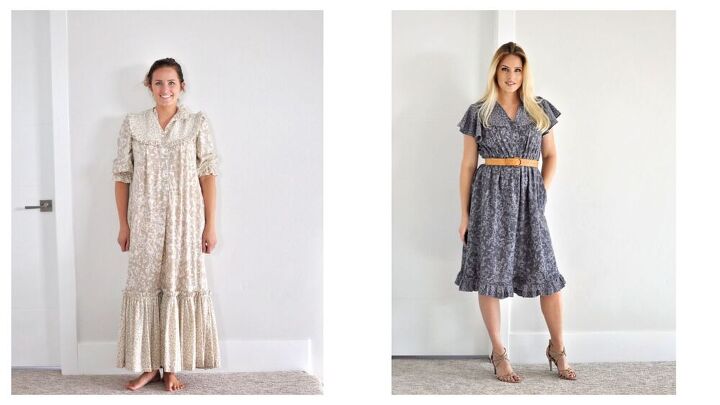
That’s how I transformed my grandmother’s Hawaiian dress into this super cute below-the-knee dress. I love how it came out. I think it looks great and I will definitely be wearing it out and about. The best part about it is that even though it now fits my style and is more modern, I’m still wearing my grandmother’s dress and I just love that. What do you think about how it turned out? Let me know in the comments below!
The author may collect a small share of sales from the links on this page.


Comments
Join the conversation
Well done, looks so different.
Good tip about the tear.
like what you did its great to see what can be done