Easy DIY No-sew Dress Tutorial

Are you ready to make a stylish DIY no-sew dress? I've got you covered with this simple step-by-step tutorial. Let's get started!
Best fabric scissors!
Tools and materials:
- Pre-smocked fabric
- No-sew adhesive tape
- Ruler
- Scissors
- Clips/pins
- Iron
1. Measure and cut
Wrap the pre-smocked fabric around your body to determine the desired fit. Use a clip or pin to mark where you want to cut it.
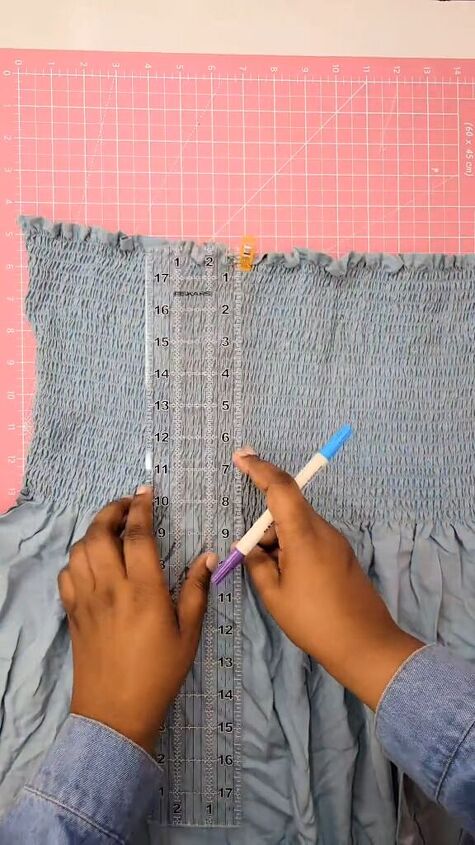
Then, use a ruler to draw a straight line and cut along the elastic.
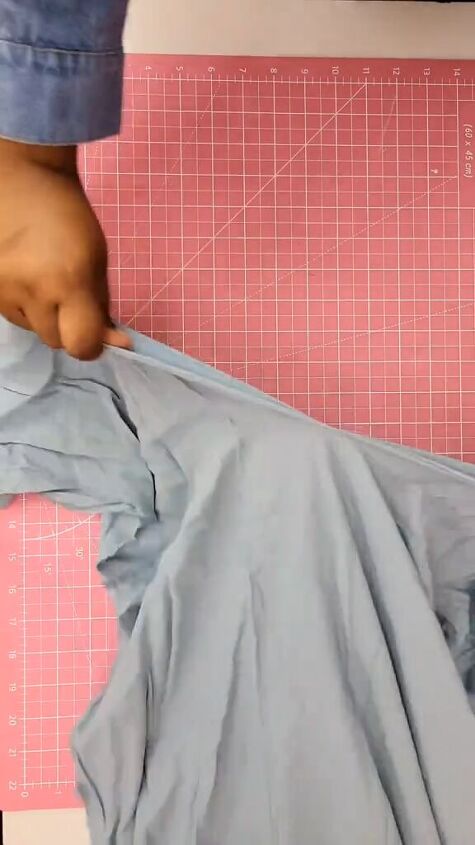
Once past the elastic, rip the fabric for a clean edge.
If your fabric is wrinkled, iron it to smooth out the wrinkles before proceeding.
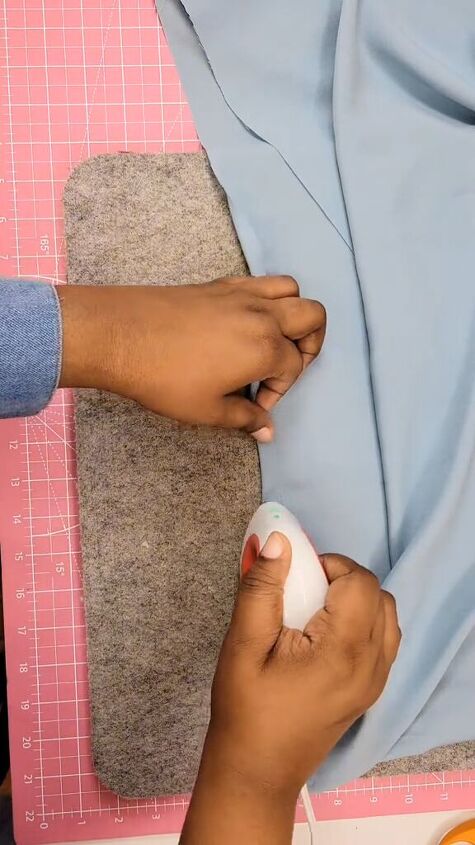
2. Iron to adhere
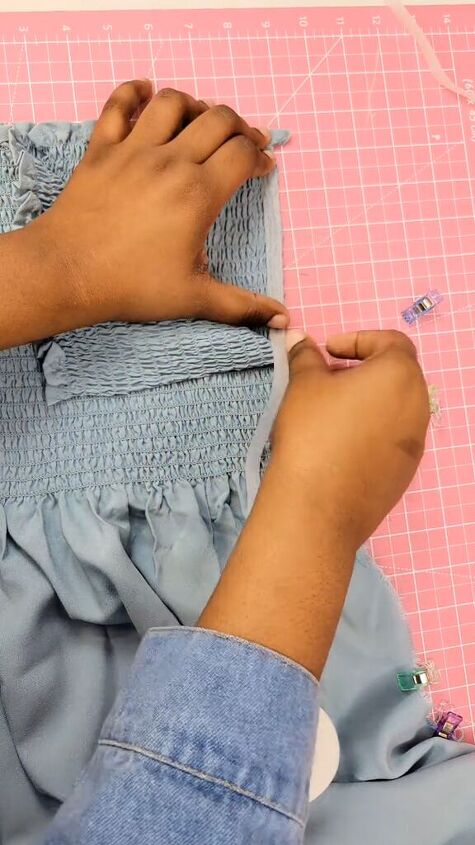
Place the fabric pieces right sides together.
Take your hem adhesive and insert it between the two layers of fabric. Secure it in place with clips.
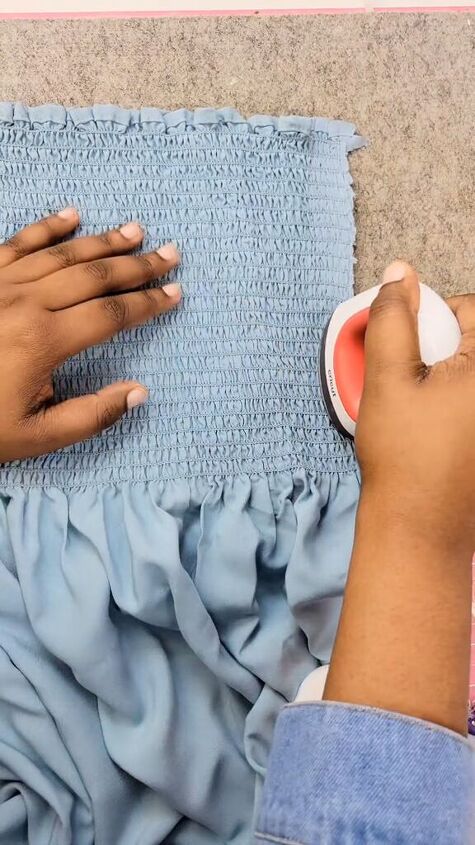
Following the instructions on the tape package, iron along each section where the tape is placed. Flip the dress right side out.
Then, press the outside of the garment to ensure a secure bond.
3. Hem and press
To finish the hem, fold the bottom edge of the dress up by about 3/8 inch.
Insert the hem adhesive tape between the two layers of fabric, just like before.
Follow the same pressing instructions as earlier to secure the hem in place.


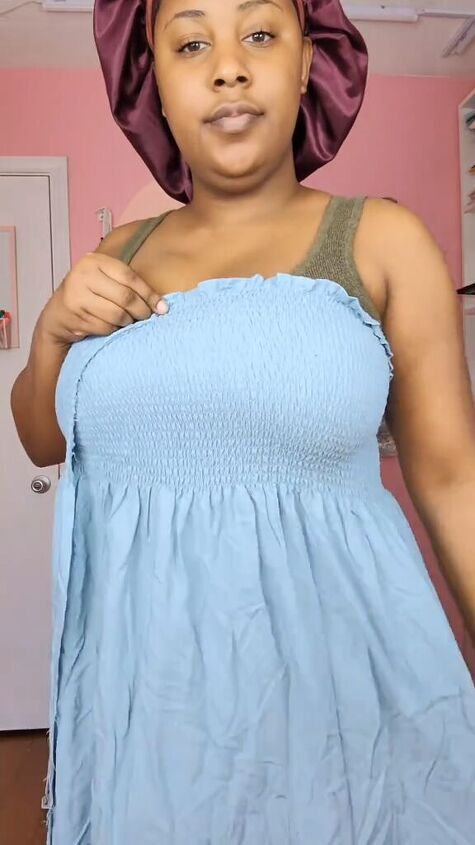
Easy DIY dress
With that, your no-sew dress is complete and ready to wear! Enjoy your stylish creation without the hassle of sewing.
Feel free to customize the design and add your personal flair.
Leave me a comment to let me know how your dress turned out. Happy crafting!
Next, learn How to Sew a French Seam.
Follow me on TikTok: @kenjahb
The author may collect a small share of sales from the links on this page.


Comments
Join the conversation
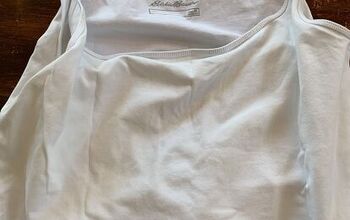
If you wanted straps you could use the bit of fabric you cut off of the width and the hem tape too