DIY: Scarf to Kaftan
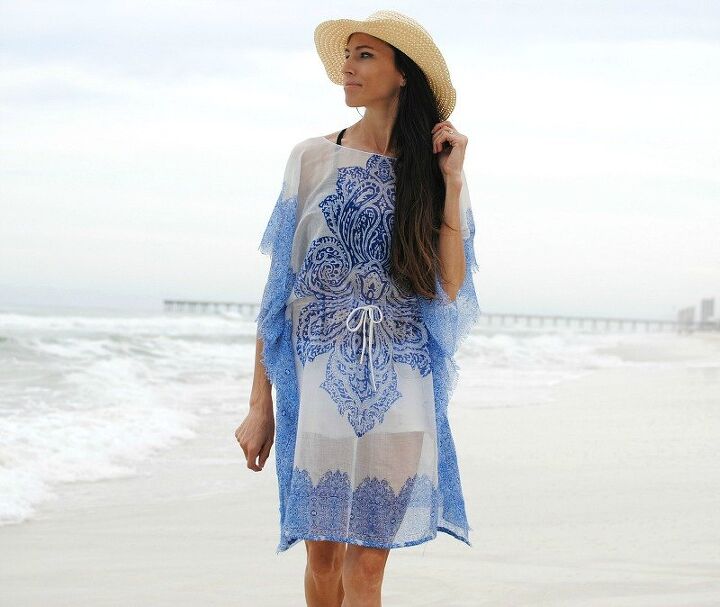
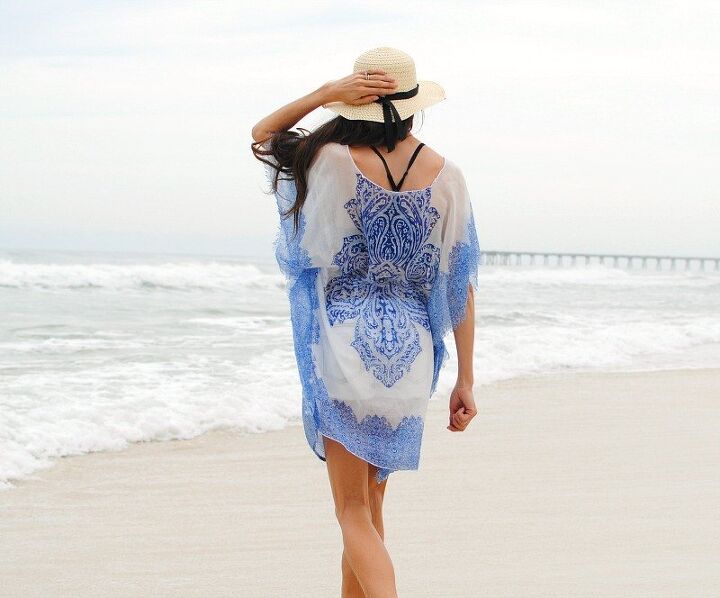

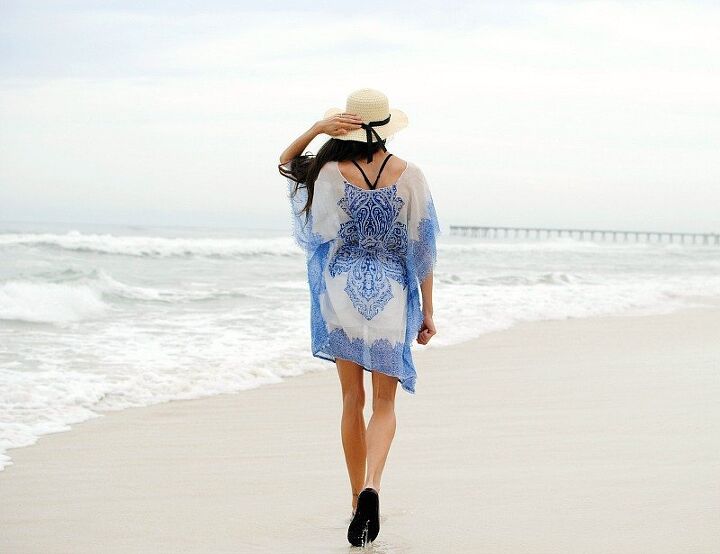
Now that the weather is getting warmer, I've already started to sew my summer wardrobe. For me, living in the South, that means looks that can transition from the beach to lifestyle and made of light materials. I had this blanket scarf for awhile now and I got it because the China blue print (my fave) and gauze fabric. I'm not a scarf person and look at them more as fabric for projects rather than a neck accessory. The material and size of blanket scarves make great cover ups, kimonos, and kaftans. They generally measure about 1 yard of fabric and made in fabrics like gauze, chiffon, or knits. Bonus points for not having to finish side edges... Since we were headed to the beach this past weekend I thought I'd whip up a kaftan from this scarf to wear. It was simple to do with Dritz 2-Part Eyelets and 2-Part Eyelet Tools to create the drawstring casing. This piece is also a nice transitional piece from beach to dinner by just adding a strappy dress or white jeans underneath.
Get the details below on how to make your own kaftan from a scarf:

Supplies:
- Blanket scarf or 1 yard of fabric (chiffon, guaze, lt. weight materials)
- Dritz 2-Part Eyelets
- Dritz 2-Part Eyelet Tools
- Interfacing
- 2 strips of similar fabric for casing (1.5" x waist) I used a netting that doesn't fray.
- Dritz Heat Erase Marking Pen
- General sewing/measuring tools
- Drawstring cording: 2 yards (for the waist)
- Brother Sewing Machine
DIY Instructions:
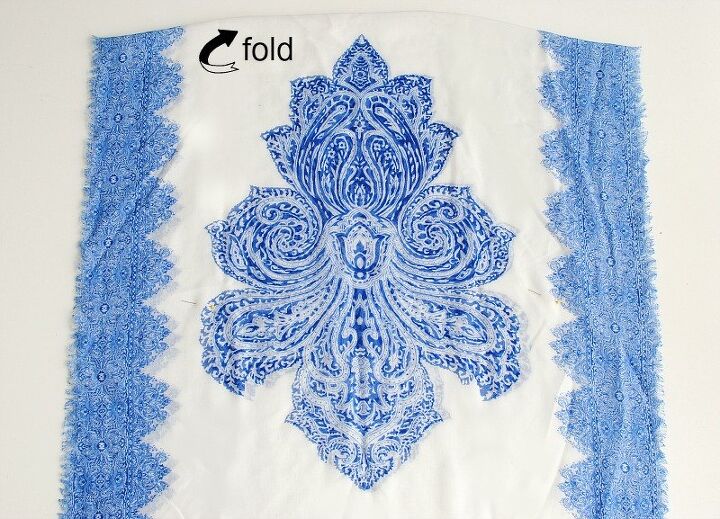
My scarf measured 32" x 72". Folded in half 36".
Lay the scarf/fabric flat and fold in half so the fold is at the top. The scarf I was using had one seam and was sewn in a loop. I cut the seam open and use that as the bottom.
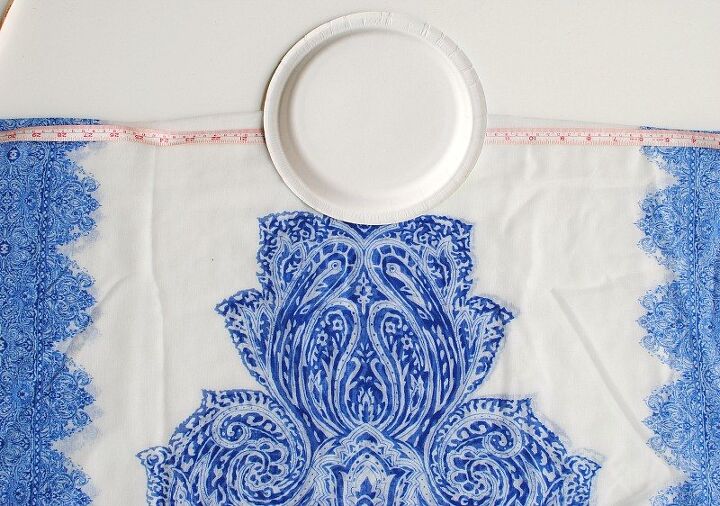
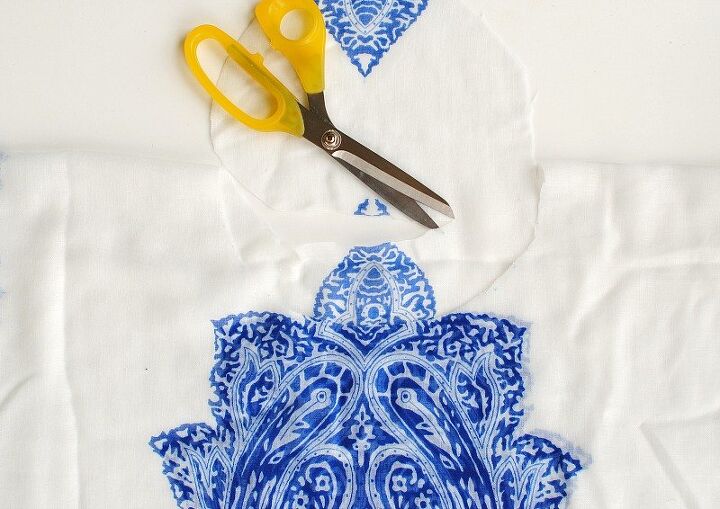
Find the midpoint for the neckline. Use a plate or garment as a template. You can trace the template with Dritz Heat Erase Marking Pen. Then cut the neckline out.
Be sure to cut the back slightly smaller than the front. It should be about half the size.
Finish the neckline. I used a rolled hem with my serger.
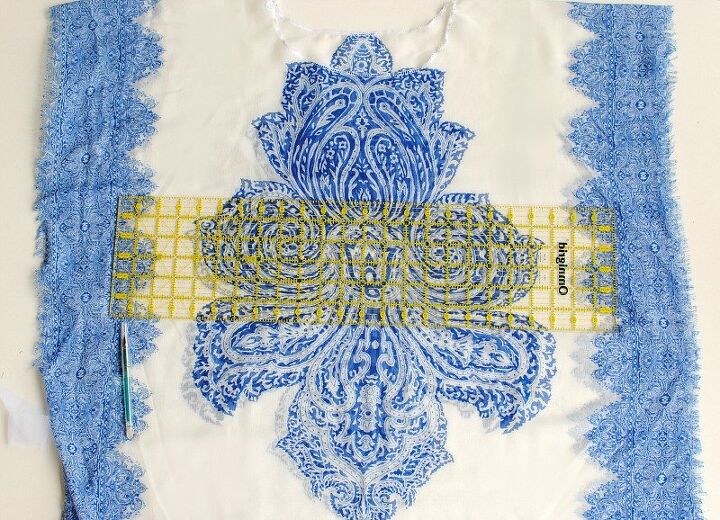

Find the waistline for the drawstring casing. Use a Heat Erase Marking Pen and grid ruler and mark 2 lines 1" apart across the waist (front and back).

Find the midpoint of the waistline (front).
Cut a 1.5" square of fusible interfacing. Fuse the interfacing over the midpoint on the wrong side. Be sure not go over your line markings for the casing if you used a heat sensitive marking tool.
For the 2-Part Eyelets:
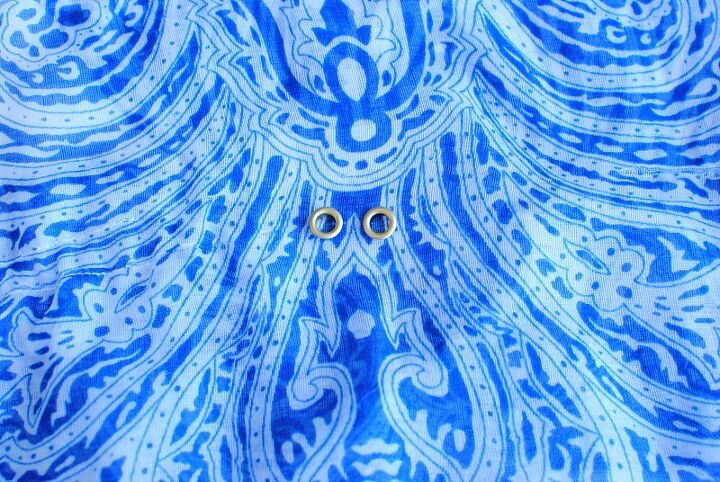
On the right side, place 2 eyelets in the center (interfacing in back) about 1/2" apart. Mark the inner circle of the eyelet.
Cut out the circle out and place the eyelet through the right side, wash and insert in the back. Note: for stretchy materials cut the hole slightly smaller.
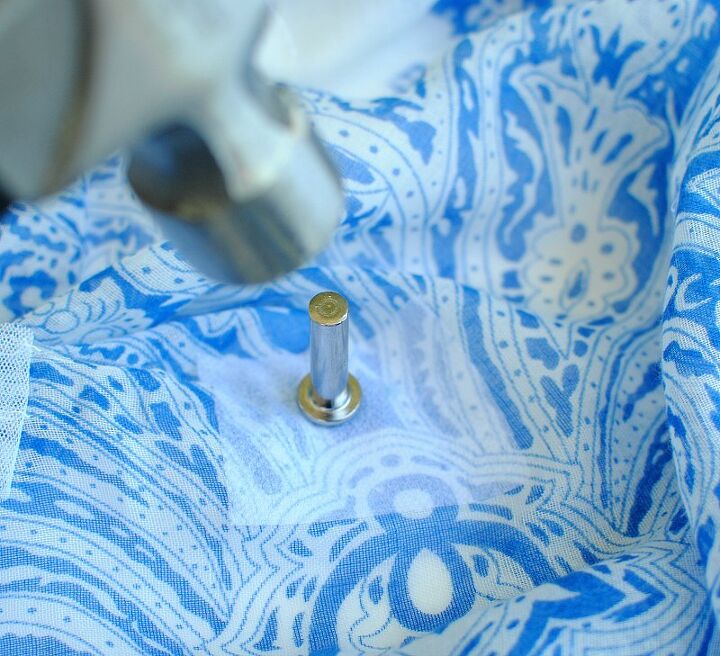
Use the 2-Part Eyelet Tools to secure the eyelets.
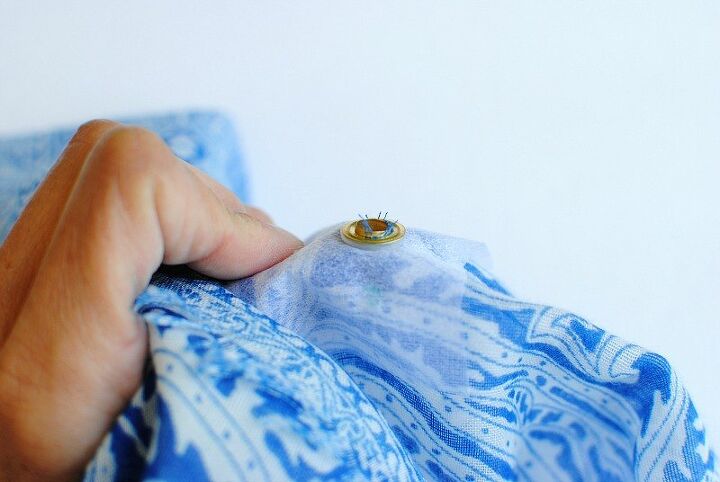
- Insert eyelet into hole (right side).
- Place insert over center of eyelet.
- Place washer, dome side up, over insert.
- Position eyelet front on anvil, insert setter into eyelet and hammer gently.
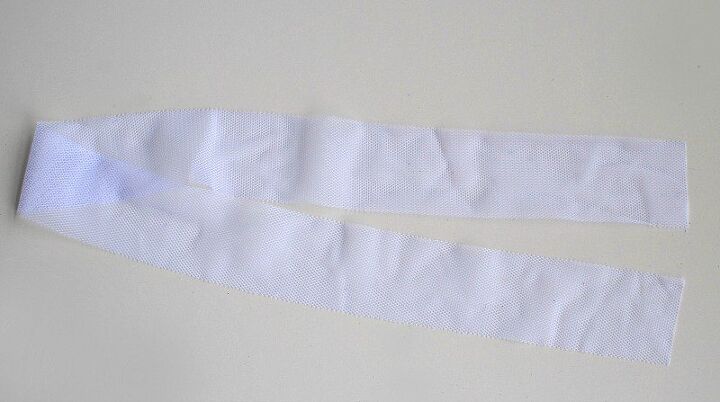
Cut 2 strips of light weight material (I'm using a netting) that measures 1.5" x the length of your waist. (see below)

Notice, the casing does not extend to the edges. I left about 4" open (front and back).
Place and pin the strip for the casing along the waist markings on the wrong side of both front and back. Sew along the top and bottom edge of the casing.
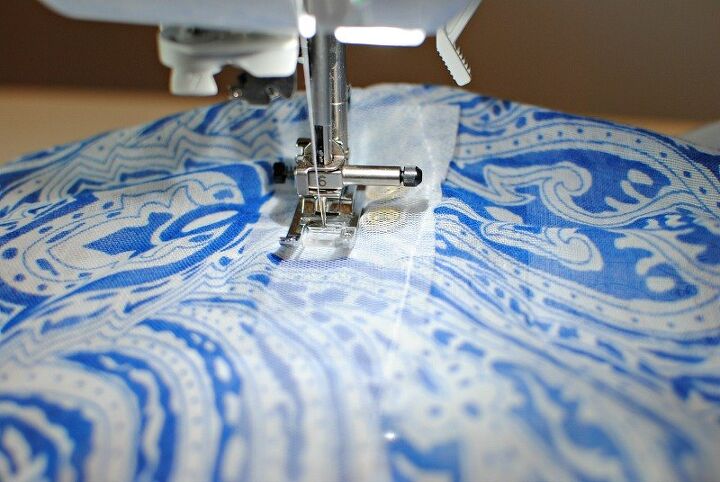
Sew on the wrong side of the garment.
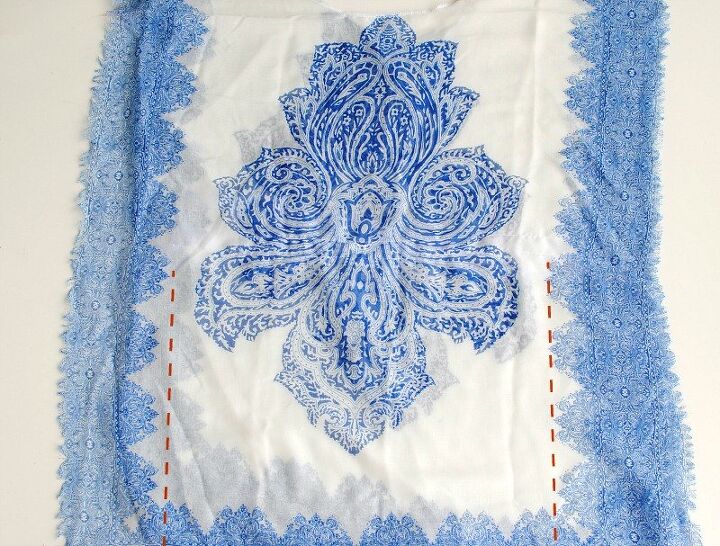
Flip right side out, pin the sides (about 4" from the edge) just below the casing down to the bottom edge and sew (top stitch)...
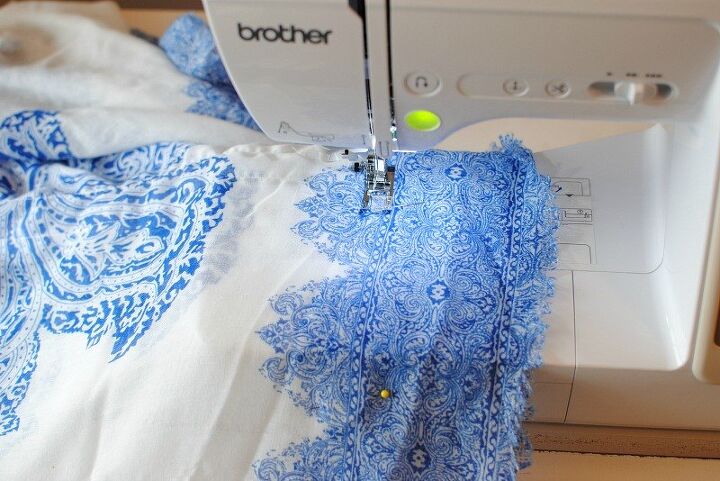
Sewing side seams.
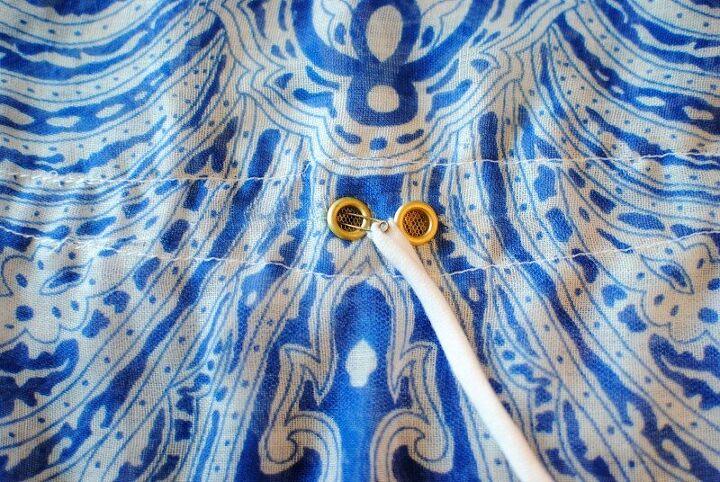
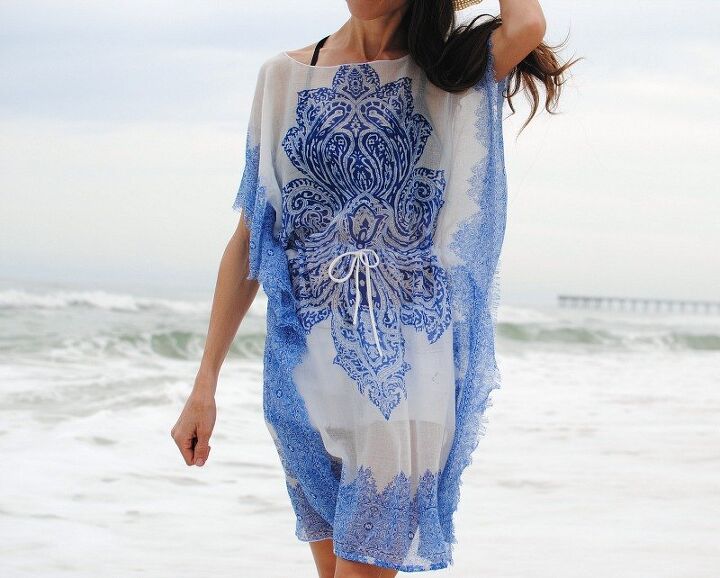
Use a safety pin and glide the drawstring through the casing going from one eyelet, wrapping around to the back casing, and then through the other eyelet.
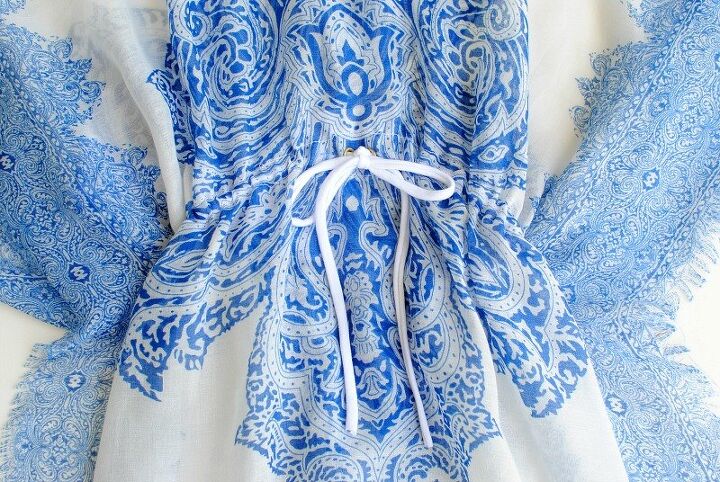
Tie into place.
If necessary finish the bottom edges. Because I used a scarf, I didn't have to hem any of the edges.
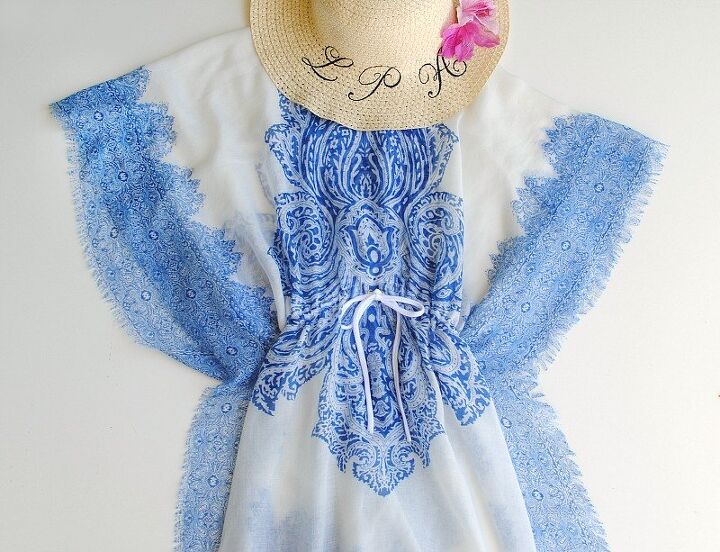
Overall, I like that this cover up is an easy piece to make and to wear!
*In collaboration with Dritz.
I received compensation from Dritz®, and some of the materials featured here or used in this project were provided free of charge by Dritz®. All opinions are my own.
The author may collect a small share of sales from the links on this page.


Comments
Join the conversation