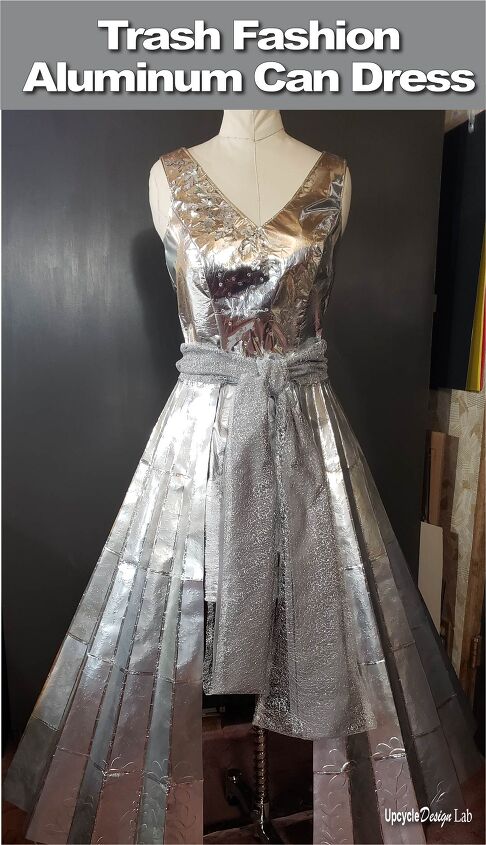
Trash Fashion Wedding Dress - Episode 4 - Aluminum Drink Can Overskirt
So what would you do with 154 aluminum cans? What you have never asked yourself that? Well, I never!
Your leisure choices are more likely to include lounging in a beach chair, enjoying a cold one, hanging with friends, reading, watching tv, going out to dinner, or one of the numerous other socially acceptable forms of recreation.
As a matter of fact, I do enjoy those things too. But I also find entertainment in more curious places, such as my recycling bin. It’s not the typical route one might take to amuse oneself, but I like to make things. I like to keep my hands busy. And what can I say? I am intrigued by trash. I like to make used or valueless items beautiful, functional, or at least interesting.
The thing is, I am unapologetically trashy. (I think at my age, it is safe to say that.) But I am aware it is an acquired taste shared by me and a few others. We call ourselves upcyclers, which is a fancy way of saying we hoard trash. But not just any trash, only the trash that speaks to us.
As a mentally stable person, I bet you didn’t know that trash could talk, but some of us hear it imploring “save me” in a pitiful small voice. And so, as any good person would do, we rescue it from its certain fate and lovingly mold it into something new.
I am currently a little obsessed with aluminum cans, so much so that I have been working on a wedding dress made from them. Yes, I did say wedding dress, and no, it is not for me. Because, well, let’s just say that would have taken a lot more cans, and we will just leave it there.
Anyhow I am planning to enter it into a trash fashion show later this year. Now I know trash fashion isn’t exactly mainstream, so if it is not your cup of tea (I am using a phrase that is certain to give away my age as if the unapologetically trashy thing didn’t already do that) Anyway, where were we? Oh yes, tea. If you would like to brew yourself a cup, by all means, do so, and then if you so desire, sit and sip it while you watch this recap video of my silly dress thus far or scroll on down to read all about it.
If you are scratching your head and trying to figure out how you ended up here, well, you are most welcome to come along for this fun and fanciful foolishness, or if you would rather, feel free to make your escape now.
My Trash Fashion wedding dress is progressing nicely so far. In this week’s installment, I will take you through the steps I used to create the latest addition to the ensemble.
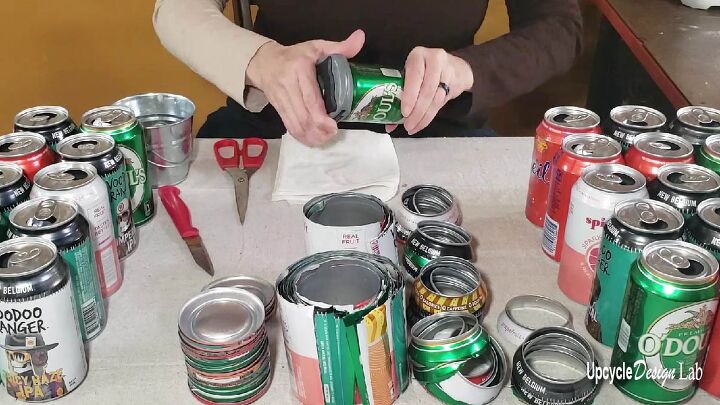
It starts with a whole lot of aluminum cans and a few simple tools to dissect them. Followed by hours of elbow grease cutting up and flattening the cans into metal sheets.
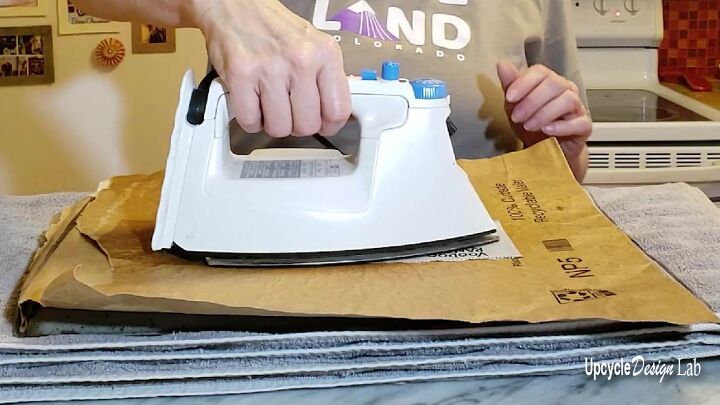
These two videos will show you how I do this if you are interested in these techniques for your own projects.
Three Ways To Flatten Cans
Once I had all of the cans flattened, it was time to cut them into tiered pieces. Even though the cans are easy to cut by hand, I used my Cricut cutting machine for expediency and better precision.
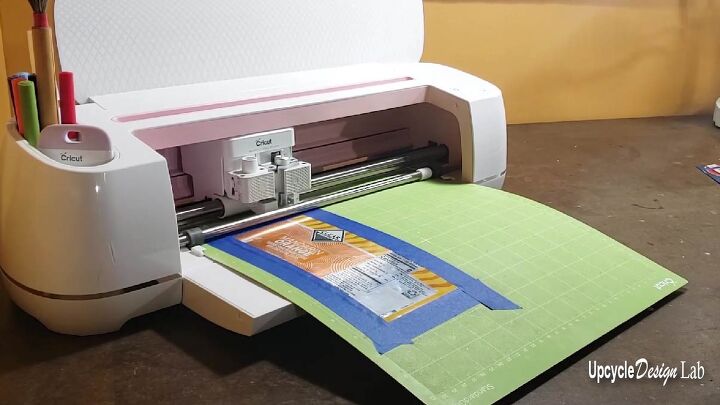
If you would like to know more about cutting aluminum cans on a Cricut machine, you can watch the video below.
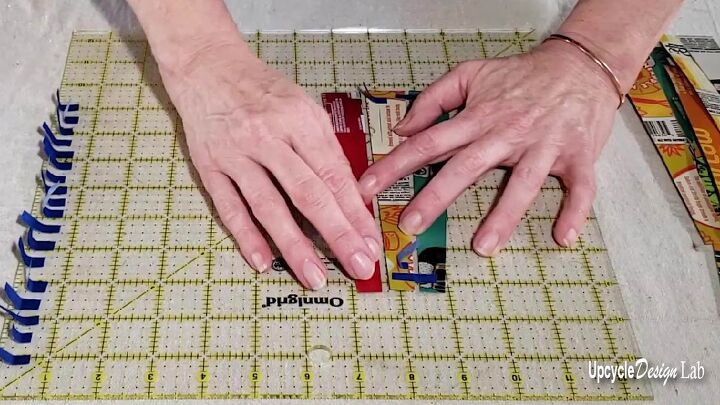
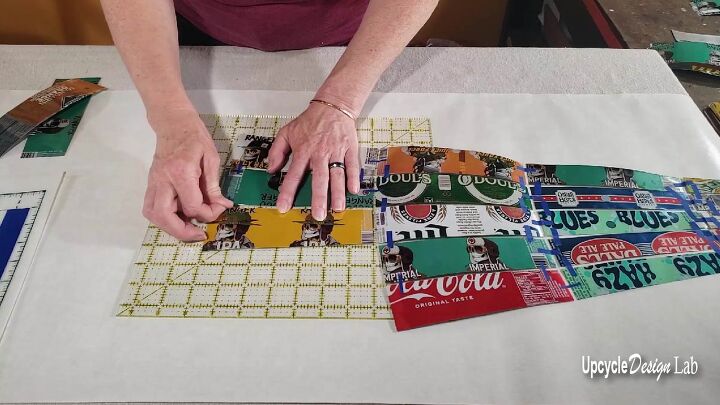
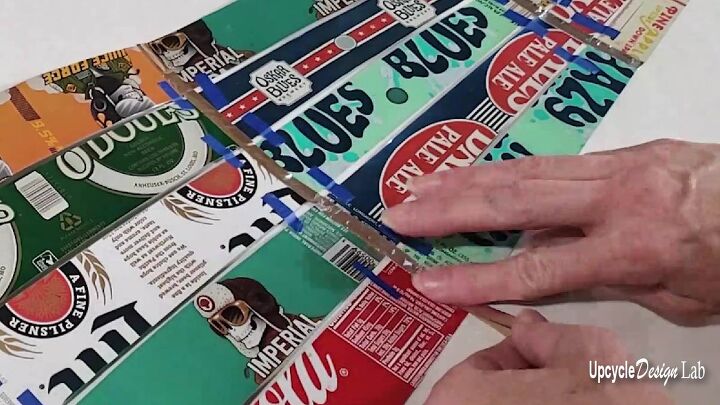
I assembled the cut parts into eight sections using painter’s tape and metal tape to hold all the pieces together.
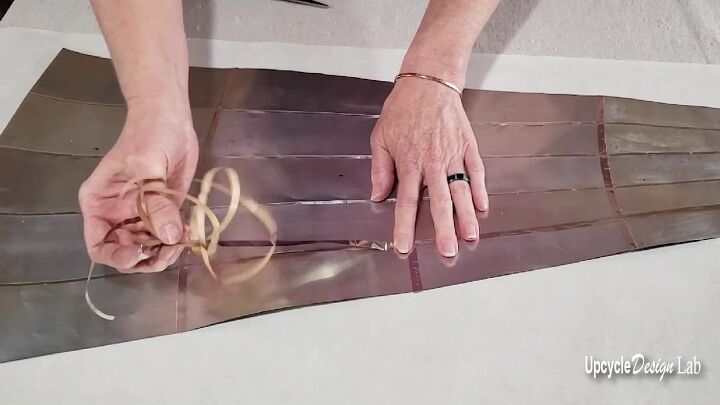
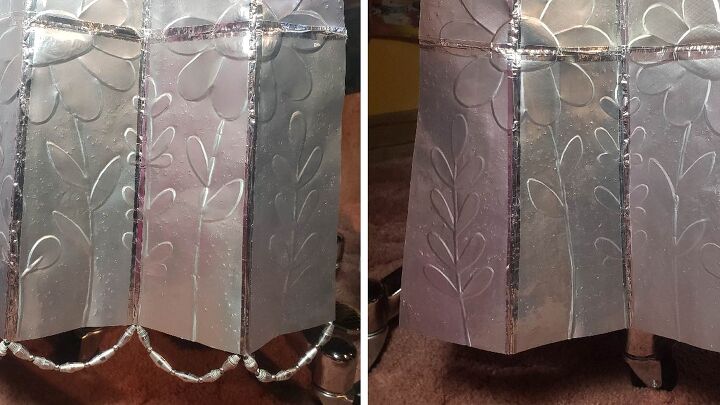
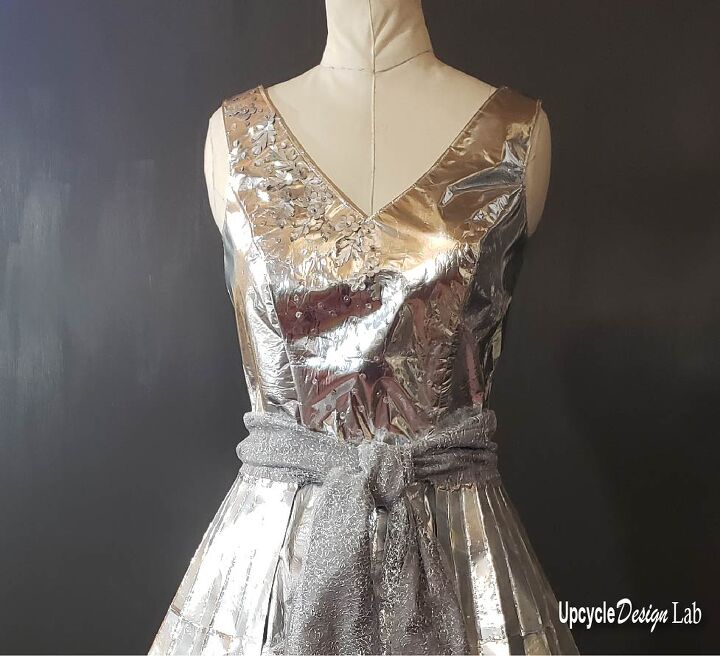
Once the sections were completed, I added an embossed floral design on the two front panels using a paper template and my embossing tool.
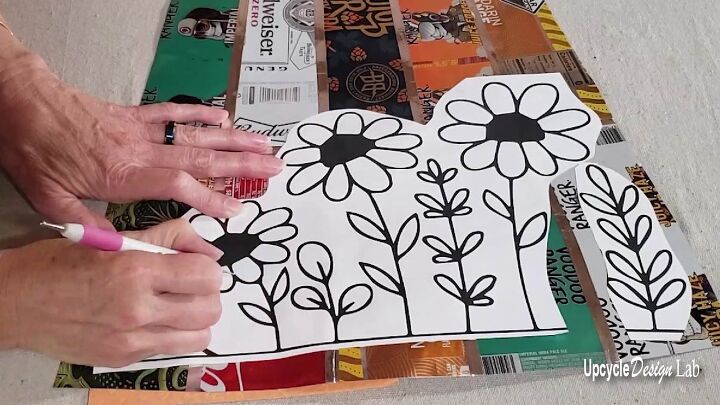
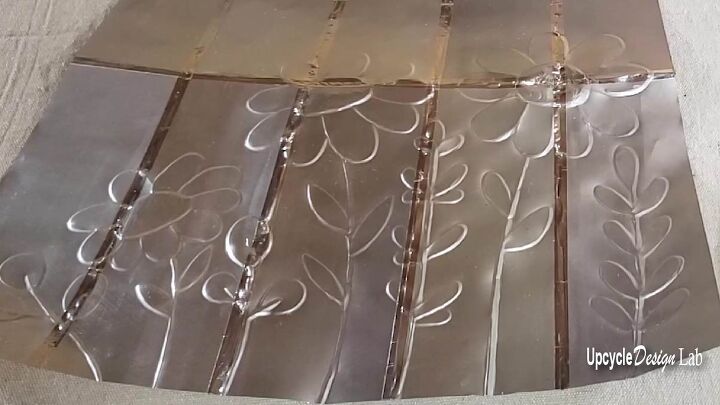
I am not an embossing expert, but I find it fun and relaxing. You can learn more about embossing in the video below.
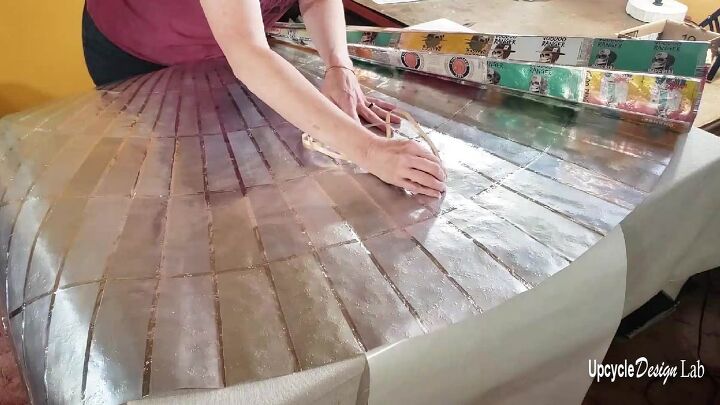
I also added some texture to the rest of the panels with a garden paver and a rubber mallet.
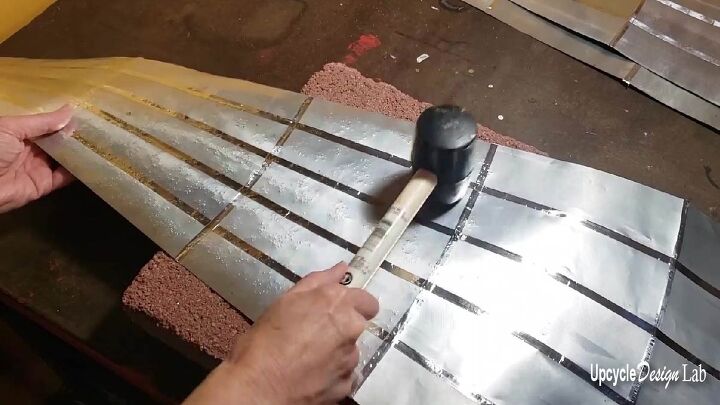
If you are interested in more ways to apply texture to aluminum, here is a quick video.
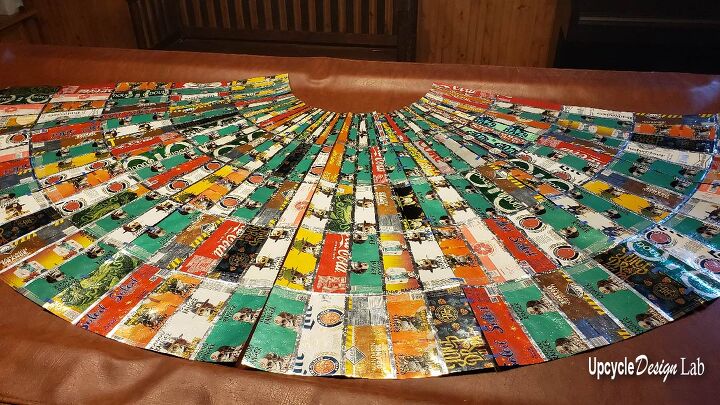
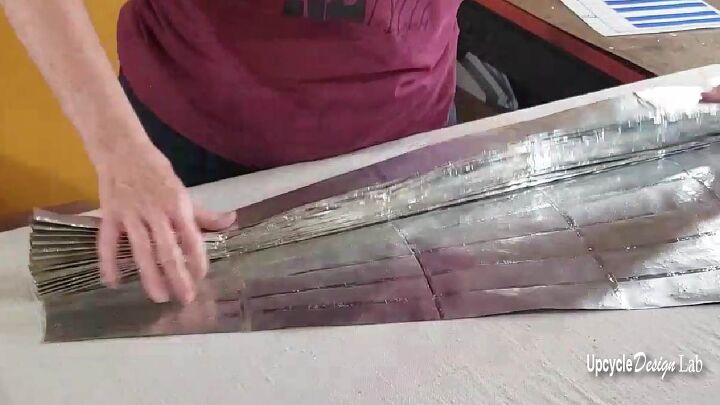
Once I added the texture and embossing to the eight panels, it was time to hook all the pieces together. You can see that the skirt was getting a little oversized and difficult to work with.
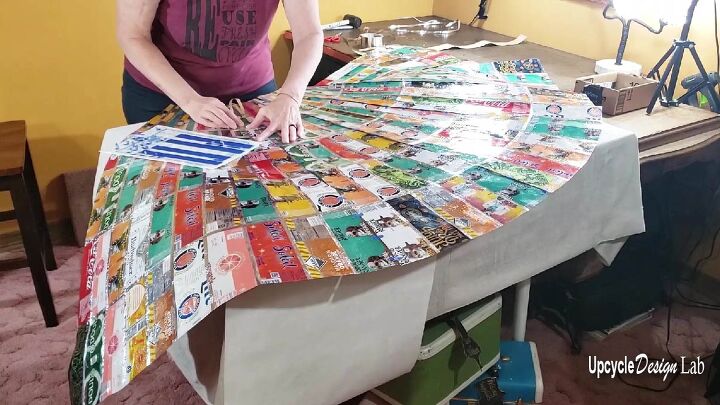
Fortunately, I was able to fold it like a fan along the metal tape lines to make it more manageable.
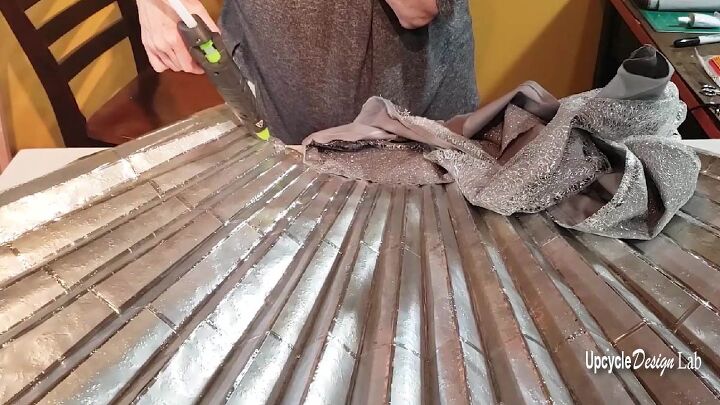
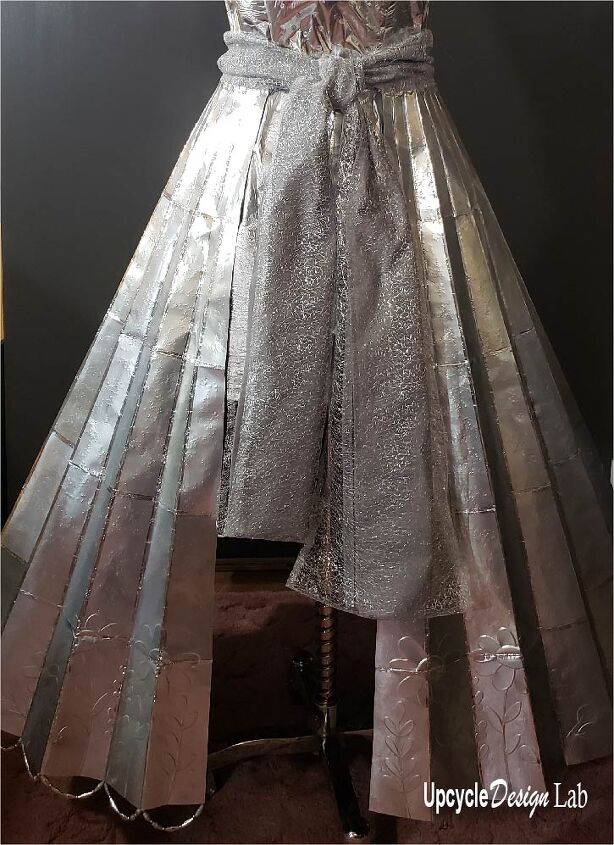
The last step was adding the waistband using some E6000 and hot glue.
I still have a few details to finish the skirt, like taping the front and bottom edges. And I am also trying to decide whether or not to add the beaded scallops to the bottom of the skirt. What do you think? Yes or No?
So far, I am really happy with how it is turning out.

If you have drunk the Kool-Aid and want to know more, you can check out how I made the chip bag top with soda can sequins or the chip bag under-skirt in the videos below.
And if you are truly a die-hard fan, you can start at the very beginning and find out where we might be going next with this zany project.
Happy Upcycling,
Cindy
Advertising Disclosure: Upcycle Design Lab may be compensated in exchange for featured placement of certain sponsored products and services or your clicking on links posted on this website.
The author may collect a small share of sales from the links on this page.


Comments
Join the conversation
Ingenious!
Beads on bottom....YES