DIY Shirred Dress Tutorial

How to sew your own shirred dress with tie straps, gathered tier, and pockets!
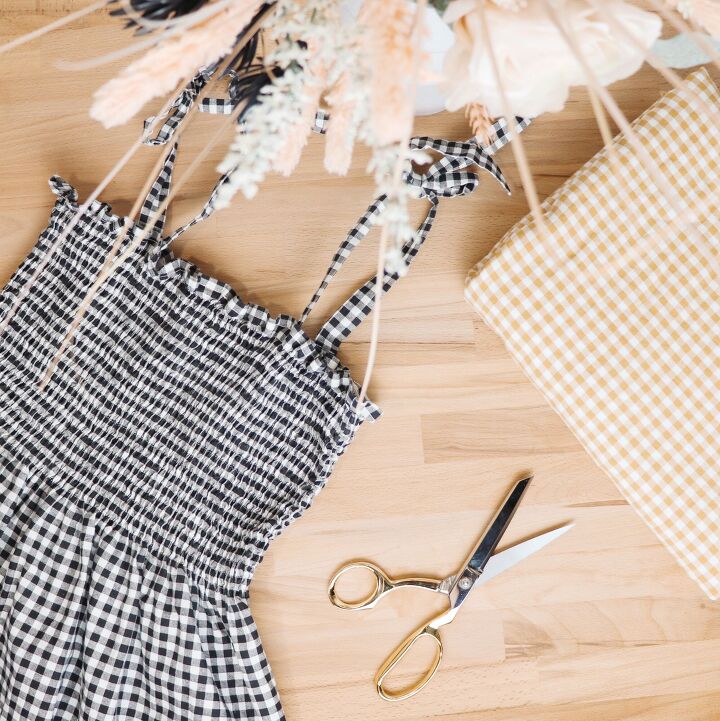
This timeless, floaty dress is a wardrobe staple with an airy feel and timeless vibe. Rock it on its own or layer it up to change up the styling. Featuring a gathered tier at the bottom and the option to add pockets, this DIY shirred dress is an elevated everyday addition to your me-made wardrobe with a totally on-trend look!
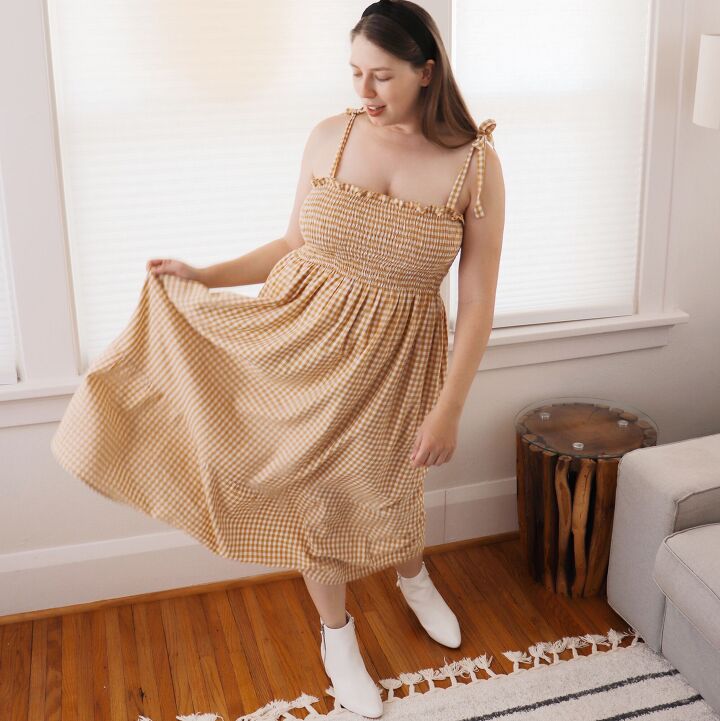
This DIY shirred dress is a fantastic transitional piece into fall weather. Wear it on its own with sneakers or ankle booties while the weather is still warm, then layer it over a sweater or under a denim jacket once the fall chill settles in!
Beginner-friendly and the perfect weekend sew, this dress only uses a couple of squares of fabric (based on your body measurements) making it a simple sewing project for your handmade wardrobe!
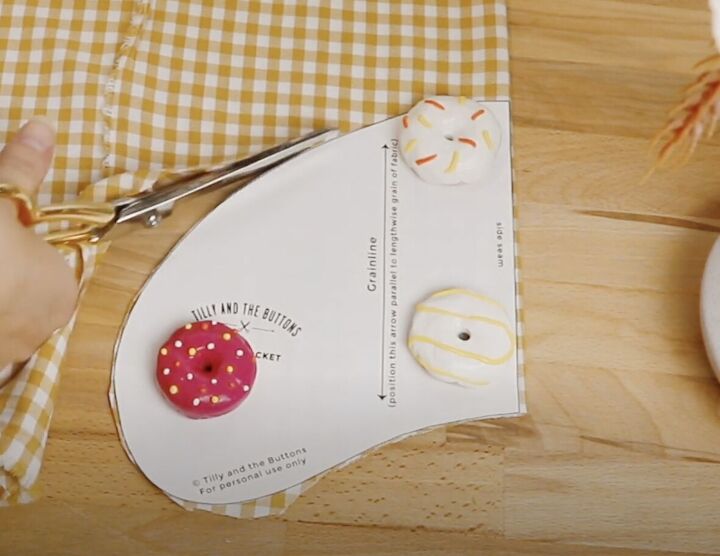
The best part about this dress? It has pockets! In the description of the video, I linked to this free pocket pattern piece from Tilly and the Buttons, but you can also use the in-seam pocket piece from your favorite sewing pattern if you prefer. Not sure how to add in-seam pockets to a dress? Just follow these steps below:
1) Cut out 4 pocket pattern pieces using your preferred template.
2) Finish off the edges of your pockets using either a serger or zig-zag stitch on a standard sewing machine. This will prevent the fabric from fraying later on.
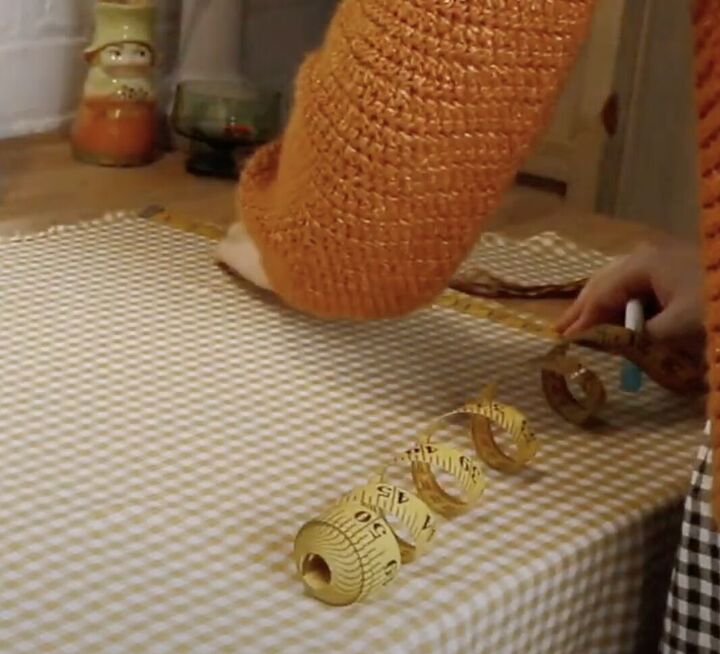
3) Measure how far down you want your pockets to sit from the top of your dress pieces (I set mine 10 inches down). Mark with a water erasable pen.
4) Place your pocket pieces at the marking on both sides of your fabric, right sides facing. Pin in place. Do this for both the front and back dress pieces.
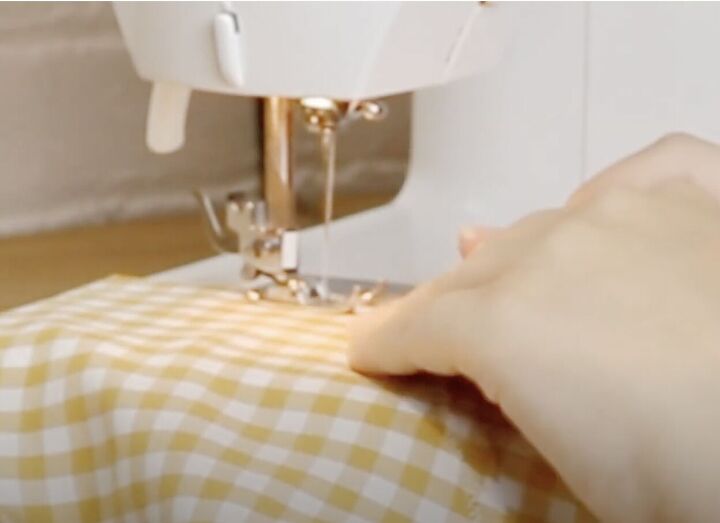
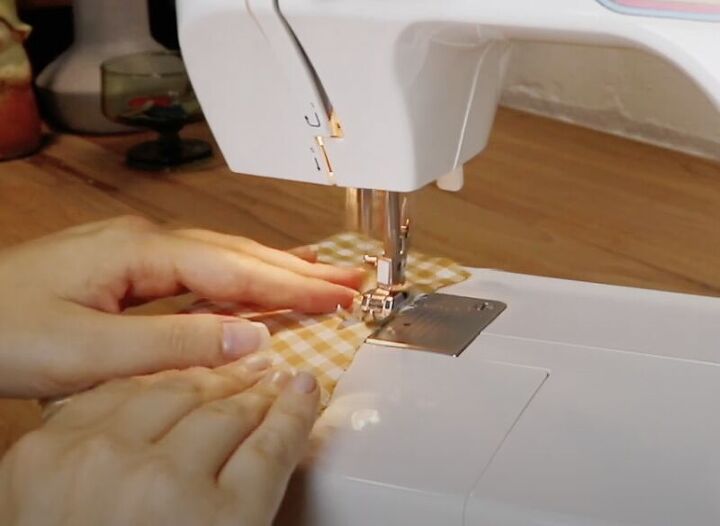
5) Sew in place.
6) Press your pocket pieces away from the dress pieces.
7) Topstitch along the seam of the pocket bag, close to the edge.
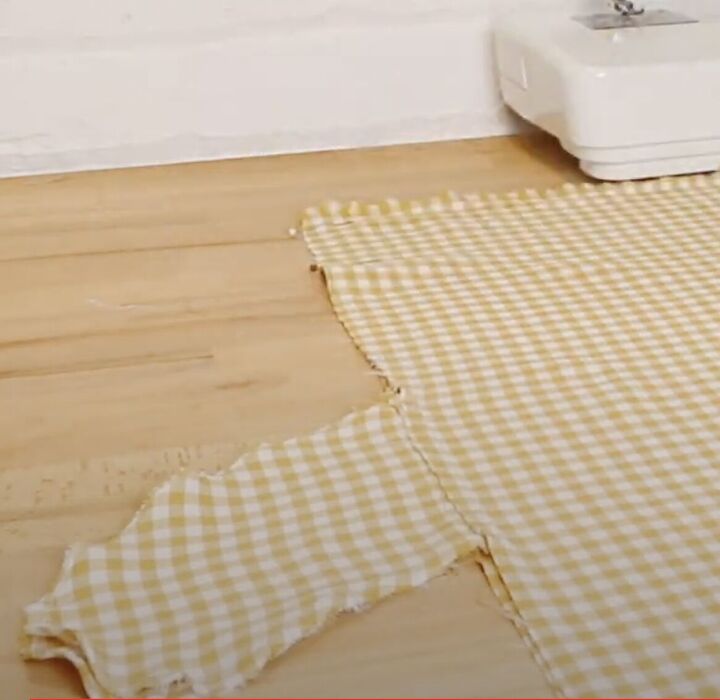
8) Lay your front dress piece on top of your back dress piece, right sides together. Make sure to match your sides and pocket pieces, then pin in place.
9) Sew along the side seams. When you approach the pocket bags, insert your needle into the fabric. Lift your presser foot and pivot your dress in order to sew around the pocket.
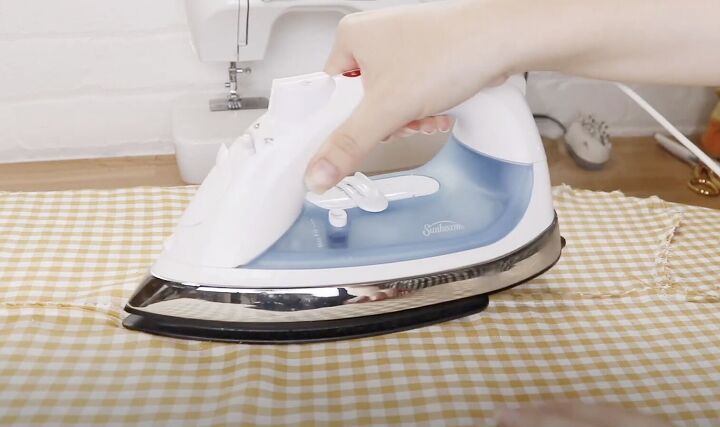
10) Finish off your side seams, then press them open or towards the back. Press your pocket pieces towards the front of your dress.
And now you are the proud owner of in-seam pockets!

Materials Used:
Gold Gingham Fabric: https://bit.ly/3D2XcZY
Shirring Elastic: https://bit.ly/3lbRaAd
TATB Free pocket pattern: https://bit.ly/2YjKLJZ
If you end up making your own shirred dress using this video tutorial, be sure to tag me on Instagram @happymakes_me so I can see your gorgeous makes!
Until next time, happy making!
-XO-
Caley
The author may collect a small share of sales from the links on this page.


Comments
Join the conversation