See How I Created a Gorgeous Shirred Summer Dress in This Tutorial

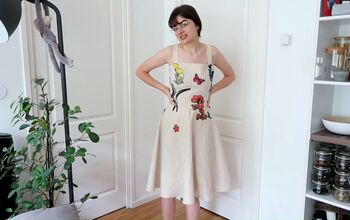
Years ago I attempted to make a dress that just didn’t go my away. Instead of tossing it, I decided to save it for another time. Wanting to make a cute summer dress, I pulled out that pattern and made it into something else. My result was a shirred dress that I absolutely loved! Keep reading to see exactly how I made it!
Tools and materials:
- Fabric
- Ruler
- Sewing pins
- Sewing machine
- Scissors
- Elastic
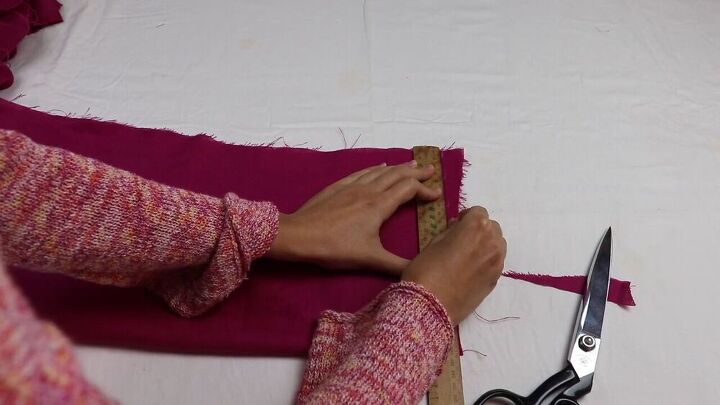
I actually already had a pattern cut out from a dress that I attempted to make a few years prior that just didn’t work out. So all I had to do was adjust my pattern. I cut some of the neckline and added armholes.
I then took the material over to my sewing machine and hemmed the tops of both the front and back pieces. This involved just folding over the edges and sewing them with regular thread. I folded it over 1 cm, and then another 1 cm.
Once my edges were hemmed, I placed my bottom piece on my work surface and laid my top piece on top of it. Then I pinned the edges together before taking it to my sewing machine and stitching them. I finished my raw edges with a zigzag stitch on my domestic machine.
I loaded my sewing machine with elastic thread. I had prepared two bobbins before I started so that I had them ready when I needed them. I then adjusted my machine to the longest stitch length and began stitching onto the right side of my fabric. I stitched straight lines 1 cm apart, stretching the fabric as I went so that I’d be stitching on the flat fabric. I did this on both the front and back.
To add the sleeves to my dress I used a pattern I already have and made some adjustments. If you’re looking to make this, I recommend looking up existing sleeve patterns or how to make them online.
Hemming the edges with the elastic was a little tricky. So first I ironed the curve a half cm and then ironed over that one cm. My elastic was about .9 cm.
The next thing I had to do was to stitch the seam of the sleeves. I folded the fabric over and pinned it in place.
Now that I had my sleeves stitched, it was time to add them to the dress. I lined up the side seam of the dress with the seam of the sleeve and stitched along that U-shape. I then finished the inside seam where I joined the sleeve to the dress then finished off that sleeve head.
Once my sleeves were in place, I fed my elastic through the sleeves. I used a safety pin to help me do so. When it was in almost all the way, I tried it on again to make sure I was happy with it, and then I finished up the elastic. Then I did a roll-and-roll hem on the raw edges.
Once that was done, I measured the elastic around my bicep (it can also be your wrist—just wherever your sleeve is going to be). Then I sewed the ends of the elastic together and pinned the join to the seam of my sleeve, stretching the elastic as I stitched it. My elastic ended up not stretching all the way, so I had to hand-sew the fabric to the elastic.
The very last thing I had to do was to hem the dress. I did this with a 2 cm over a 2 cm fold. I just think a thicker hem is always a little bit nicer. Then I ironed the dress, and I was done!
That’s how I made this super cute shirred summer dress. I’m really happy with the way it turned out and I think it’s perfect for any summer occasion. Be sure to check out the video to watch me make it and follow along as you make your own. I’d love to see your results, so if you make this dress, be sure to post a picture!
Enjoyed the project?
The author may collect a small share of sales from the links on this page.


Comments
Join the conversation
This turned out SO cute!