How to DIY a Cute Spaghetti Strap Bodycon Dress

Yes, this is actually the second time I’ve made this spaghetti strap bodycon dress. The first one was stolen from my balcony where it was drying, so it’s obviously a popular style.
It’s a great style to learn how to sew a dress for beginners so I hope it’s as popular with you as it was with my thief!
I used 1 meter wide fabric and the measurements here will fit sizes 38 - 40 European.
Tools and materials:
- Pattern fabric
- Plain fabric
- Shirring elastic thread
- Scissors
- Pins
- Measuring tape
- Sewing machine
- Serger (optional)
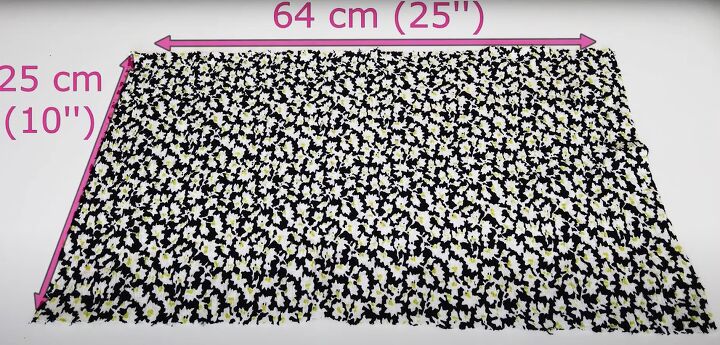
1. Prepare for shirring
Using the patterned fabric, cut out two rectangles each 25 inches (64 cm) wide by 10 inches (25 cm).
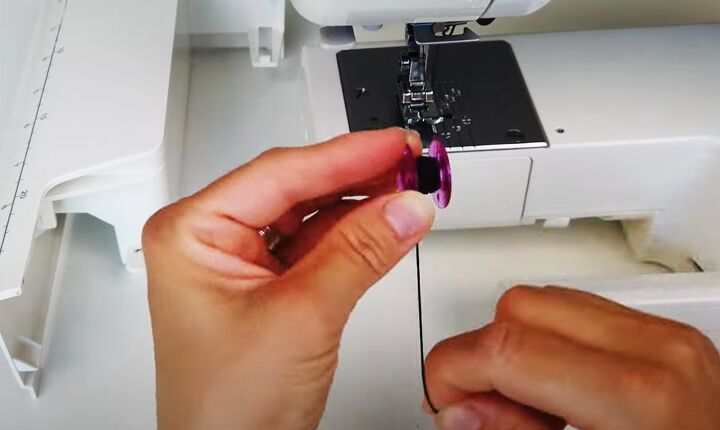
Wind a bobbin manually with the shirring elastic, making sure it’s not wound too loosely or too tightly.
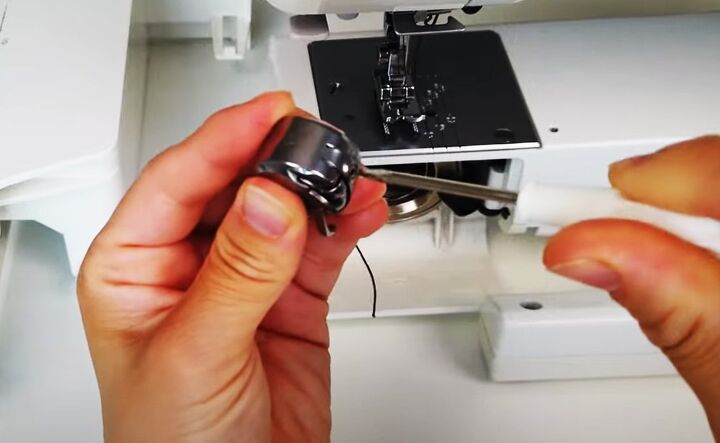
Adjust the tension on the bobbin case so the thread feeds smoothly.

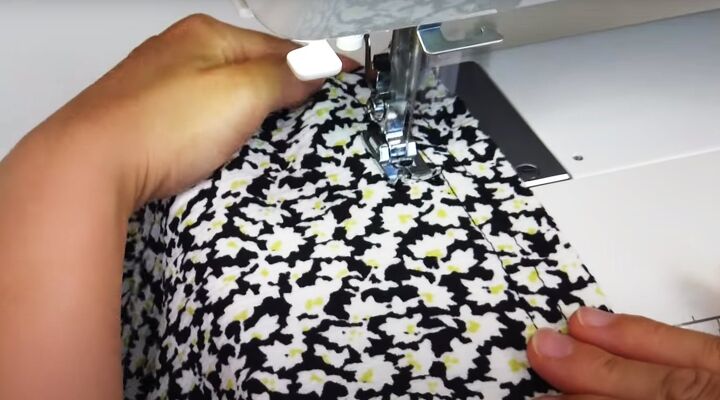
2. Shirring the bodice
Working on the right side of the fabric so the shirring elastic is on the wrong side, sew across the width of the bodice starting 0.75 inches (2 cm) from the top edge.
Continue sewing rows of shirring across the bodice, keeping the rows evenly spaced and stretching the fabric as you sew.
Leave a seam allowance unshirred at the bottom edge.
Sew the second piece in the same way.
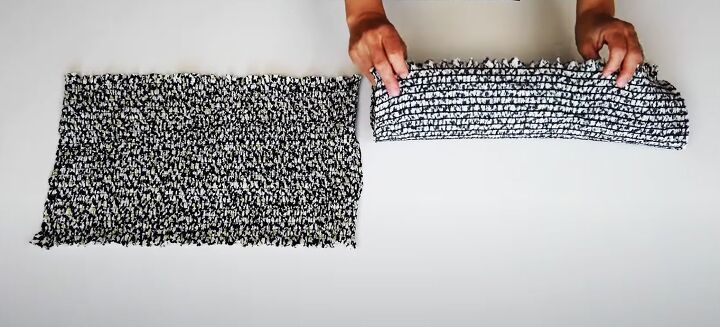
When finished, each piece should measure approximately 15 inches (38 cm) wide.
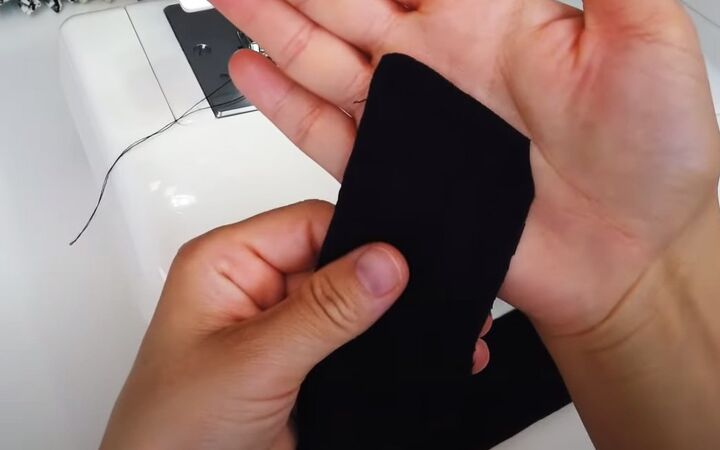
3. Make straps
Cut four pieces of plain fabric each 14 inches (36 cm) wide by 4 inches (10 cm) long.
Fold each piece in half with the right sides together and sew along the long edge and one short edge.
Trim the corner and turn the straps right side out.
Hold the front bodice against you to see where to place the straps.
Sew the open edge of the strap to the right side of the bodice above the first row of shirring.
Fold the strap upwards and top stitch on the right side.
Place the second strap on the same bodice piece, making sure they’re the same distance from the side edges.
Repeat with the other two straps on the back bodice.
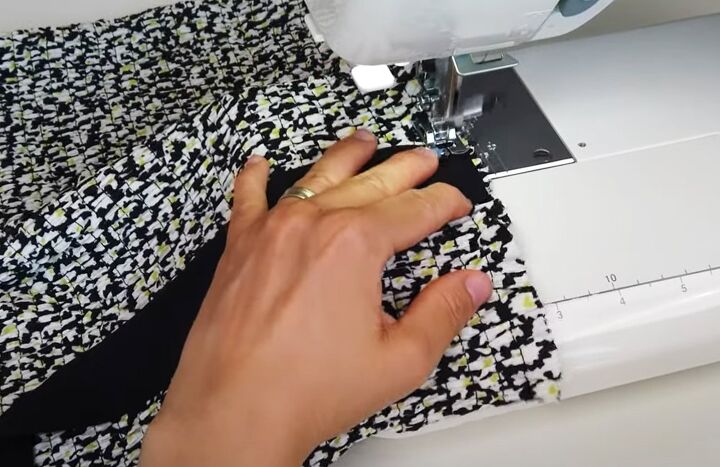
4. Skirt
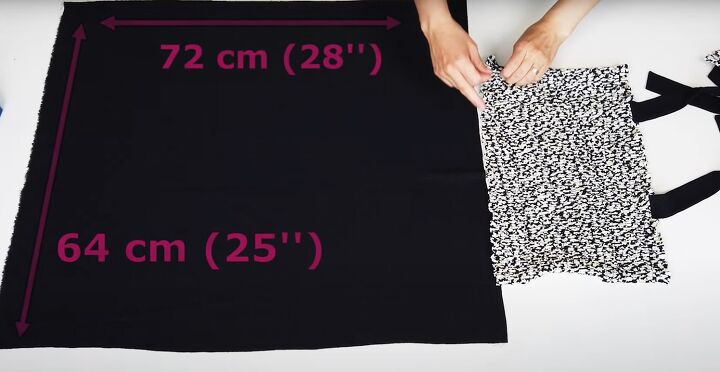
Cut two pieces of plain fabric, each 28 inches (72 cm) by 25 inches (64 cm).
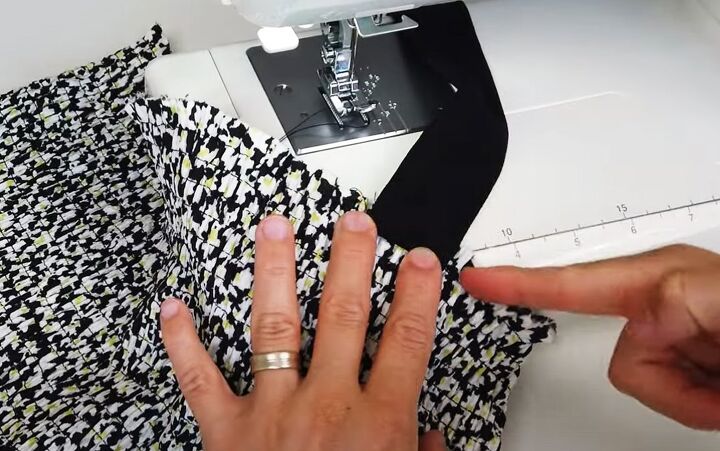
Place one shorter edge against the lower edge of the front bodice.
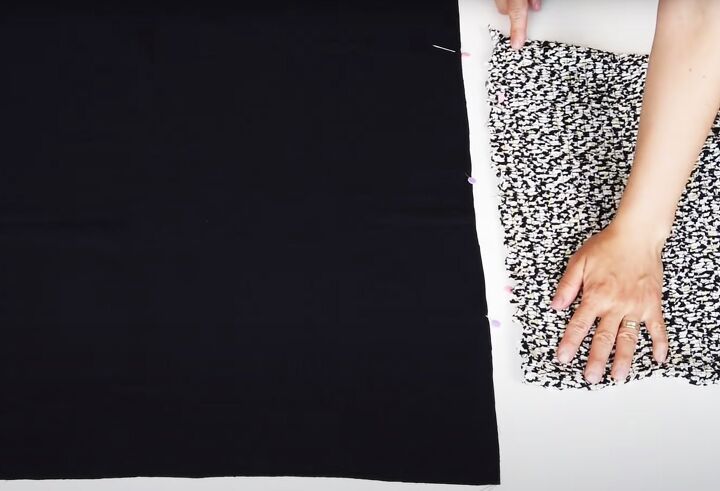
Divide the bodice into 4 and mark with pins. Repeat for the skirt.
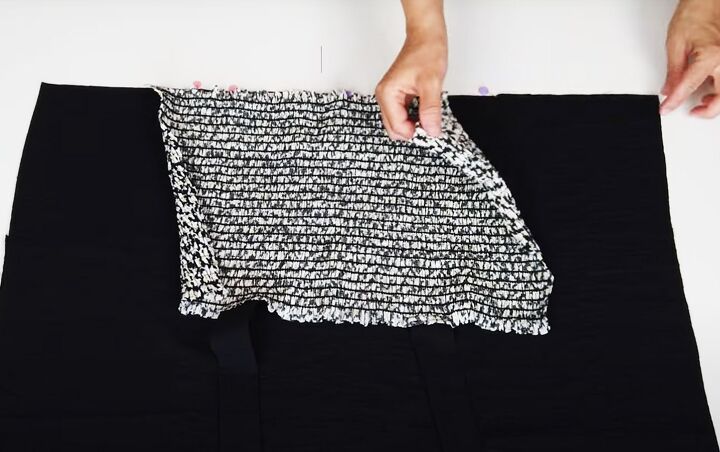
Pin the bodice evenly to the skirt with the right sides together, stretching the bodice to fit.
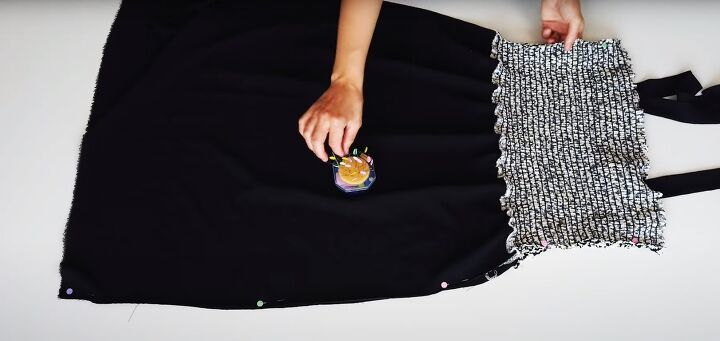
Sew in place and finish the raw edges with a serger or overlock stitch.
Complete the back of the dress in the same way.
5. Side seams and hem
Place the back of the dress over the front, with the right sides together.
Pin the side seams, making sure the bodice seams are aligned. Sew from the top edge downwards.
Turn up a narrow double hem at the lower edge of the skirt and sew it in place.
Finish all the raw edges.
Tie the straps together on the top of the shoulders and finish in a bow.
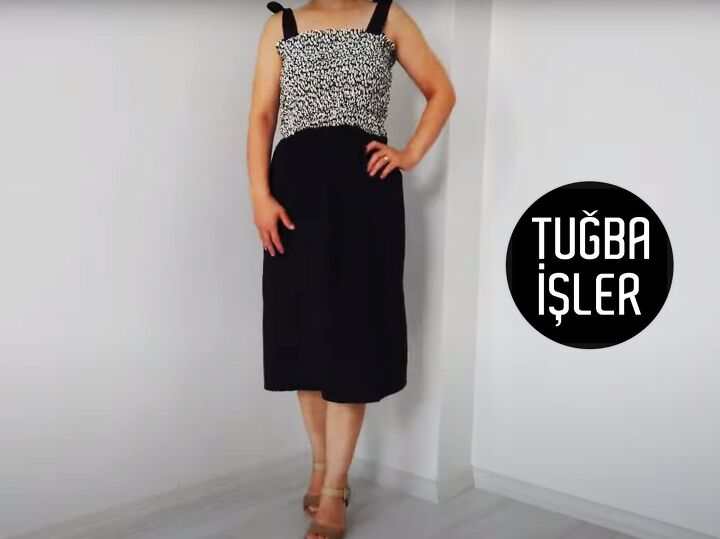
Spaghetti strap bodycon dress
Now you have a pretty summer DIY dress that fits you perfectly. You can modify it in several ways. For example, you can make the skirt full length for evening or sew the dress in one fabric. It also looks great worn with a belt.
I hope I manage to hold on to this one a bit longer! I’d love to know what you think of it in the comments below.
For more quick and easy sewing hacks and ideas, please follow me on TikTok: https://www.tiktok.com/@tugbaisler
The author may collect a small share of sales from the links on this page.


Comments
Join the conversation