This Pretty DIY Wrap Dress is So Cute & Super Easy to Make

In this tutorial, I'll show you how to make a DIY wrap dress. Nothing beats a wrap dress for simple elegance. This look is super flattering for all body types and can be worn to work, out with friends, or even on a special occasion. Here’s a great way to DIY a wrap dress, even if you’re a novice at sewing.
Tools and materials:
- At least 2 yards of fabric
- Marking chalk
- Ruler
- Measuring Tape
- Pins
- Paper
- Sewing Machine
- Invisible zipper 10-12 inches
- Scissor
- Needle and thread
- Safety pins
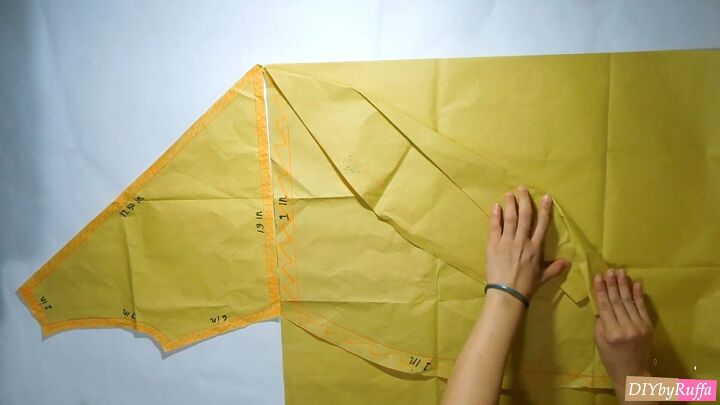
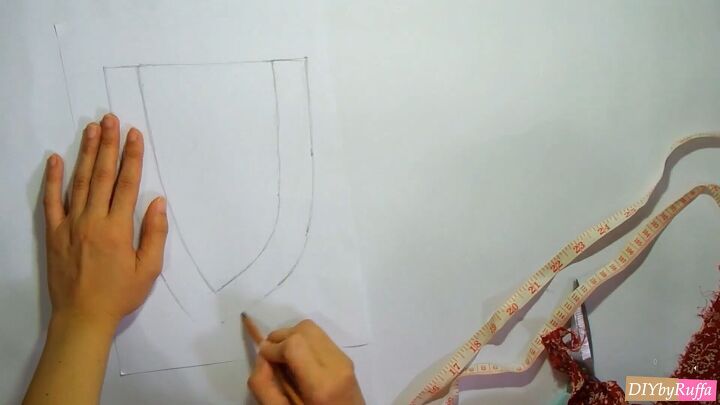
1. Make the pattern for the top
Use an existing dress to trace a pattern for the top. Add a generous seam allowance. These are the measurements:
- 2 inches at the shoulder
- 7 inches at the armhole
- 6 inches at the waist
- 17.50 inches for the diagonal line
- 13 inches at the bottom waist
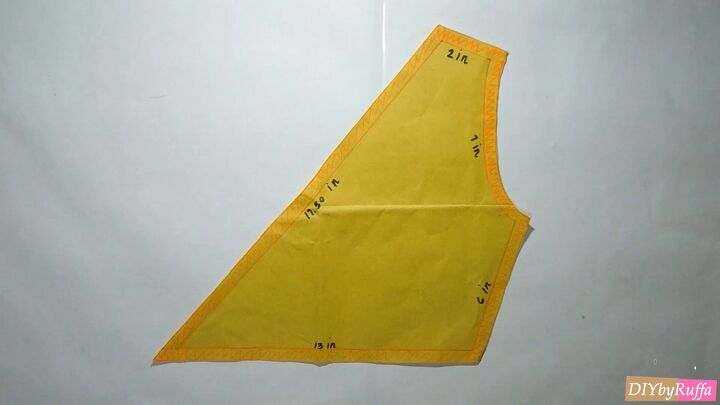
Draw a diagonal line from the shoulder to the waist. That’s one side.
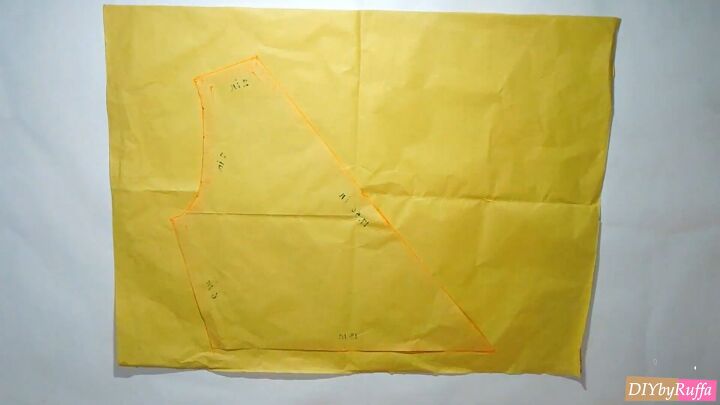
Flip the other way to make the other side. The back is the entire pattern without the diagonal lines.
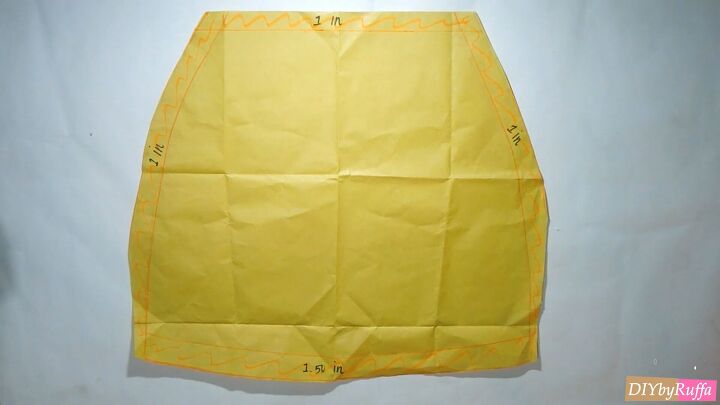
2. Make the pattern for the skirt
If your existing dress has a skirt you like, use that one. Otherwise, use another one. Add a generous seam allowance of 1 to 1.5 inches.
Then create another pattern layer for the overskirt. Use the first skirt pattern folded three times creating a simple curve. Trace the pattern and then cut.
3. Cut the fabric
Once you’ve got all the patterns ready, cut the fabric. You may need to pin or tape the pattern to keep the fabric steady while you cut.
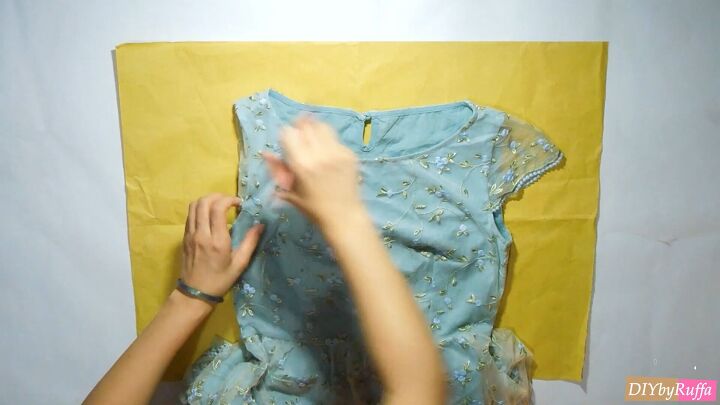
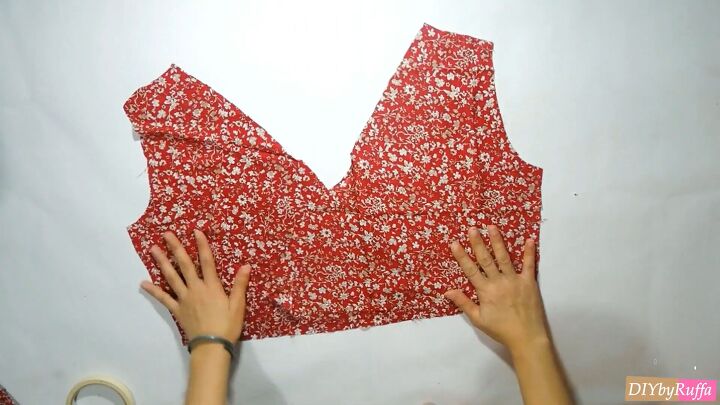
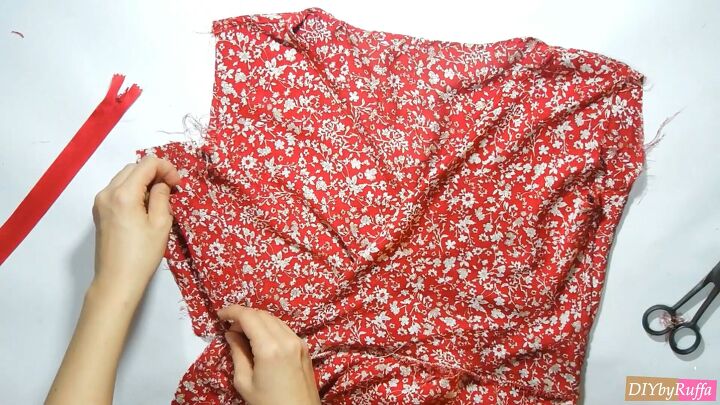
4. Sew the top
Lay the upper pieces to see how they look. Make sure they are proportional. Pin together. Leave the left side open for the zipper. Work on the wrong side of the cloth and sew the side seams.
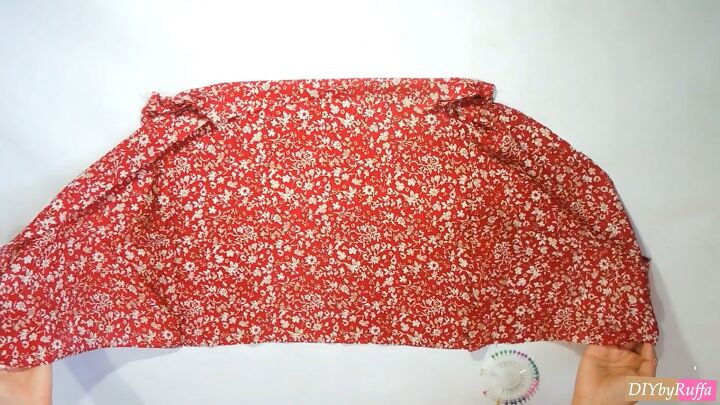
Fold the edge twice and use a topstitch. On the shoulder, sew it down twice. This gives a neat and professional look.
Mark all of the adjustments to the top, cutting off any excess fabric.
Fold the edges of the neckline and armhole. Iron in place. Pin in place. Then sew, using a topstitch.
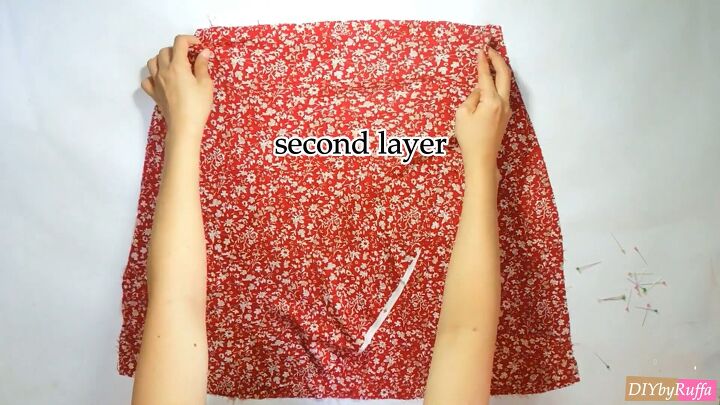
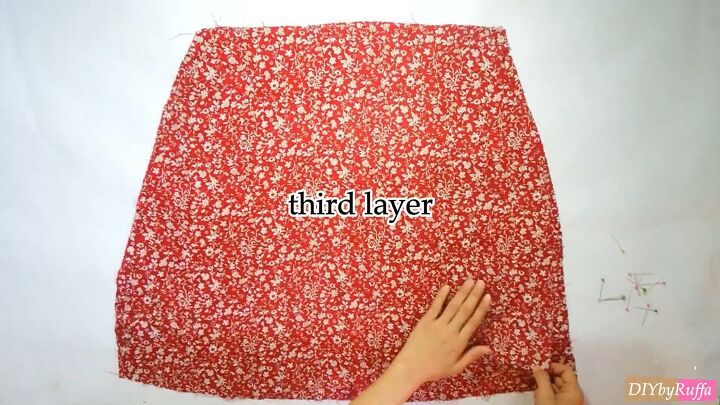
5. Sew the skirt
The skirt has three layers. Place the first layer right side up, and the second and third layers wrong side up.
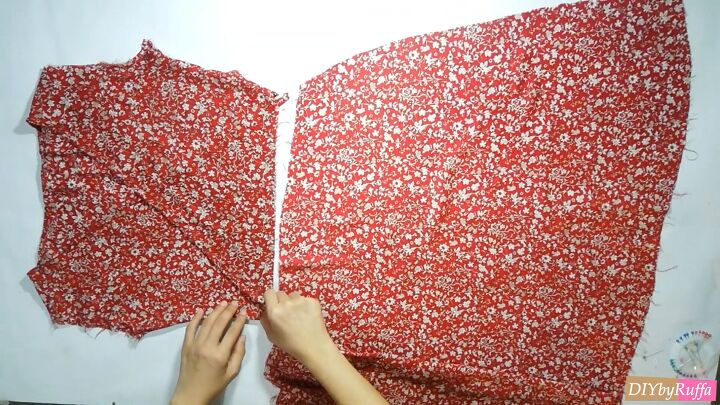
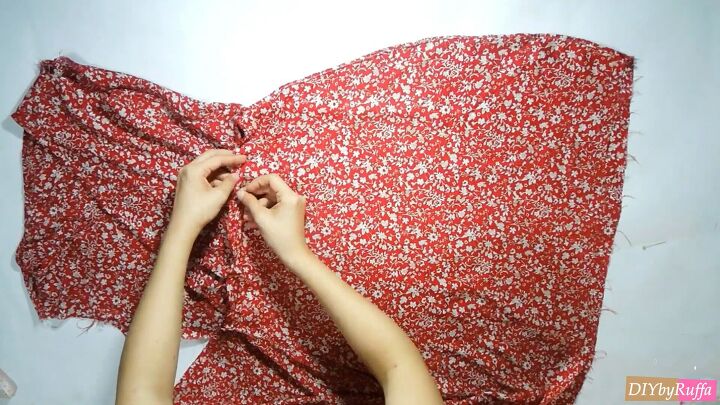
To hem, fold over twice and sew in place. Hem the second and third layers on the left side. Hem the first and third layers on the right side.
The first layer isn’t hemmed on the left side to allow space for the zipper.
Turn the cloth inside out to see how it works for wearing.
6. Attach the top to the skirt
Attach the back first by making sure the stitch line for both the top and the skirt at the back are connected. Pin and then sew in place.
For the front, attach the left part of the top first because it needs to align with the second layer of the skirt. Use safety pins to attach them.
Try the dress on to make any adjustments to the fit before sewing. Finalize by marking and trimming any excess fabric. Pin in place. Then sew using a topstitch all the way through.
On the left side, if you removed too much cloth, use extra cloth for the zipper placement. Install a secret zipper. If you’ve never put one in before, watch some YouTube videos to show you correct placement. It’s best to baste in place before sewing to make sure it is in the right place.
Hem all the edges of the skirt by double folding, pinning in place, and sewing it down.
7. Make the sleeves
Trace the arm line. Measure 4 inches out and draw a curve going to the arm with a one-inch seam allowance.
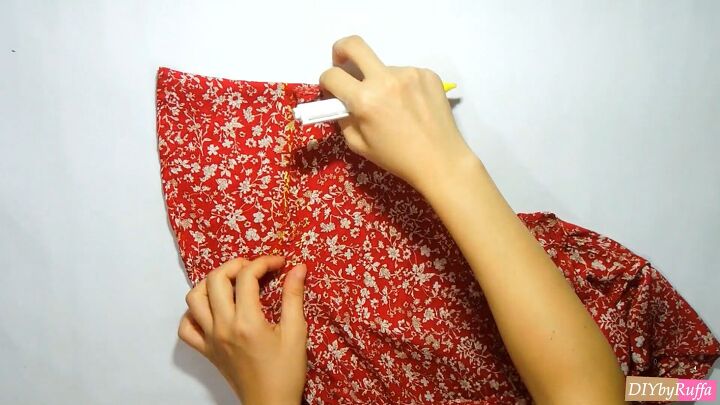
Fold the cloth in half. Place the pattern on top. Cut the fabric.
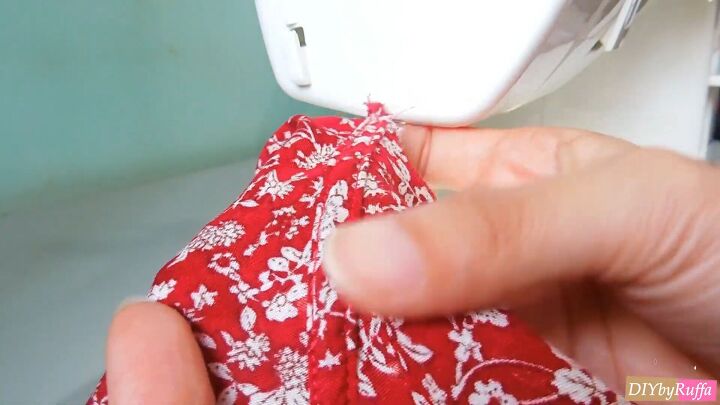
Fold the bottom edge of the sleeve twice. It’s easier to fold in the middle first on a curved piece. Then, sew a hem only on the bottom edge.
Mark the sleeves one inch from the edge of the bodice. Pin in place. Fold twice and hem again. Pin the edge and then sew all around the sleeve, attaching it to the bodice. Repeat for the other sleeve.
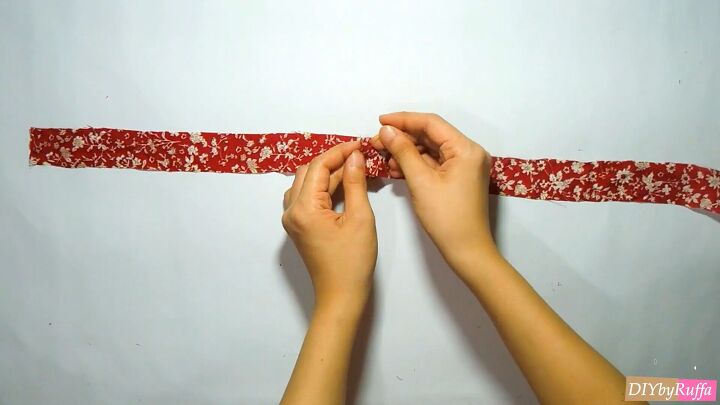
8. Make the ties
Cut two pieces of cloth using a ruler as the pattern (about 12 inches long). Connect both sides. Fold in half lengthwise, right sides in, and sew along the length. Use a safety pin to pull it through to the right side. Make two ties. Stitch the tops closed.
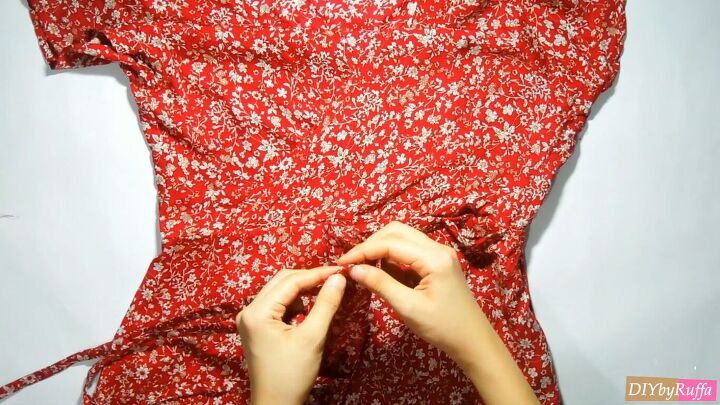
9. Attach the ties
Attach the ties to the third layer of the skirt and the left side of the dress. Tie them together!
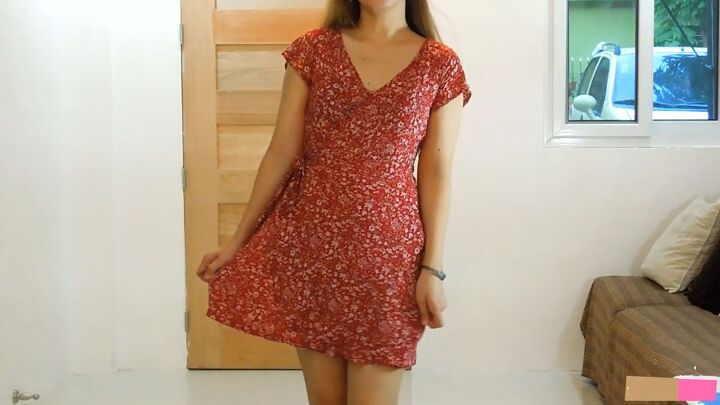
DIY wrap dress tutorial
It was my first time making this DIY wrap dress and I love the outcome! I love the way it fits me and flatters my body. I enjoyed the learning process and hope you enjoy it as well. Thanks so much for watching.
Let me know in the comments how you liked this tutorial!
The author may collect a small share of sales from the links on this page.


Comments
Join the conversation