This Cute DIY Cold-Shoulder Dress Is Super-Easy to Make

When is a cold shoulder not a bad thing? When you’re wearing a beautiful DIY cold-shoulder dress you made yourself! This style shows off the one body part that never seems to age and looks great on everyone.
Here’s how to make a cold-shoulder dress!
Tools and materials:
- 2 yards stretch fabric
- Scissors
- Pins
- Sewing machine
- Your own well-fitting long-sleeve dress to serve as a template
- Iron
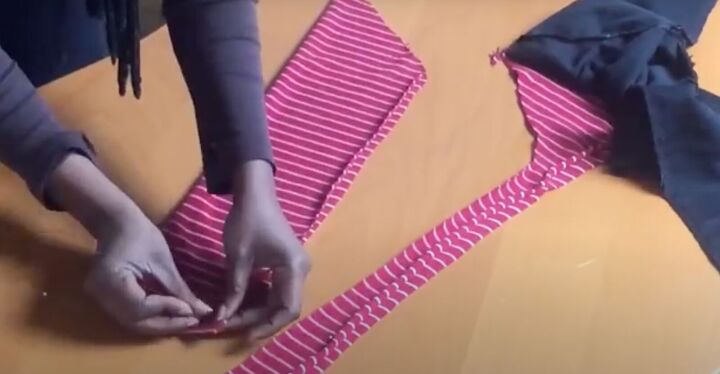
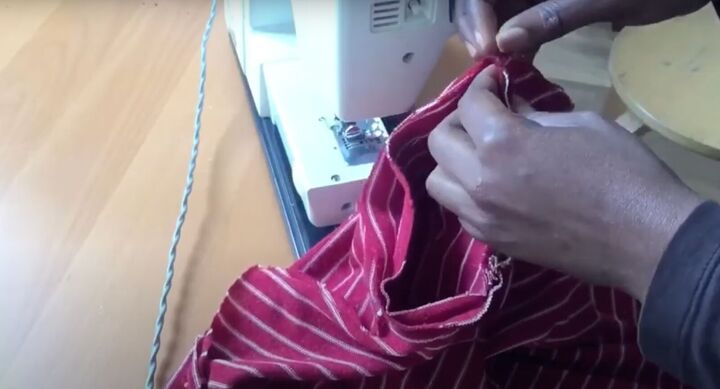
Tip: If you’re going to use striped fabric like I am in this DIY cut-out shoulder dress tutorial, make sure to line up the stripes when folding so they are directly on top of each other.
This keeps the stripes straight and neat. Once it’s cut, pin each stripe individually. I know it takes time but the results will be perfectly straight, so it’s worth it!
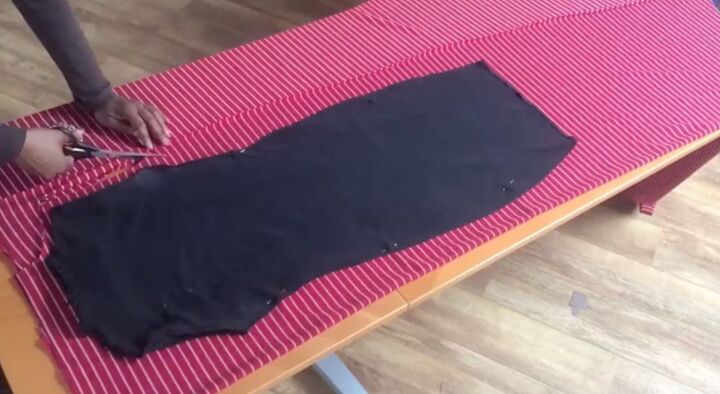
1. Make the cold-shoulder dress sewing pattern
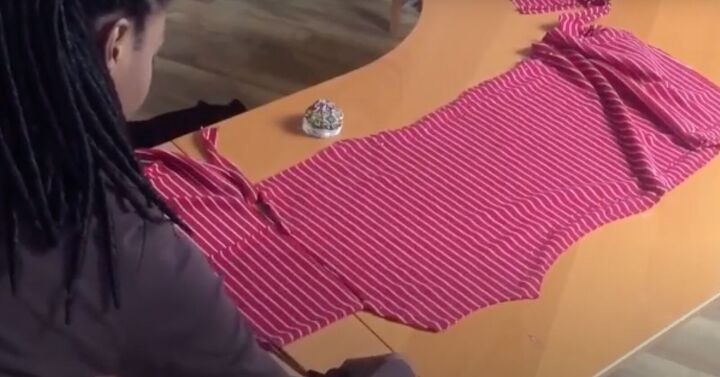
Fold your own well-fitting dress in half with the sleeves tucked inside. Lay it flat on the folded fabric so the armholes touch. Pin in place on the fabric.
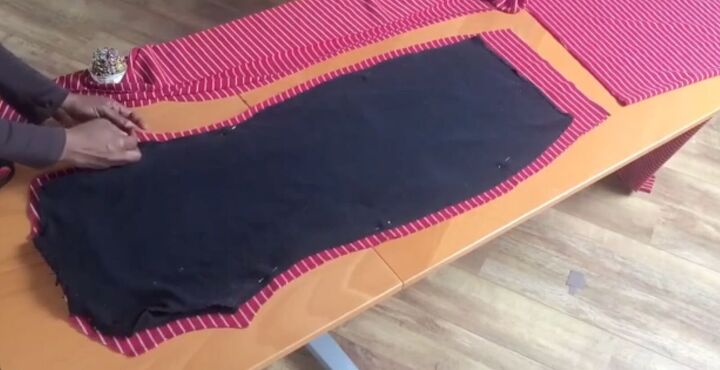
Cut along the outline leaving a ½-inch seam allowance. At the bottom, you can keep the length of your template or make it even longer. Your dress - your choice!
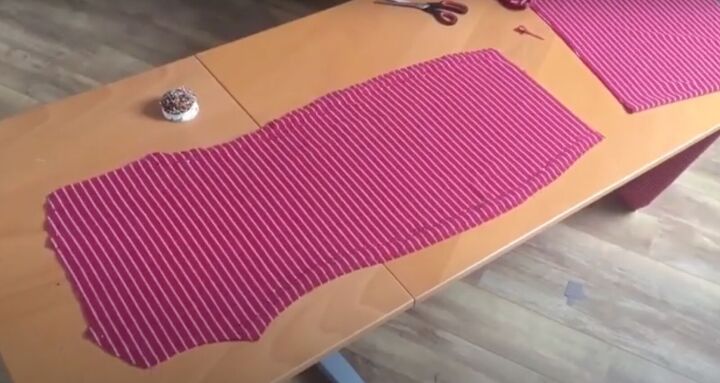
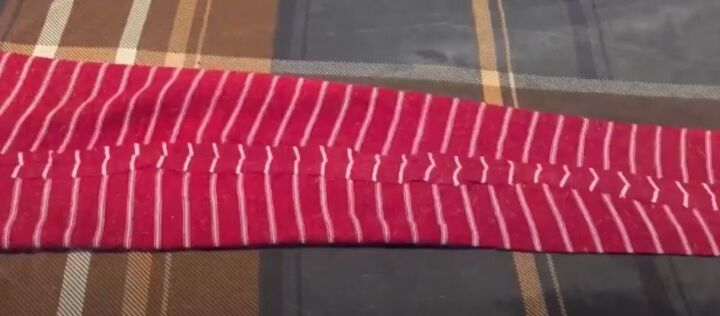
Pin the side seams together. Don’t forget to pin each stripe if you’re using striped fabric for that perfect finished look! Sew in place.
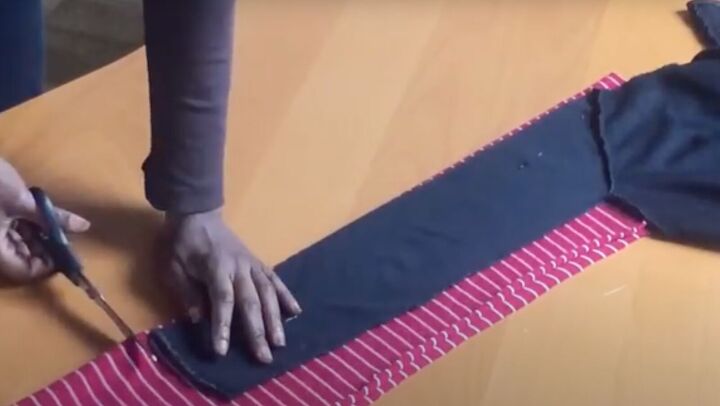
2. Make the sleeve pattern
Use the sleeve of your template. Fold your fabric in half. If you’re using striped fabric, make sure that the stripes run in the same direction for that perfect finished look. Lay the sleeve on top of the fabric.
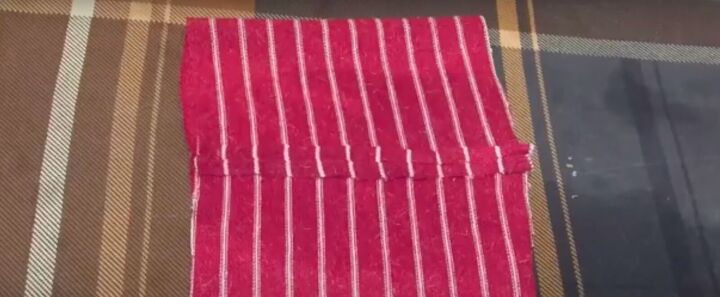
Pin in place and cut, leaving a 1½-inch seam allowance.
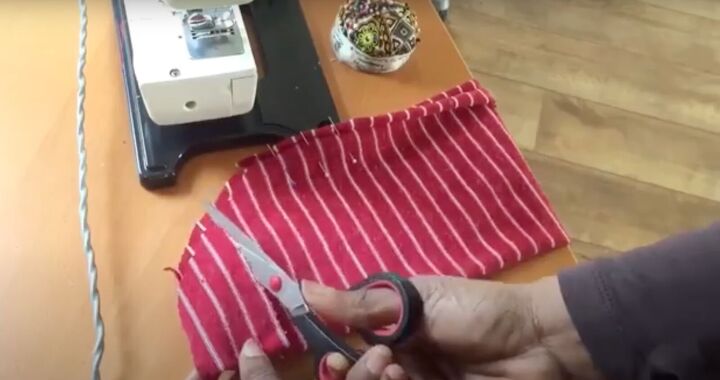
Lay the sleeve on a flat surface. Cut off the upper part of the sleeve (about 3 inches) where the sleeve cap is to give that gorgeous open shouldered look.
3. Make the turtleneck
Place the folded fabric next to the neck of the dress. Align them properly. Cut the turtleneck part of the fabric.
Here’s a link to help you make the turtleneck in about 10 minutes!
4. Put the dress together
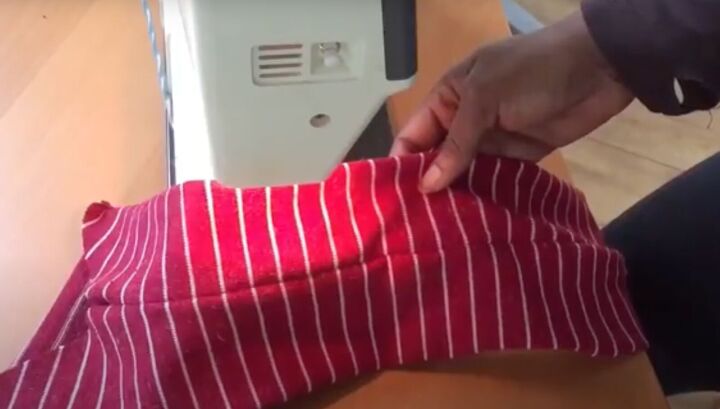
Sew the sleeves together first.
Once the sleeves are sewn, press open the seam allowance.
Sew the turtleneck “loop”. Press open the seam allowance.
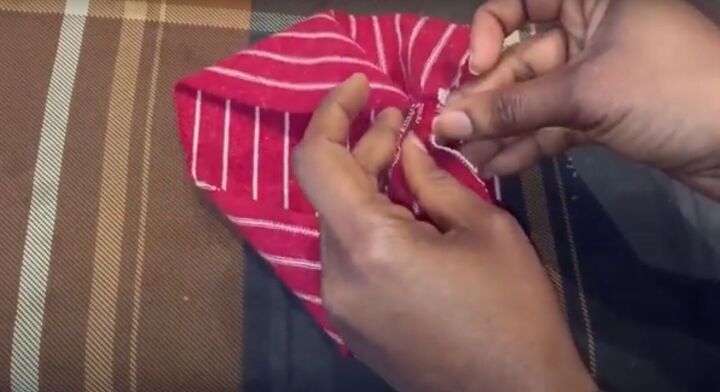
Pinch the turtleneck seams together and fold in half. Pin it in place.
Keep the dress with the wrong side facing out. Turn the sleeve so the right side is facing out. Place the sleeve inside the dress so both their right sides are touching.
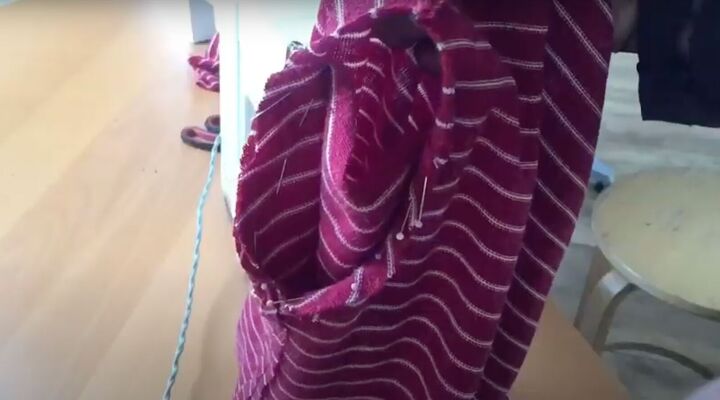
Align the sleeve seam at the bottom with the side seam of the dress. Pin in place. Sew the sleeve to the dress, keeping the open shoulder open! Use the same technique for the other sleeve.
Insert the right-side facing turtleneck into the dress so their right sides are together. Line up the unfolded edges of the turtleneck with the raw edge of the neckline. Pin in place and sew.
Double fold the open shoulder to hem. Pin in place and sew on both shoulders.
Double fold the bottom hem. Pin in place and sew.

DIY cold-shoulder dress tutorial
How gorgeous is this DIY cold-shoulder dress? You can wear it as is like I’m wearing it here.

If it’s a bit chilly, you can throw on a furry vest. I hoped you enjoyed this tutorial on how to make an open-shoulder dress!
Please let me know in the comments if you made it and share photos so I can see your beautiful creative work!
The author may collect a small share of sales from the links on this page.


Comments
Join the conversation