How to Make a Circle Dress With Cute Cold-Shoulder Sleeves

In this tutorial, I'll show you how to make a circle dress with cold-shoulder sleeves.
Circle dresses look lovely but can sometimes look like you're wearing a big curtain! So, I'm sprucing up this DIY circle dress with cold shoulders. The cold-shoulder detail gives this round maxi dress a sophisticated edge.
Grab your fabric of choice, and let me guide you on this super-friendly tutorial on how to sew a circle dress from scratch.
Tools and materials:
- 60-inch wide fabric
- Loose-fitting top as a guide
- Pins
- Sewing machine
- Matching thread
- Scissors
1. Make the circle dress pattern
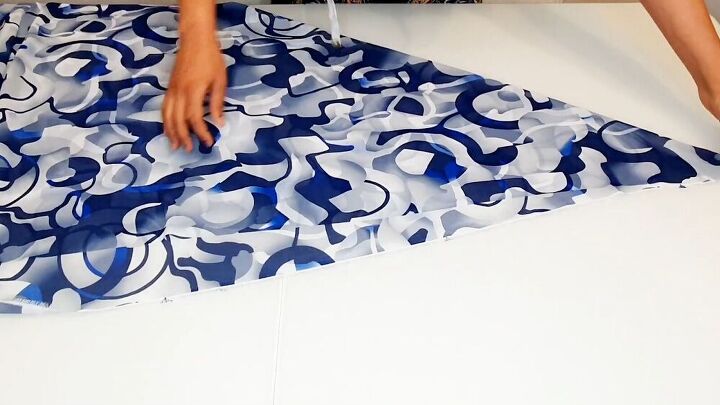
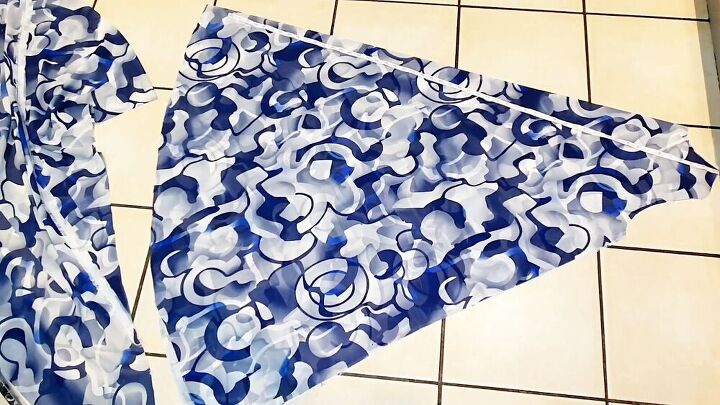
From the corner, fold your fabric in half. Make sure the corners meet each other.
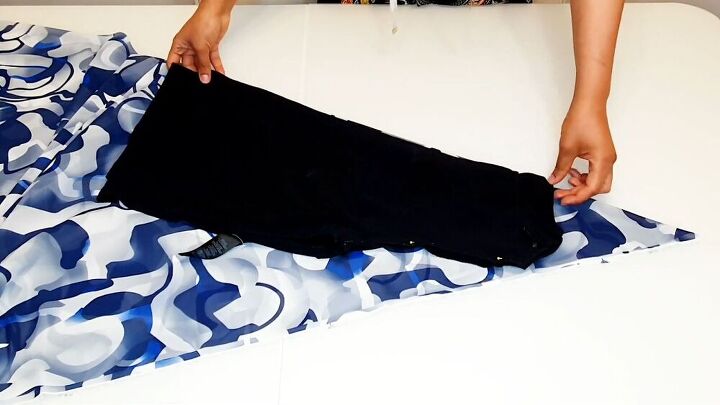
Take a loose-fitting shirt, fold it, and place it at the highest part of the triangle at the folded edge. Take your time positioning the top carefully.
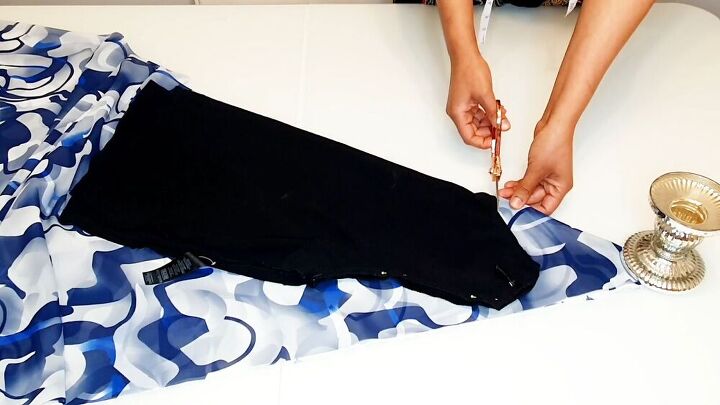
Then, cut around the shoulder part and neckline. Add extra for seam allowance.
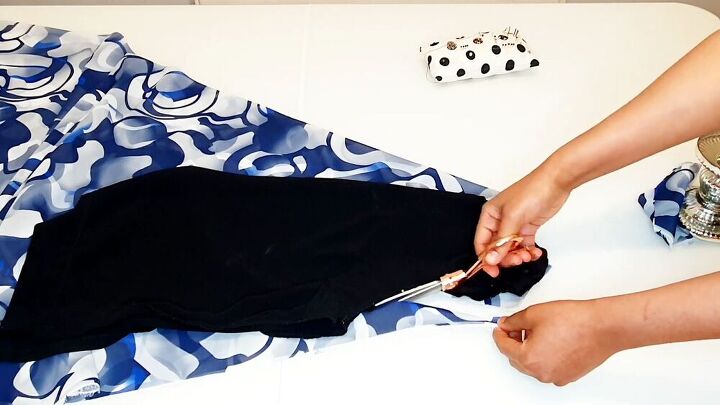
Then, reposition the armhole to the adjacent side of the fabric, as shown. Carefully cut out the armhole. You now have the front bodice pattern.
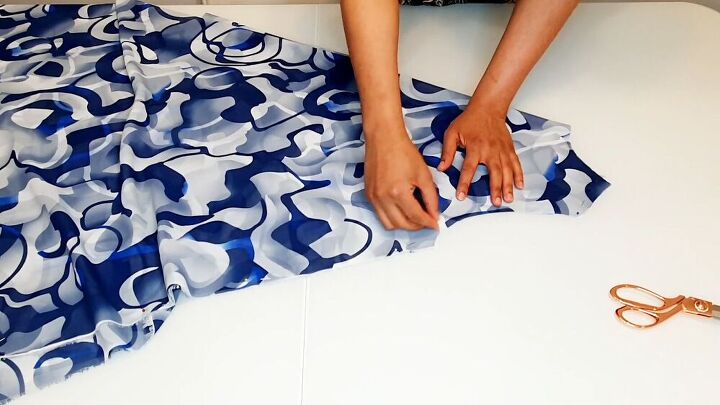
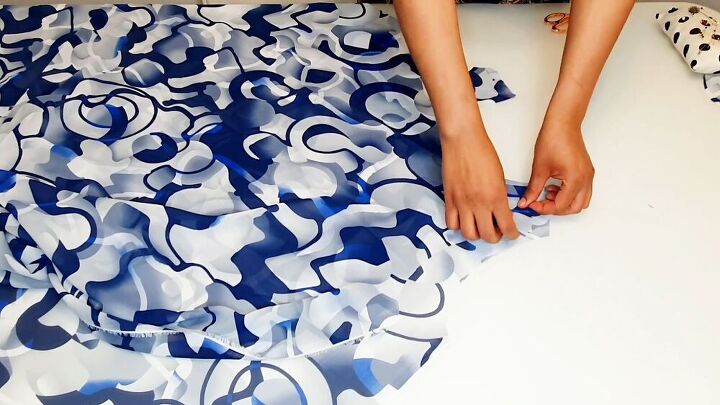
Next, pin the sides in place so that you can cut the hem of the dress.
Ensure that the fabric is level. Measure your desired length of the dress and cut accordingly. Repeat this process so that you have two bodice pieces for the front and back of the dress.
Tip: If your fabric is slippery, use some weights to keep the fabric in place.
2. Alter the bodice pieces
The front bodice needs a little modifying to the armhole, extending it by 2 inches. Draw a curve into the armhole and cut, carefully. Take your time!
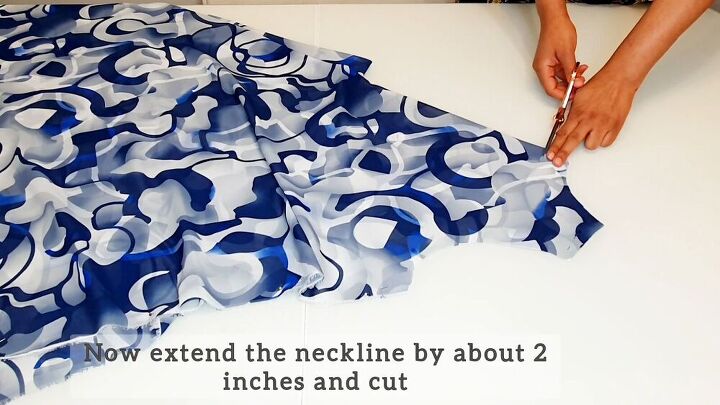
Extend down the neckline by another 2 inches, and cut.

For the back bodice, extend the neckline by about 2 inches, and cut.
3. Make the sleeves and measure the elastic
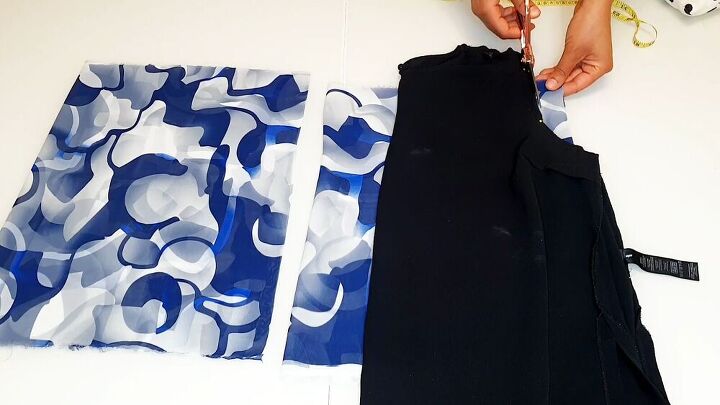
For the sleeves, take two fabric pieces, fold each, and measure so that each piece measures 13 x 18 Inches.
Take your top and position your armhole on the non-folded edge. Position the top just above the halfway point of the armhole curve, and cut away about 2-3 inches.
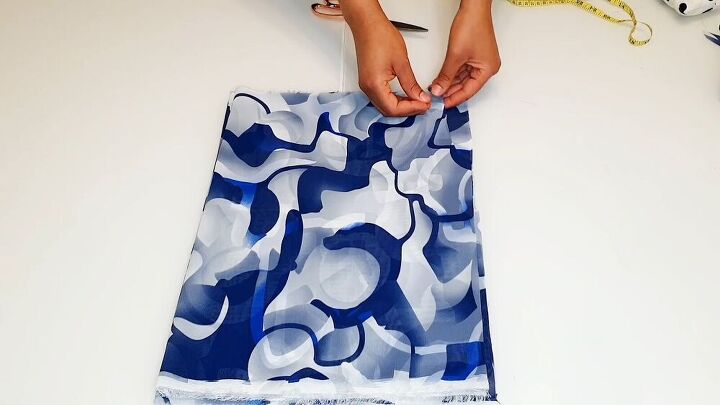
Place the fabric you just cut and place it on top of the other piece. Pin in place and cut accordingly. Now you have your two sleeve pattern pieces.
Cut two elastics, measuring half of the circumference of your upper arm.
4. Pin and sew the shoulder seams
Open up the pattern pieces and lay both the front and back, right sides facing. Next, pin the shoulder sections and stitch them together.
5. Hem the armhole curve
Hem the armhole curve of the dress. Do this slowly so that it is accurate and repeat on both sides.
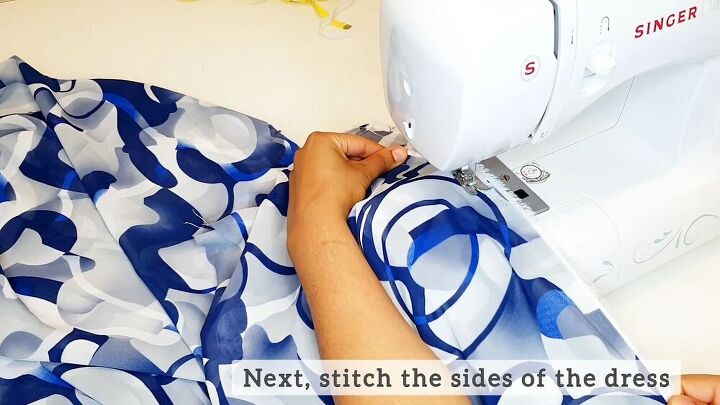
6. Stitch the sides
Next, stitch the sides of the dress together. Make sure the right sides are together.
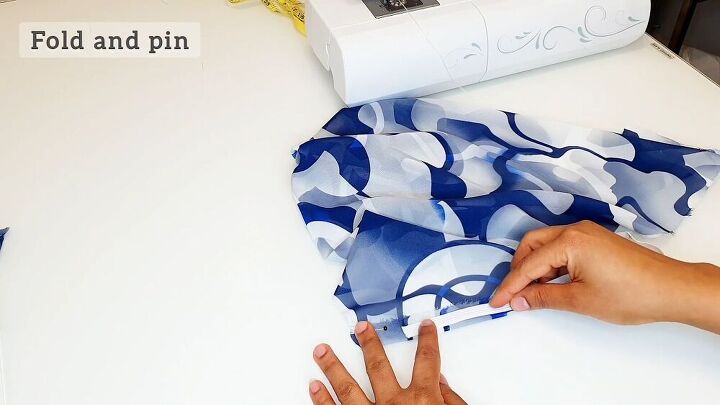
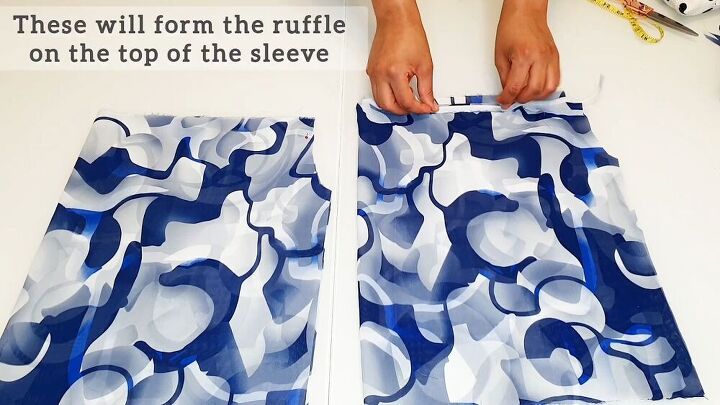
7. Create a sleeve casing for the elastic
To insert the elastic through, create a casing on the sleeves. Measure and fold your desired width at the top of the sleeve and pin it down. Stitch the fold in place.
Now, create another tunnel for the lower part of the sleeve, pin, and sew in place. Your sleeve should look like this.
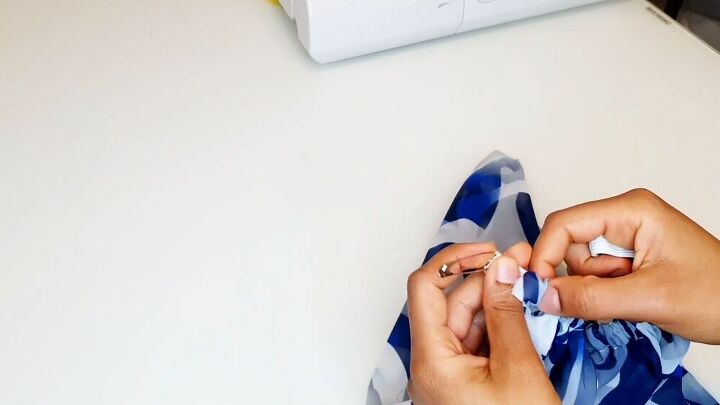
Insert your previously measured elastic through the casing positioned at the top part. Use a safety pin to guide you. Stitch the ends in place.
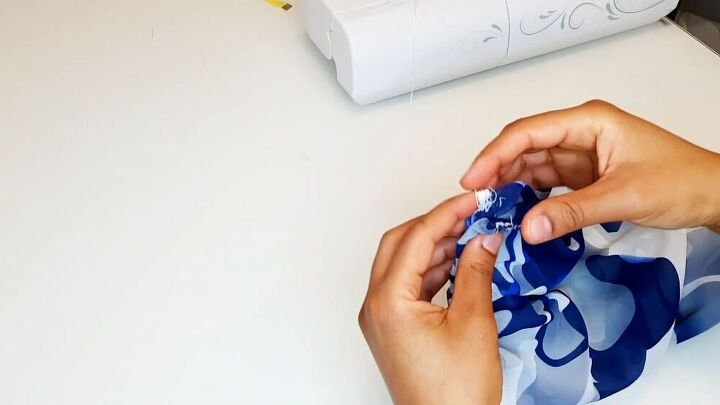
Measure your top arm's circumference and cut out two elastics for the lower part of the sleeve. Feed the elastic through the lower casing and stitch in place.
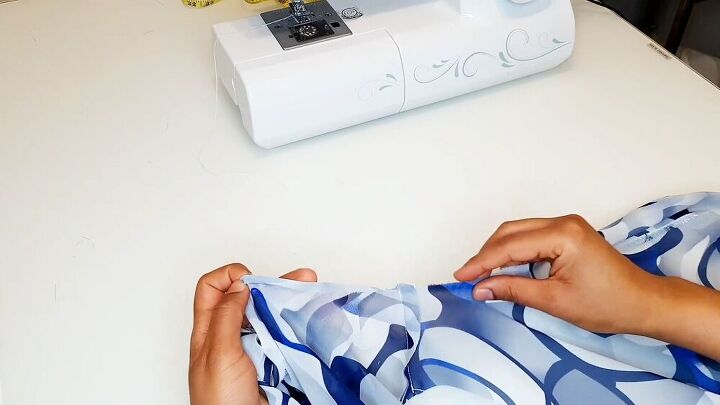
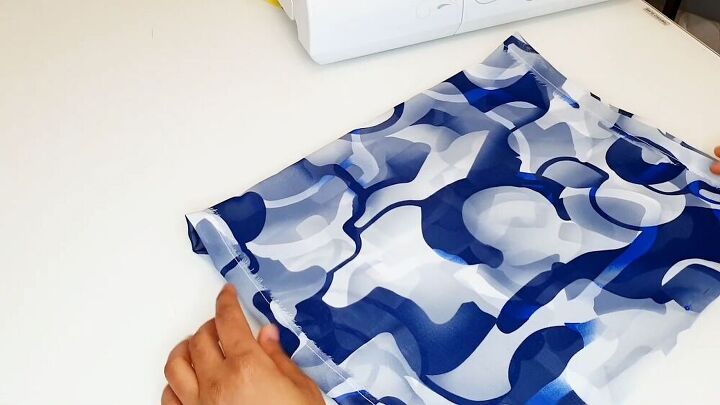
8. Sew the sleeves
Fold the sleeve and stitch the side seams. You should now have your complete sleeve. Repeat steps 7 and 8 for the other sleeve.

9. Attach the sleeves
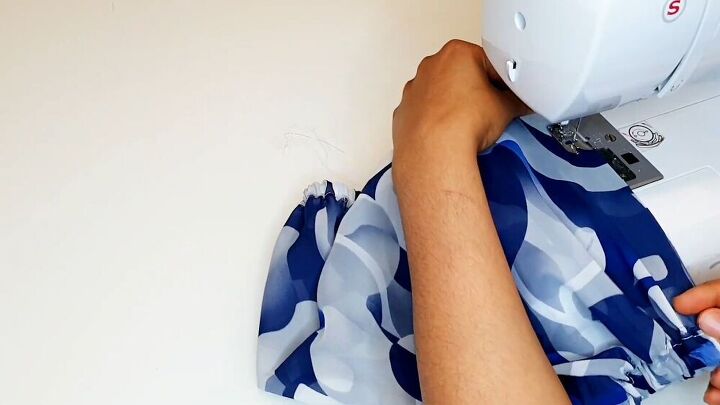
Match your lower armhole seam and the sleeves and pin in place. Next, pin the rest of the sleeve in place.
Stitch in position and repeat the same process for the other side.
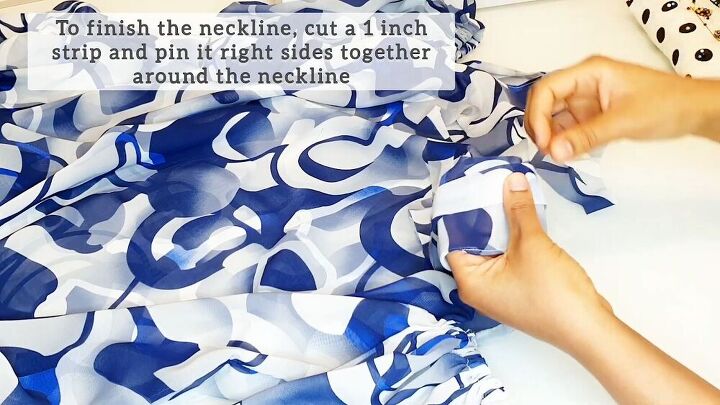
10. Finish the neckline
Cut a one-inch strip and position it over your neckline. Pin right sides together over the neckline and stitch as close to the edge of the neckline as possible.
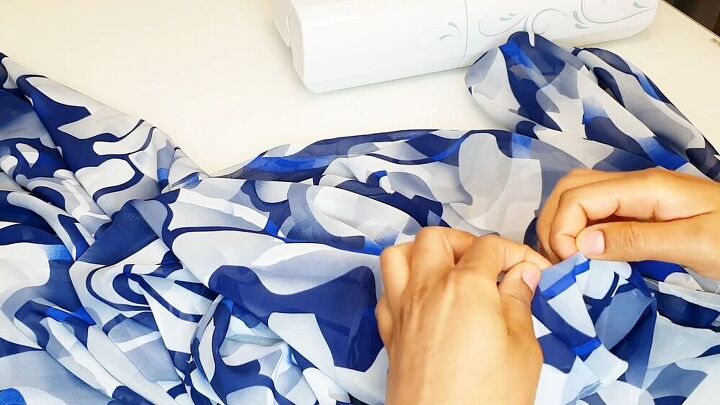
Once you are done, fold the strip twice and stitch again with a topstitch, all the way around. Hem the dress to complete it.

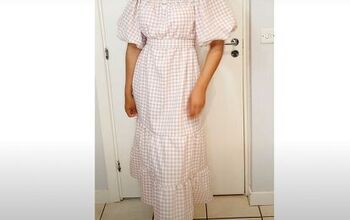
How to make a circle dress tutorial
Here’s the result. Flowy, feminine, and elegant. I love it so much, and I hope you do, too. This was super easy to do, and I love that you don’t need a pattern to pull off this easy circle dress look.
Let me know what you think of this DIY circle dress with cold-shoulder sleeves in the comments below.
The author may collect a small share of sales from the links on this page.


Comments
Join the conversation
Really pretty. I'd try it with out the cold shoulder part. I don't know why that style just bothers me. Your version looks great...
Very pretty & all credit to you ! I wish I coukd wear that style but I just don't feel good or comfortable in it .. I do so admire those who can wear it & look good !!