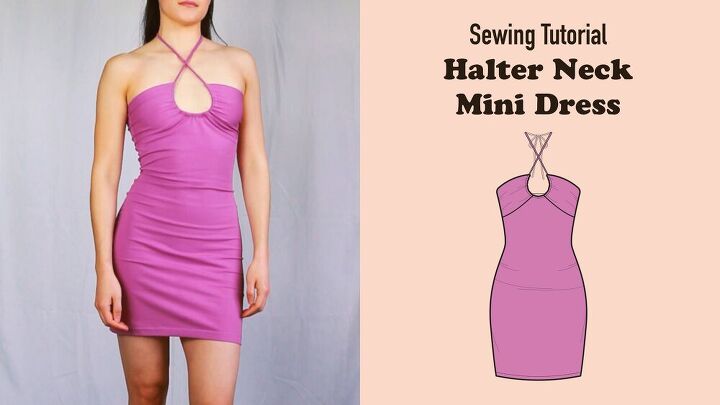
How to Make A Halter Neck Mini Dress

As you must have figured, I'm back with something new! Something that involves the three basic materials to show that it's as easy to make as the others. I never disappoint when I say it's easy, do I? ;)
Halter necks are one of the most flattering necklines and they are great for showcasing the shoulders. Quite sexy huh?
For this halterneck mini dress, with the strap circling around the cleavage area, don't you just love the gathering effect it creates? The ultimate evening look.
Okay, enough praises, let's get sewing! :p
First, you should have your halter neck mini dress pattern. You can get it from my pattern collection here. It's very affordable and it comes in 6 different sizes! Sizes 32-42.
Tools And Materials
As mentioned earlier, there are the usual three basic materials;
The fabric (Jersey fabric)
Thread
Pins
The Pattern
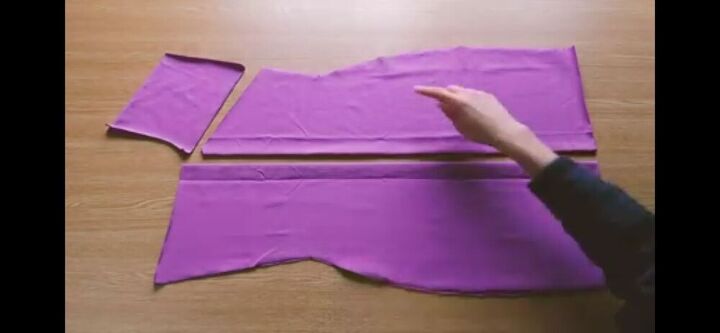
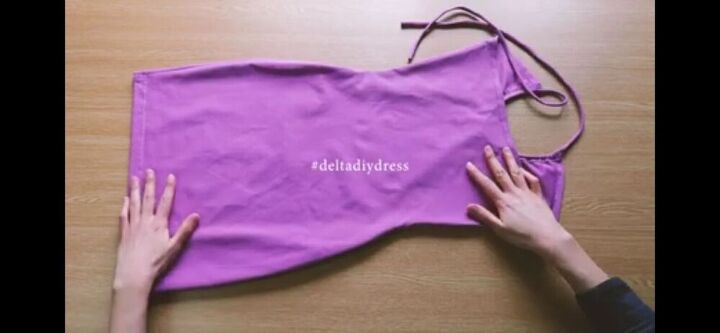
I started by laying the pattern over my fabric and neatly cut them out. In total, I had five pattern pieces consisting of the front, the back, the two bust panels and a long strip of fabric to serve as the strap.
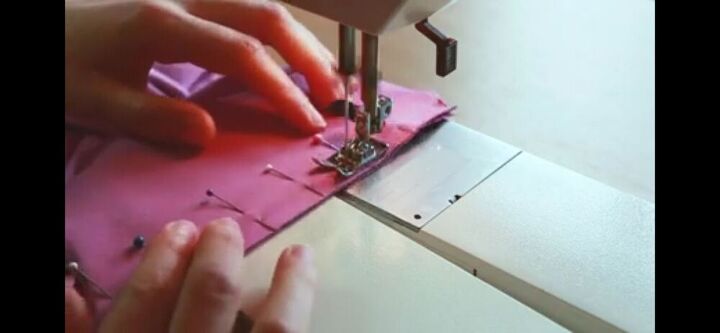
Next, I began by adding the bust panels to the front of the dress, right sides together.
You should be careful when doing this so as to avoid pairing the wrong sides of the breast panels with the front of the dress upside down. Now, even the sentence is almost all jumbled up, so you should avoid doing the same with that part of the dress. :D
After making sure they're correctly placed together, you sew using a zigzag stitch. If you watch my video, you'll notice I made use of a straight stitch instead. This was because I was sure I wasn't going to be stretching the fabric at the bust area because of my bust measurement. So, you can go for a zig-zag stitch if you have a bigger bust measurement.
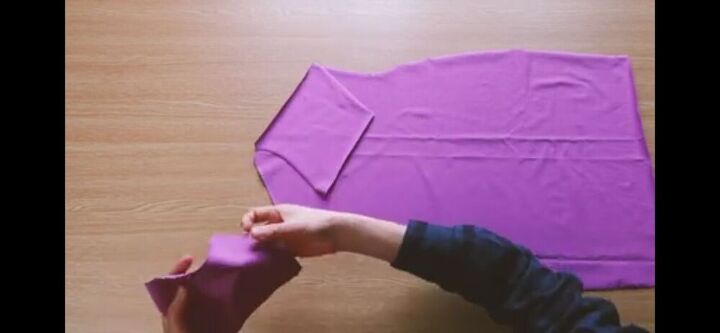
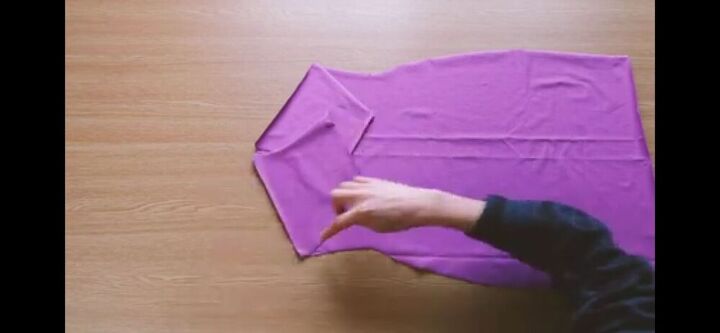
When you're done attaching the bust panels to the front, it's time to put the front and back pieces together and sew.
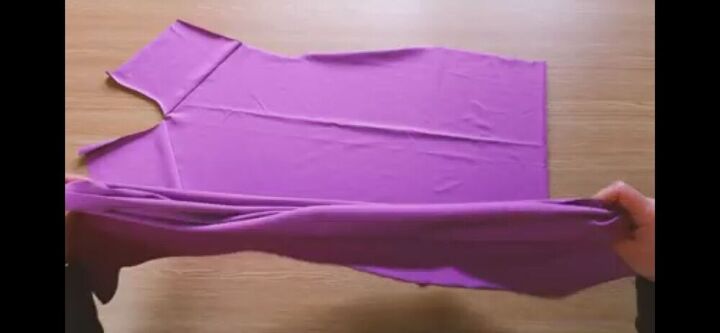
I made use of a straight stitch here also because my fabric isn't stretchy vertically.
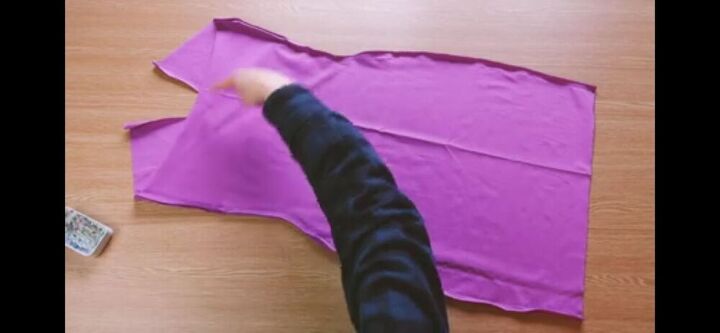
This is what you should have after sewing the front and back pieces together. Also, it's a good idea for you to finish the edges with a zig-zag stitch so as to avoid the seam allowances curling up.
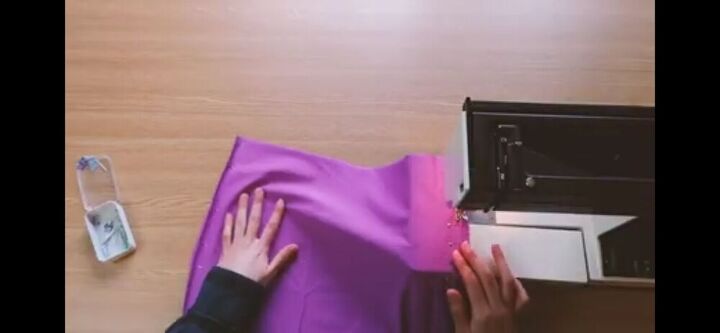
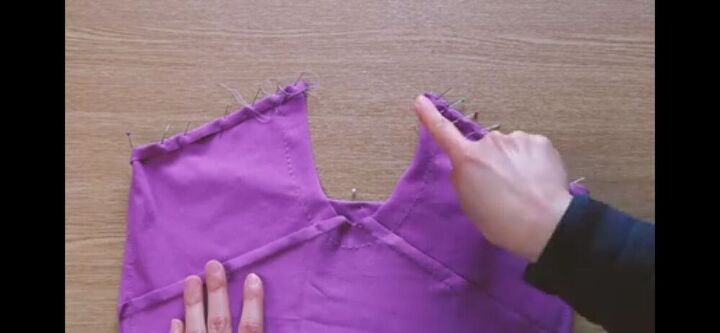
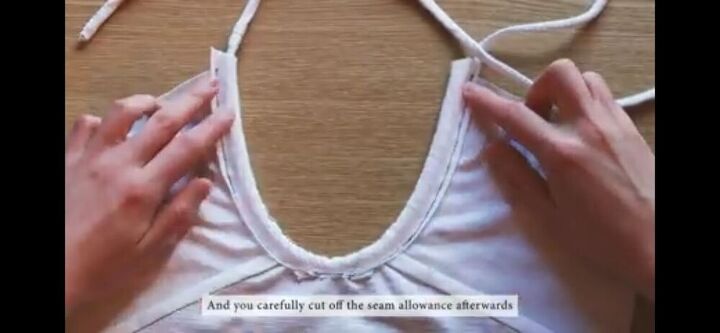
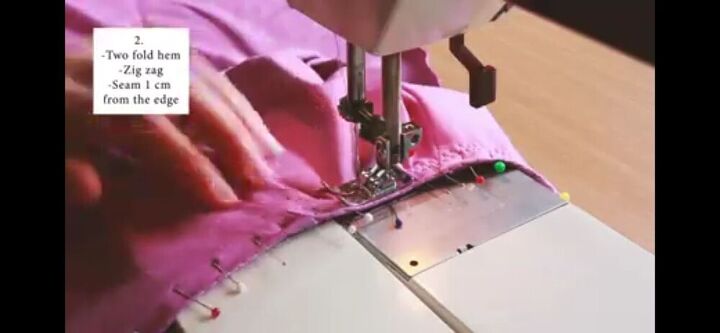
Now, on to the hems. There are two centimetres of seam allowance on the bottom part, one centimetre at the top and then, two centimetres around the cleavage.
Focusing on the one centimetre of seam allowance at the top, I pinned and then, folded it in, all around to the back.

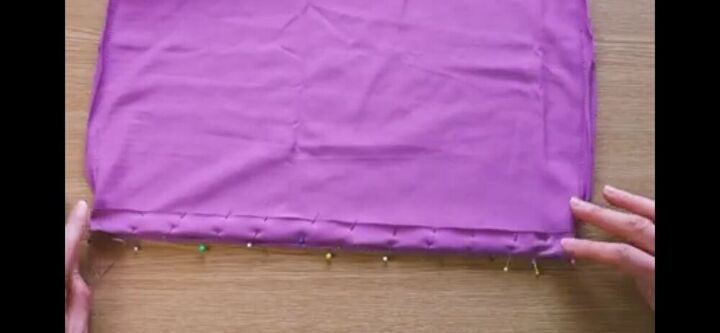
After that, came the folding of the bottom hem which has it's own two centimetres of seam allowance.
Next comes the usual climax in the sewing tutorials, the slightly technical part. Easy though, don't you worry.
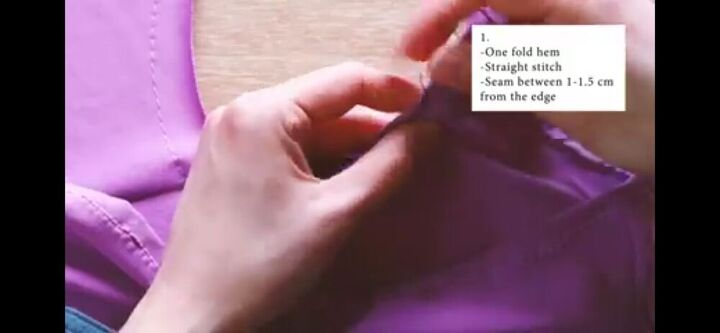
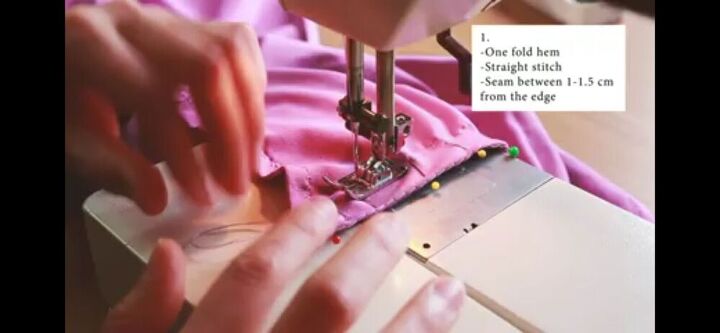
You can fold the hem in two ways. The first option you have is using a simple one fold hem where you fold and then, tuck in the pointy edges before sewing over it.
It would be difficult without using a pin to secure it before sewing because of its oval shape, so this is where quite a number of pins come in handy.
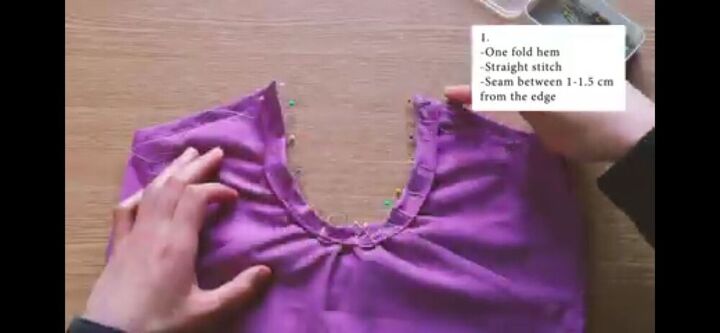
Then, sew the folding with a straight stitch, about 1cm from the edge.
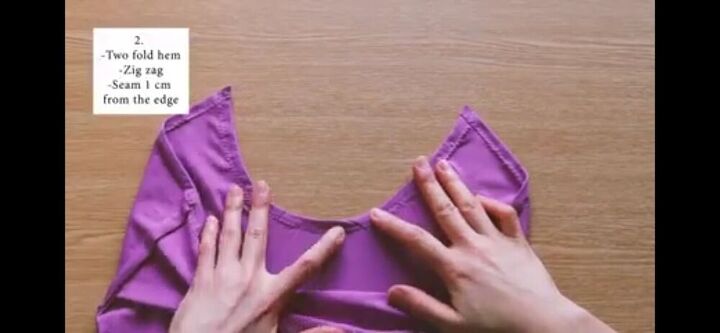
This is the result of the folding with the first method.
Another method is the two-fold hem. Fold over the first time and then, a second time, all the while, still maintaining the seam allowance so you don't exceed it. The pins are needed here also.
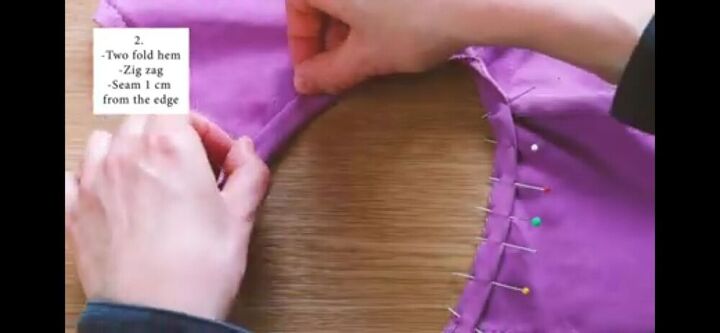
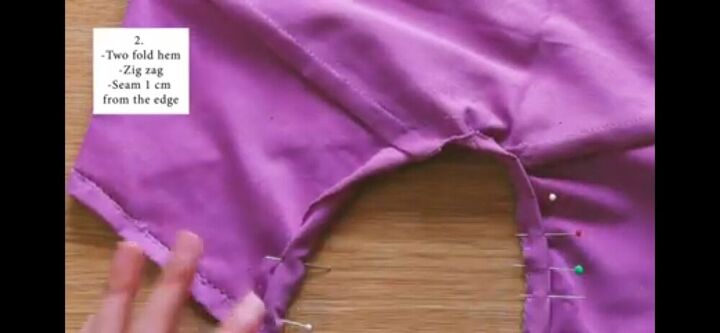
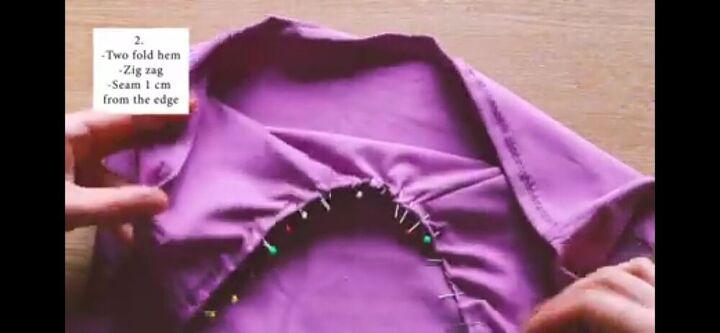
Then, you sew with a zig-zag stitch.
When you already got that part all covered, it's time to work on the straps. Working on the straps means you're almost done with the dress. Can't wait to see how it fits, right? Almost there.
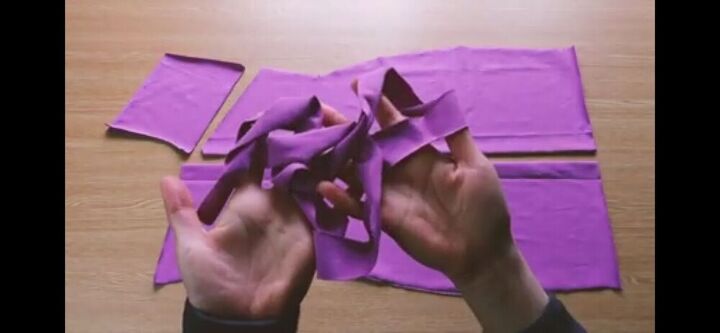
I folded the strips right sides together and joined them together using a zig-zag stitch.
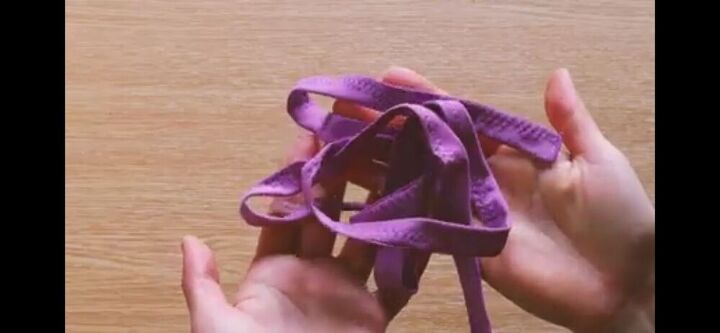
And then, I turned it inside-out using a loop turner. So simple.
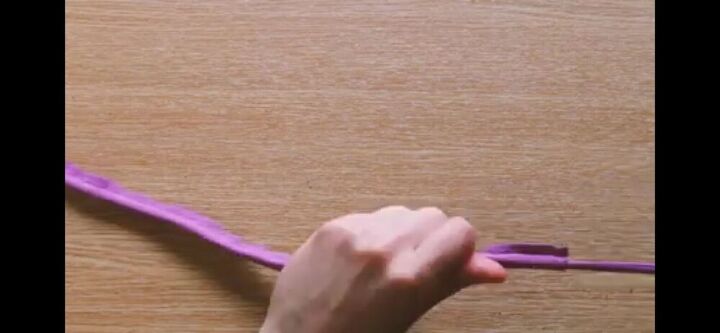
To conclude the dress making, using the loop turner again, I pulled the strip in through the channels at the top of the dress.

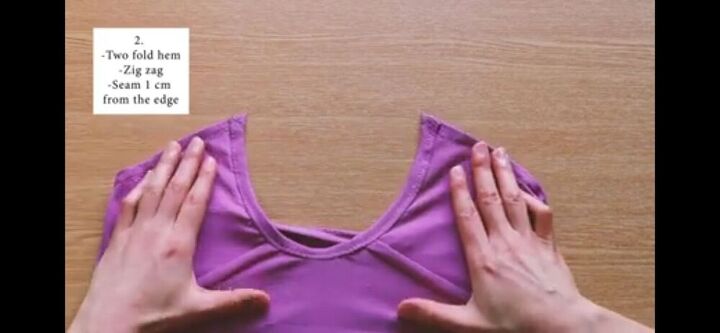
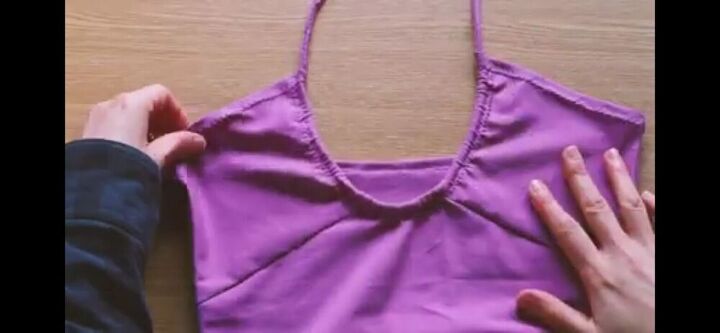
Here is an up-close of what the upper part of the dress looked like when I was done. The strap pulled it together nicely.
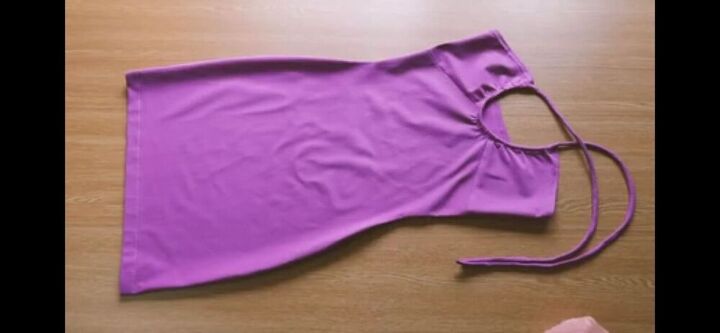
This dress looks so sexy even without being on a person.
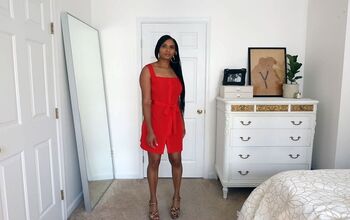
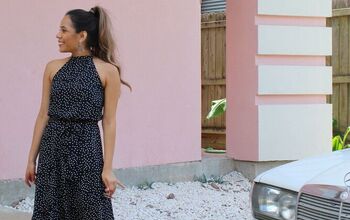
But then, take a look at it on a person. Beautiful! Absolutely love the criss-cross of the straps. I think I'll make about ten more of this halter neck mini dresses. Who wouldn't want to? It's so pretty and what's even better is the simplicity in making it.
To see more pictures of the finished product on me, you should watch my youtube video. I even did the cliche 'turn around' act. :D
Check out my other patterns here for more chic styles and don't forget to use the hashtag # deltadiydress on IG when you're done making yours.
In the meantime, I'll be making more sexy dresses like this till I get tired of it. XD
So, kiss!
The author may collect a small share of sales from the links on this page.


Comments
Join the conversation