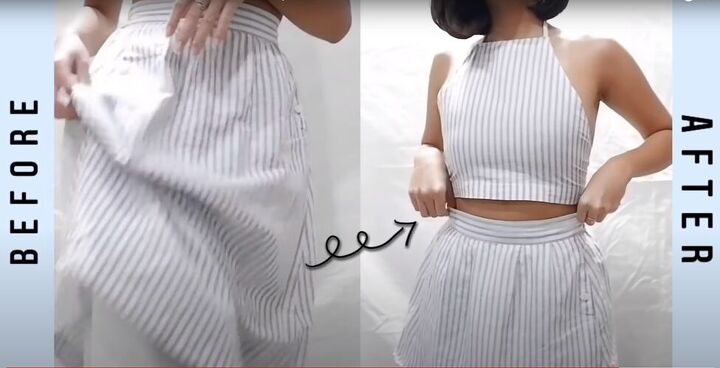
How to Make a DIY Halter Top & Mini Skirt Out of an Old Midi Skirt

It’s time to fill out your summer wardrobe and this easy DIY halter top and mini skirt set will be a great addition.
Follow along with this tutorial to get the halter top sewing pattern and learn how to make a midi skirt into a new mini skirt and halter top. Let's get started.
Tools and materials:
- Old midi skirt
- Ruler
- Scissors
- Pencil or fabric marker
- Thread
- Sewing needle
- Sewing machine
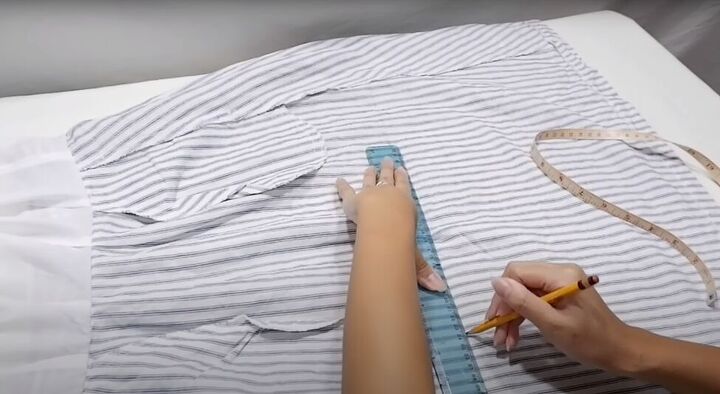
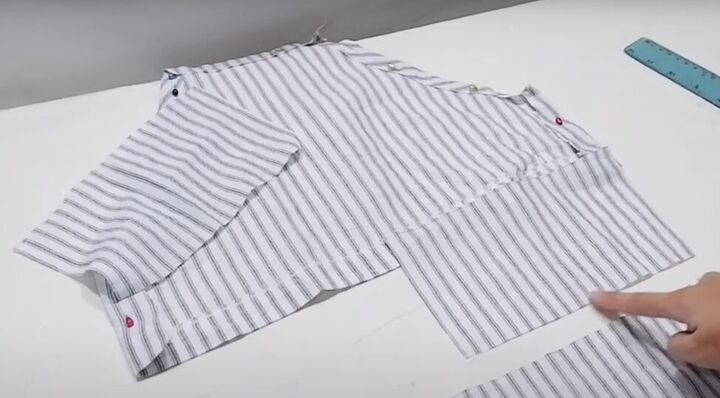
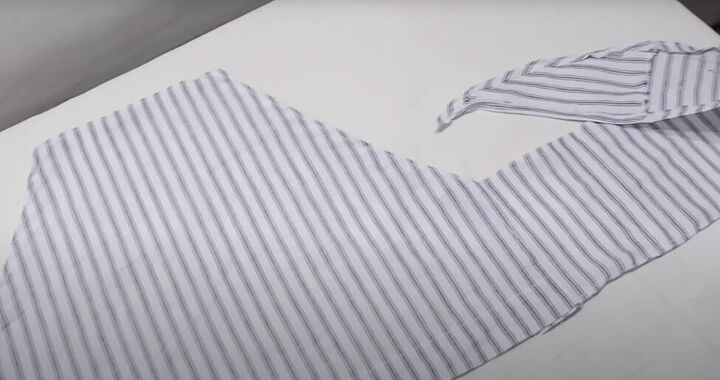
1. Create your mini skirt pattern pieces
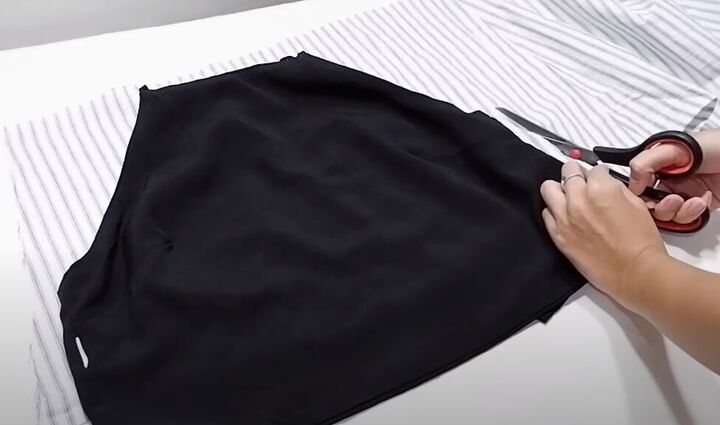
Lay your old midi skirt flat on your work surface. Mark your skirt at 31 centimeters (12.2 inches) from the waist, or whatever length you will want your mini skirt to be.
Draw a line across your skirt at that mark, adding a 1-centimeter (0.4-inch) seam allowance.
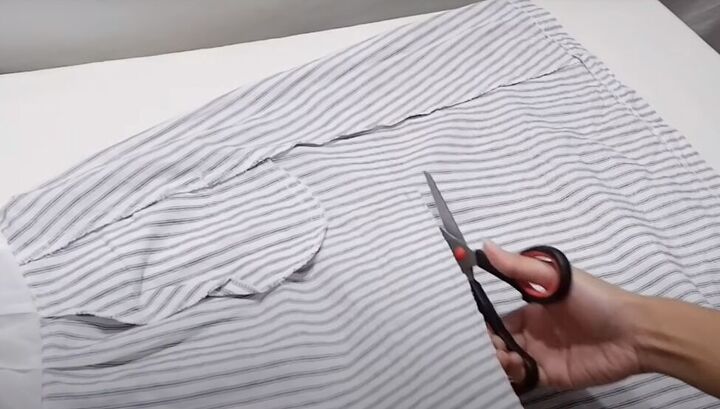
Cut the skirt on your line, cutting through both layers of fabric. Reserve the cut-off fabric for the halter top.
If your skirt is lined, then cut the lining to the correct length as well.
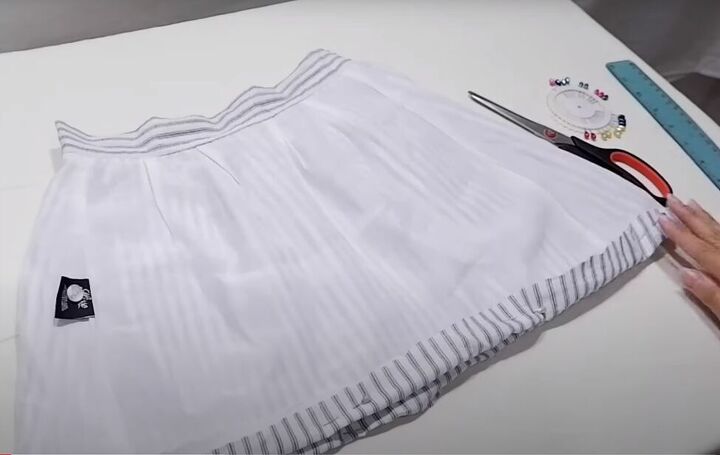
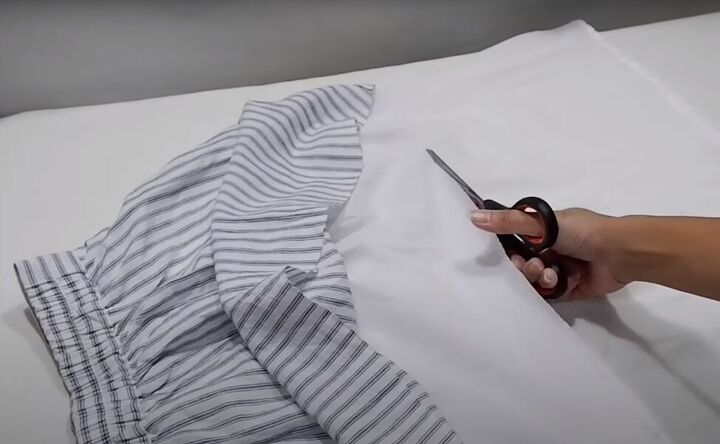
2. Hem the mini skirt
Turn your skirt inside out. Fold up and pin the hem of the mini skirt. Then, sew the skirt hem close to the bottom edge and trim off any excess fabric.
3. Make the halter top
Use an old tank top or halter top for your pattern. If you are using a tank top, tuck it under at the bottom to get the length you will want for your cropped halter top.
Lay the old top on your leftover midi skirt fabric and cut the fabric to the shape of the old top, adding a seam allowance. Because you are making a halter top, you only need to cut one piece of fabric.
Tip: save yourself some time by making the bottom hem of your leftover fabric the bottom of your halter top. Then you won’t have to sew another hem!
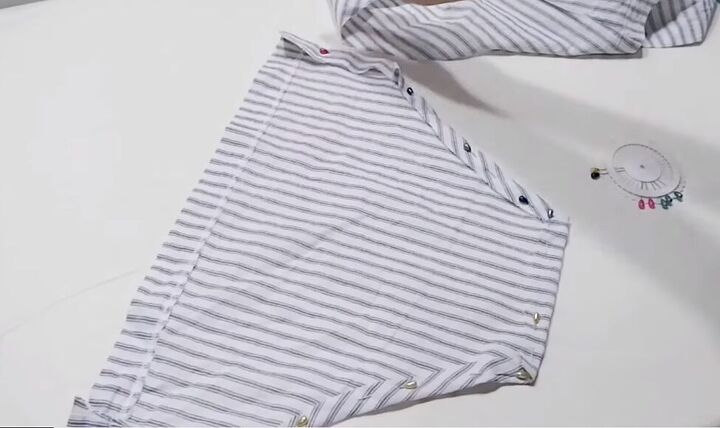
Fold in and pin both sides and the top of the halter top.
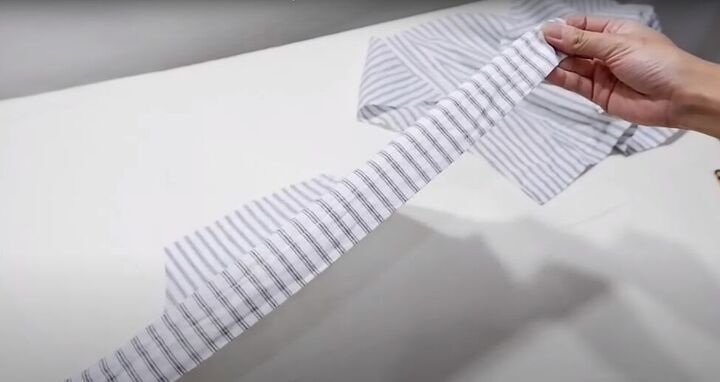
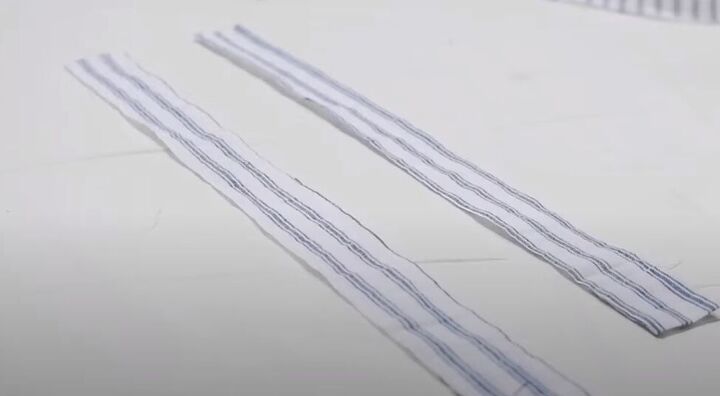
4. Make the halter top ties
Measure and cut a 10.5 x 40-centimeter (4.1 x 15.75 inch) rectangle from your fabric.
Then cut the rectangle into two matching smaller rectangles.
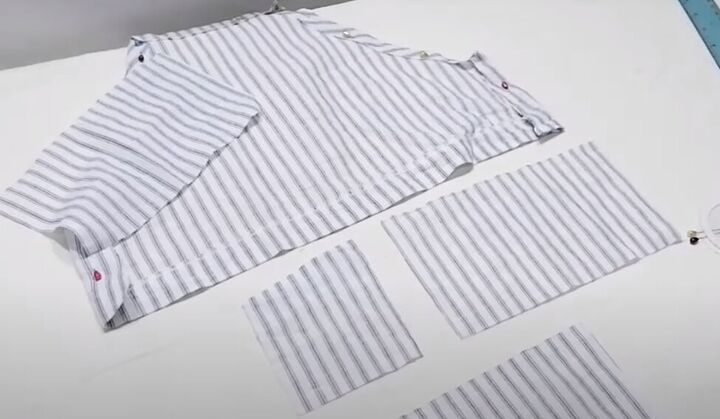
Now cut one more rectangle that is half the size of the ones you already have, but on this piece, cut the top edge on a slight angle.
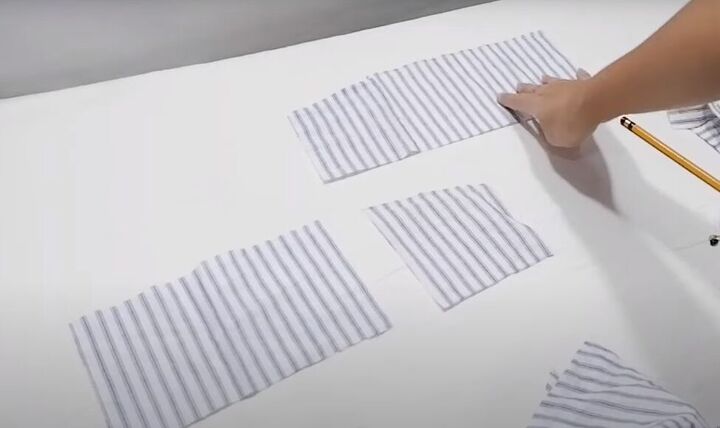
Cut another one on an angle in the mirror image of the first one. These angled rectangles will go on the end of the long straight ones, to make tapered ends on the ties.

Now cut two more curved triangular pieces of fabric for the very ends of the ties.

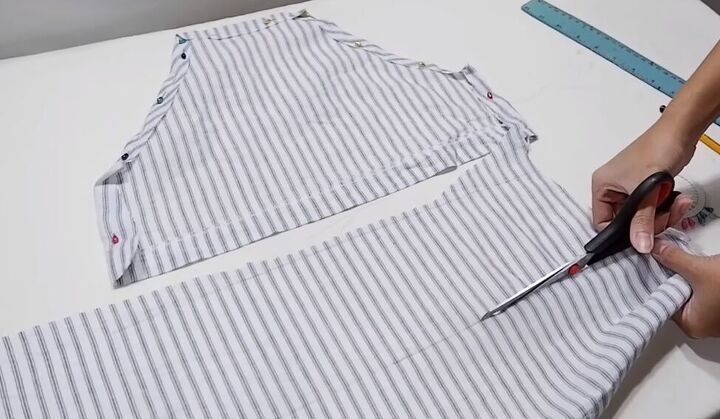
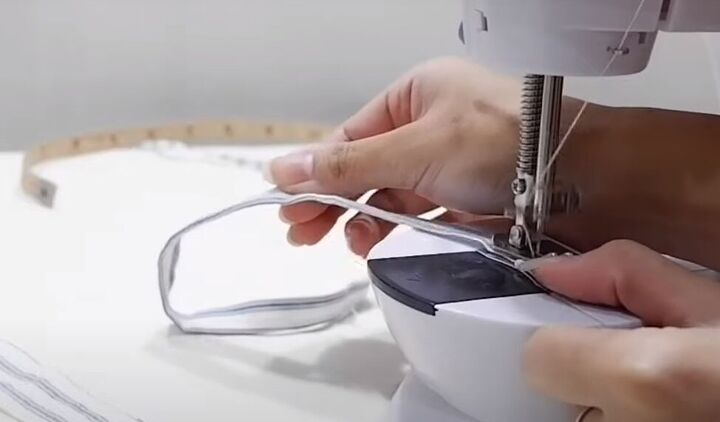
5. Sew all the halter top pieces
Start by sewing the hem at the bottom of the halter top.
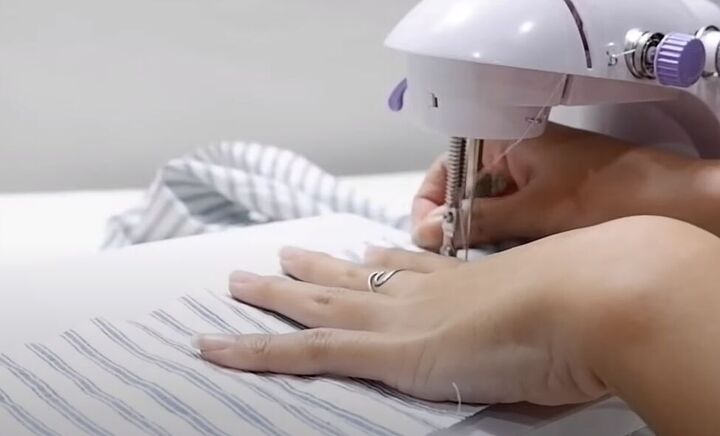
With right sides facing, sew all the pieces of each tie together, and then hem the long sides.
Now, with right sides facing, sew one tie on each straight side of the halter top.
6. Make the halter top straps
Cut two 3 x 30-centimeter (1.2 x 11.8-inch) rectangles from your leftover fabric.
Fold each rectangle in half lengthwise, with right sides facing, and sew the long open edge on each. Then turn the strap right side out.
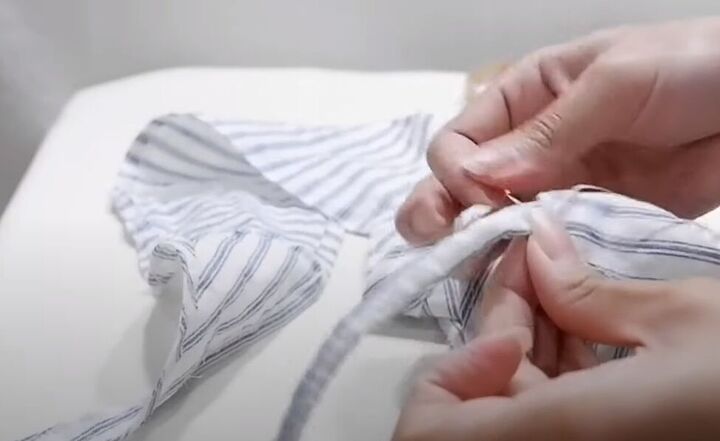
Sew one end of each strap to the inside top of the halter at the top outer edges. If your straps are very thin, you may find it easier to hand sew them on.


DIY halter top and mini skirt tutorial
Nice thrift flip of an old midi skirt! The bottom and neck straps just tie up at the back. So, this halter top and mini skirt set is easy to make and easy to wear.
Enjoy having this piece in your summer wardrobe collection and leave a comment to let me know how you liked this tutorial.
The author may collect a small share of sales from the links on this page.


Comments
Join the conversation
Too Cute !