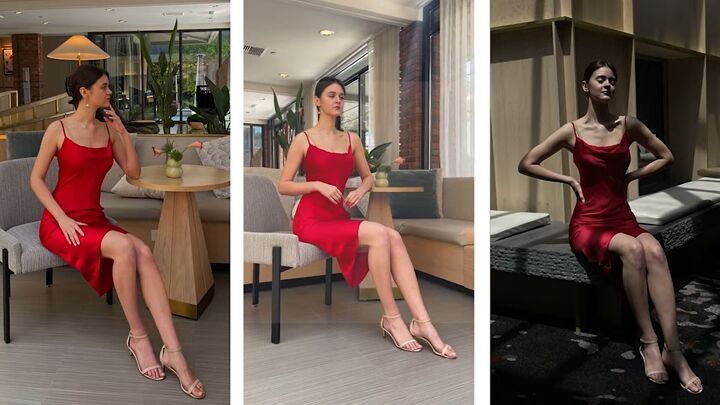
How to Make a Sexy Slip Dress: Step-by-Step Sew Along Tutorial

In this tutorial, I'll be showing you how to make a slip dress using my Celeste Cowl Neck Slip Dress sewing pattern. If you’ve been looking for a soft and elegant silhouette, nothing beats a silk slip dress. This pattern has a sexy cowl front with a sinuous line and best of all, it's all DIY slip dress.
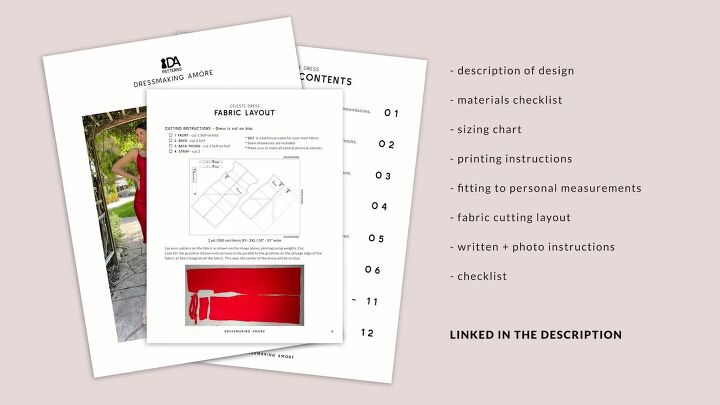
Tools and materials:
- Celeste Cowl Neck Slip Dress sewing pattern
- 2 to 2.5 yards (1.8 or 2.5 meters) of silky fabric
- Glasshead pins
- Matching thread to the color of the fabric
- Scissors
- Sewing machine
- Needle and thread (for basting)
- Loop turning hook
- Iron
- Clapper for pressing (optional)
This dress calls for a silky fabric. You can use polyester silk, satin, or crepe.
You will need to iron the fabric multiple times during sewing to make the fabric be “obedient” while you sew. Pressing every seam gives a polished and professional look. It also helps to sew the series of stitches neatly.
You may want to use a clapper to help smooth and flatten the seams after every turn of the iron. To use a clapper, press your seam with a hot iron. When you lift the iron, place the clapper over the seam and hold it down until the fabric cools. Only move the fabric when it has cooled down.
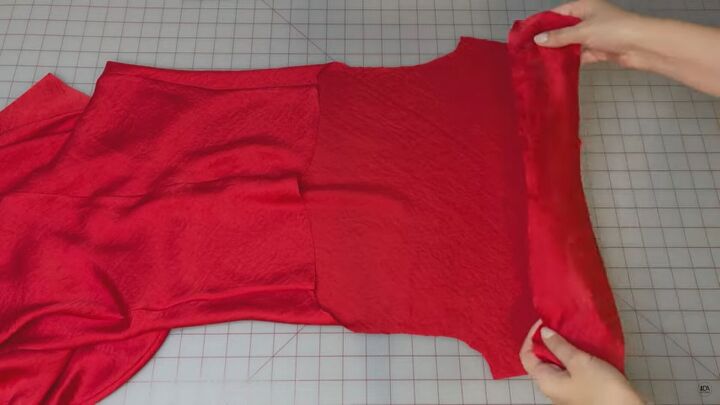
1. Cut the fabric
Using the Celeste pattern, cut the fabric exactly as shown.
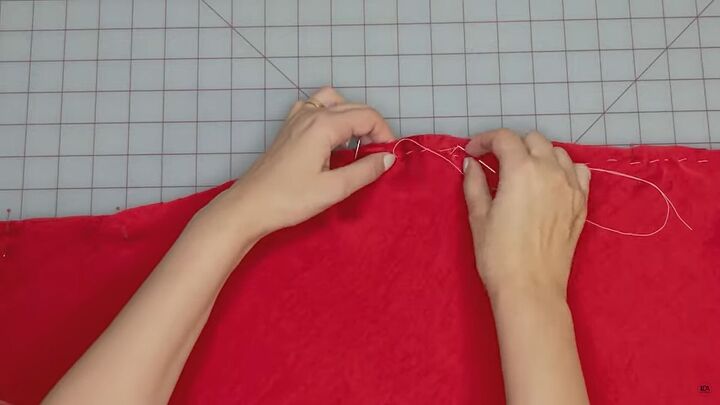
2. Sew the center back
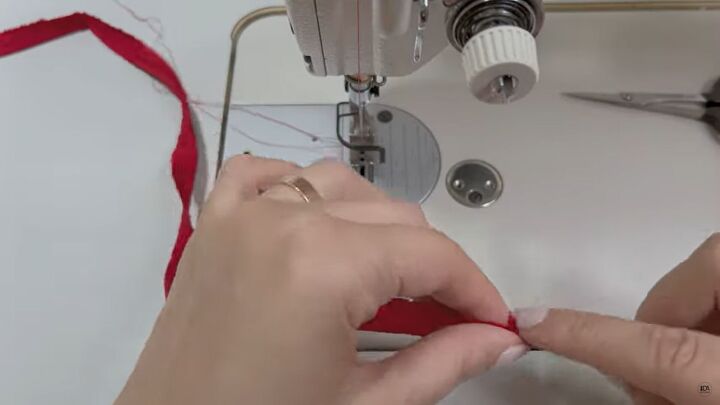
Pin the pieces on the wrong sides together, matching all the marks. Hand-baste the seams. Hand basting helps when sewing lightweight and slippery fabrics.
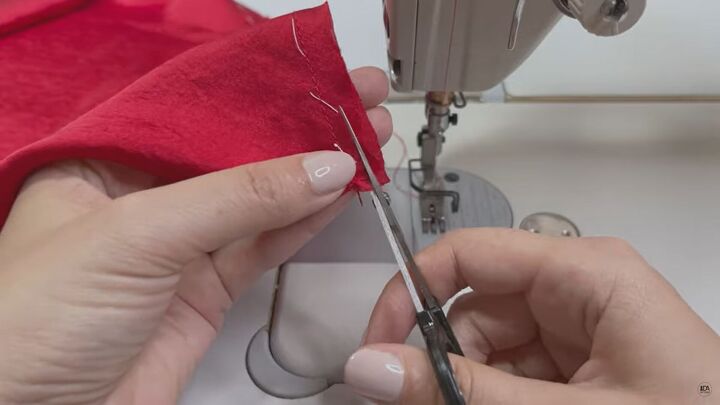
Sew a ¼ inch or 6mm from the edge. Trim the seam allowance to ⅛ of an inch or 3mm. Remove the basting stitch.
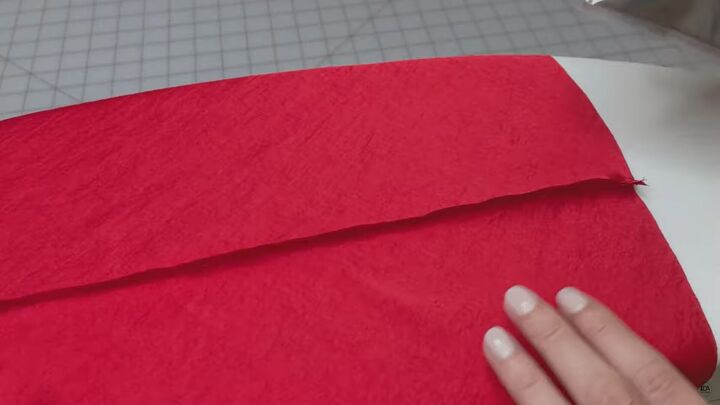
Press the seam as it is and then press to the side. Fold the fabric right sides together. Pin it on the wrong side, right along the seam. Press again with the iron.

Sew on the wrong side, ¼ inch or 6 mm from the edge. Press the seam. Then, open it up and press to one side. Let it cool before handling.
3. Side seams
Pin the sides of the front and back of the dress wrong sides together, matching all the marks together.
Sew a ¼ inch or 6mm seam allowance and trim to ⅛ inch or 3mm. Press the seam as it is and then press again to one side. Turn the fabric right sides together and pin at right angles on the stitch line. The seam allowance is inside. Press with the iron.
Stitch on the wrong side ¼ inch or 6 mm from the edge, Press with the iron.
4. Make the straps
Fold the straps in half, right sides together. Make a little funnel and sew about ¼ inch or 6mm from the edge. Turn the straps inside out using a loop turning hook. Press the straps. Keep them as straight and flat as possible.
You can use the paper pattern guide for a standard length or adjust the length to fit you.
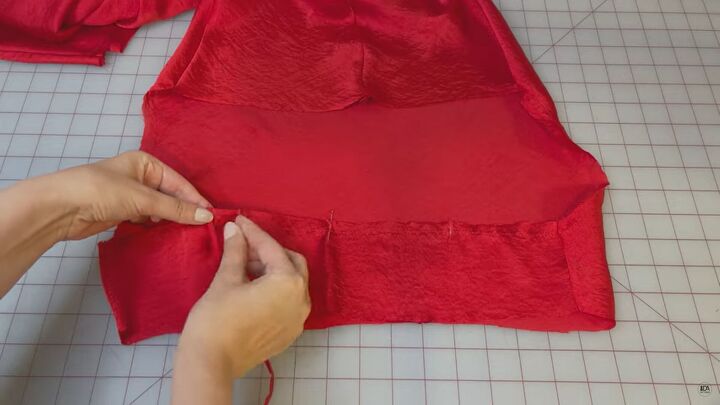
5. Facing
Staystitch the top of the back facing. Keep checking on the fabric length as manipulating it may make it shorter or longer. Sew the side seams of the back facing.
Place the back facing on the front piece of the dress, wrong sides together. The top edge of the facing has two notches for the straps
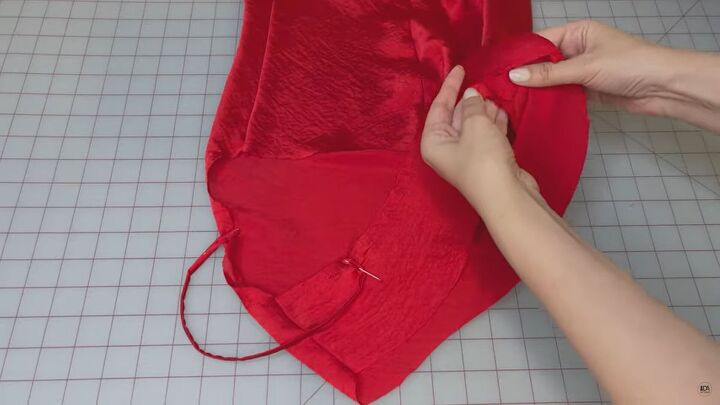
Pin the back facing ¼ inch or 6mm and sew from the edge. Trim the seam allowance to ⅛ inch or 3mm. Press and flip. Sew ¼ inch or 6mm from the edge. Press.
6. Attach the straps
Pin the straps on the front notches of the dress and then to the back. Turn the right sides together. Press.
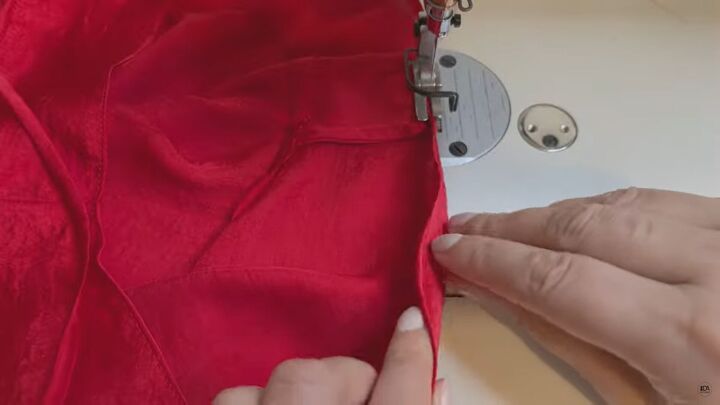
7. Sew the facing
Pin the facing to the dress armhole and back, matching the control points and side seams. Sew ½ inch or 1cm from the edge. Trim the seam allowance to ¼ inch or 6mm.
Understitch the facing only at the back to make the armhole more flexible. Turn it over and press.
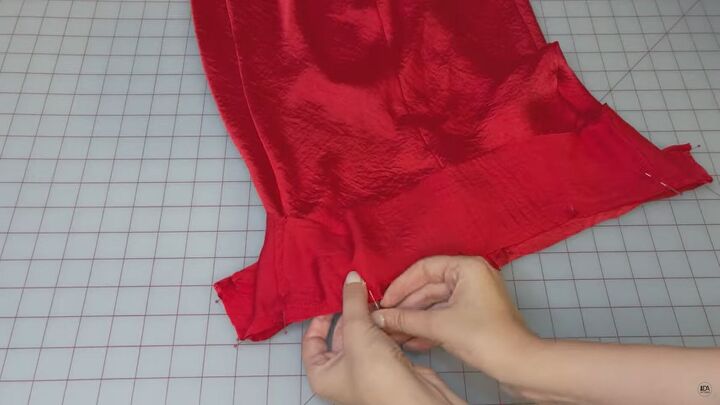
8. Hem the facing and dress
Fold the edge of the facing to ½ inch or 1cm to the wrong side and sew 1/16th of an inch or 2mm from the edge. Trim the seam allowance as close as possible to the seam. Fold the stitch over and sew again to create a very narrow hem.
Hem the dress itself following the same steps.
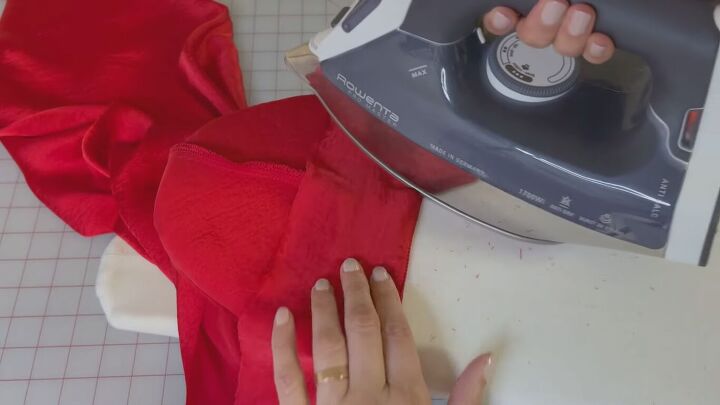
9. Press the dress
Give every seam another press to flatten the seams and give you a flawless finish.

How to make a slip dress tutorial
This dress is simply gorgeous! The cowl neck adds definition to top and the long sleek lines are timeless and elegant. Hard to believe this is a DIY silk slip dress! Please let me know in the comments how hard or easy you found this tutorial.
The author may collect a small share of sales from the links on this page.


Comments
Join the conversation