Make This One of a Kind Leather Dress

There are so many tutorials on leather jackets and bags, but have you ever thought about how stunning a leather dress would be? You can make a leather dress from scratch, and this leather dress tutorial will show you how to make one with the perfect finishing touches, too. It may seem tedious, but it's really not; there are some different sewing techniques, but that's the point of sewing, right? Challenge yourself to become better and better! Let's get started.
Tools and materials:
- 1.5-2 yards fabric
- 5 yard lining ( if you are using leather for your dress)
- 5 yard interfacing
- Fusible stay tape
- Matching thread
- Pattern ( get it here)
- Measuring tape
- Pins
- 4-thread serger
- Sewing machine
- Non-stick sewing machine foot ( if using leather)
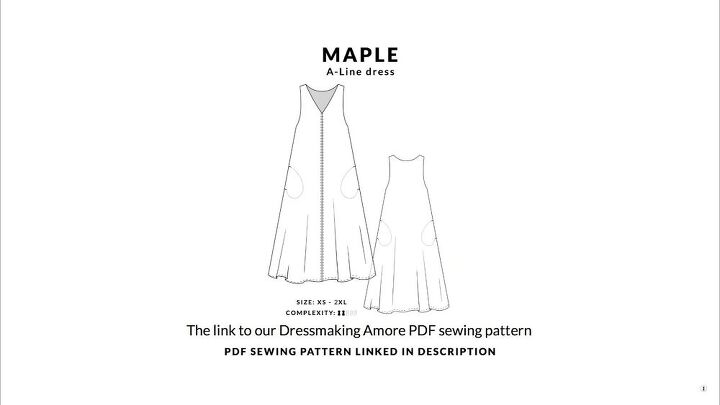
Get the pattern
For this particular dress, you can get the pattern here. It's called a Mable dress, and it's a lovely A-line dress. Once you have all your pieces cut out, you can move on to step 2!
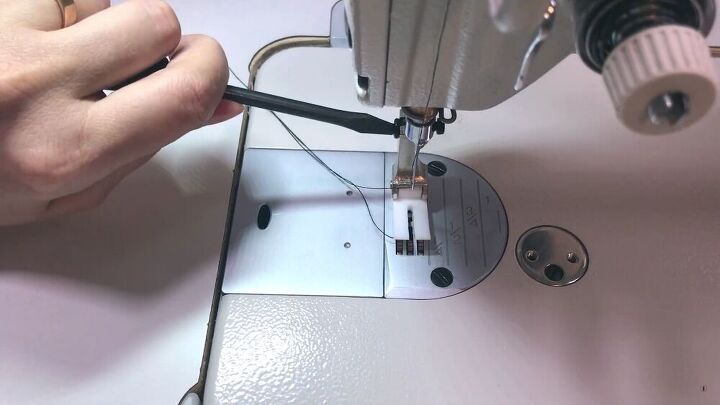
Change your machine foot
Before we start the DIY leather dress tutorial, you need to use a non-stick sewing machine foot. So go ahead and change your machine's foot.
Make a test run on a piece of scrap leather; check the thread tension and the foot's pressure. The machine should not stick, jam, or stretch the fabric in any way. In my tutorial, I noticed my foot left a trace on the fabric, so I took it off and filed it down.
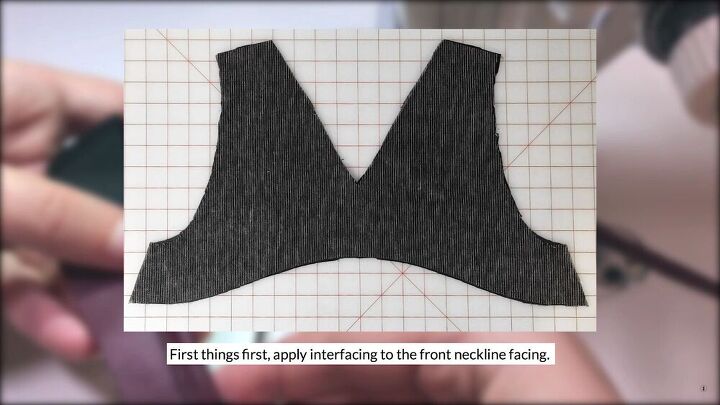
Add interfacing and fusible tape
Start by applying interfacing to the front neckline facing. Also, apply the same to the back neckline facing as well.
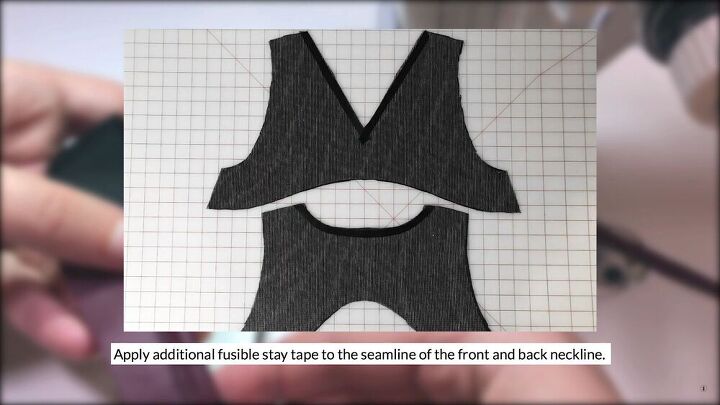
Apply additional fusible stay tape to the seam line of the front and back neckline
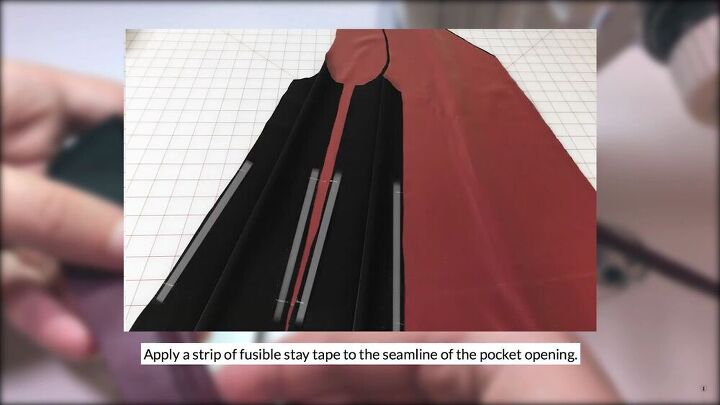
Apply a strip of fusible stay tape to the seam line of the pocket opening
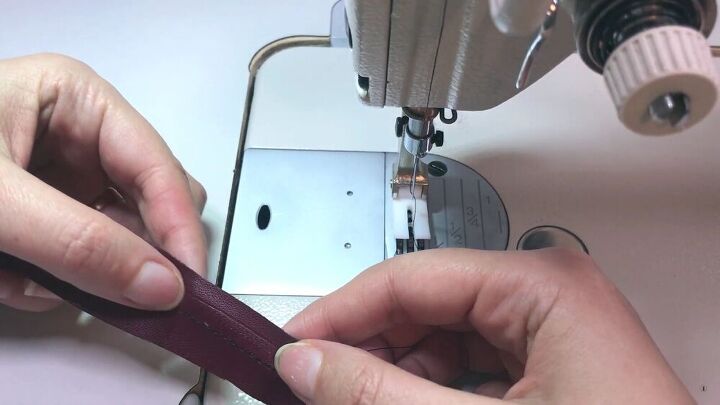
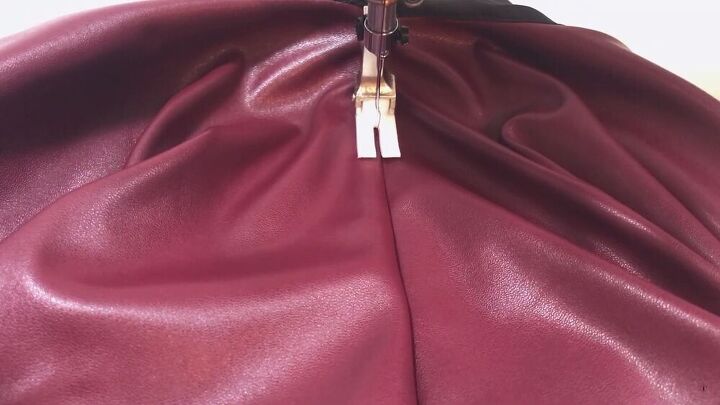
Sew the center pieces
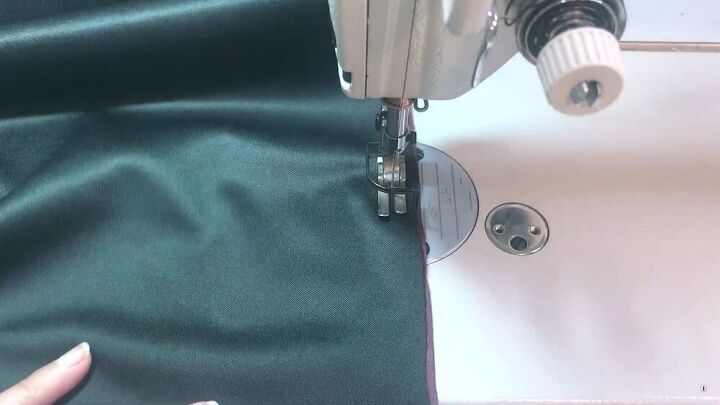
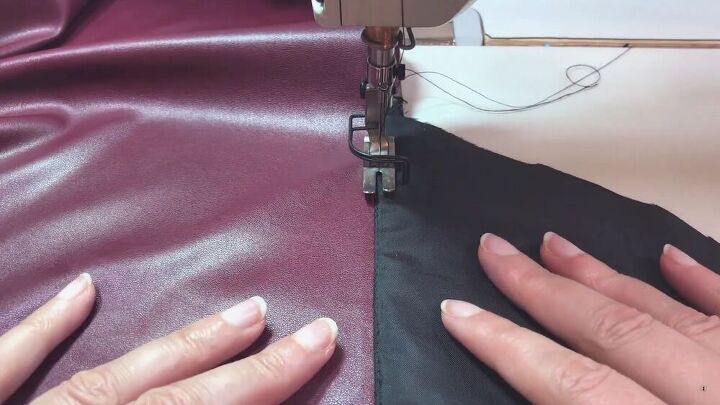
Sew the two front centerpieces together at the center front.
TIP-
If you're using a woven fabric, be sure to serge the edges beforehand.
Topstitch from both sides of the seam.
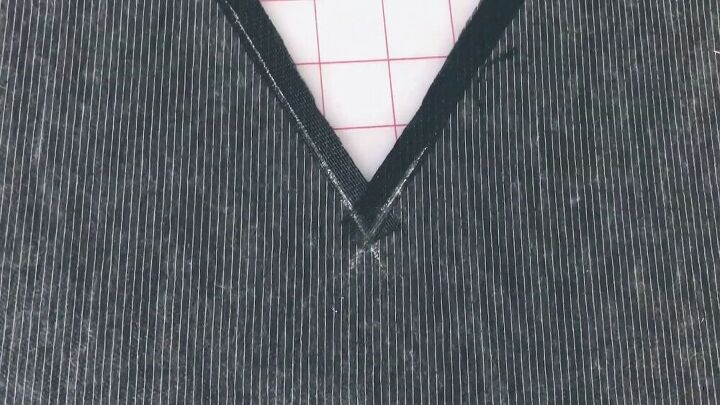
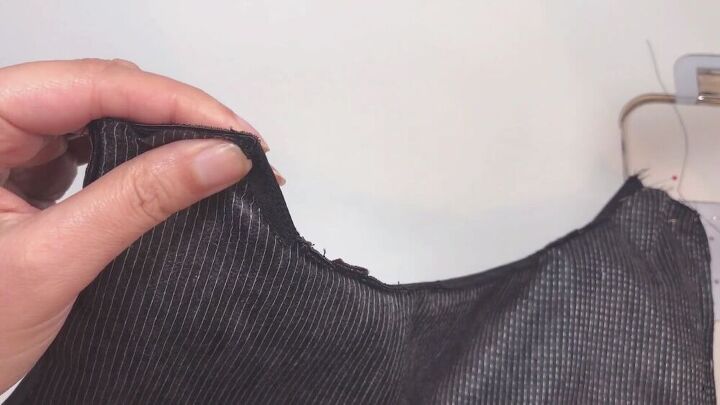
Modify the neckline
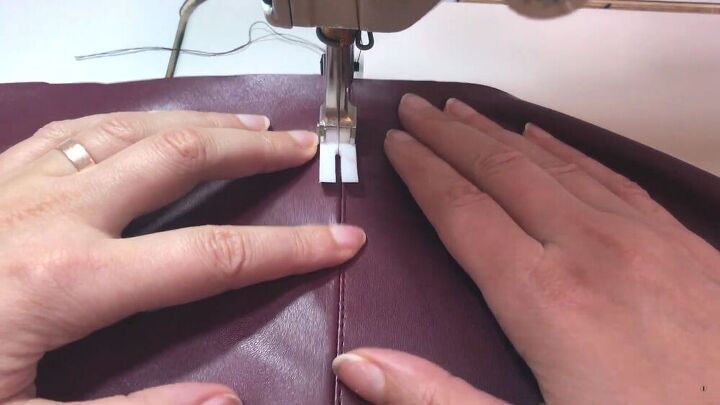
Draw a V-angled guideline on the front-facing and stitch over it. Be accurate, as this guideline will help you later.
Stay stitch over the line.
Sew the front neckline, placing the facing and the dress right sides together. Be sure to sew from the facing side, using your guiding stitch at the V to create a sharp point.
Clip the fabric towards the seam of the V. Stop 1mm before the seam, though.
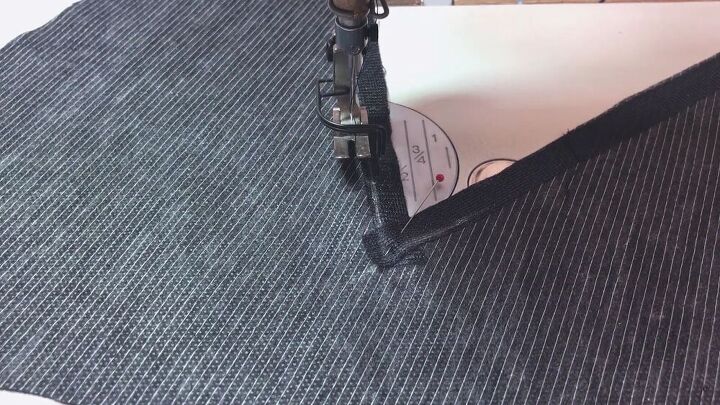
Modify the facing
Understitch the facing on both sides of the point, stopping 1 inch before the point. This will ensure that the facing and the seam line won't roll to the right side.
Sew the back neckline
Place the facing and the dress's right sides together and sew the back neckline.
Then, trim the seam allowance to ¼ inches and clip around the curve of the neckline.
Now, understitch the facing.
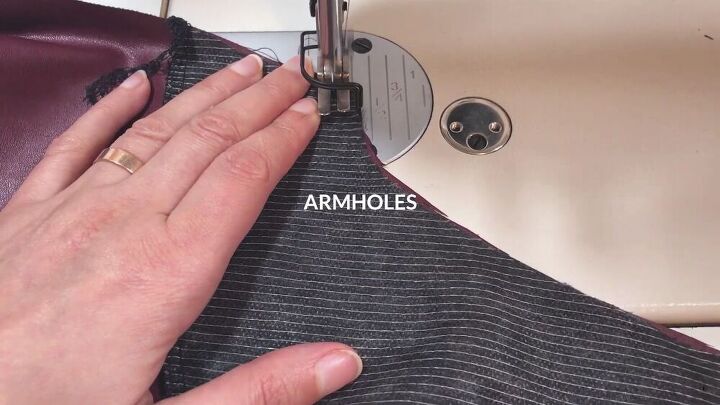
Sew the armholes
With the dress and facing fabric layered right sides together, sew the armholes as shown.
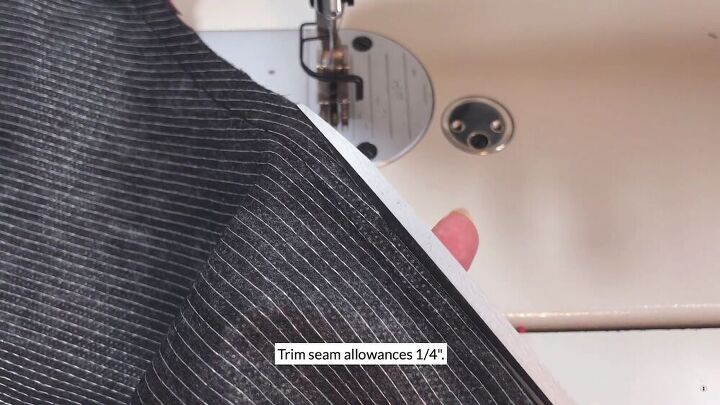
Trim the seam allowances by ¼ inches and clip around the curve of the armhole.
Just like the neckline, go ahead and understitch the facing of the armhole.
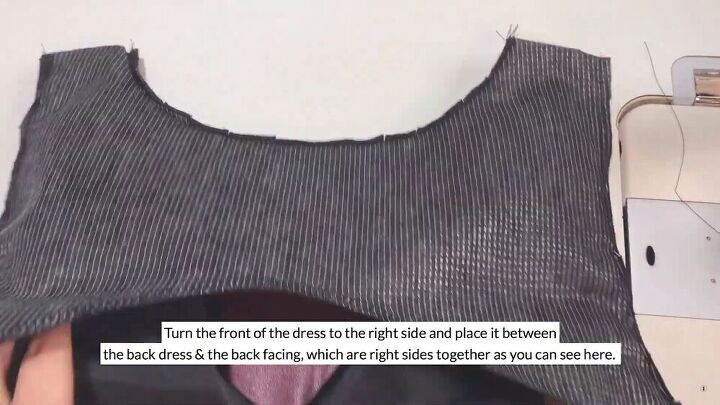
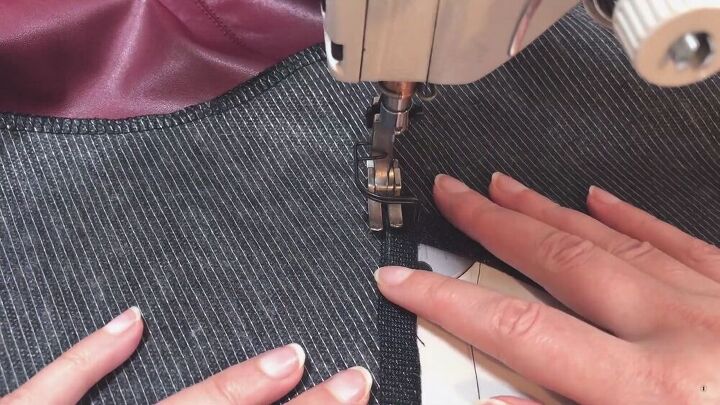
Attach the shoulder seams
Turn the front of the dress to the right side and place it between the back dress and facing ( which are right sides together).
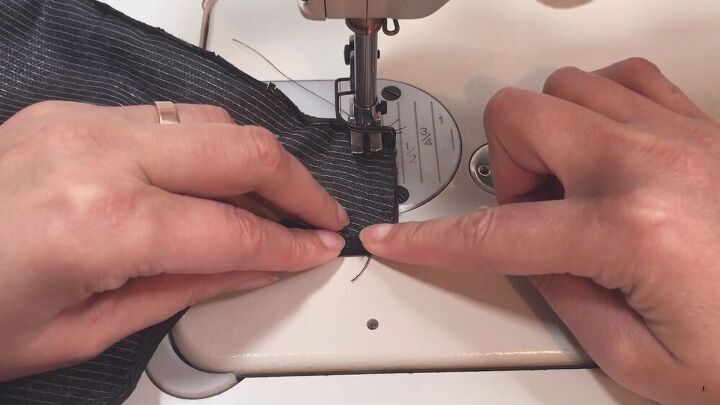
Line up the shoulder seams, pin, and sew accordingly.
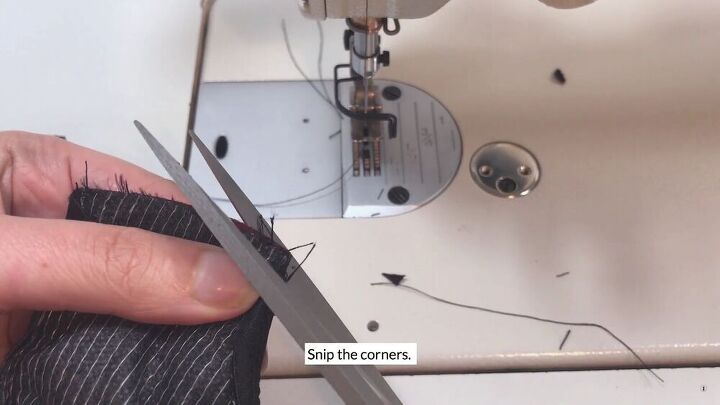
Snip the corners.
Check to see if your neckline and armhole edges match up perfectly.
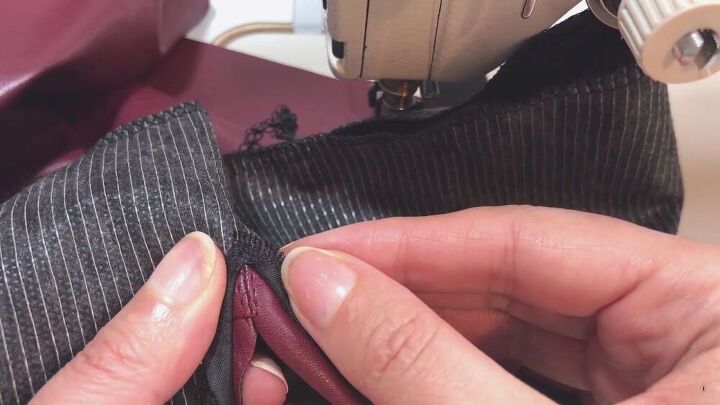
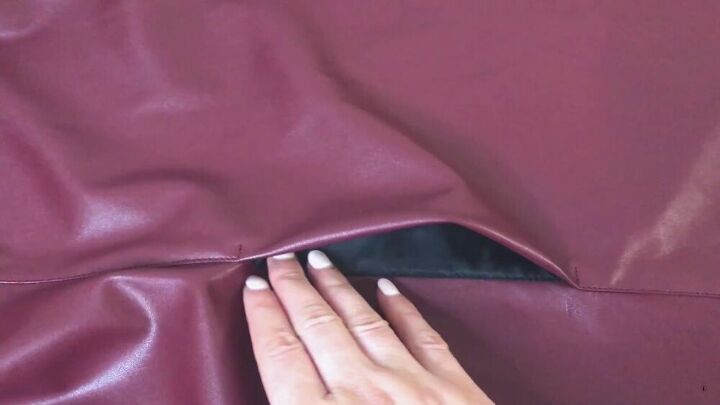
Add the pockets
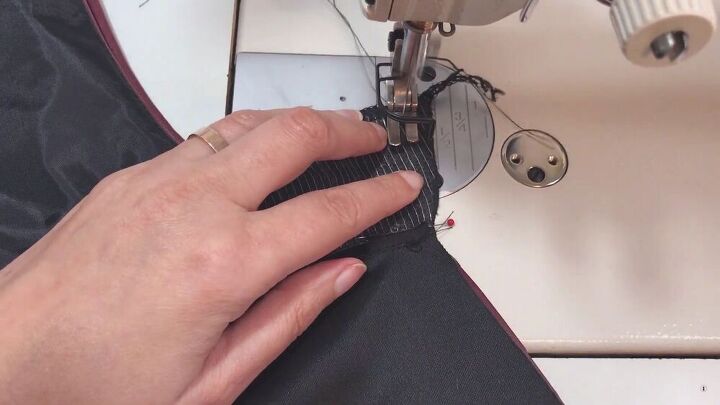
Place the pocket lining to the pocket marks on the dress and sew. Then, give it a serge after.
Understitch the pocket lining from the right side. Repeat this on all the pocket pieces.
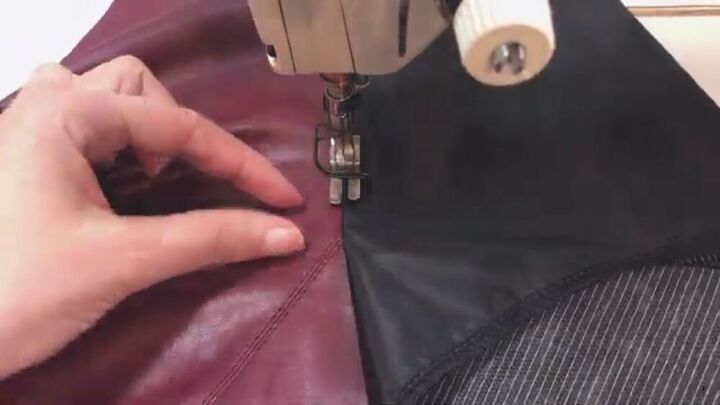
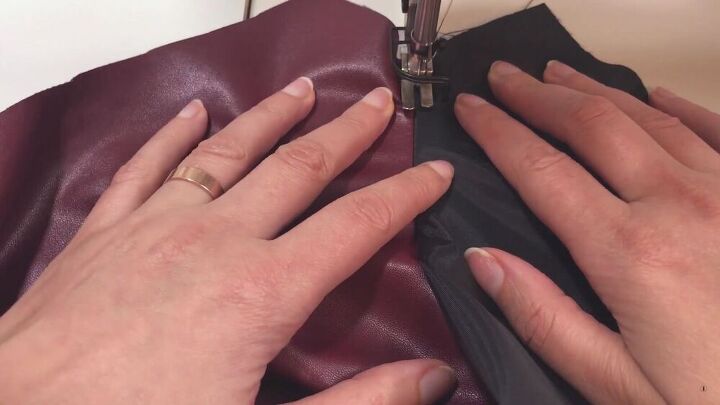
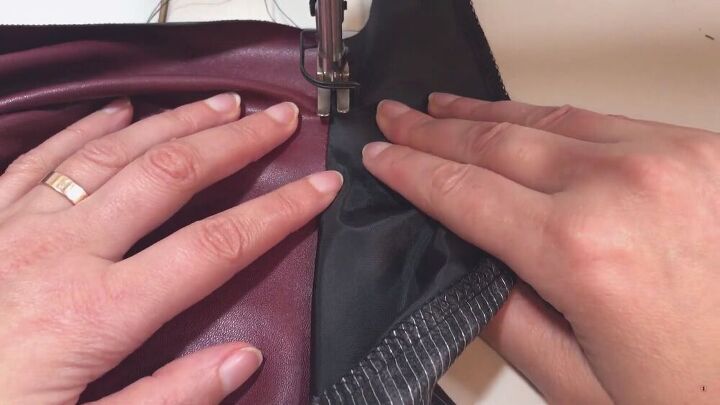
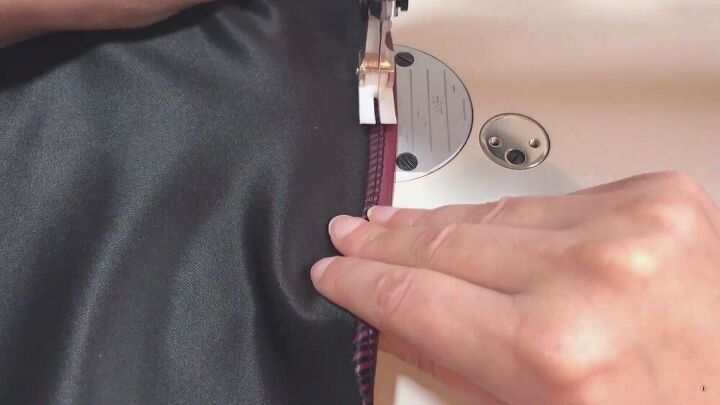
Sew the side seams
Pin and sew the side seams, matching the edges of the facing, pockets, and armhole seams.
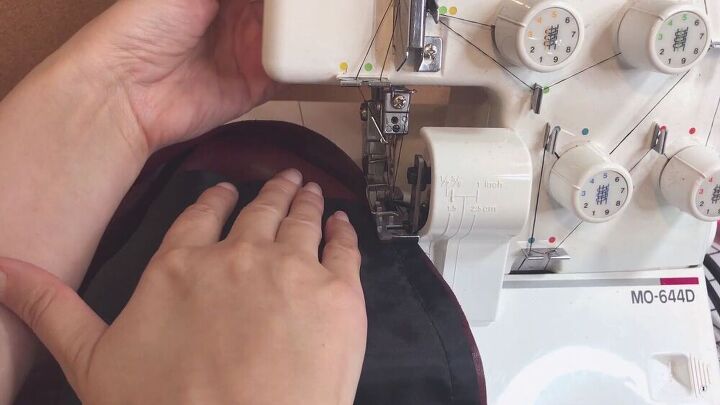
Now, serge the side seams.
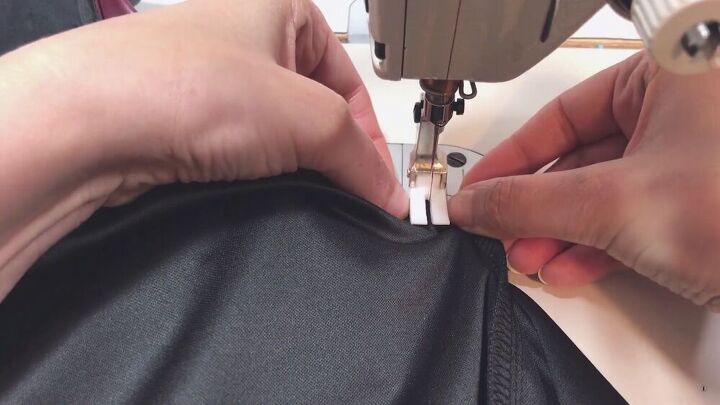
Topstitch the side seams, turning the seam allowances and pockets to the front.
Do a perpendicular reinforcement stitch on both sides of the pocket opening.
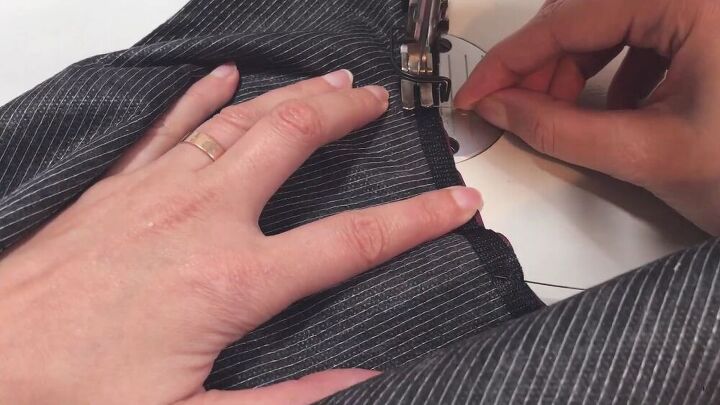
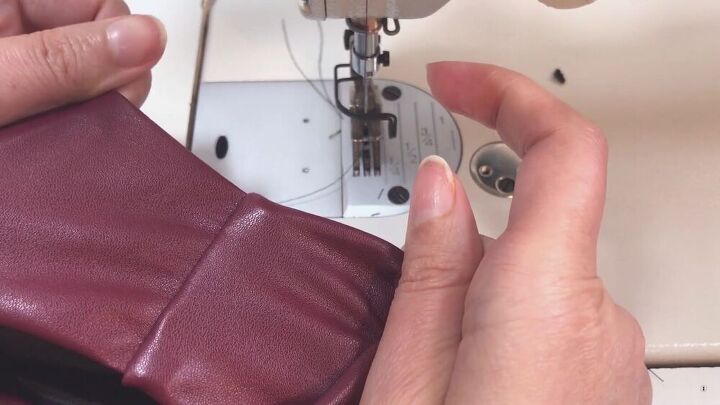
Add the finishing touches
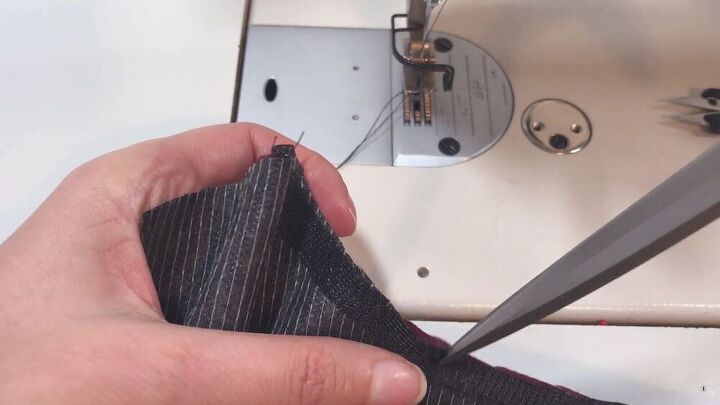
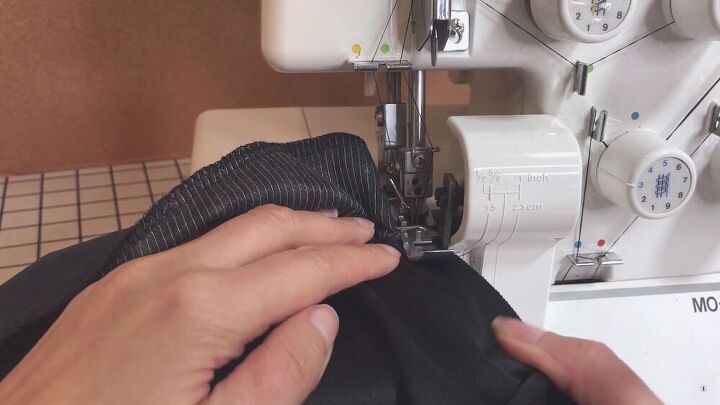
Serge the hem. Then, fold the serged edge inward and sew.
On the wrong side of the dress, align the facing side seam with the dress' side seam and sew them together at their respective seam allowances, thus making a reinforcement stitch.
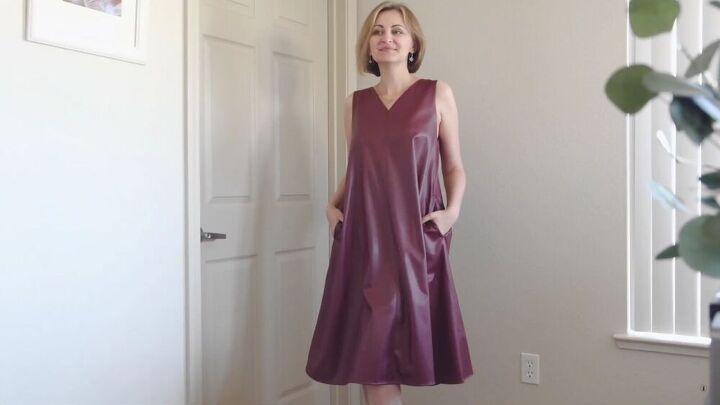
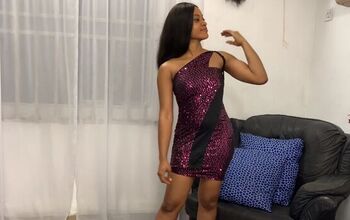
We're done with this fantastic leather dress tutorial! You can style it in so many different looks by adding accessories or different shoes. This is a one-of-a-kind DIY leather dress, and I highly recommend this to be your next sewing DIY because it's so clean, unique, and professional-looking. Happy sewing!
The author may collect a small share of sales from the links on this page.


Comments
Join the conversation
you look so comfortable in it. very nice.