One of a Kind DIY Denim Dress

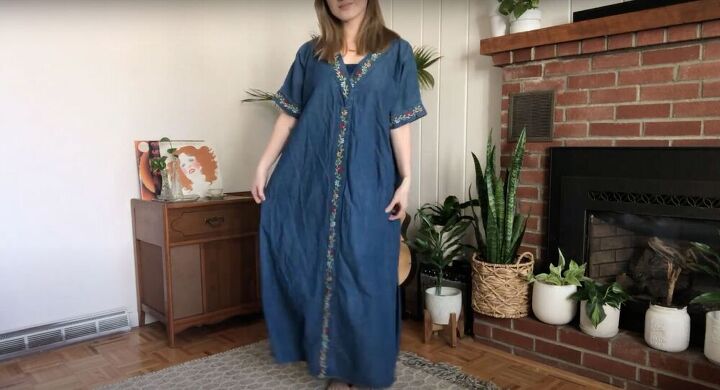
If you know me, you know I love a good thrift flip. After finding this oversized denim dress, I knew I had the chance to make something amazing. I decided to stick with the denim dress theme, but make it a little trendier and a little more my style!
Tools and materials:
- Oversized jean dress
- Parchment paper
- Zipper
- Pins
- Sewing machine
- Bias tape
- Scissors
- Bleach
Make your pattern
Print out a pattern to use as a guide and then trace it onto some parchment paper. See how I (very slightly) adjusted the pattern to fit my needs perfectly at 3:50.
Cut out your fabric
The first step is to take the original dress (that you thrifted) and seam rip the entire thing until you are left with only the denim fabric. Next, lay the front pattern pieces on the denim and cut out your fabric. Make sure to cut out a facing piece as well for the raw edge of the neckline. Repeat this process for the back pattern pieces until all of your pieces are cut out.
Bleach your denim - optional
This next step is completely optional and has to do with your own personal preferences. Because I didn’t like the color of the denim I was working with, I decided to put it into a bleach bath and give it a new color. To do this, first I soaked my denim pieces in water - this will ensure that the bleach spread evenly. Then, I filled a tub up with warm water, added in the bleach, and mixed it together. Next, I placed about half of my pieces into the bleach bath (I only did half so that I could attempt a color block dress). I gave the denim a good stir and let it sit for about 30 minutes. Once a significant amount of the color lifted, I added in my other pieces and let the whole thing sit for another 30 minutes.
If your lighter color came out a little too spotty like mine - do not worry! Fix it up by using a tie-dye technique. Scrunch up your fabric and secure it in rubber bands tightly. Then, place your fabric into a bucket and spray in a mixture of bleach and water. Let it sit for about 15 minutes and then wash and dry.
Connect the top and bottom
After washing and drying your fabric, sew your front skirt and top pieces together. Leave the bottom edges of your skirt unsewn so that you can add slits in later. Next, place the top and bottom pieces together, right sides together and the bottom edges aligned. Pin to secure and sew the two pieces together.
For the back, sew darts for the top and the skirt and then follow the same steps as before (making sure to align the darts) to connect the top and bottom pieces.
Insert the lining
Lay your back piece out flat and place your front piece over it, right sides together. Align the edges, pin, and sew along the shoulder seams. Next, place your facing onto your dress, right sides together, and sew around the entire neckline with a straight stitch. Make a little notch in the fabric at the V (so that the garment will lay flat) and then fold the facing inwards so that it is tucked under and hiding the raw edge of the neckline. Finally, secure it by sewing it to the seam allowance.
Finish the dress
Continue constructing the dress by sewing the side seams and inserting an invisible zipper to the left side. Next, finish the armholes with bias tape and hem the dress. Remember to finish the slits we created earlier. Finally, if (like me) your sides refused to lay flat, add a small dart by the armhole to get rid of the gaping.
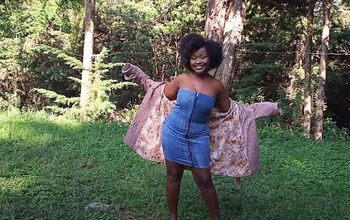
This basic DIY denim dress is everything I hoped it would be (and maybe more!). It fits really well, is easily matchable, and is completely unique. If you decide to get creative with denim as well, show me in the comments below!
Enjoyed the project?
Suggested materials:
- Oversized denim dress
- Parchment paper
- Zipper
- Pins
- Sewing machine
- Bias tape
- Bleach
- Scissors
The author may collect a small share of sales from the links on this page.






Comments
Join the conversation
That’s a cute top
Looks awesome!