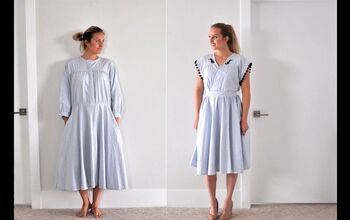
Check Out How I Made My Own Midi Dress

Midi is everything right now! This skirt and dress trend had me totally inspired to get started on a new fashion DIY project. I let my creative juices flow and made the most amazing midi dress! I am totally obsessed with my new dress and the end result was better than I could have imagined. If you are looking for your next clothing DIY the search is over! Follow my simple, step-by-step tutorial and learn how to make this gorgeous midi dress from scratch.
Tools and materials:
- Fabric
- Interfacing
- Buttons
- Paper
- Marker
- Scissors
- Needle and thread
- Sewing machine
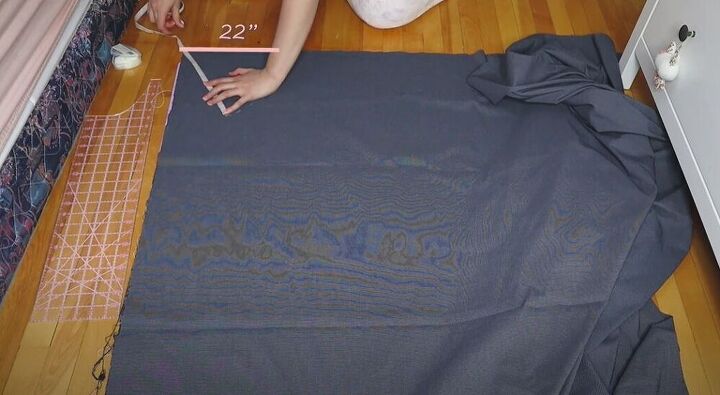
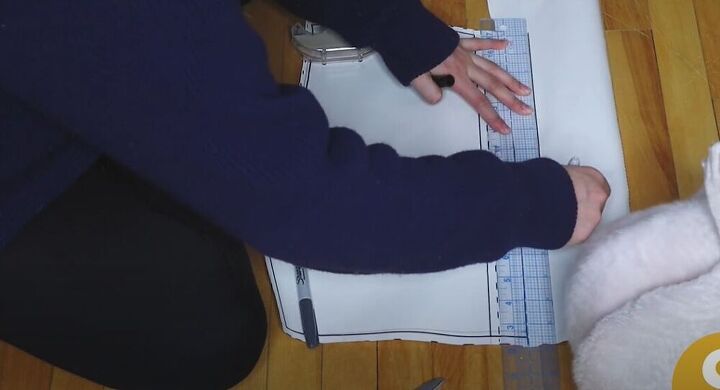
To get the perfect measurements for the skirt of this amazing dress I used a site called byhandlondom.com. Once I had all the right measurements I made sure to add about 5-inches to the width so that I would be able to fit in the dress without a zipper. The first radius was 22-inches. I drew the second radius at 30-inches from the first radius.
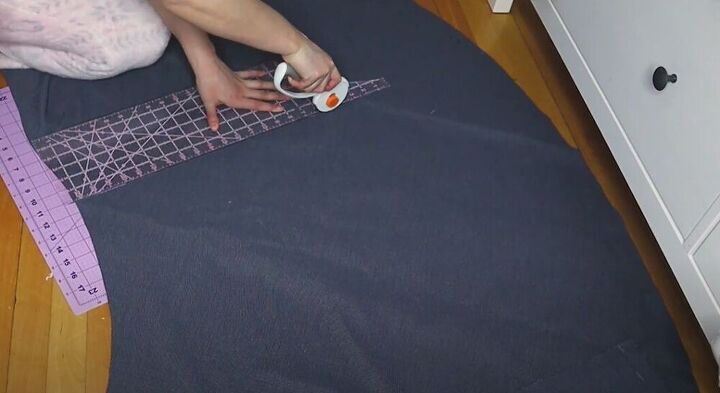
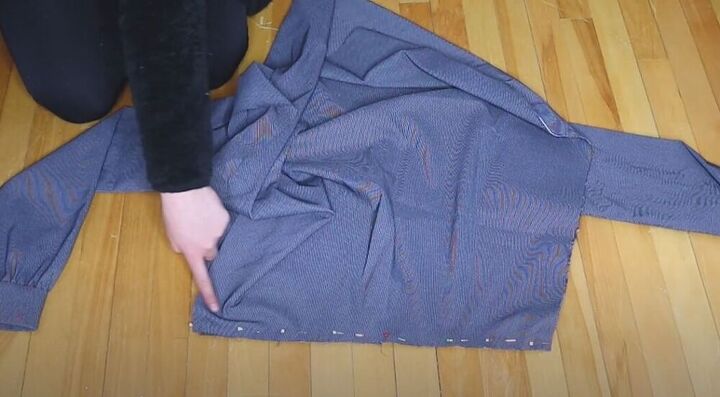
I cut out my skirt and also cut it down the middle so that I would be able to add cute pockets later.
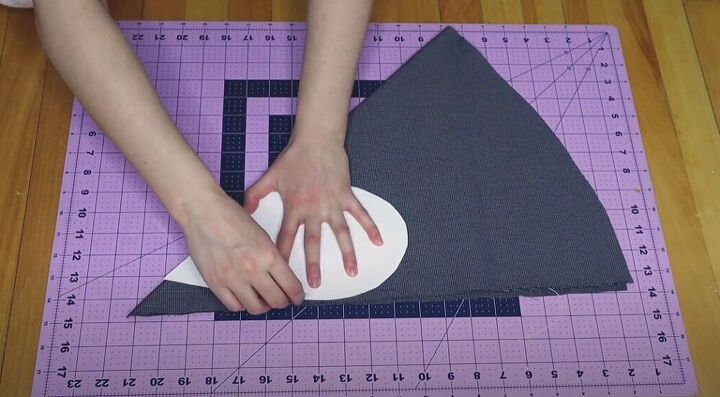
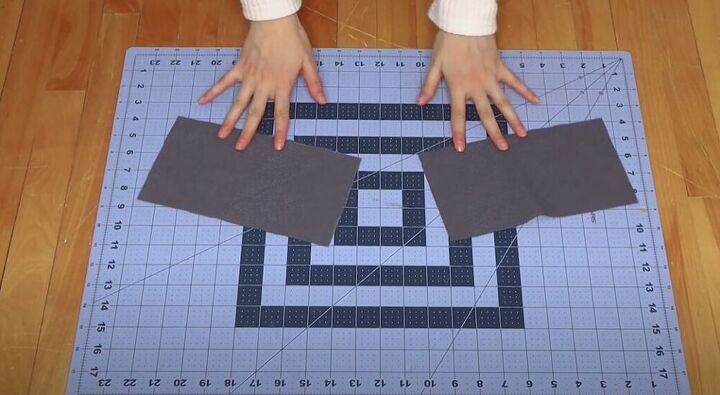
I absolutely love pockets! Using some spare fabric, I cut out four pieces for the pockets.
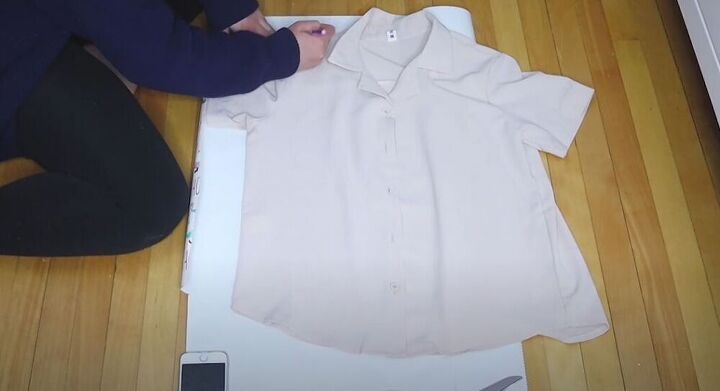
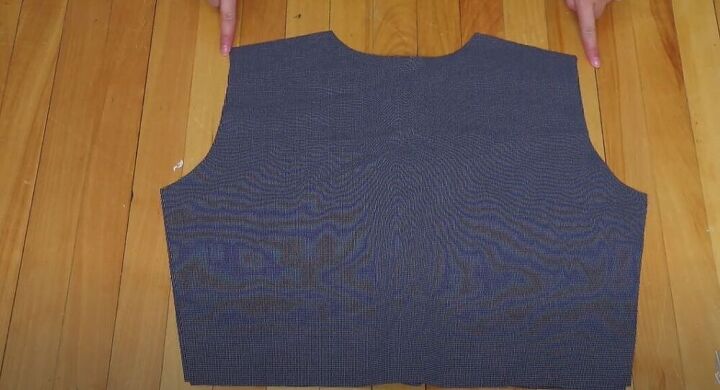
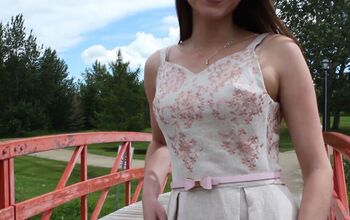
Next, I made the pattern for the bodice. I traced one side of a button-down shirt I already owned. I used an old T-shirt to trace for the neckline and I made sure to add 1-inch for the button placket for the back bodice piece. I marked on the pattern where my waist is, using the shirt as a guide. I knew that this would be where the bodice would end on my amazing new dress.
I added an extra 1.5-inches for the button placket. I also decided to take in the bodice a little so it would be snugger and have a better fit.
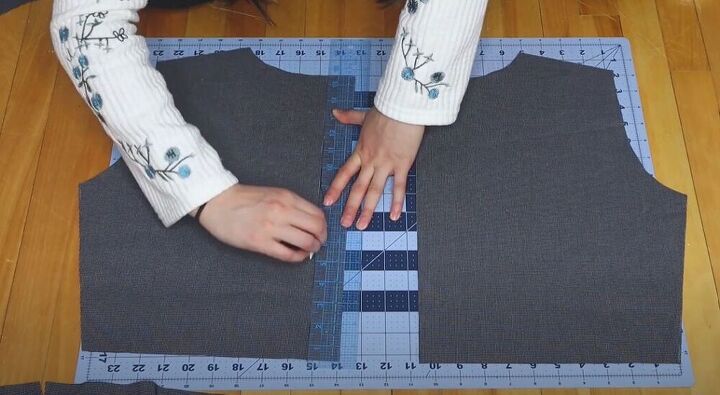
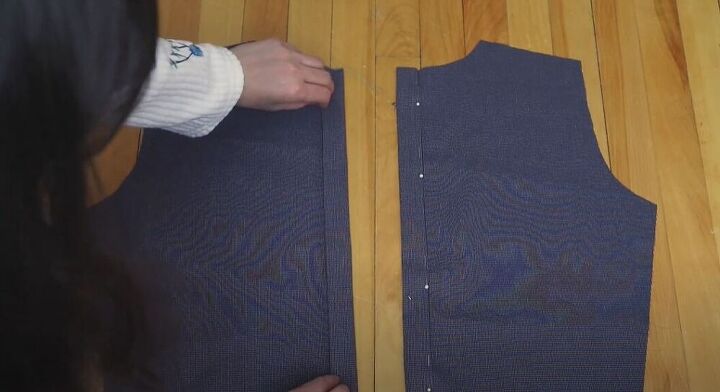
Using my pattern, I cut two symmetrical front bodice pieces. I also marked the button placket on each side.
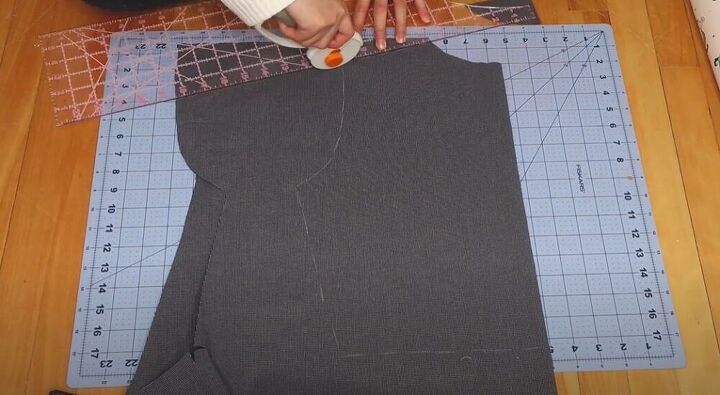
I traced the back bodice, without the button placket and cut it on the fold of the fabric.
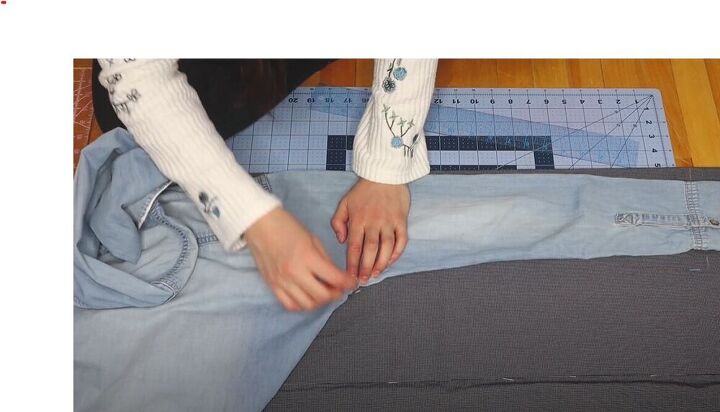
To create the sleeve for this amazing dress, I used a long sleeve with a cuff. I added 1-inch on both sides of the cuff for some extra puff and marked the shoulder and underarm. I then connected the points on the fabric.
I cut out two sleeves on the fold of the fabric and also cut two 5-inch by 9-inch rectangles which would become the cuffs.
Next, I folded the edges of the button placket by ½ an inch and then folded the placket over. I pinned it down to give the folds time to set.
Finally, I could start putting this awesome midi dress together. I placed the front and back bodice pieces, right sides together, and sewed the shoulder seams.
Next, I opened up the bodice and pinned the sleeves onto the armhole, right sides together. I put as many pins as possible to make sewing along the curve easier. With the sleeves attached, I sewed the side seams of the sleeves and the bodice. I left about 2-inches at the bottom so that I could insert a waist tie later.
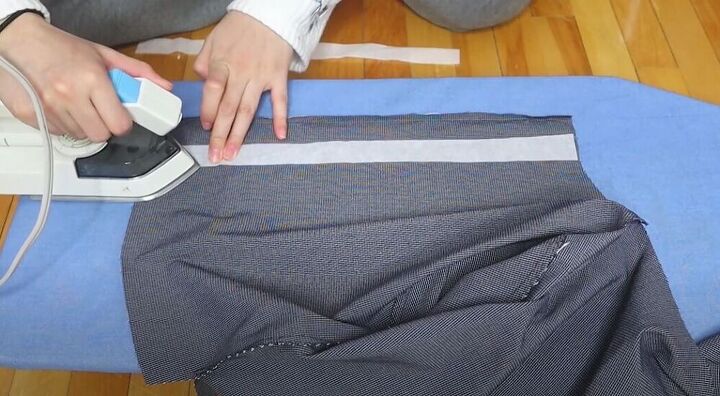
To get a more professional look and keep my fabric sturdy, I pressed on 1-inch of interfacing to the button placket. I folded the button placket back over the interfacing. I then also added interfacing to the cuffs.
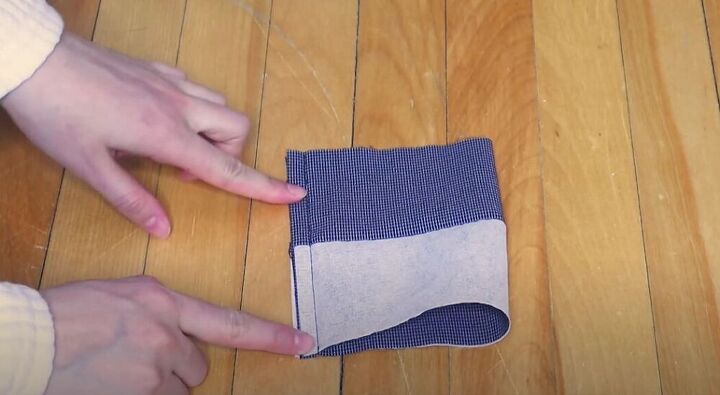
I then folded the cuffs right sides together and sewed the sides.
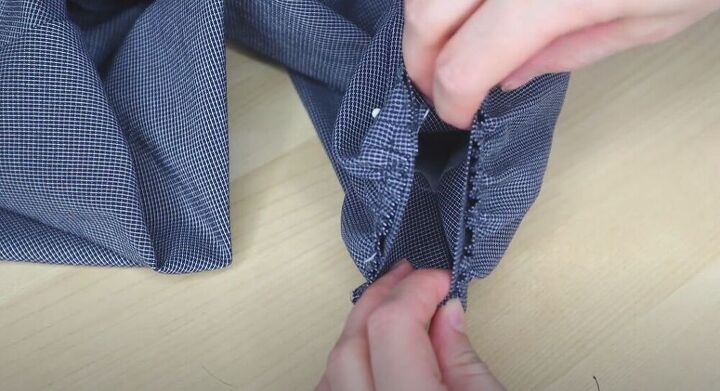
To attach the cuffs to my sleeves I first did a simple basting stitch around the sleeve. I then pulled the thread to gather the sleeve to the width of the cuff. Finally, I matched up the edge of the cuff with the sleeve and sewed on the cuff.
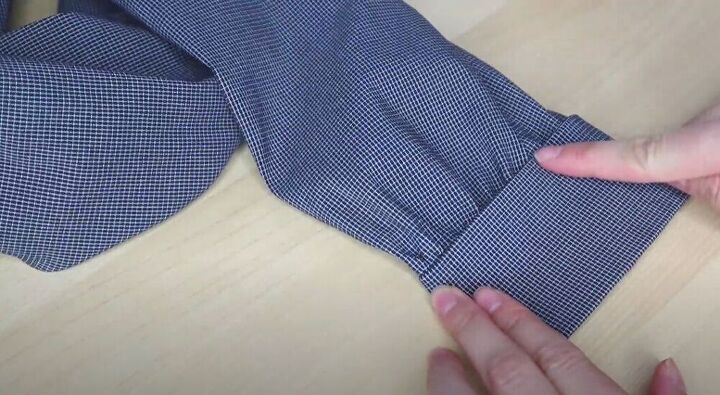
I pulled the cuff out, folded it over, and sewed it in place.
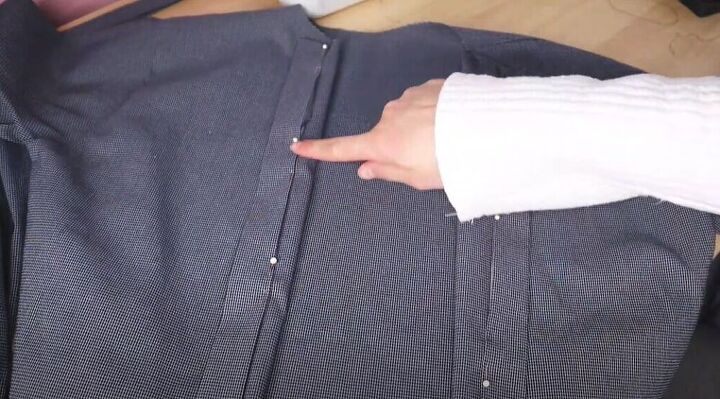
In the next step, I sewed the button plackets down. This was definitely a challenge since it was the first time I had sewed a button placket but I was so happy with the results.
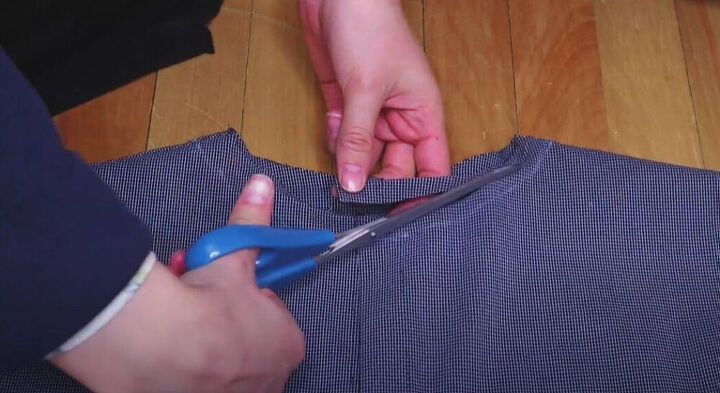
I tried the bodice on and marked where I wanted the neckline to be. I then cut off the extra fabric.
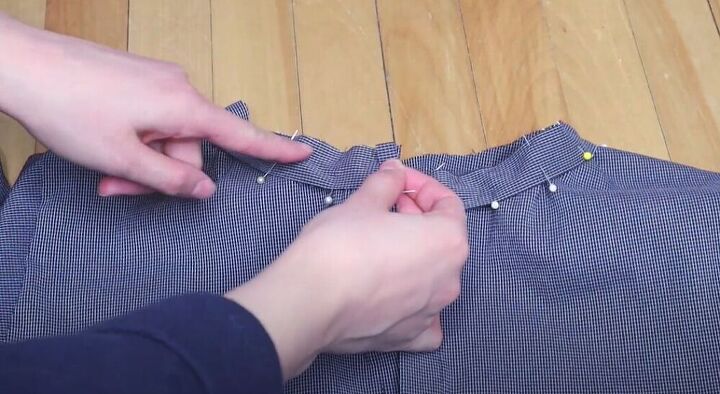
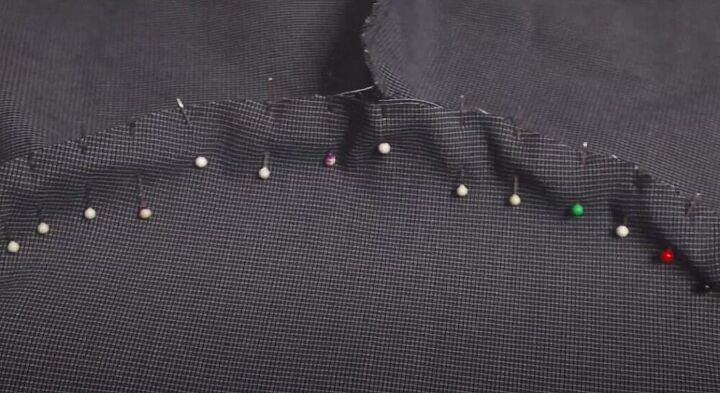
It's tricky to hem a curved neckline, so I cut a strip of fabric long enough to act as bias tape over the neckline. I pinned it on and sewed all around at about ¼ of an inch. I then folded in the raw edge and sewed it in place leaving me with a clean and even neckline.
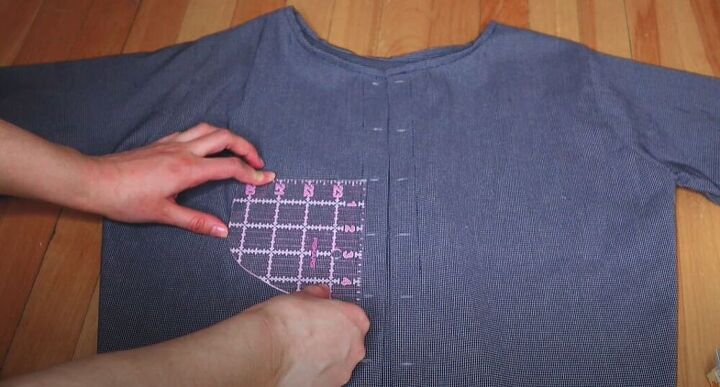
In the next step, I marked exactly where I wanted the buttons to be. I sewed the buttonholes on the right side of the fabric and then cut them open. I then carefully hand sewed the buttons onto the left-hand side. The buttons are definitely one of my favorite details on this dress!
Finally, it was time to attach the skirt. I placed the skirt and bodice, right sides together, and sewed along the waistline.

Once the skirt was attached, it was the perfect time to sew in the pockets. Pockets are always a fun element on any dress!
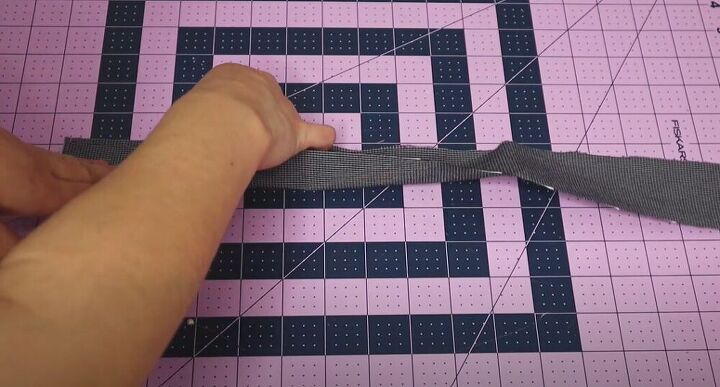
In this step I made the waist tie. I cut a long piece of fabric, 2.5 -inches wide, and folded it in half. I then hopped on over to my sewing machine and sewed all the open sides closed. I snipped the corners off and cut the tie in half. I then worked on turning the tie the right side out.
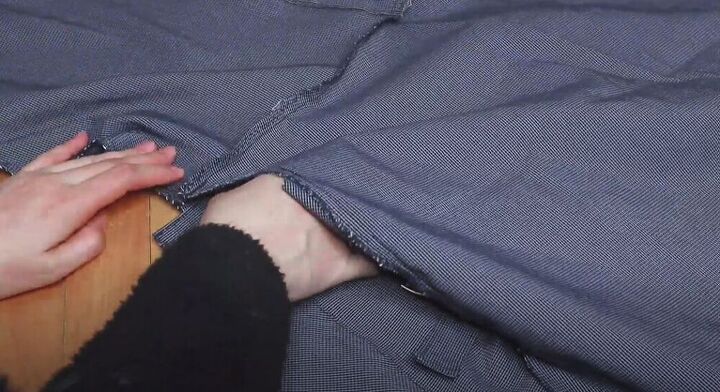
I inserted the waist tie into the center of the seam where the bodice and skirt meet. I then sewed closed all the sides seams of the skirt.

I zig-zag stitched all the raw edges of the dress to secure the fabric. Lastly, I hemmed the bottom to give the dress a gorgeous finish. Hemming a curve can be difficult so I first sewed a straight stitch at the bottom and then hemmed the fabric.
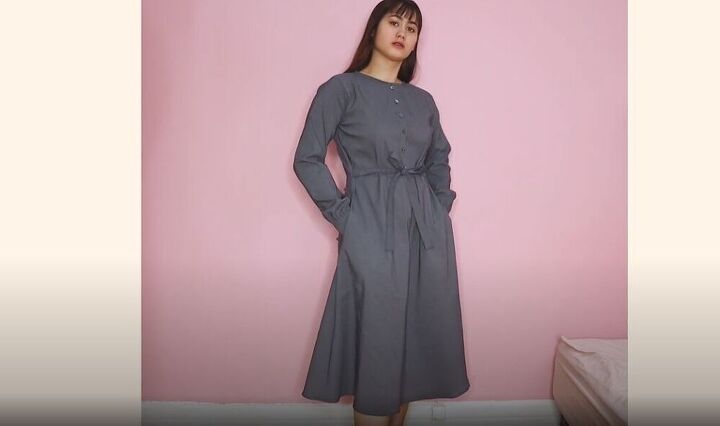
I love this midi dress! What color fabric would you choose for this fashion DIY? Let me know in the comments below!
The author may collect a small share of sales from the links on this page.


Comments
Join the conversation
I love to see and this sounds real easy. I will be doing mine in a red cotton fabric. Right after the New year.