Check Out How I Made My Own Shirred Midi Dress for Summer

Recently when I was surfing, Instagram that is, I saw this gorgeous dress that I absolutely fell in love with. I’m not one to spend tons of money on a dress, though, so I let it go. Fast forward to my next trip to Hobby Lobby, and I saw the exact fabric needed for this dress. I mean, come on, clearly it was a sign. So I bought the fabric and made the dress, and I am so happy I did. Check out this tutorial to see exactly how I made it.
Tools and materials:
- Fabric
- Scissors
- Ruler
- Pattern paper (I used wrapping paper)
- Pen
- Sewing machine
- Sewing pins
- Elastic thread
- Elastic
- Iron
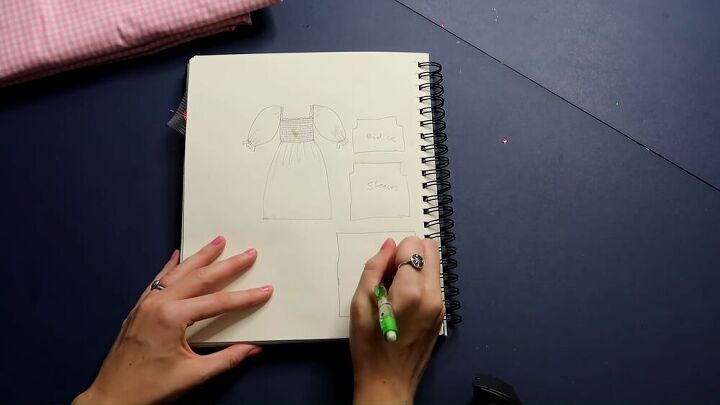
The first thing I needed to do was make my pattern for the project. Drafting the pattern was easy for this project because I only needed three pattern pieces: bodice, sleeves, and skirt.
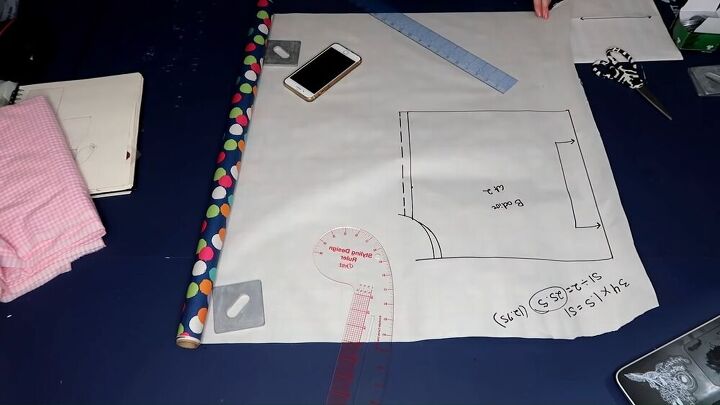
The bodice piece did require a bit of math, though. To draft the bodice I took my bust measurement, multiplied it by 1.5, then divided the number by 2, which gave me my width. I decided to draft this piece on a fold, so I divided the number in half again.
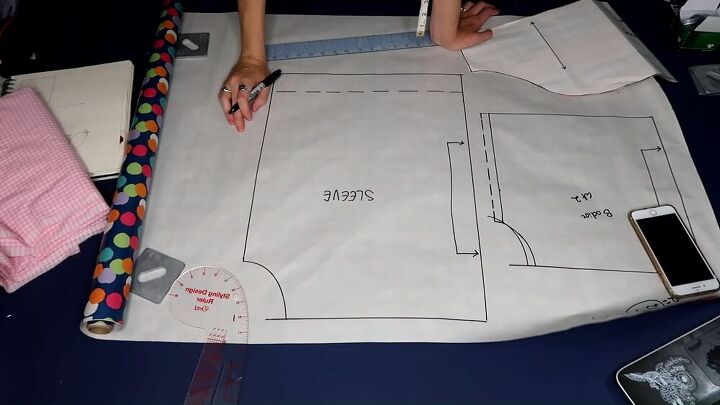
To make the pattern for the sleeve, I took a pattern that I already had and doubled it. It needed to be extra wide since there would be elastic, and I had to change the top of the sleeve to be flat across.
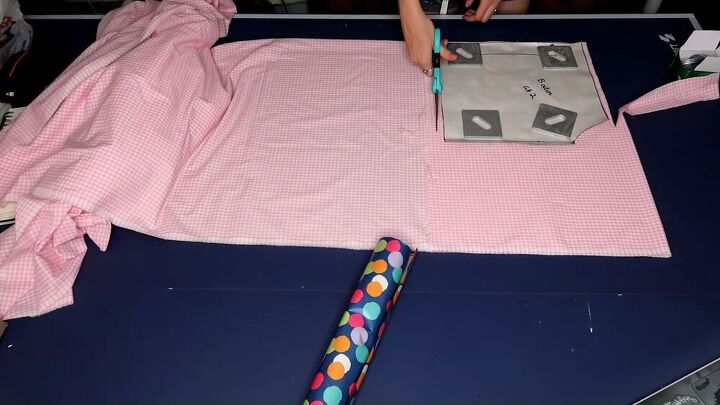
It was now time to cut the pattern out of the fabric. Since I drafted my pattern to be on the fold, I doubled my fabric, placed my pattern piece, and cut it out. I did this for both the bodice and sleeves, then cut the skirt without a pattern by using the width of the fabric and cutting it down to my desired length, which was 31” long.
This step is optional, but I decided at this point to go ahead and serge all the raw edges of all the fabric pieces. If you’re doing this yourself, you can serge, overlock, zigzag stitch, or just not finish them at all. Totally up to you. While I was already at my serger, I went ahead and sewed the sides of my sleeves together, instead of doing that on the sewing machine with a regular stitch.
After I finished serging all the raw edges, it was time to sew all of the side seams. I also enforced the side seams, or under seams, of my sleeves. Once my skirt was one complete piece, I serged the bottom.
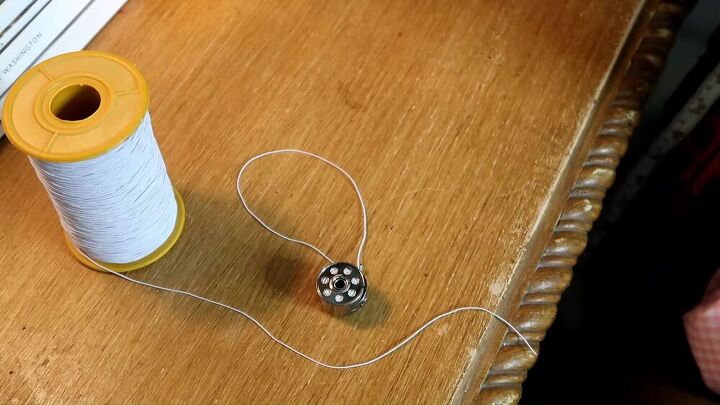
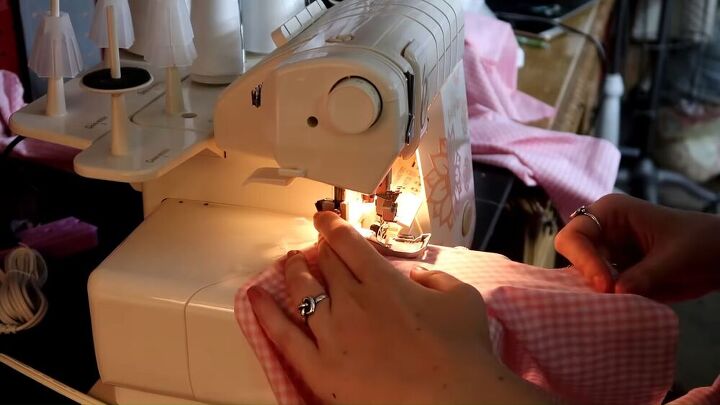
To prep my machine for shirring, I actually had to hand-wind my bobbin with elastic thread, making sure not to pull on the elastic at all. I prepped as many as I could because I ended up using eight bobbins of elastic thread. I set the tension of my machine to 5, the seam to straight seam, the stitch length between 2 and 3, and the stitch width to 2.

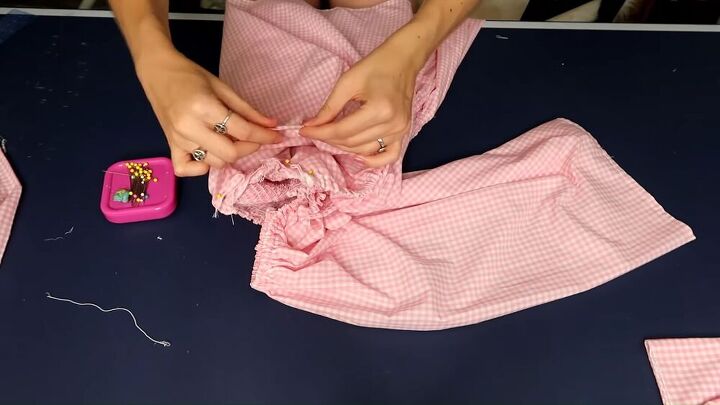
This is the tedious part of the project. I started at the top of my bodice, meaning that I had to alternate between the front and back pieces, since they weren’t yet connected, until I got past the underarms. Sewing at a ¼”, I continuously sewed line after line of shirring. Then I kept sewing. And sewed some more. Seriously, this part took me about five hours. Once I got past the underarms, I was able to just sew all the way around without switching between the front and back. I also tied the elastic tails together inside of the bodice to reinforce the knots and make sure I didn’t have any busted elastic or shirring on the inside. I left a bit of the bottom without shirring it so that I could connect the skirt there.
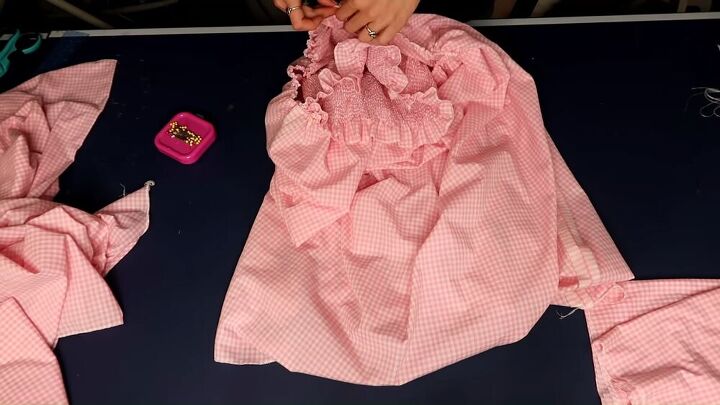
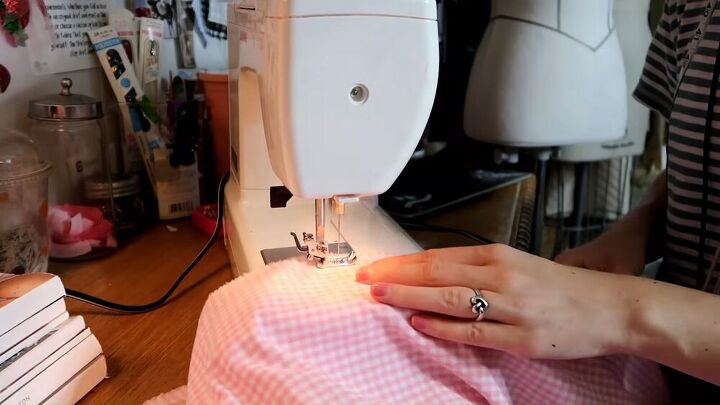
Before I was able to attach my skirt to the bodice, I had to gather the waist. I sewed two rows of basting stitch at the top, then used that to gather the fabric. I then attached the gathered skirt to the bottom of the bodice by pinning them right sides together. I evened out the fabric, sewed the pieces together, then added two rows of shirring to the bottom of the bodice.
I started off by hemming the sleeves at about ¼”. Then I folded down the top section of my sleeve ½” and sewed it to create a channel for my elastic. Once that was done, I attached the sleeves by matching up the under seam of the sleeve to the side seam of the bodice. I pinned that into place, then inserted the elastic to the top channel of my sleeve, choosing the elastic length according to the fit that I wanted. I pinned the edges of the channel to the edges of the bodice. I then went over to my sewing machine and sewed along where I had pinned and sewed along the underarm curve of the bodice on both sides, attaching the sleeves.
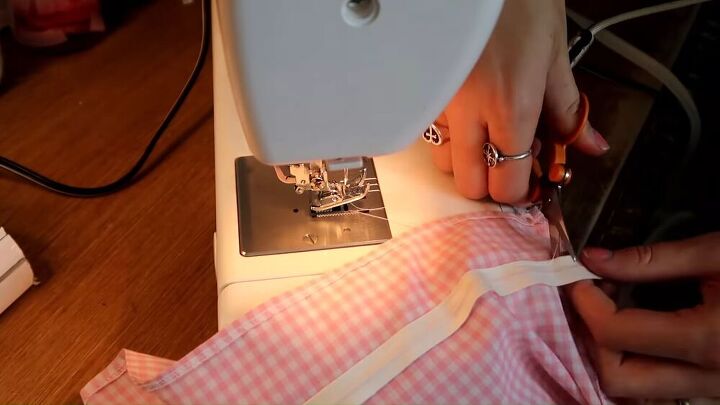
To create the elastic at the end of the sleeve, I sewed a bias tape channel about 1.5” up from the bottom of my sleeve. I placed a seam on the top and bottom of the bias tape, leaving a hole through which I could insert my elastic, giving me a big ruffle.
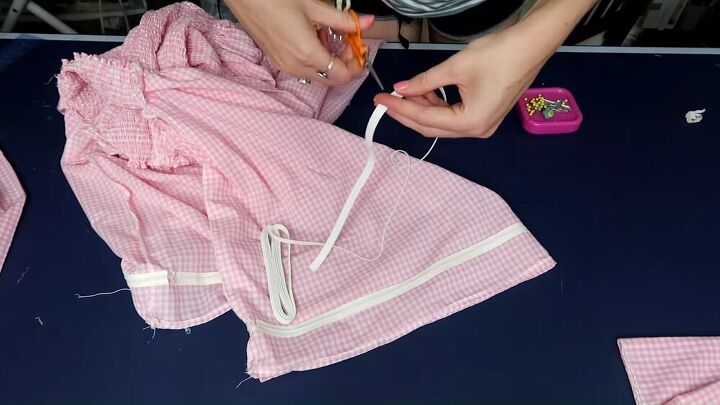
To determine the length of the elastic, I measured it around my arm according to how tight I wanted it to be. Then I cut out two equal pieces of the elastic and used a safety pin to help me insert it through the channel. Once the elastic was all the way through, I sewed the ends together.
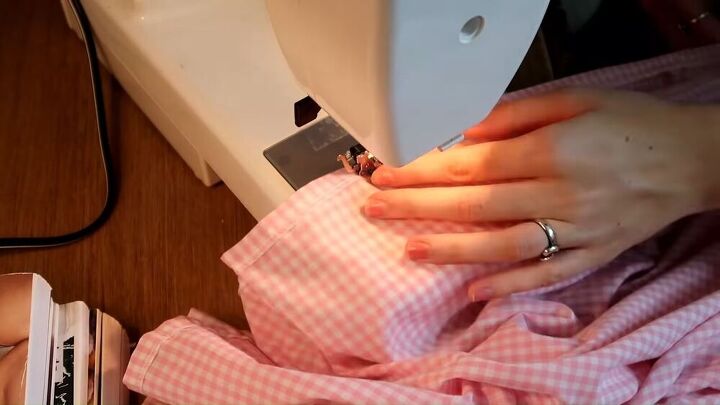
Lastly, it was time to sew the bottom of the skirt. I used my iron and pressed up the bottom of the skirt ½”. Then, since I had already serged the raw edges, all I had to do was hem the skirt all the way around.

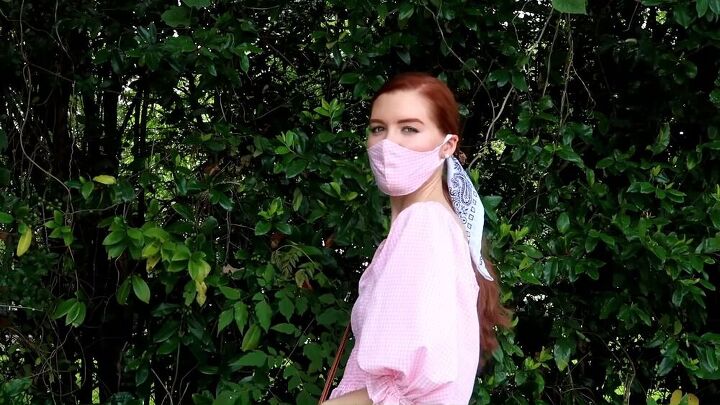
Because it’s 2020 and Corona is a thing, I decided to use my leftover fabric to make a matching facemask. So I drafted and followed a facemask pattern that I found online, and added elastic to the ends.
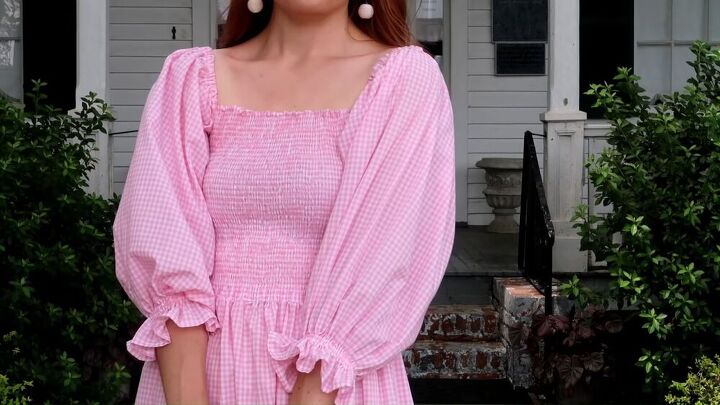

Wow, you guys, I am absolutely obsessed with how this dress came out. It looks so much like the original dress I saw, and I am completely and totally in love. It’s so fun and frilly and not to mention comfortable. I feel like a Disney princess in it! It can be dressed up with heels or dressed down with sneakers, and a basket with hydrangeas definitely helped me feel that Disney princess vibe. All in all, I am so happy with this project. So what do you think? Do you like the casual or elegant style better for this dress? Let me know in the comments!
The author may collect a small share of sales from the links on this page.


Comments
Join the conversation
I use to wear one like that to high school! Only the neck was shoulder high and the sleeves were flutter sleeves, and I wore lots of petticoats under it........oh, and the shoes were penny loafers since socks were required! (1962, senior year, near Fort Worth, Texas!!)