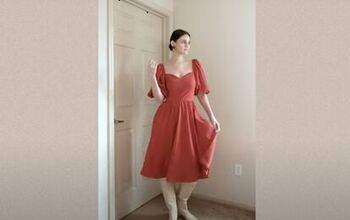
DIY a Gorgeous Puff Sleeve Dress

I absolutely love vintage style clothing! I decided to DIY the most beautiful puff sleeve dress with a low, square neckline. For this project, I used old bedsheets that had been passed down in my family for generations because I just loved the fabric design. If you want to create your own, lovely puff sleeve dress, all you need to do is pick a fabric and watch my tutorial. My simple, step-by-step guide will show you all the ins and outs of how to sew this gorgeous dress!
Tools and materials:
- Fabric
- Lining
- Interfacing
- Buttons
- Needle and thread
- Sewing Machine
- Scissors
- Pins
- Marker
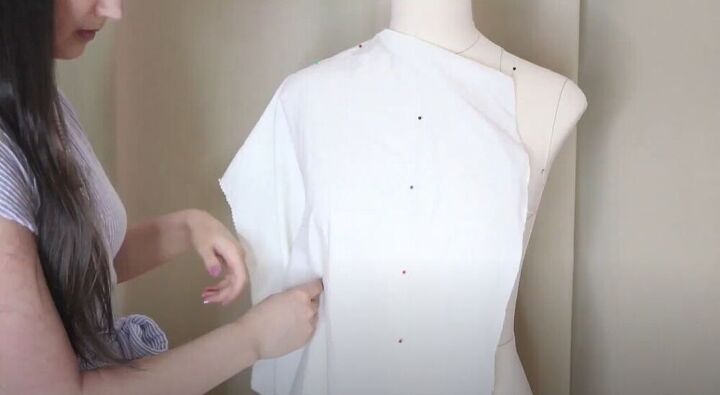
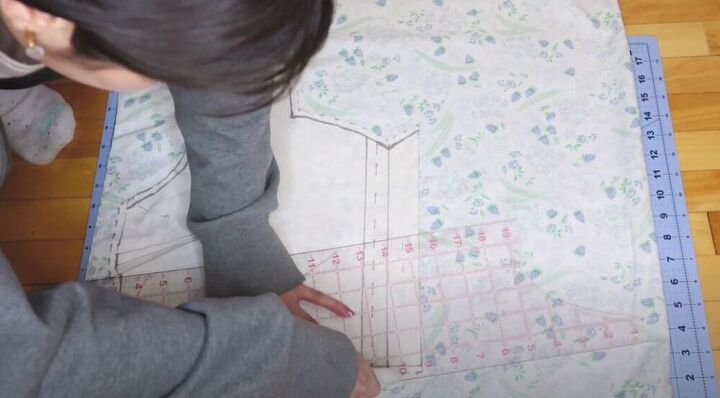
To get started on this absolutely gorgeous dress, I started creating a pattern for the bodice. As I pinned the waistline, I added darts to make this dress have a beautifully fitted look.
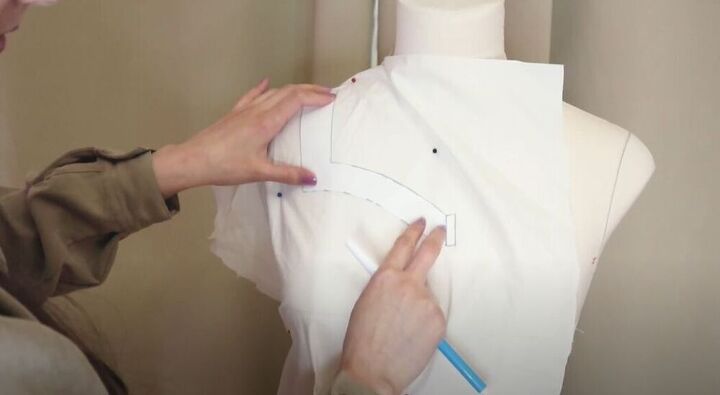
Next, I traced the perfect neckline for my dress that I had made for another project and I also traced the center front, shoulder seam, armhole, and side seam. I also made sure to trace the darts I had folded earlier.
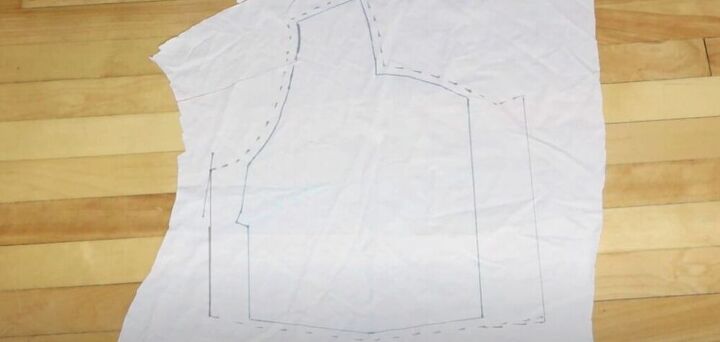
For the button placket, I added 2-inches on the side and also half an inch of seam allowance to the pattern. I traced the darts with my marker and the front bodice pattern was finished.
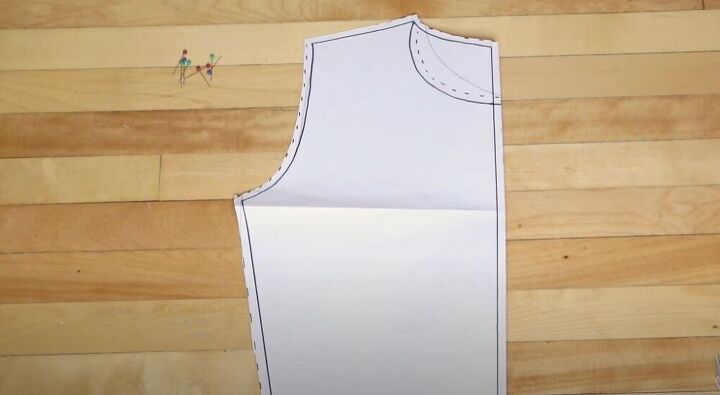
For the back bodice pattern, I am using one that I made in a midi dress tutorial which you can check out here.
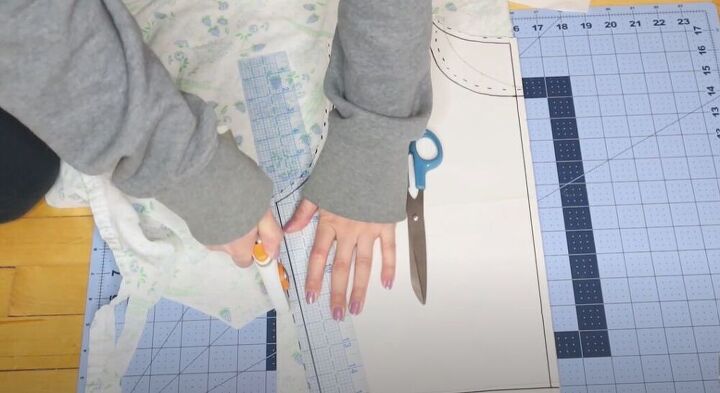
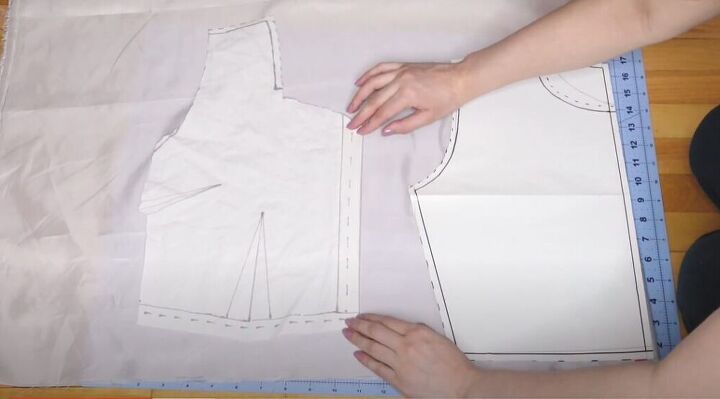
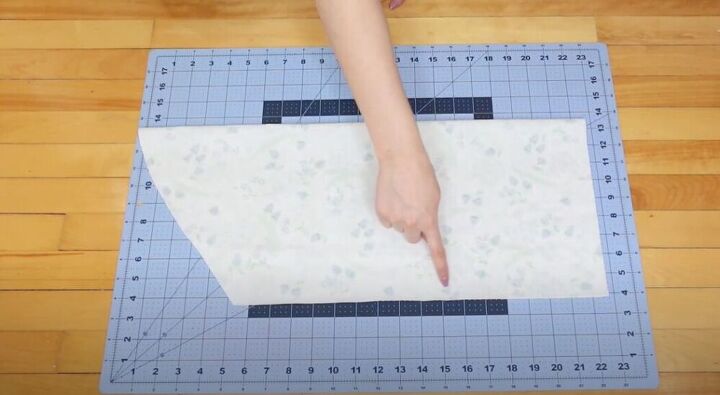
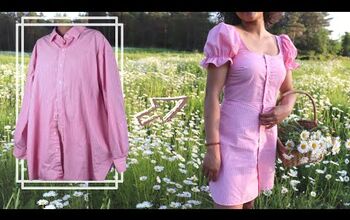
I folded my fabric, set down the front pattern, and cut it out. For my fabric, I decided to use these old bedsheets that have been in my family for years but feel free to choose a fabric design that works for your aesthetic. For the straight edges, I used a rotary cutter but for the curved edges, I used fabric scissors.
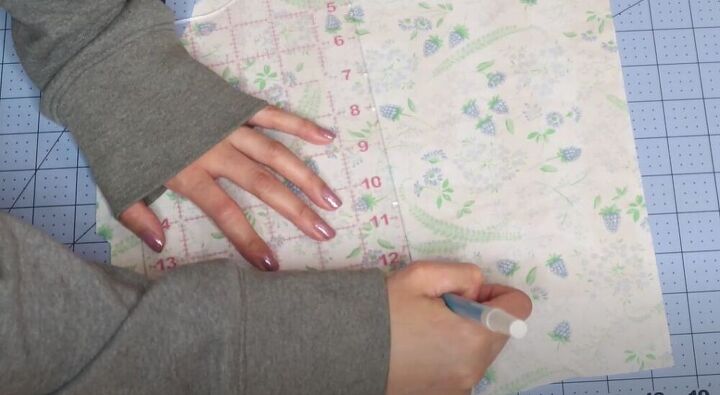
To trace the darts onto the front bodice, I marked three points at the bottom of the dart on the fabric and then marked the top point. I connected the points to have a clear marking of where I would need to sew.
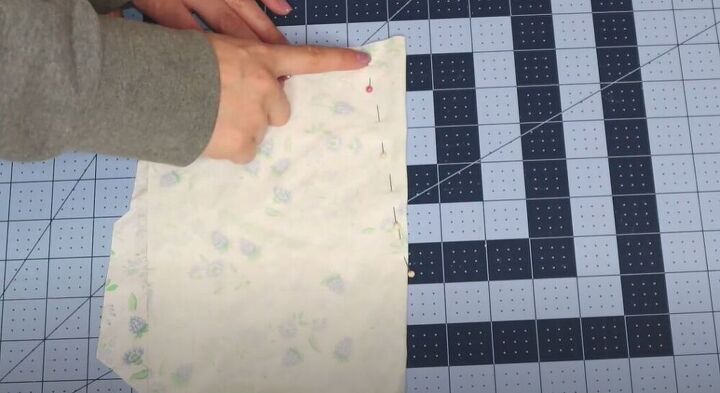
Next, I folded the darts in half, pinned them, and sewed along my pinned line with a straight stitch. Rather than backstitching, I left enough thread to double knot at the end of the dart.
I then placed the back bodice pattern on my folded fabric and cut it out.
I cut out both my pieces in the lining fabric as well. The only difference is that I traced the front bodice piece without the button placket seam allowance. I made sure to sew the darts on my lining pieces as well.
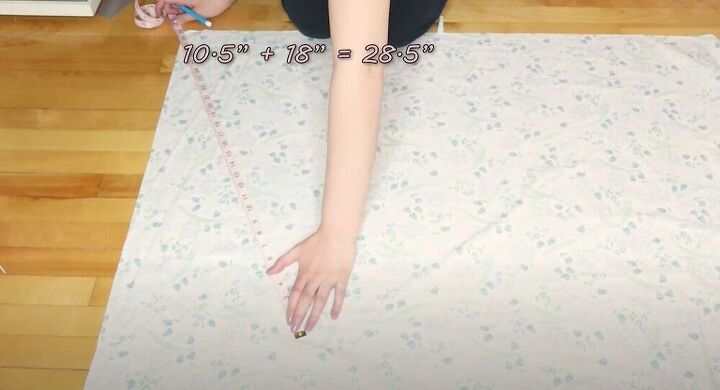
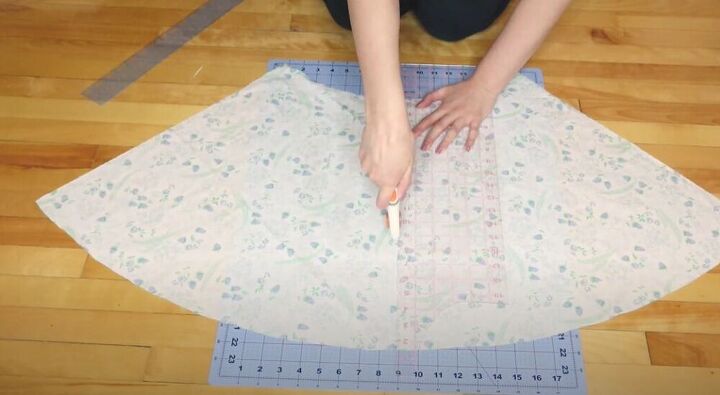
For the gorgeous skirt pieces of this stunning dress, I used a site called byhandlondon.com which made the process a whole lot easier. For the waist measurement, I needed the width of the back bodice and the front bodice.
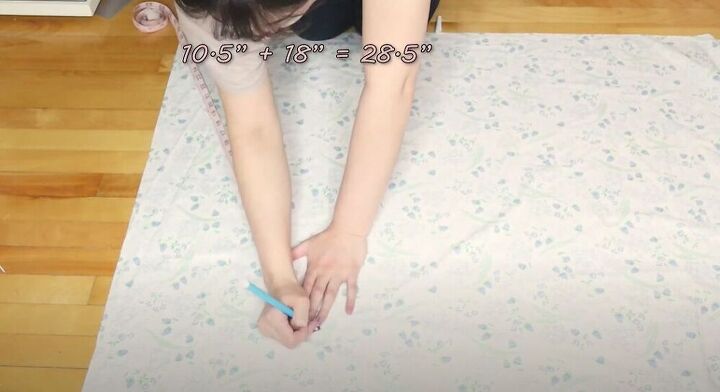
The site calculated the radius, according to my back bodice, which was 10.5 inches. I then added 18 inches for the length of the skirt which meant that the second measurement was 28.5 inches from the edge of the fabric.
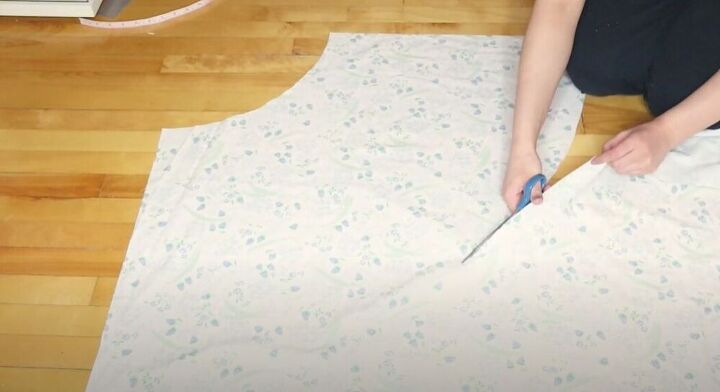
I could then cut out my skirt. I repeated the same steps for my front bodice piece to get the right measurements for the skirt. I couldn’t wait to see this dress come together!
I then cut the front skirt in half. I made sure to follow the exact same steps to get the perfect lining for this skirt. It’s important to remember that for the lining, the length should be 1-inch less than the outer fabric.

Next, I folded the button placket seam allowance and pressed it flat using an iron.
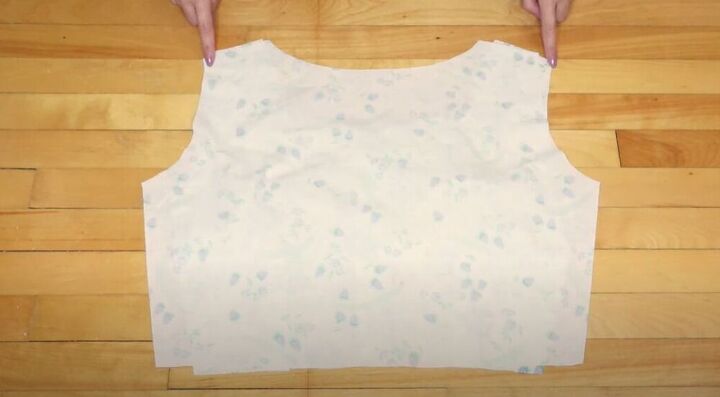
It was finally time to start sewing! I placed the front and back bodice pieces, right sides together. I sewed the shoulder seams and side seams using a straight stitch with a length of 3, which I used for the whole dress. I then sewed the lining in the exact same way.
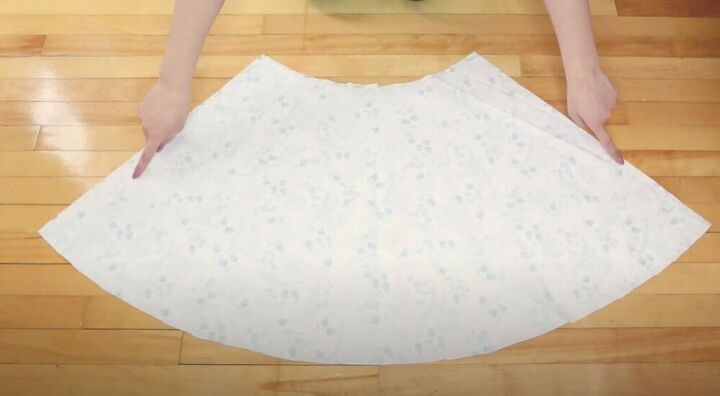
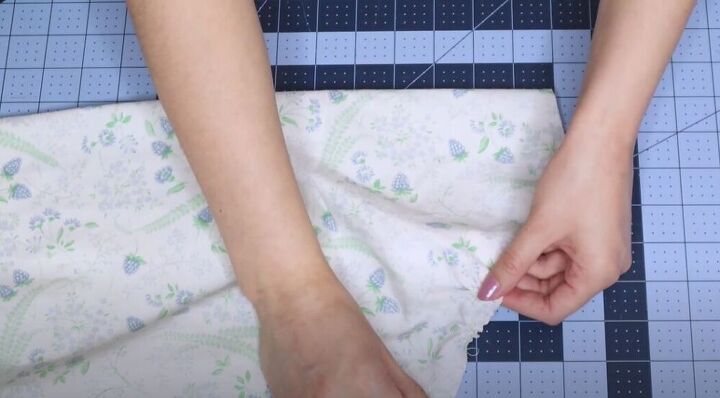
Next, I placed the front and back skirt pieces, right sides together, and sewed the side seams. Once again, I repeated this for the lining of the skirt. I tried on my skirt and realized it was too puffy so I simply cut 6-inches off the bottom and connected it to the top to get the perfect fit. I made sure to do the same for the lining.

To put this incredible dress together, I laid the skirt out and placed the bodice over it, right sides together. I then pinned along the curve attaching the bodice to the waistline of the skirt. I hopped on over to my sewing machine and sewed the pieces together.

Next, I pinned the armholes of the lining by folding the edges in twice. I then sewed the folds down. I attached the skirt lining to the bodice lining and also hemmed the skirt lining for a professional finish.
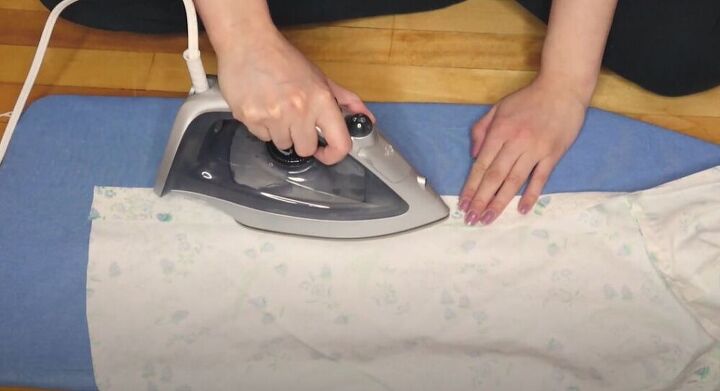
With the dress starting to take form, I folded the button placket 1.5 inches and ironed. I then pressed the edge at half an inch.
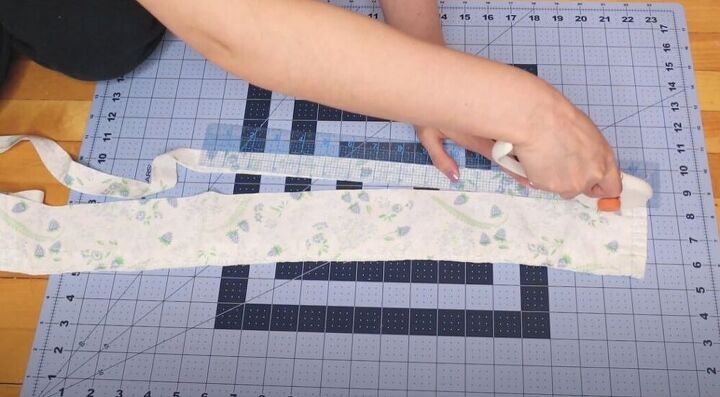
To make the gorgeous waist tie detail, I cut a strip of fabric at 1.5-inches
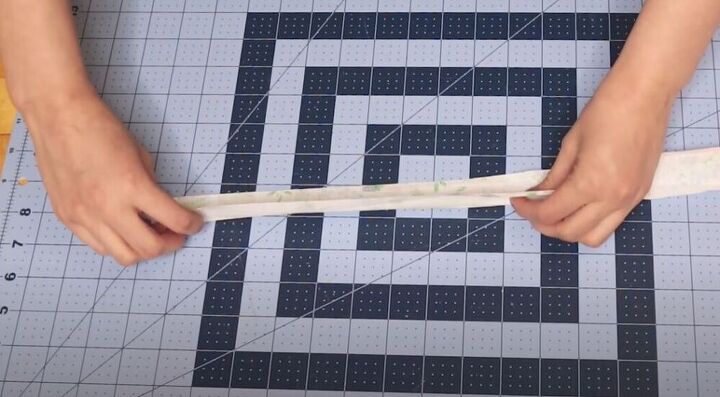
To easily turn out the fabric, I cut a ribbon to the length of the waist tie and sandwiched it in between the fabric. I sewed the end closed and all the way down at 1/4 of an inch.
I cut off the seam allowance and then pulled on the ribbon to turn the fabric right side out. Once it was the right side out, I snipped off the ribbon and cut the fabric in half to make the two ties.
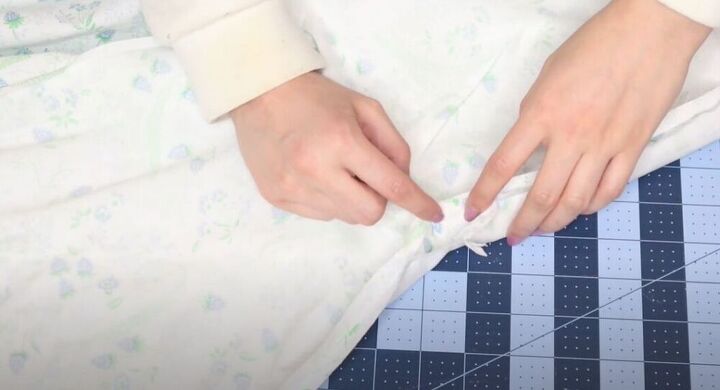
Next, I seam ripped the side seams of the waistline of the dress open and inserted the waist ties. I then made sure to sew the side seams back up.
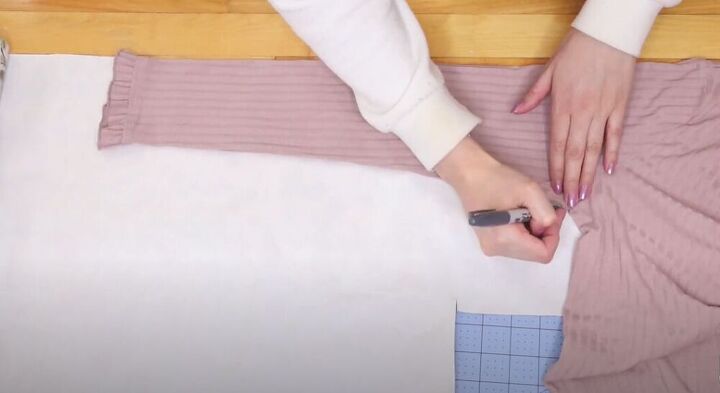
I could finally move on to the amazing puff sleeves. To create the sleeve pattern, I traced a normal long sleeve onto some paper. I extended the edge of the sleeve so that it would reach a 90-degree angle. I then cut out the pattern with a half-inch seam allowance.
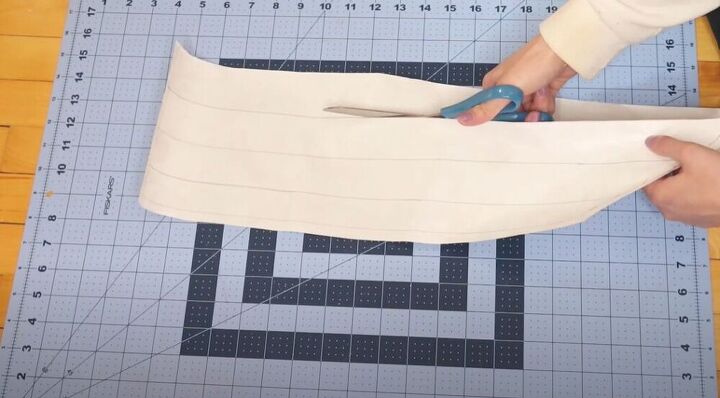
To create the puffed style, I drew lines along the sleeve with 1.5-inch intervals. I then cut along these lines and stuck them to a new piece of paper with a 1-inch interval between each strip. I could then cut the new sleeve pattern.

I placed my pattern on the fold of the fabric and cut out two sleeves. I then also cut out two cuffs for the sleeves at 2.5-inches by 9.5-inches.
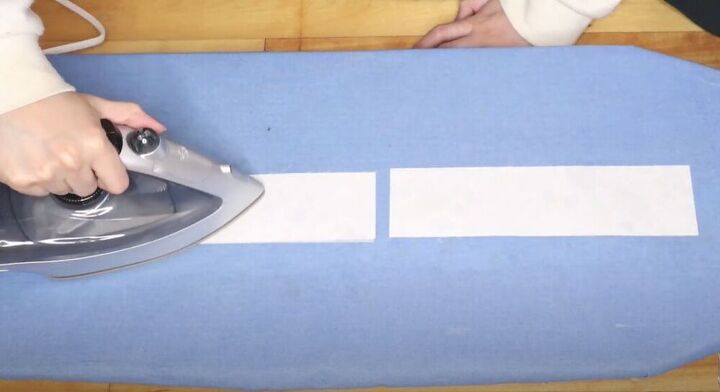
I cut out two pieces of interfacing for the cuffs and pressed them on. I then also pressed the cuffs in half, lengthwise.
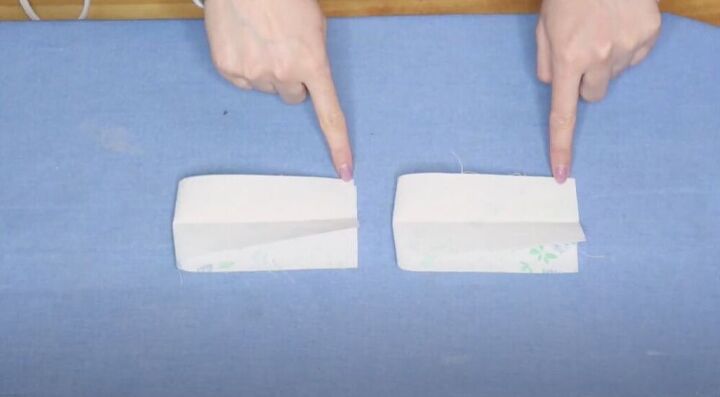
Next, I folded the cuffs in half and sewed along the sides.
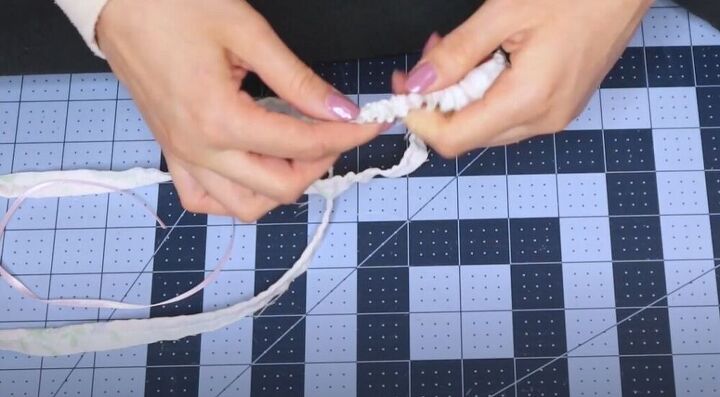
For the sleeves, I sewed a basting stitch along the sleeve cap. I then folded the sleeve and sewed the arm seam. I then also sewed a basting stitch on the ends of the sleeve.
To create the perfect puff sleeve, I turned the sleeve right side out and pulled on one of the threads from the sleeve cap to start gathering the fabric.
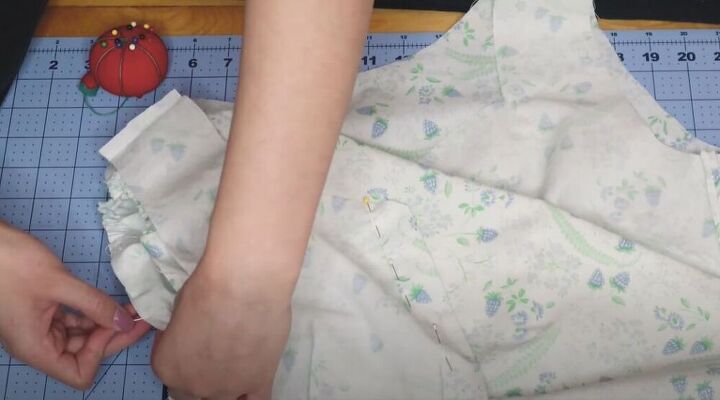
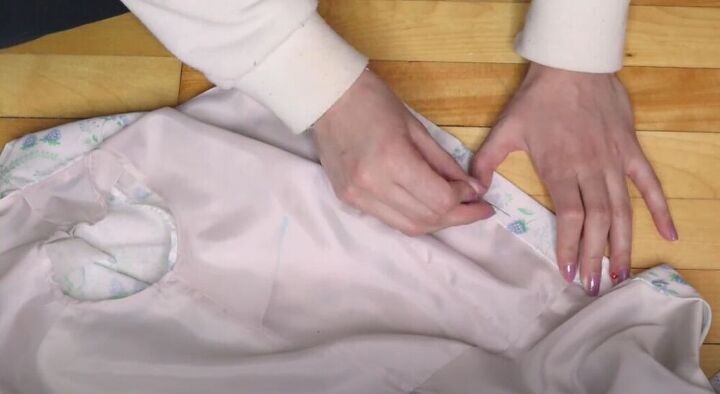
To attach the sleeve to the dress, I turned the dress inside out and pinned the ruffled sleeve to the armhole. A great way to do this is to start at the bottom where there are no ruffles. Once I had pinned the sleeves in place, I sewed them on.
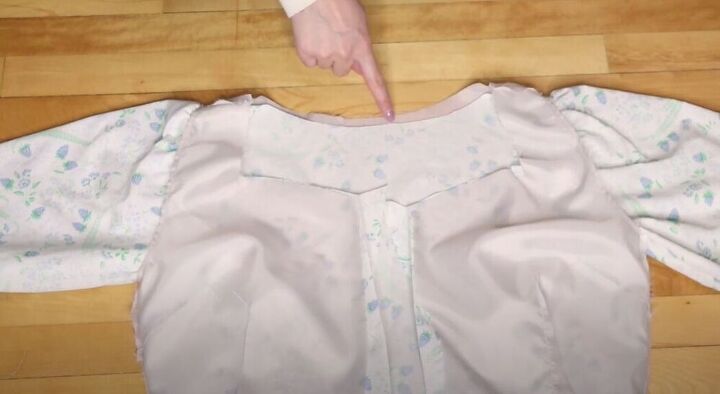
I put the lining over the dress, right sides together. Making sure the button placket was out of the way, I sewed the neckline. I turned the lining inside the dress and then to give the neckline a nice, clean finish, I decided to understitch the lining and then pressed it.
I pinned the button placket to the lining and sewed it down.
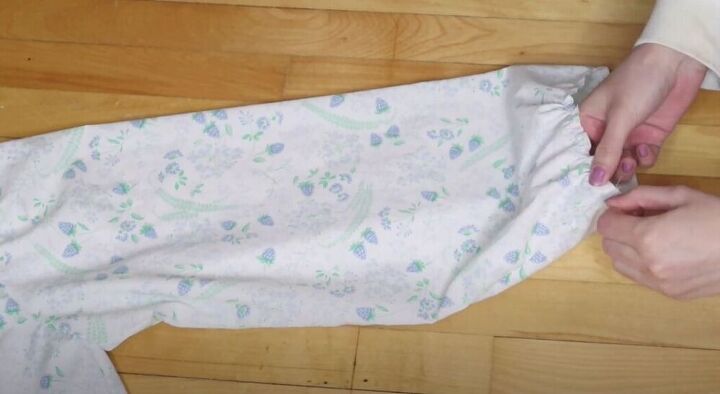
To finish off the sleeves I gathered them at the bottoms.
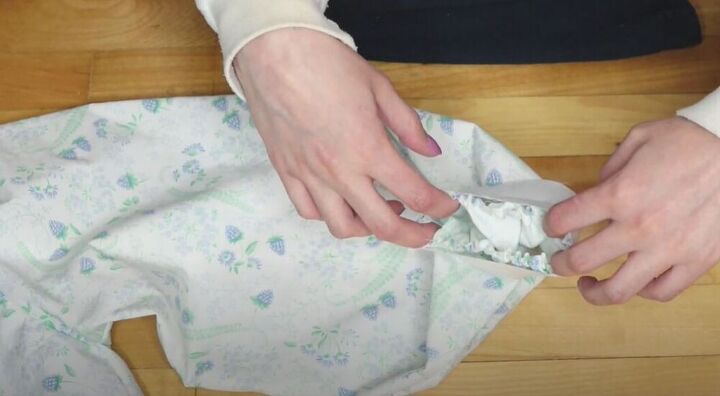
Next, I pinned the cuff onto the end of the sleeve, right sides together. I couldn’t believe this dress was almost ready. I made sure to also hem the cuffs for a professional look. I folded them in half and sewed them down. I also hemmed the bottom of the dress with a double hem.
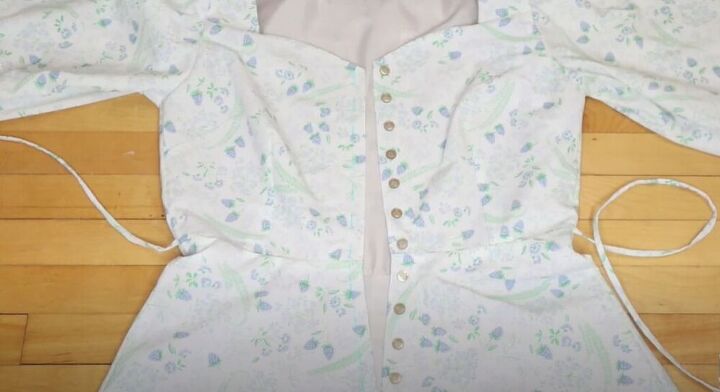
Then it was time to sew on the buttons. I placed mine 1.5-inches apart. I put all the buttons on the left side of the dress and using my sewing machine, I made buttonholes on the right side. Lastly, I sewed the bottom of the button placket closed.

I am totally obsessed with my vintage style, puff sleeve dress. What is your favorite element on this piece? Let me know in the comments below!
The author may collect a small share of sales from the links on this page.


Comments
Join the conversation