DIY Easy Eyebrow Tutorial

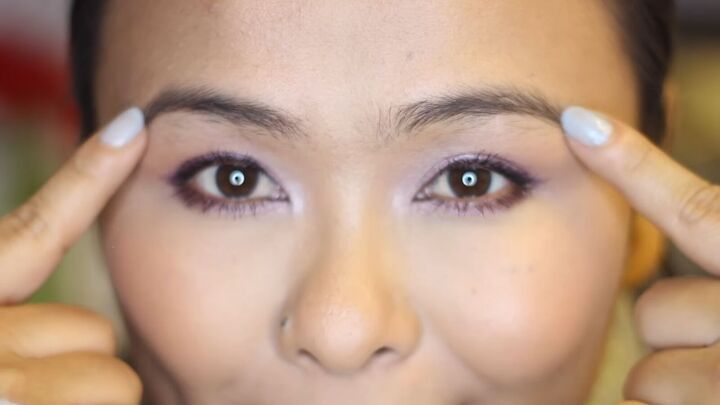
Here is a simple, easy and beginner friendly eyebrow tutorial you can follow to groom, shape and fill in your brows at home. As you can see, I haven’t done my brows in ages, so let’s get started!
Tools and materials:
- Tweezers
- Spoolie brush
- Small, nail scissors
- Eyebrow gel
- Flat angled brush
- Concealer
- Highlighter
- Brow mascara
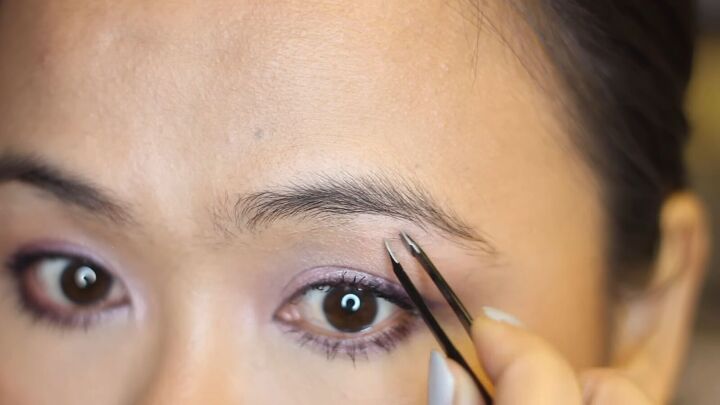
1. Tweeze your brows
Use sharp, even tweezers to clean up the excess hairs in the direction of their growth. This way is somewhat less painful. For stubborn hairs, you can try pulling them from the opposite direction.
2. Brush your brows
Using a spoolie brush, brush the front portion of the brow upward.
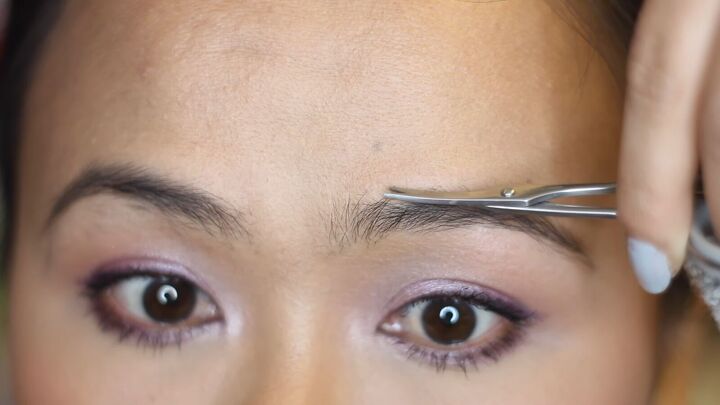
3. Trim hairs at the front of the brow
Using fine scissors, trim off the extra-long hairs from the front portion of the brow. Go back and forth between combing the hair upward with the spoolie and trimming the hairs poking out beyond the hairline
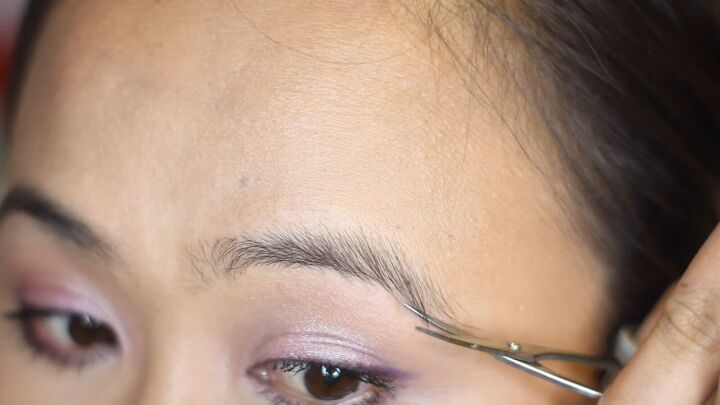
4. Trim hairs at the end of the brow
Similarly, using your spoolie brush, comb the back portion of the brown downward and trim the longer hairs from the bottom. This will define the shape of your brows * (see video 1:26-140)
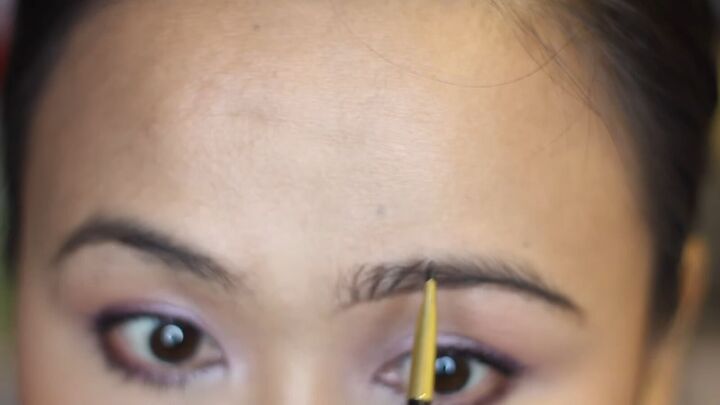
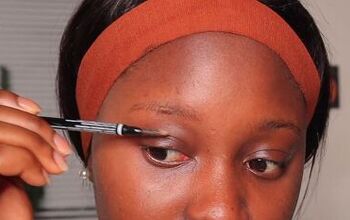
5. Outline your brows and fill in the front
Dip an angled brush into the brow gel. I like to pinch the tip of the brush, which allows for a sharp and smooth line. Using what is left on the brush, draw upward strokes to mimic hairs in the front part of your brows.
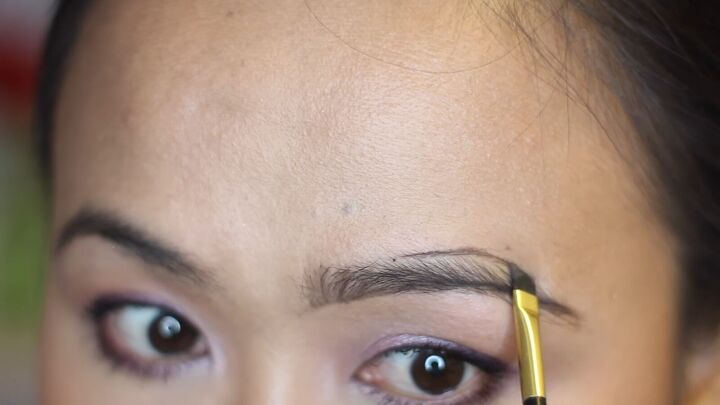
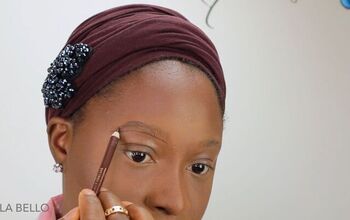
6. Draw the top arch and fill in the back
Dip your brush in more product and draw the top arch of your brows. Add downward strokes under the arch in the back portion of your brow to mimic hairs * (see video 2:36 - 2:54)
The key is to draw downward strokes in the back and upward strokes in the front to mimic the natural growth of the hairs. Keep in mind that you’ll need very little product in the front of the brows, whereas the ends can be darker.
On a normal day, I would keep it like this. Here’s the look so far:
The following steps are for when I want to go a little extra:
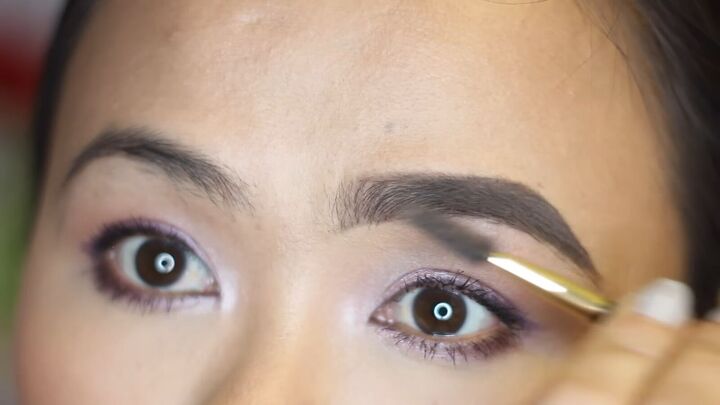
7. Clean up
Take some concealer on a flat brush and clean up the line under my brows. Sometimes I’ll even clean up above the arch too. This will make your brows pop.
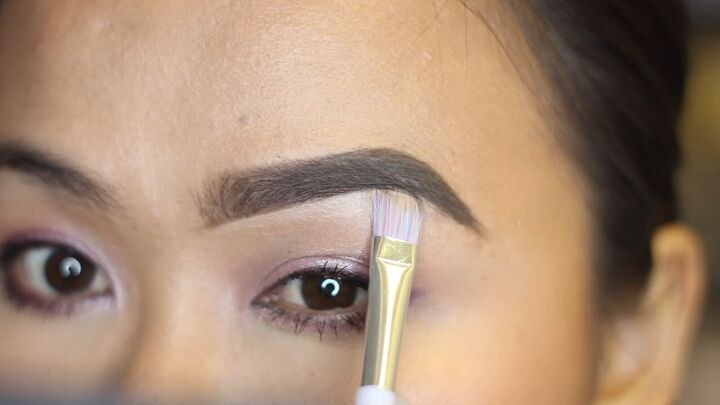
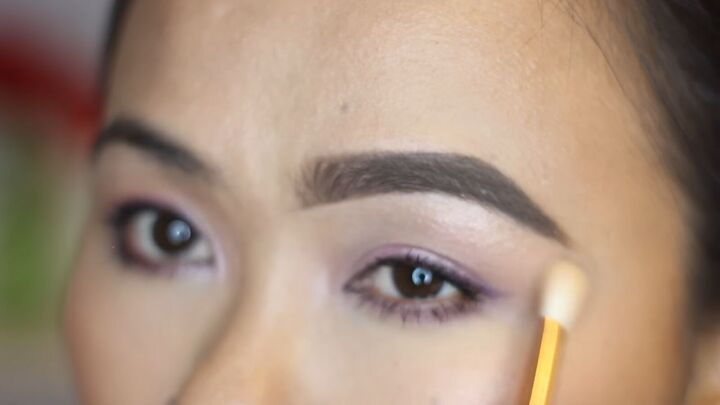
8. Highlight
Still using a flat brush, add highlighter to the brow bone area to give a more 3D look.
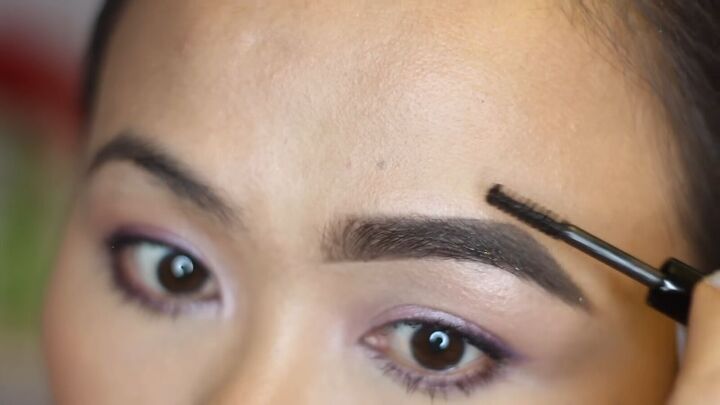
9. Darken and set your brows
Using brow mascara, lightly comb through the hairs to give a bit of a darker, more defined look. The product will also help set your brows.
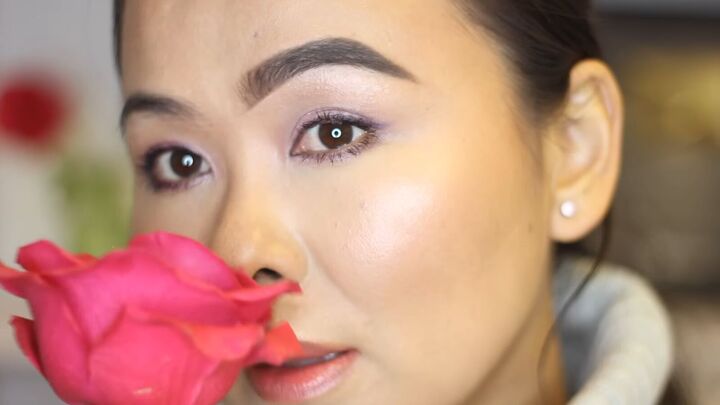
Easy eyebrow tutorial
I hope this easy eyebrow tutorial was helpful for you. Now it’s your turn! Show us your eyebrow transformation in the comments below.
The author may collect a small share of sales from the links on this page.


Comments
Join the conversation
Looks beautiful. I will try this. Thank you for sharing.
Very nice!!!