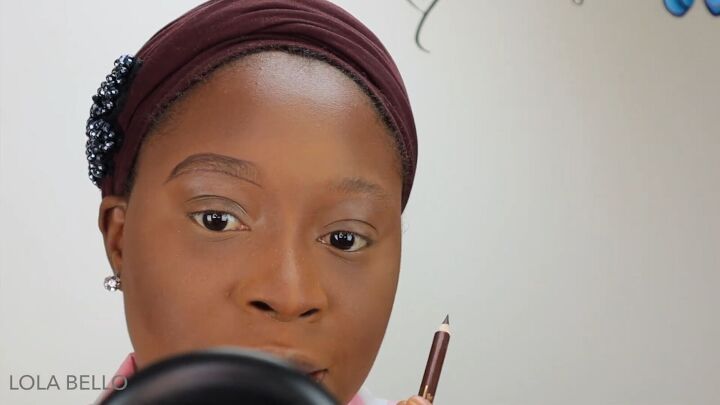
Easy Hair Stroke Eyebrow Tutorial

Hello beautiful people! This is a detailed tutorial on how to draw hair strokes for your eyebrows. Just follow the steps and you will get it right.
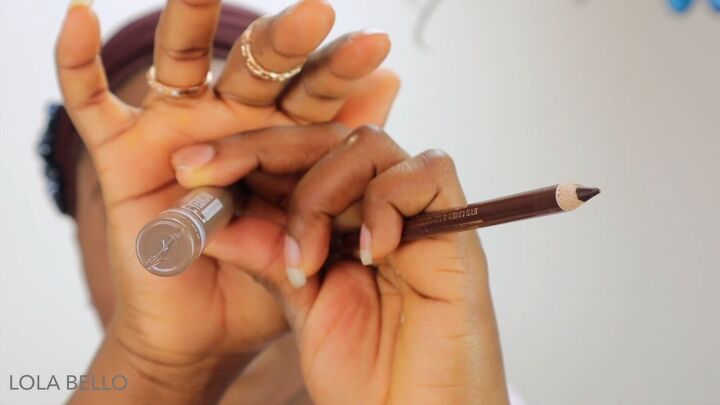
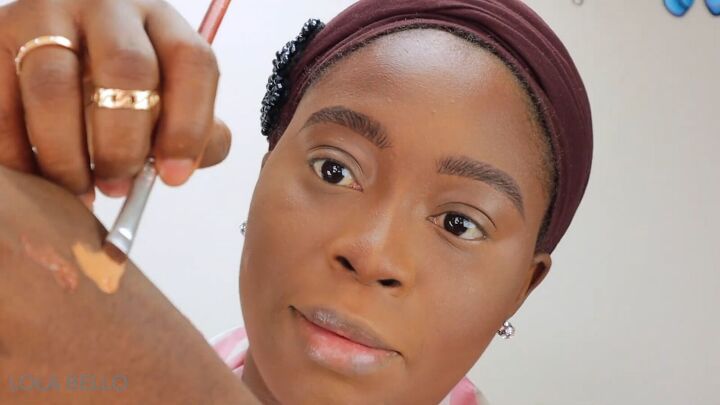
Tools and materials:
- Setting powder
- Eyebrow brush (spoolie)
- Brow pencil
- Eye pencil sharpener
- Tinted brow gel
- Lighter concealer shade
- Darker concealer shade
- Flat brush
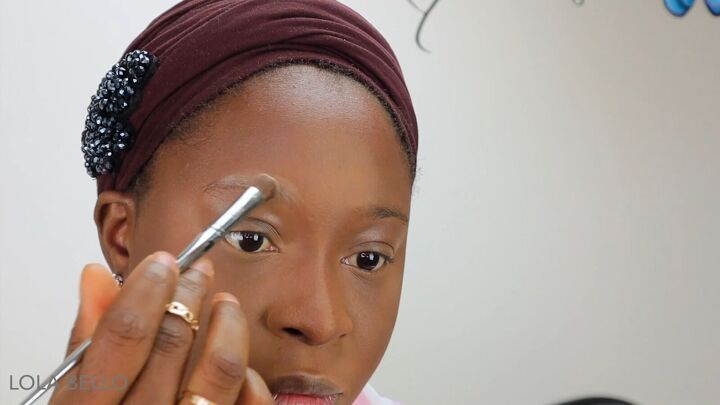
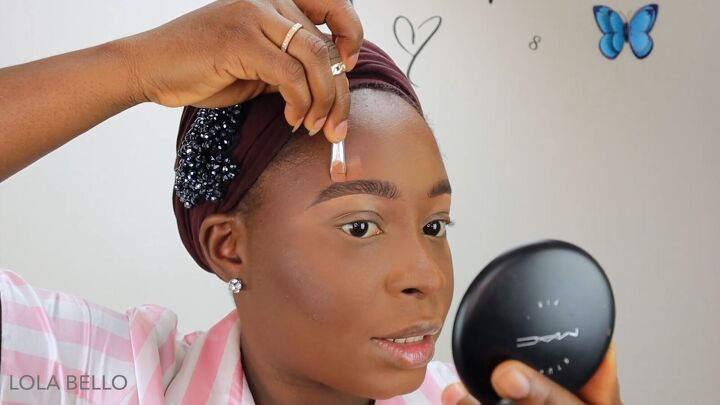
1. Set your brows
First, set your brows with a setting powder. Blend the powder into the brow until it disappears.
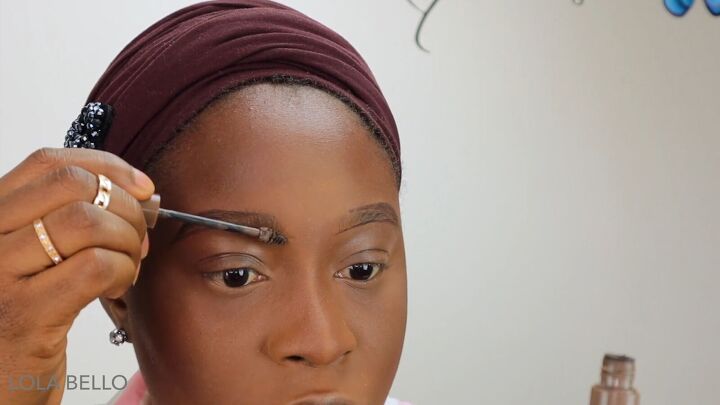
2. Brush your brows
Next, use a brow brush (spoolie) to brush your brows upward.
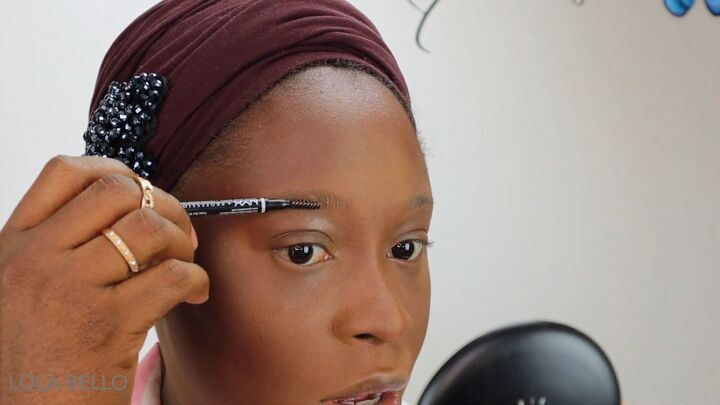
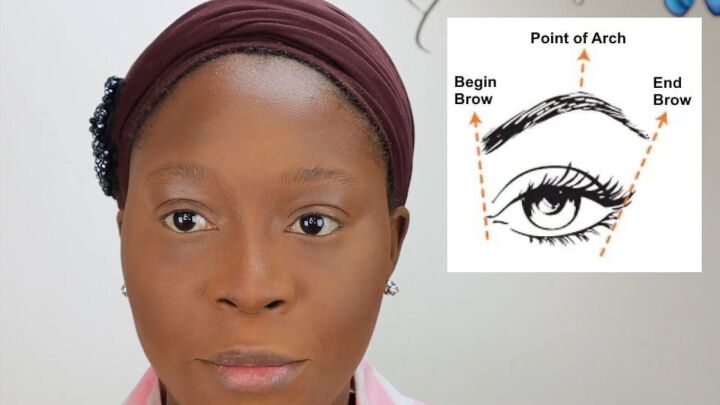
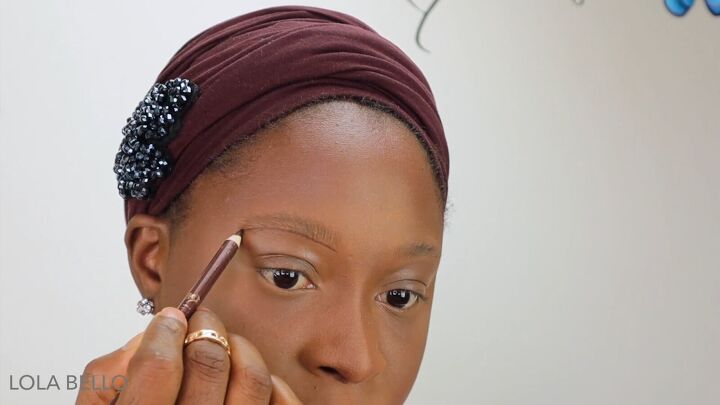
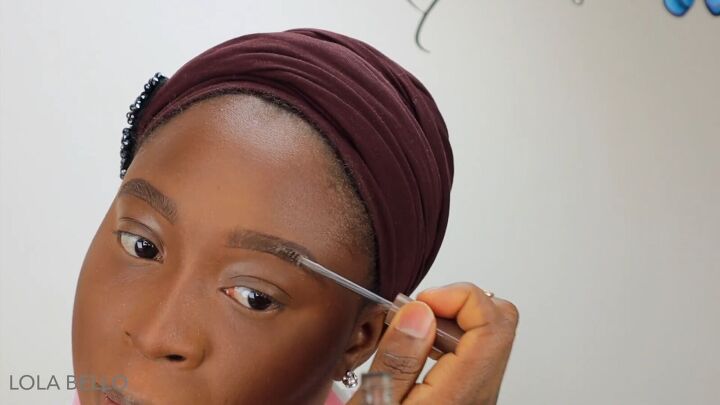
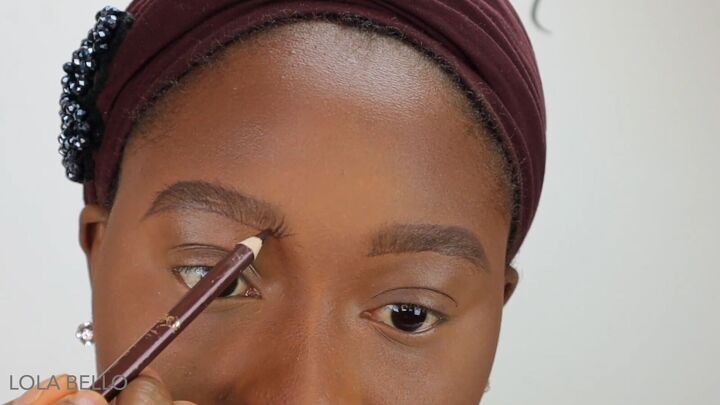
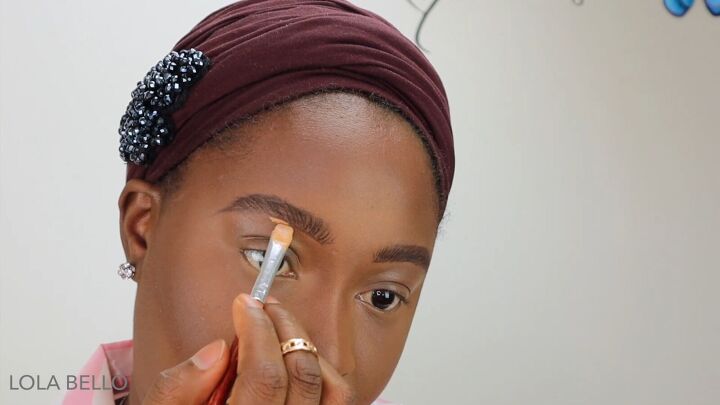
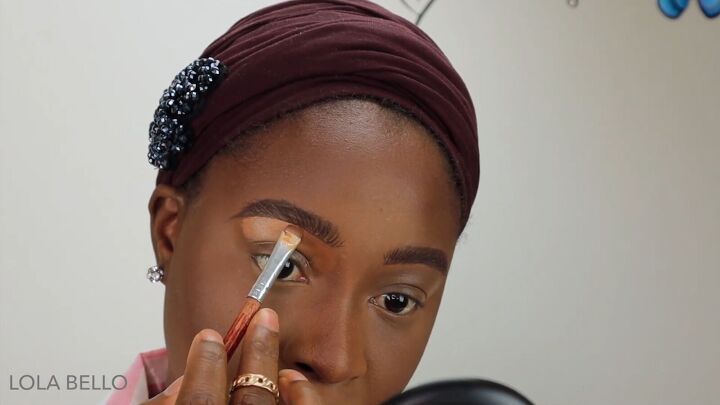
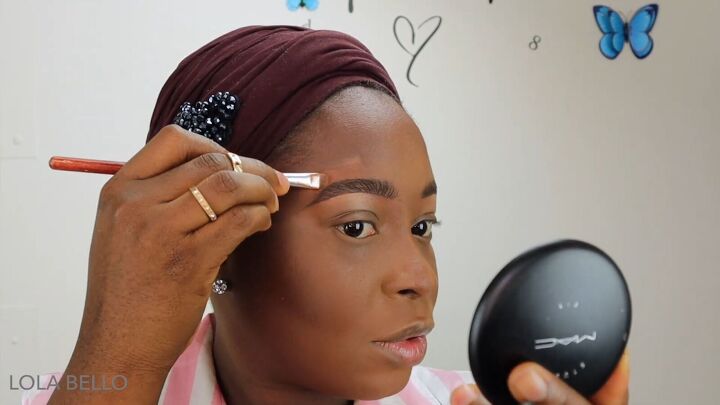
3. Draw the brow outline
Consider the 3 points of your eyebrows.
I like to use a wooden pencil because you can sharpen it for an exacting tip. Be sure to sharpen it as it gets dull.
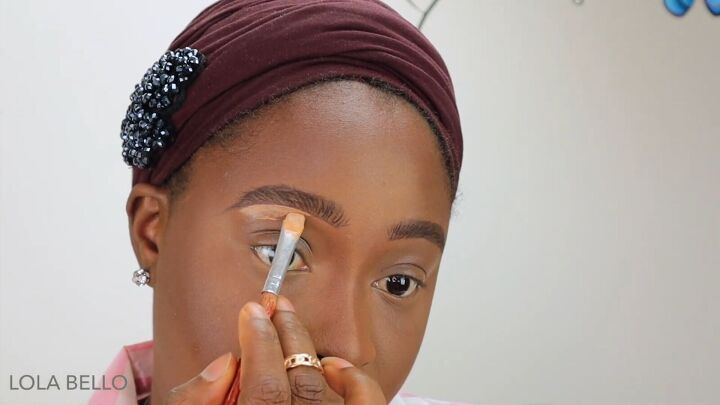
Start drawing the lower outline.
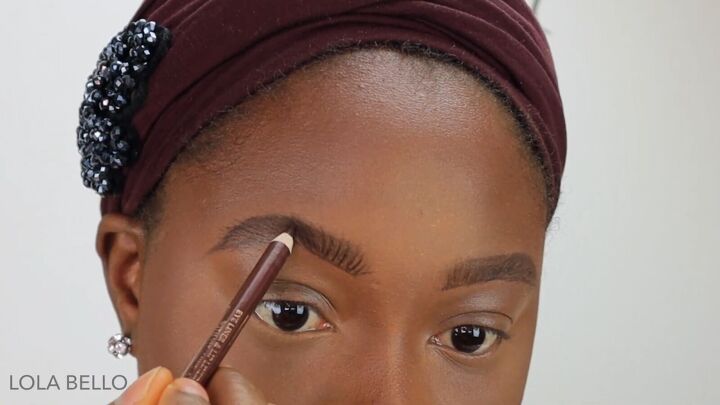
Then draw the upper outline from the arch to join the lower outline.
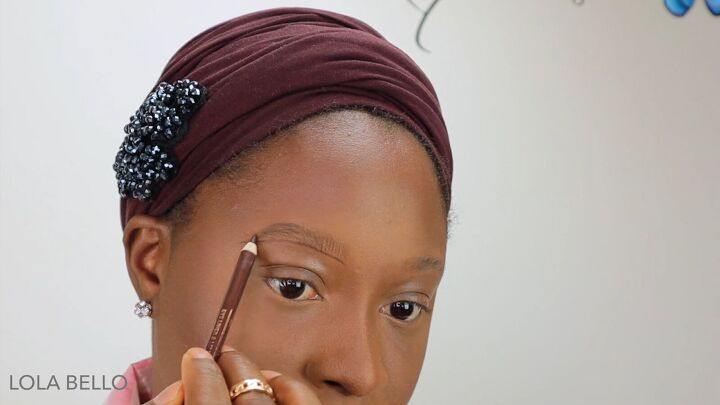
Extend the outline toward the upper line of the beginning of the brow, parallel to the lower starting point.

Repeat on the other brow using the same outline guide points.
4. Apply tinted brow gel
Choose a brow gel to match your eyebrow color.
Brush the brow gel upward to mimic the growth of the hair.
Repeat on the other side.
Once the brow gel is dry, use your dry brow brush again to brush the hair upward.
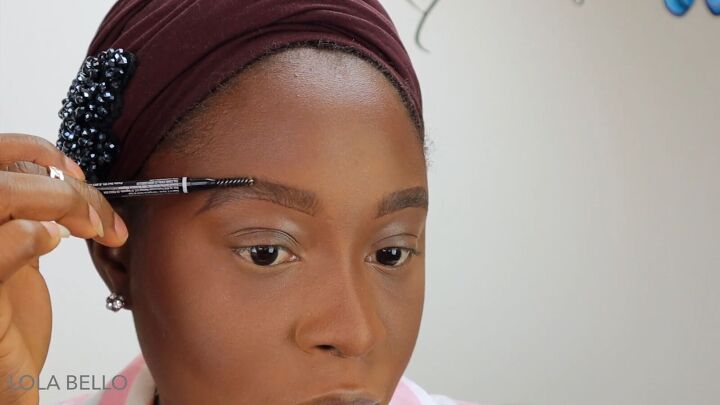
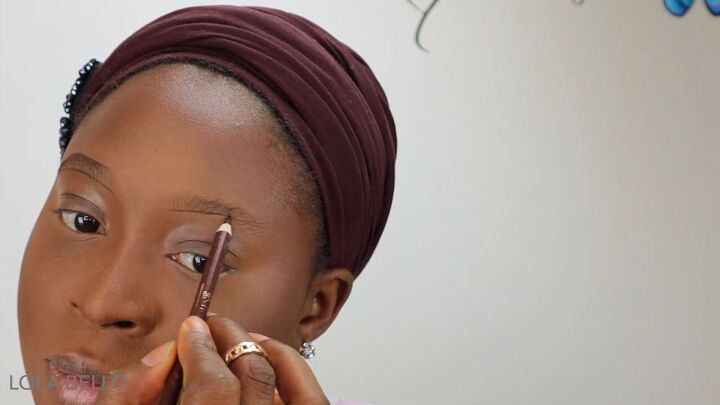
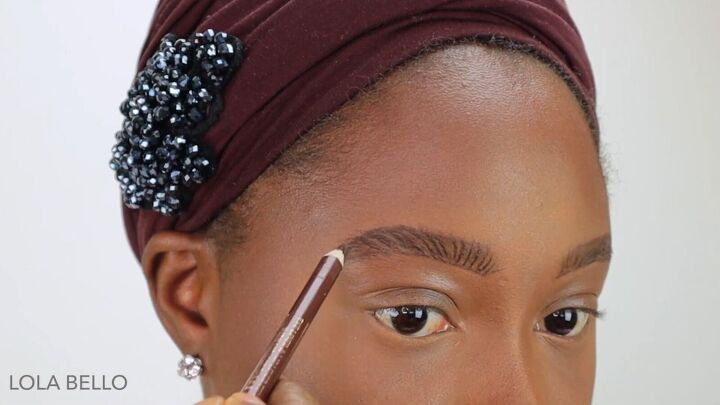
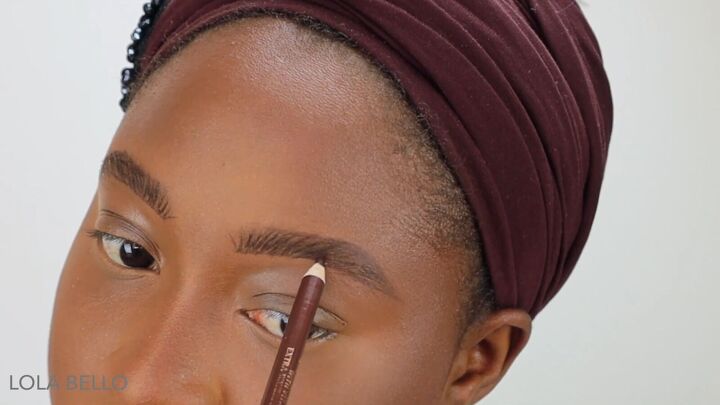
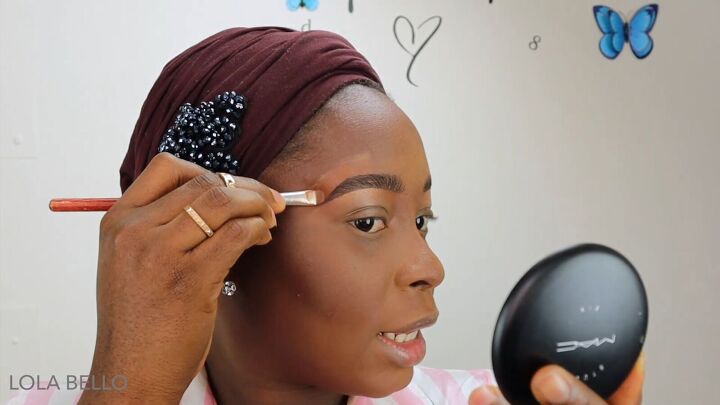
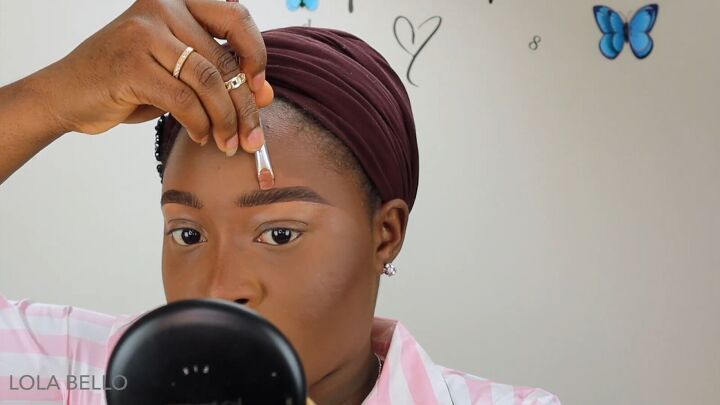
5. Draw in the eyebrow strokes
Use your sharp brow pencil to draw in upward strokes from the beginning brow point.
Follow the curve of the brow as you make more strokes. You may need to resharpen the pencil to maintain sharp strokes.
No need for perfect strokes here because natural brows are imperfect.
Make strokes on the other side as well.
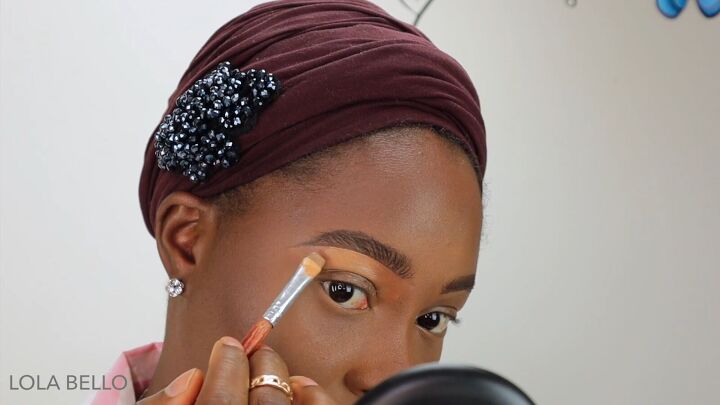
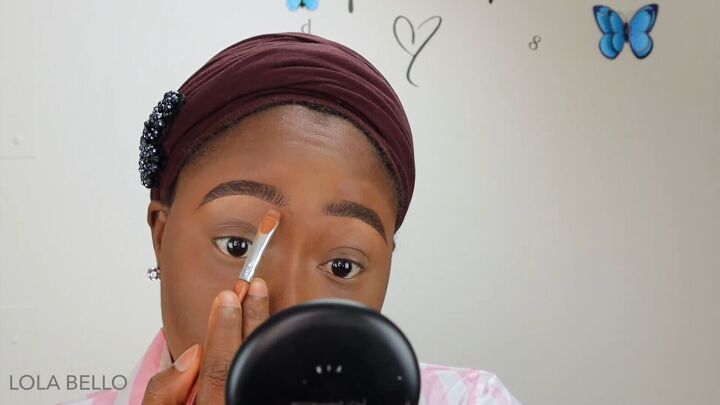
6. Highlight your brow
Transfer concealer from the back of your hand onto a flat brush, making sure to cover both sides evenly.
Then apply some concealer in a line, starting from beneath the lower brow line.
Gradually bring down the concealer to allow for easier blending later.
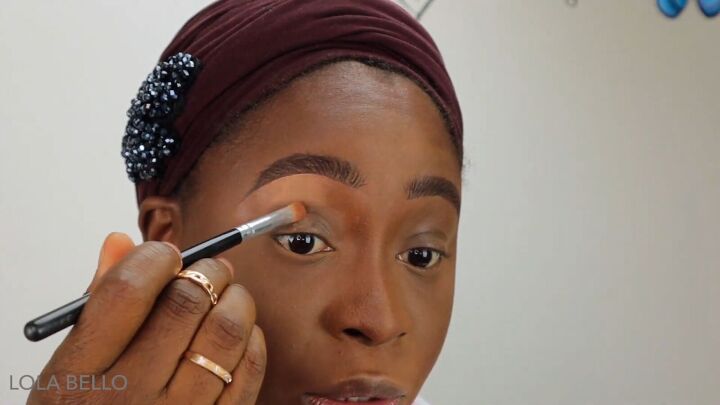
Next, apply a darker concealer shade under the front of your eyebrow, slightly overlapping with the light concealer shade.
Bring the darker shade downward as well.
Touch up the light shade by bringing it to the end of the brow.
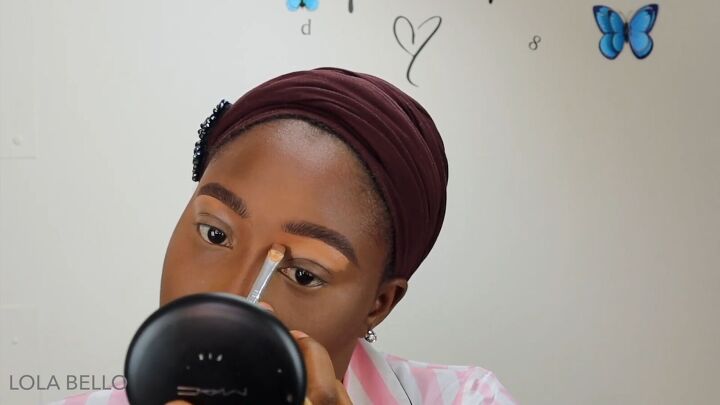
7. Blend
Once the concealer is slightly dry, begin blending it in with a clean brush.
8. Highlight and blend under your other brow
Highlight with both shades under your other brow and blend.
9. Detail with the dark concealer
Under the beginning and end points of the brows, blend in some of the darker concealer.
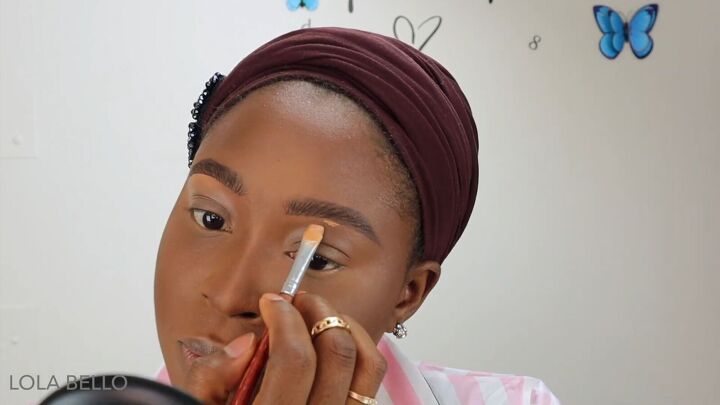
10. Upper brow highlighting
Position your hand like I am and drag your lighter concealer from the middle toward the arch.
When you get to the arch, adjust your hand position and continue to apply the concealer downward to follow the outline.
Join the concealer at the tail.
Then blend it out gradually to the bottom of your forehead.
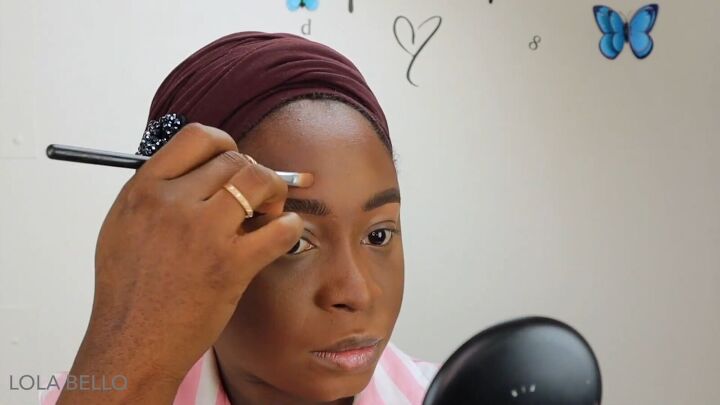
Then address your other brow in the same way.
11. Finishing touches
At the end, raise your eyebrows and see if they look even. If not, make any corrections that you see fit.
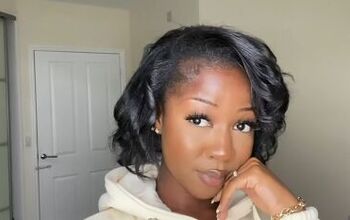
Here are the final results of my hair stroke eyebrow routine:
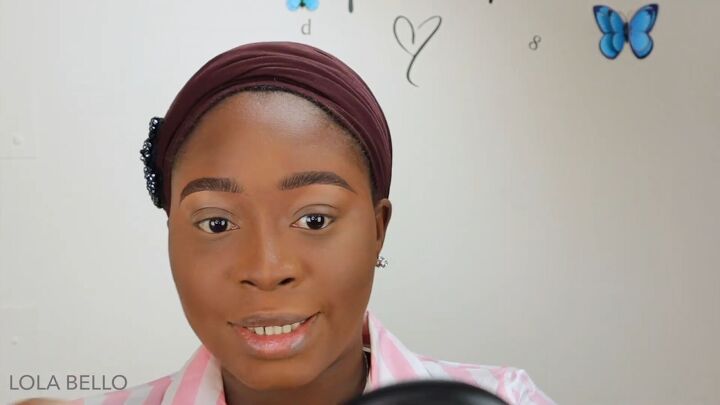
Hair stroke eyebrows
Was this hair stroke eyebrow tutorial useful for you? Let me know in the comments!
You might also like to learn how to trim your brows with this easy eyebrow tutorial for beginners.
Next, check out my Easy Color-block Eyeshadow Tutorial.
The author may collect a small share of sales from the links on this page.


Comments
Join the conversation
WOW! I ran to the store with my list. Came home very excited, followed step by step and it was as easy as you made it look! Explanation was excellent! Thank you very much!
Your instructions are so wonderfully detailed. My eyebrows are very sparse and I'm leary of making them look super fake when I fill them in. Using your directions for natural looking brows, I'm confident I can bring attention to my eye area for the right reasons. Thank you!