Epoxy Charm for Bracelet or Necklace
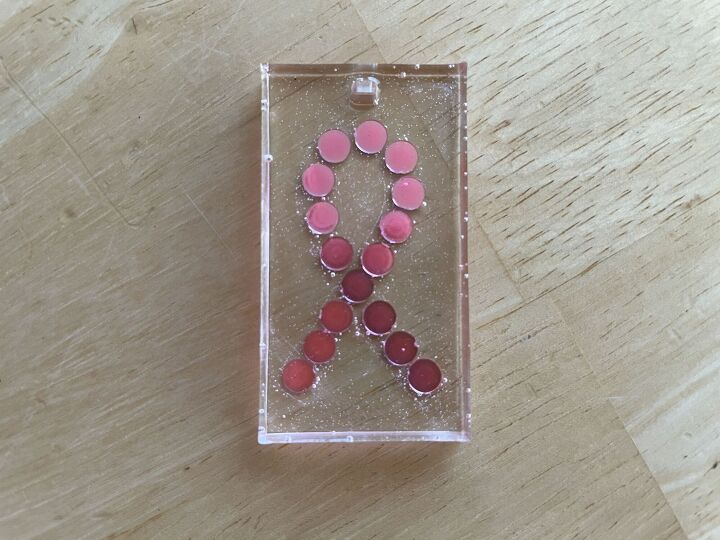
In honor of Breast Cancer Awareness month, I made a resin charm that could be added to a bracelet or necklace. You can see more of my crazy creations here
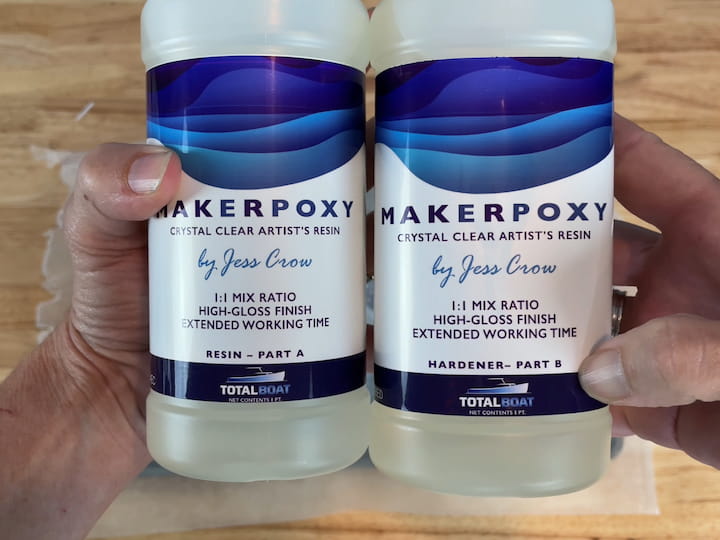
For this project, I'll be using Total Boat's Makerpoxy. There are 2 parts required for this project. The resin as Part A, and the Hardener as Part B.
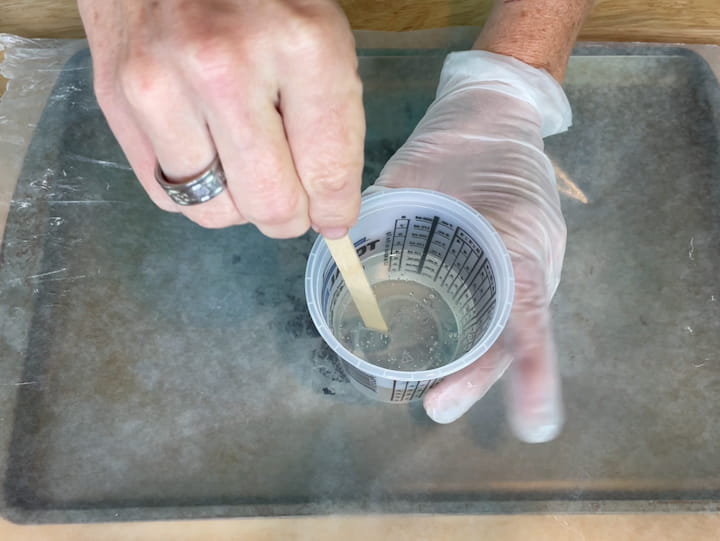
I poured a ratio of 1:1 of resin A and Resin B into a container.
I set a timer for 3 minutes, and I stirred the 2 parts together with a popsicle stick. I stirred very slowly to avoid getting too many bubbles into the resin. I made sure to scrape the sides and bottom to get a nice and even mix.
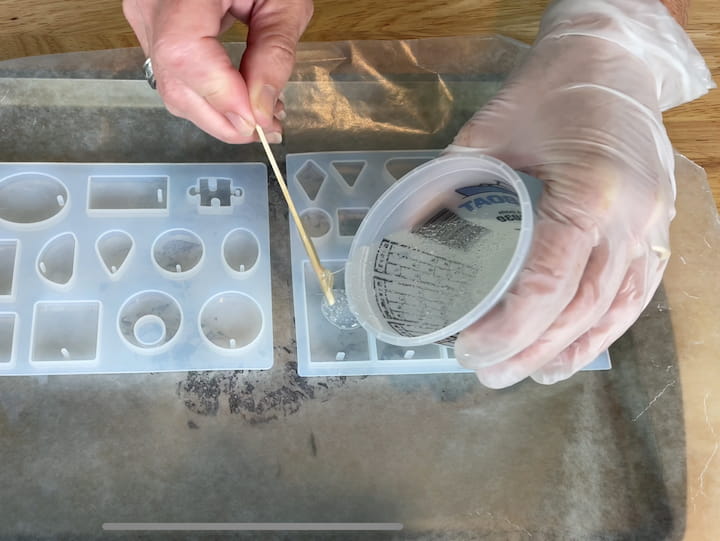
I poured some resin into the jewelry silicone mold.
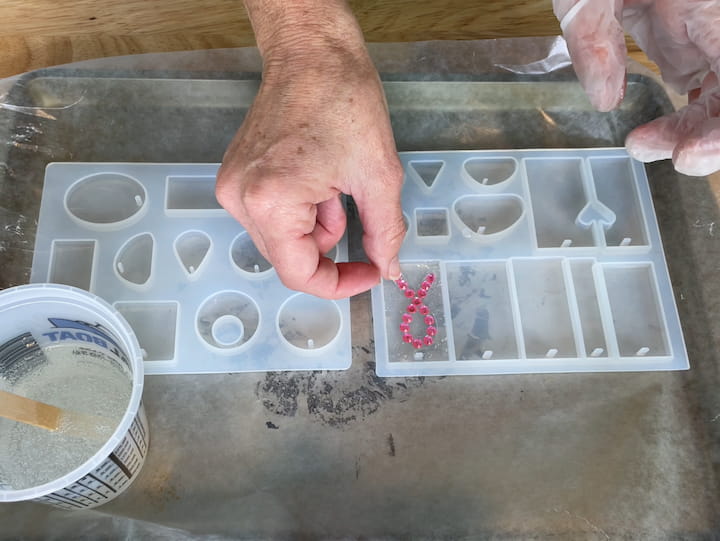
I placed a breast cancer awareness sticker into the resin, added a little more resin on top, and used the popsicle stick to move the sticker around until it was centered in the mold and completely within the resin.
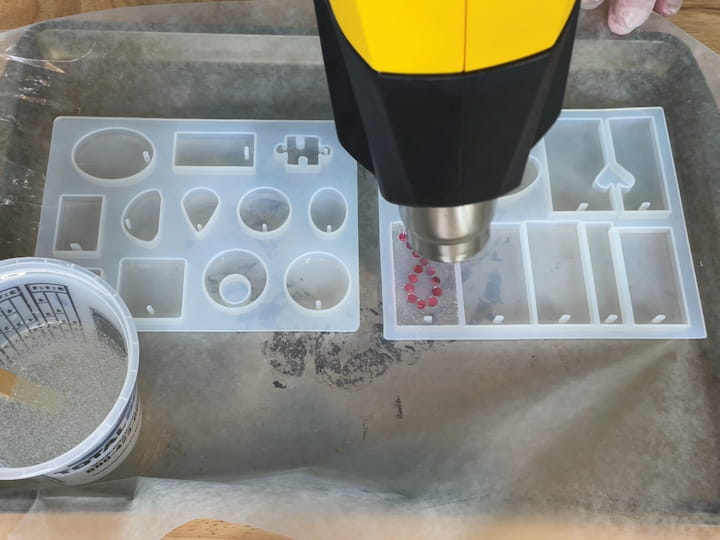
I turned on my heat gun and slowly moved it over the resin to pop any bubbles that were forming.
Leave the charm alone for 24 hours to allow the resin to harden.
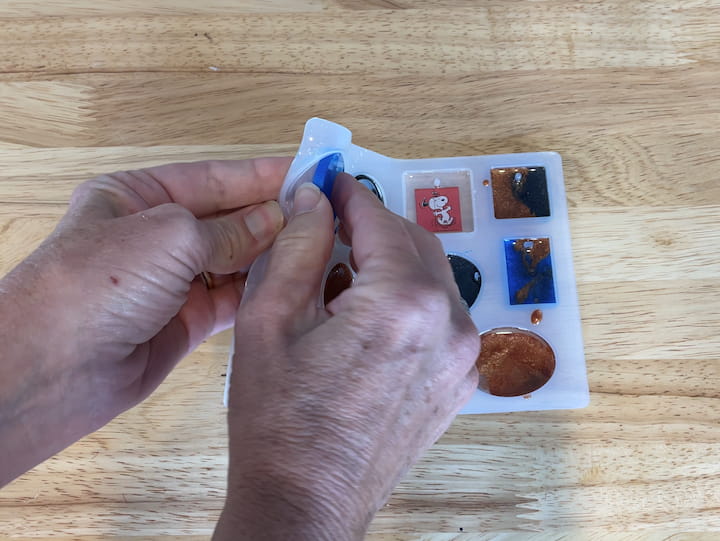
The next day, I peeled the charm out of the silicone mold along with some others I made, future tutorials ;) They peeled right out with ease.
I would love to have you stop by my blog Chas' Crazy Creations for the full tutorial as well as sign up for my latest creations, posts, recipes, exclusives, and more...
I would love for you to subscribe to my YouTube channel to see more of my crazy creations
The author may collect a small share of sales from the links on this page.


Comments
Join the conversation