Follow This Tutorial for a Princess Braid

Hey guys! I can’t wait to show you how to make this amazing princess braid. I love the classically feminine look of this braid.
Best of all, you will not believe how simple it is to create this hairstyle.
Tools and materials:
- Hair tie
- Pointed tiara (optional)
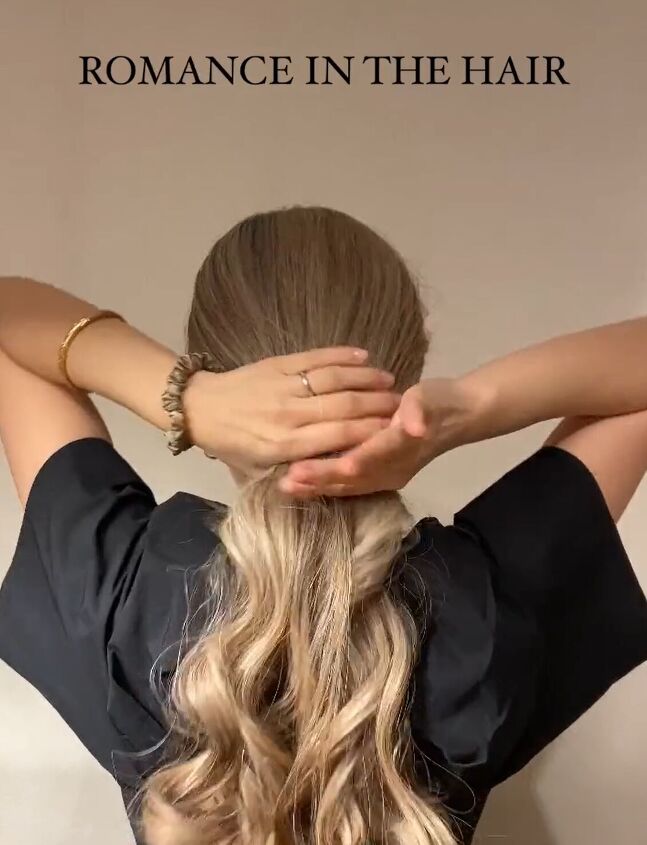
1. Pull your hair back into a low ponytail
Bring all of your hair to the back of your head and make a low pony.
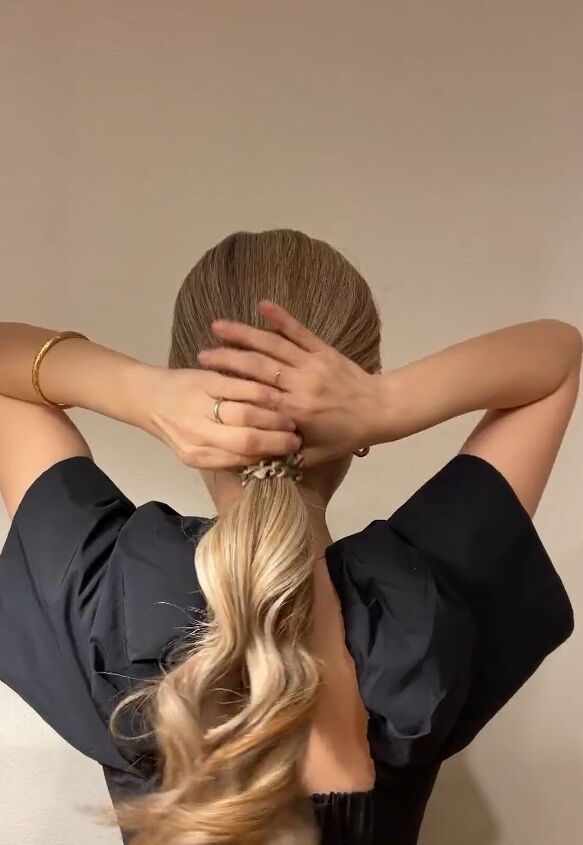
2. Lower the rubber band
Slide the rubber band towards the bottom of your hair to prep for the braid.
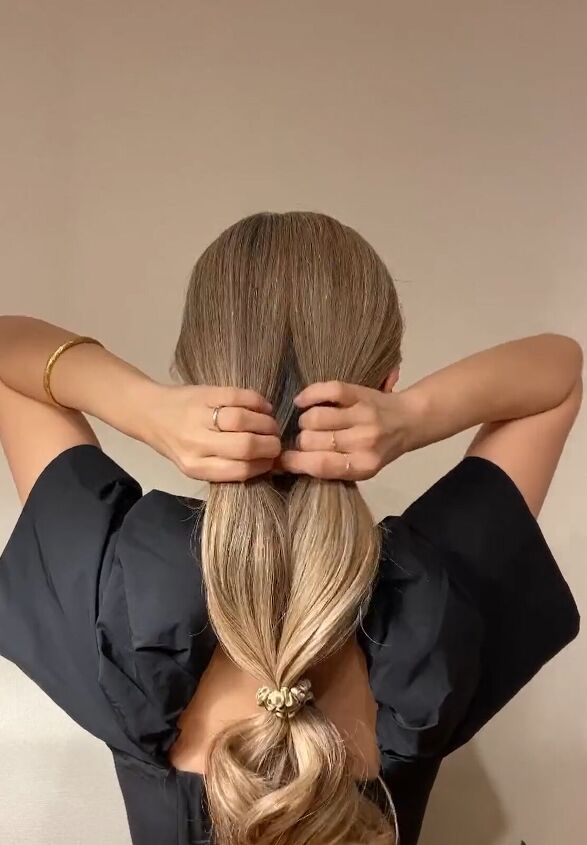
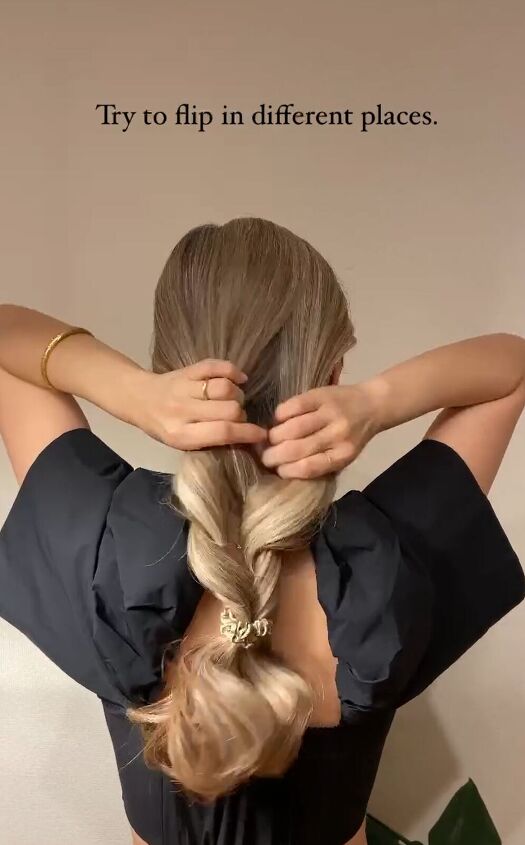
3. Flip in different places
Once your hair is tied together at the bottom, split the upper section in half and flip the tied hair through the split.
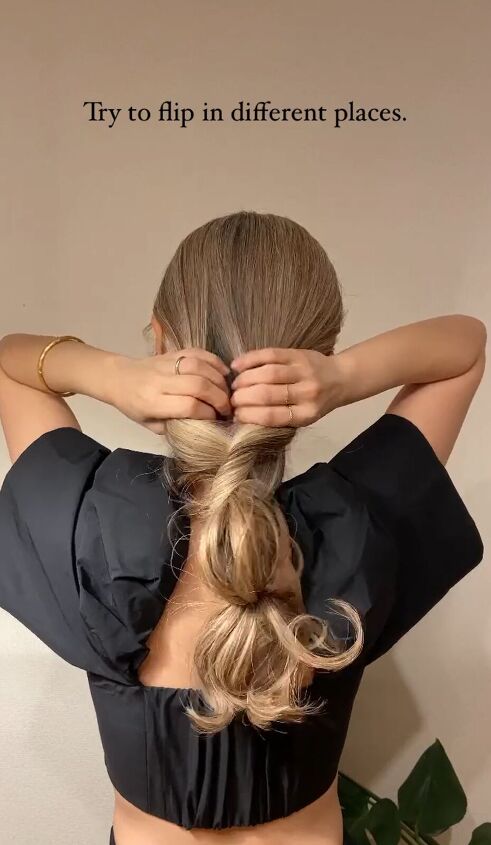
Do this again a few times moving down the length of the pony tail and creating more twists.
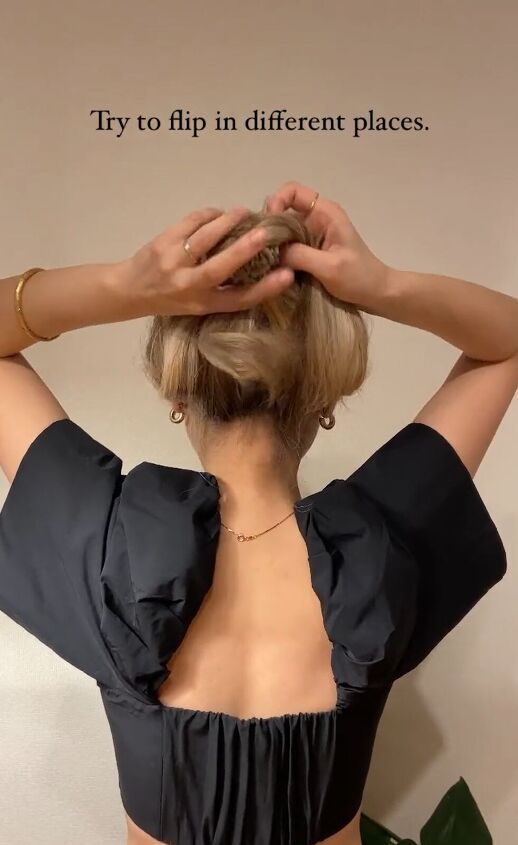
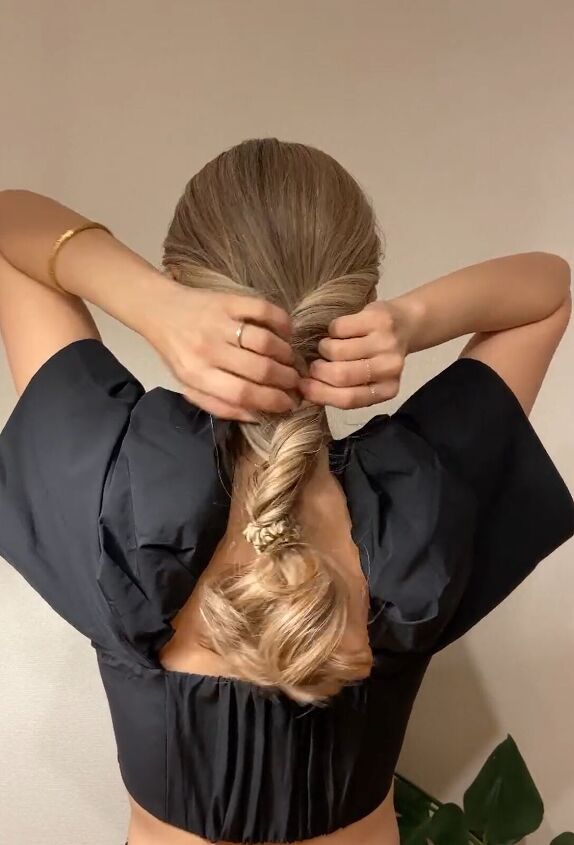
Continue to section and flip your hair through until you have achieved the look you're going for. I did three flips.
4. Finishing touches
Once you are done flipping and twisting you can go back and pull at pieces of the braid to create more volume.
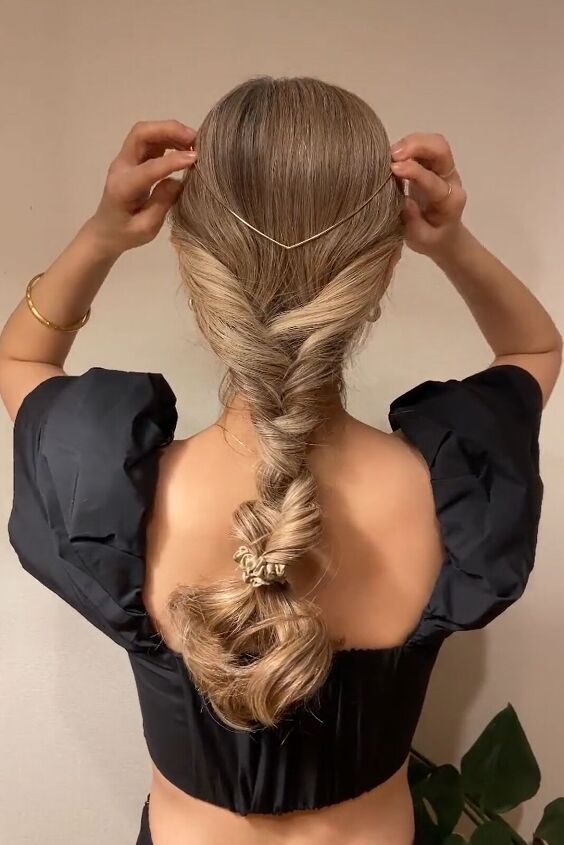
I also added a very delicate pointed tiara headpiece. It’s so subtle, but I think it really completes the look.
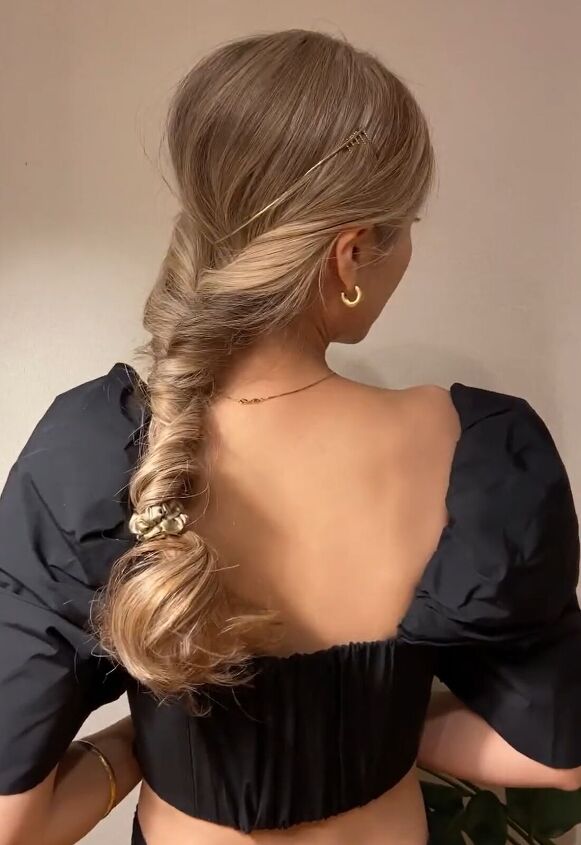
DIY princess braid
Can you believe how easy that was? I love how regal this hairstyle looks. What do you think? Leave me a comment and let me know.
Follow me on Instagram: @tokyoblondepasta
Follow me on TikTok: @tokyoblondepasta
And check out This Faux Braid That Makes You Look Like a Disney Princess.
The author may collect a small share of sales from the links on this page.


Comments
Join the conversation