How to Do Natural-Looking Full Coverage Foundation for Oily Skin

Today's tutorial is this full coverage foundation for oily skin, and I've paired it with simple eye makeup that consists only of mascara and lashes. This is perfect for anyone with oily or combination skin looking for a flawless but natural-looking finish. Let's get started.
Tools and materials:
- Mattifying primer
- Mattifying foundation
- Concealer
- Assorted brushes
- Cream-based blush
- Cream-based bronzer
- Setting powder
- Mascara
- Eyeliner
- Fake eyelashes (optional)
- Beauty blender sponge
- Eyebrow pencil
The specific makeup brands and products I used are listed and linked at the bottom of this tutorial, but you can use your preferred products to create a similar look.
1. Apply a mattifying primer
Those with oily skin should go for a primer that mattifies the face. This will eliminate the shine.
Tip: You can also apply a mattifying primer over the top of your foundation, if you prefer.
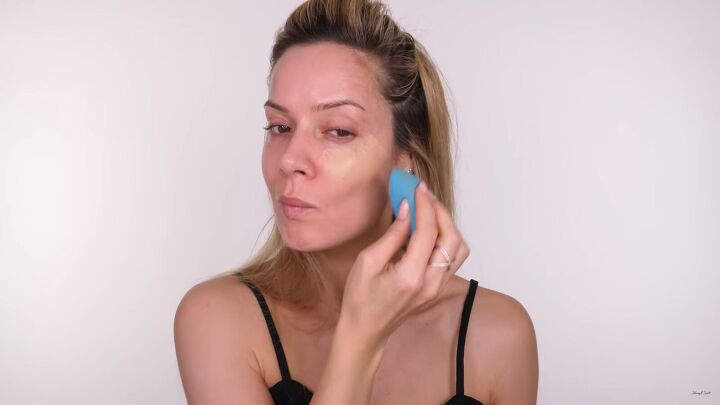
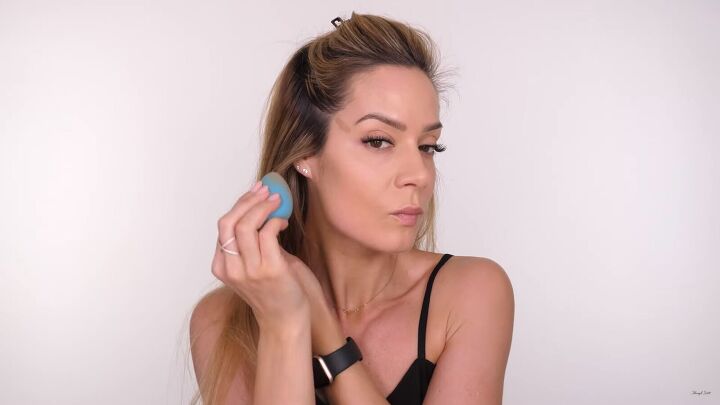
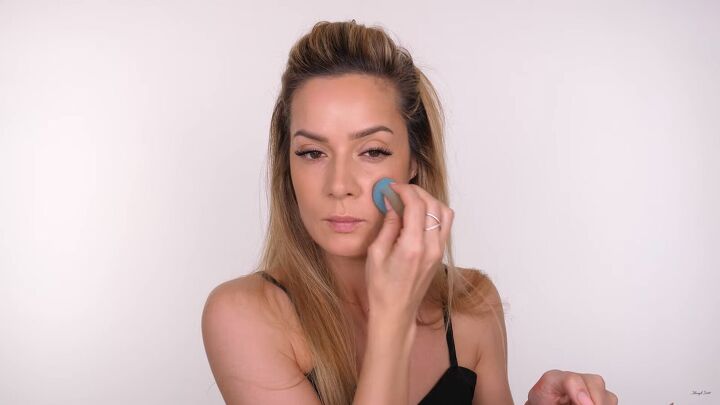
2. Apply foundation
Go for a full coverage foundation that has a matte finish. This will further eliminate the shine as it’s geared toward combination and oily skin types.
Simply add a little to the back of your hand and gently dab it on your face with a beauty blender sponge.
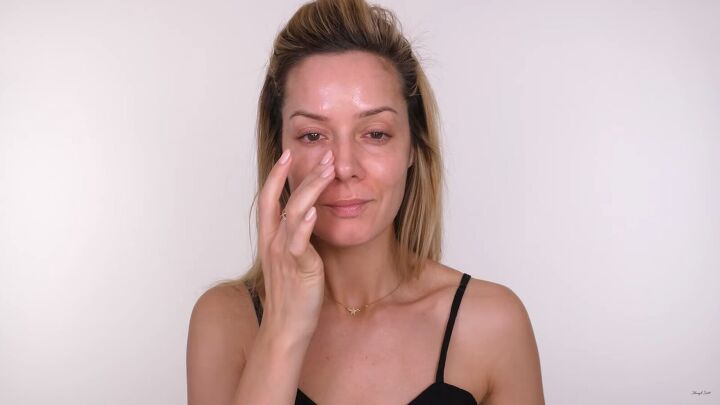
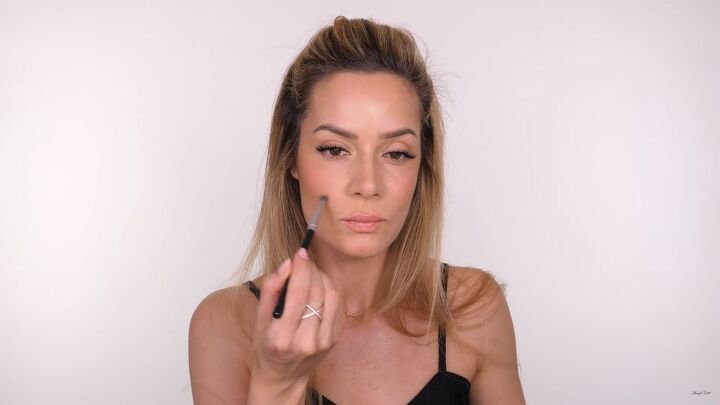
3. Apply concealer
Next, apply a light-reflecting concealer to the inner and outer corners of the eyes, underneath the eyes, and around the nostrils. Basically, apply it where you need extra coverage.

Then, blend those areas with a brush and use a beauty blender for the under eyes.
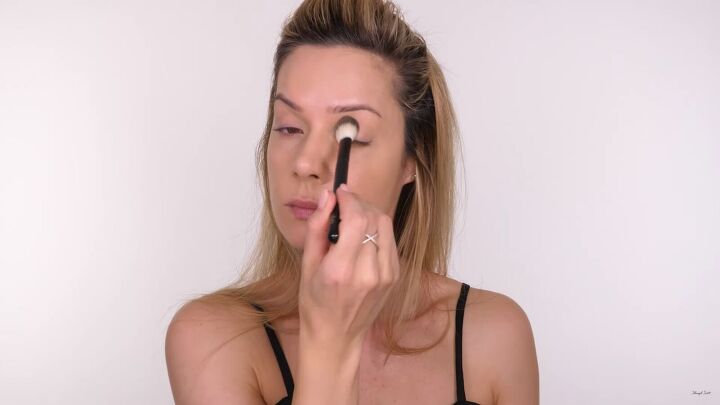
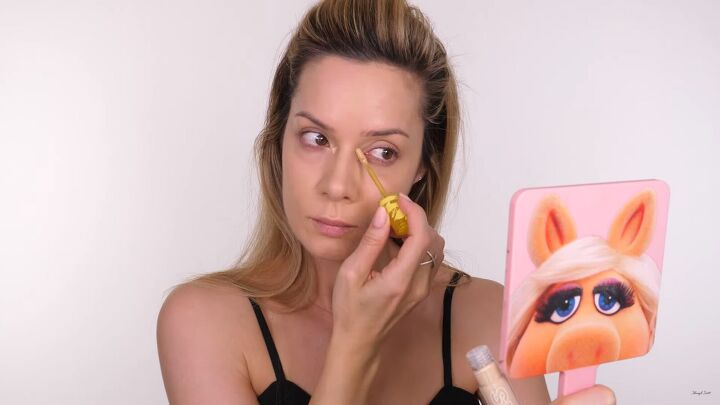
4. Set the eyes
Now, go ahead and apply setting powder around your eyes for a flawless, mattified finish.
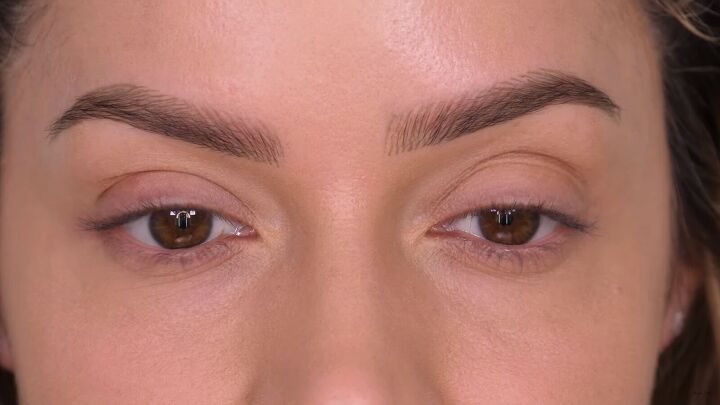
5. Fill in your brows
Fill in your brows with your favorite brow pencil.
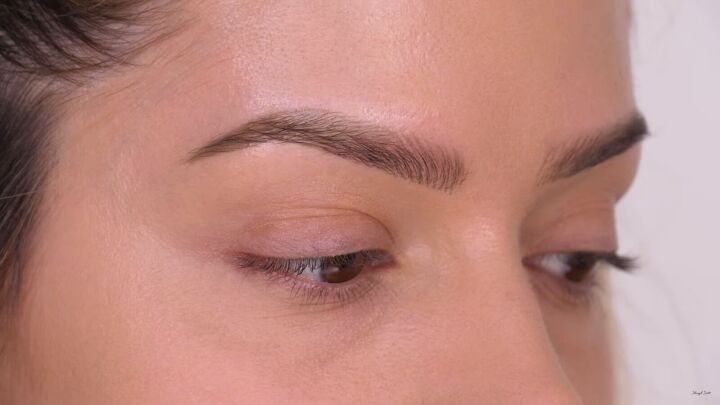
Also, here’s an up-close look at the foundation. As you can see, it is mattified and is sitting on top of the skin as opposed to blending in with the skin. That’s what you’re looking for when it comes to foundation for oily skin.
6. Apply eye makeup
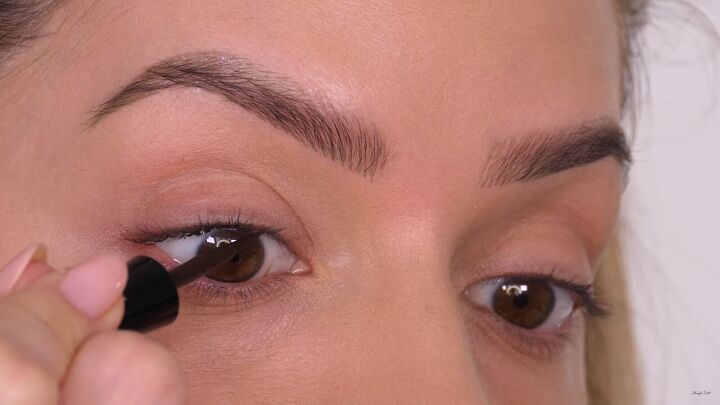
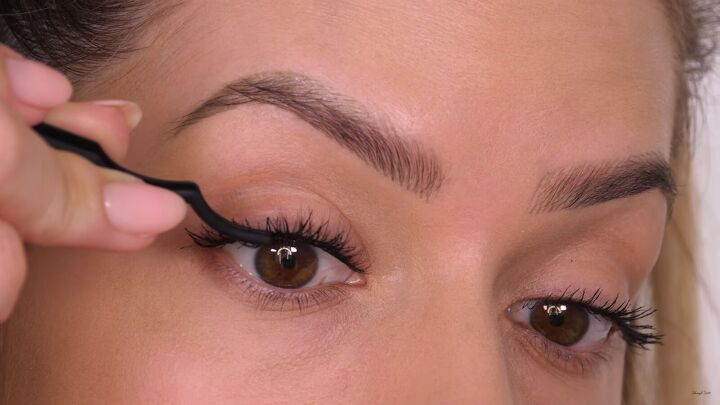
For eye makeup, we are going to keep it super simple. The most important step is to first tightline the eye.
It’s such a great way to make the lash line look fuller without having to wear eyeliner on your top lid. If you have oily skin, there's a risk of your eyeliner smudging or running, so this is a great way to combat that.
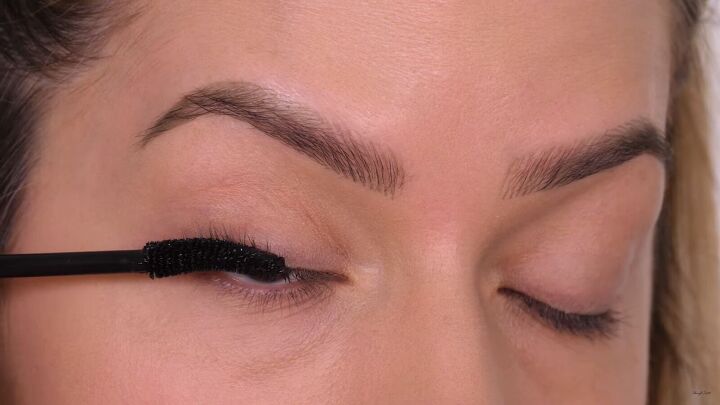
Next, put on mascara. I recommend a mascara that comes off with water only. Like that, if you have oily eyelids, you don’t need to worry about it coming off. I like to add my mascara before putting on false lashes.
This step is optional, but if you want a little “oomph” then glue on your favorite false lashes. I’m placing these underneath my natural lash line so that the bond glue sticks to the mascara.
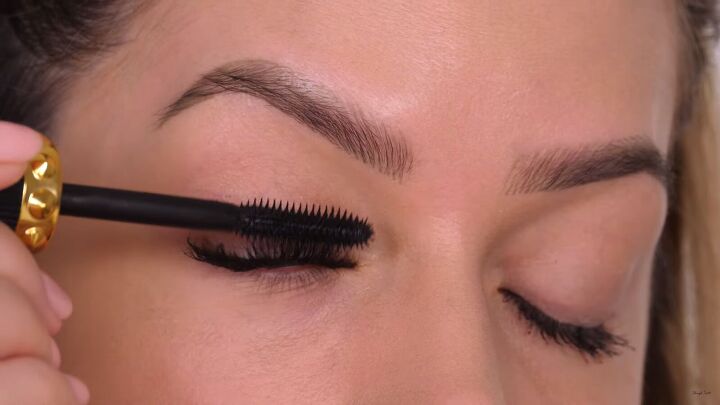
Use an old, dry mascara brush to comb everything through.
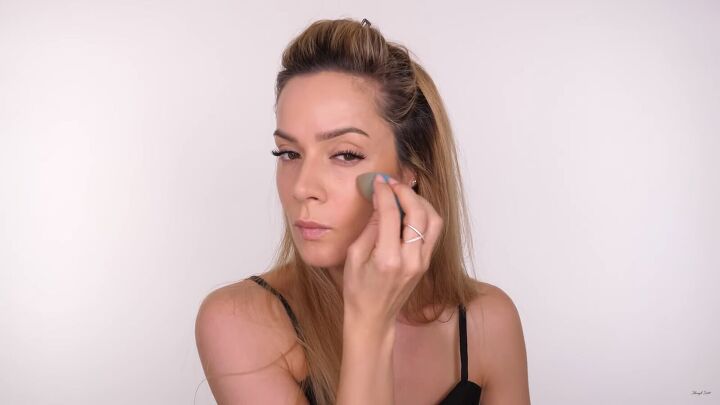
7. Apply contour
Apply a cream-based contour to the hollows of your cheeks and along the side of your head. I love this formula because it gives off a matte finish when it dries. Blend it out with your beauty blender afterward.

Also, apply down the bridge of your nose and blend accordingly.
8. Apply bronzer
Next, apply a little cream-based bronzer and blend it in, too.
9. Apply blush
Apply a cream-based matte-finish blush, working around the apple of your cheek and blending it gently with your sponge with a bouncing technique.
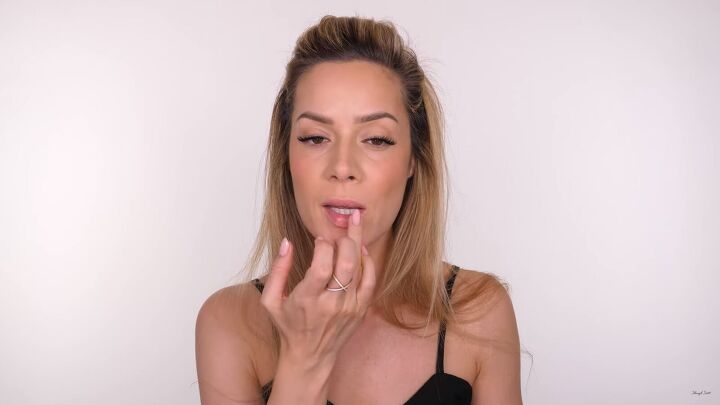
10. Apply lip color
Instead of applying lipstick, I’m gently dabbing some of that blush (with a bit of nude lip balm) onto my lips with my finger.
11. Finishing touches
Buff the cheek area to ensure the blush and foundation is nice and seamless. Finally, apply a setting spray!

Full coverage foundation for oily skin
Here’s the finished result! I hope you liked this full coverage foundation for oily skin tutorial. Thanks for joining me, and let me know in the comments below what you most learned from this makeup guide!
Products used
- LH Cosmetics Matte Attack Primer
- Clinique Even Better Clinical Serum Foundation
- Beauty Blender Sponge
- KOSAS Concealer
- Crown Brush SS021 Syntho Blending Fluff Brush
- Charlotte Tilbury Airbrush Flawless Powder
- AYU Highlighter Brush to blend concealer
- Urban Decay Brow Blade
- Wet n Wild Megaliner
- Clinique High Impact Zero Gravity Mascara
- LashBase PROEffects+ (Light Glam)
- LashBase Lash Bond For PROEffects+
- Made By Mitchell - Blursh 'Hollo There'
- Made By Mitchell - Blursh 'Caramel Chizel'
- Made By Mitchell - Blursh 'Peach Sugar' & 'Melon Sorbet'
- LH Cosmetics On Set Long-Lasting Setting Spray
The author may collect a small share of sales from the links on this page.


Comments
Join the conversation