Looking to Wow This Festive Season? Try a Sexy Glitter Eyeliner Look

When it comes to Christmas, I always like to go the extra mile when it comes to my makeup. Here I’m going to show you a glitter eyeliner look that is perfect for the festive season. So get ready to add a bit of sparkle, shimmer, and shine, and let’s begin!
Tools and materials:
- Foundation
- Concealer
- Setting powder
- Primer
- Eyeshadow
- Makeup brushes
- Gel liner
- Glitter
- Glitter glue
- False lashes
- Tweezers
- Mascara
- Blush
- Highlighter
- Lipstick
- Setting spray
1. Do your base makeup
For your base makeup, you want to put on some foundation and concealer, a little bit of contour, and set all that in place with some setting powder.
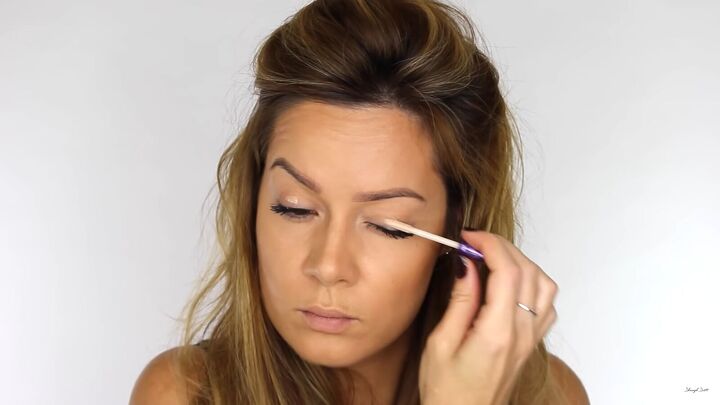
2. Primer
For the eyes, start with some primer. Apply that to the eyelids, right up to the brow bone, and then leave it for a minute to set it in place.
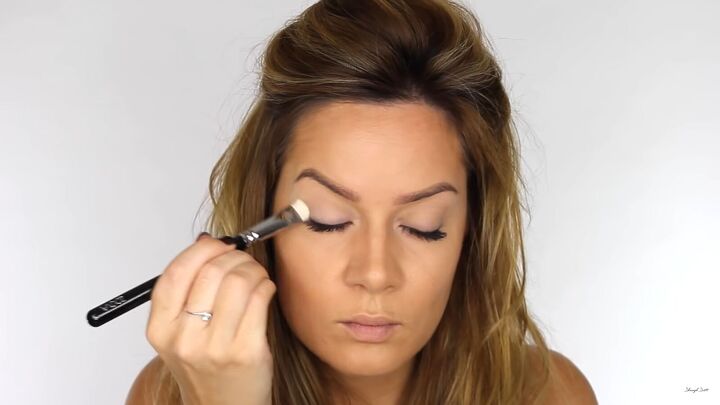
3. Eyeshadow
Then apply a neutral skin tone color and layer it color a couple of times over your mobile eyelid. Continue to take it up to the socket line where the eye naturally creases.
Then, take a taupe shade and apply this in the socket. Apply it using circular motions from the very outer corner of the eye to the inner corner, across the socket bone, so the eyeshadow will be going on and above that crease line.
Again, put on a couple of layers of this.

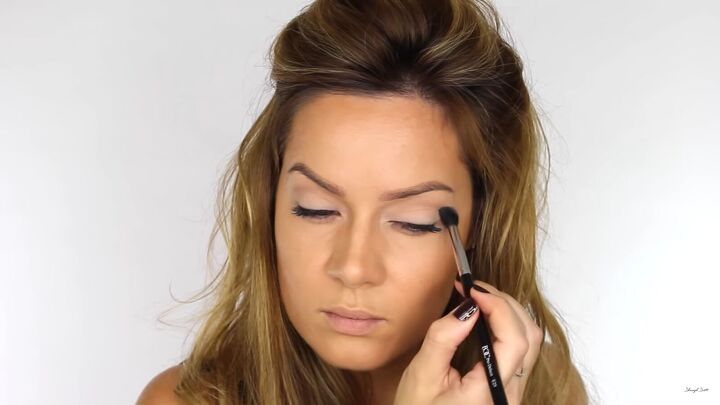
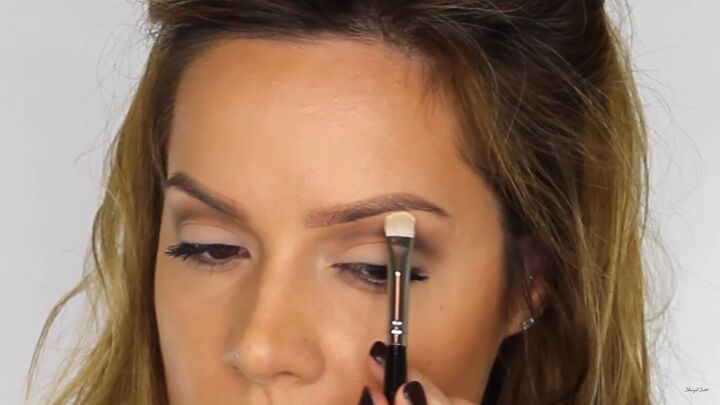
Next, go in with a medium-brown shade. Use brush where the bristles are tapered to a point, and place that point into the eye’s socket where the crease is.
Work the brush backward and forwards to create a very soft cut crease. You then want to apply it upwards into the crease, being careful not to get any of that darker eyeshadow on the mobile eyelid.
Layer this color about three times to build up the opacity. Then, use a brush to make sure that this color is nicely buffed in.
Then, apply a subtle highlight to the top of the brow bone.
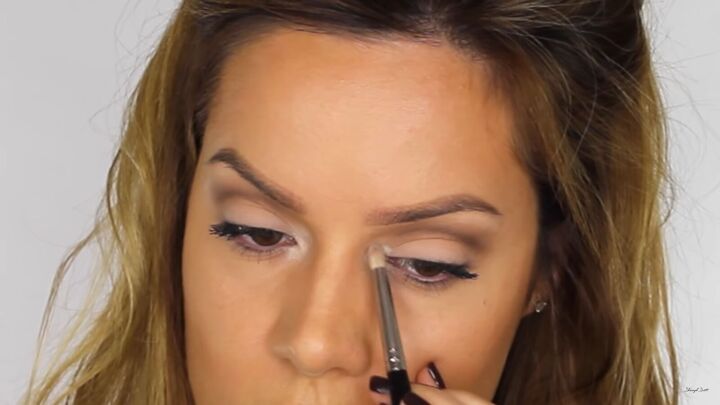
Next, apply the lightest color in the palette to the very inner corners of the eyes, and blend that in.
4. Eyeliner
Next, apply a gel liner. Draw a nice thin line at the very inner corner of the eye and then thicken that as you get to the outer corner. Use the very tip of the brush to create a nice sharp wing.
On the bottom lash line, place the very tip of my brush at that inner corner and pull the color backward across the waterline, making sure to go to the very outer corner of the eye.
To learn about different types of wings and how to do them perfectly, read my tutorial on 6 Bold Eyeliner Styles That Have Every Occasion Covered.
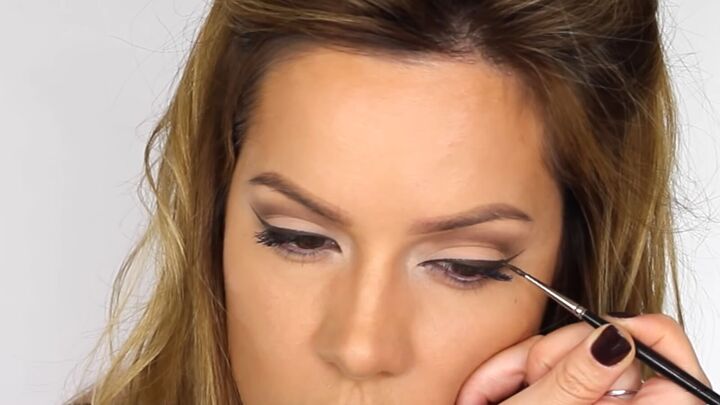
5. Line eyes with eyeshadow
Next, dip a flat brush into the medium brown color and run that underneath the lower lashes. This will give us a nice, soft, smoky appearance to the bottom half of the eye. Then, blend over that with a blending brush.
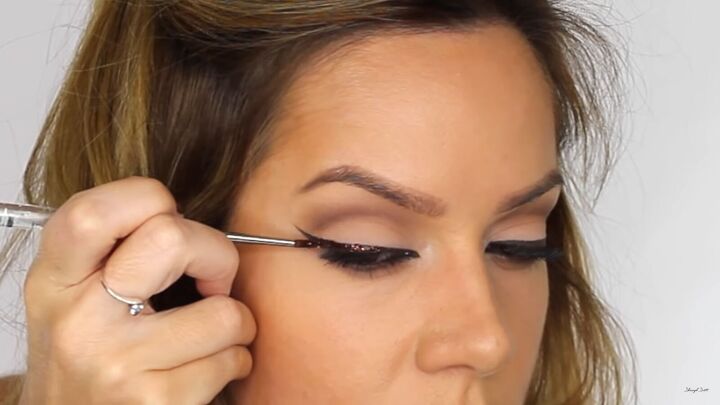
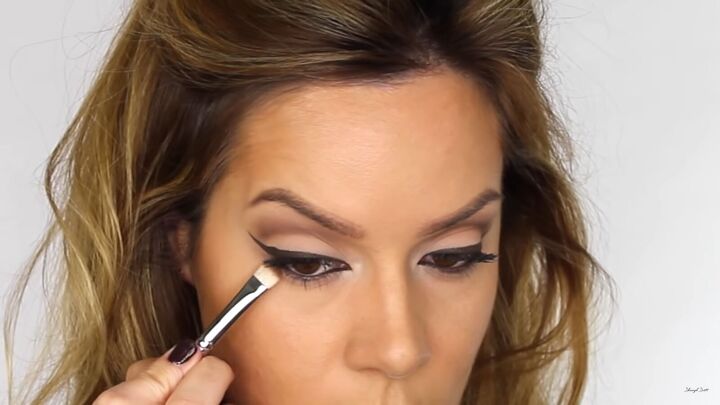
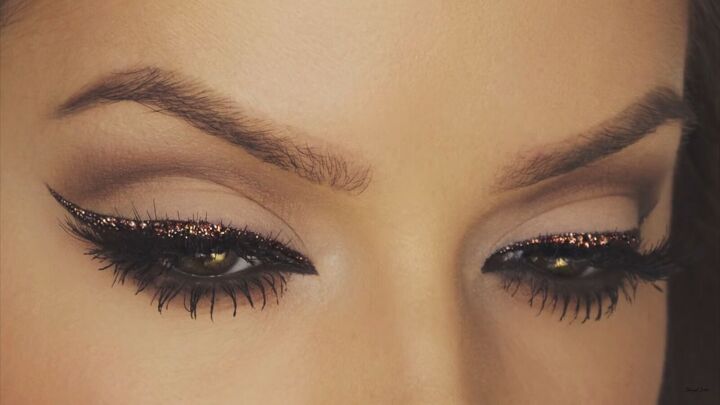
6. Glitter
Next, take some glitter in a chocolate brown. Using clear glitter glue, trace the eyeliner that you’ve already applied. It’s best to do one eye at a time because you want the glue to stay wet so that you get a chance to get the glitter on before it dries.
Dip the same brush into the glitter, and then just press that over the glue. Take your time doing the tail and the very front of the eye because these are smaller sections. You may want to go over it with the glitter a couple of times.
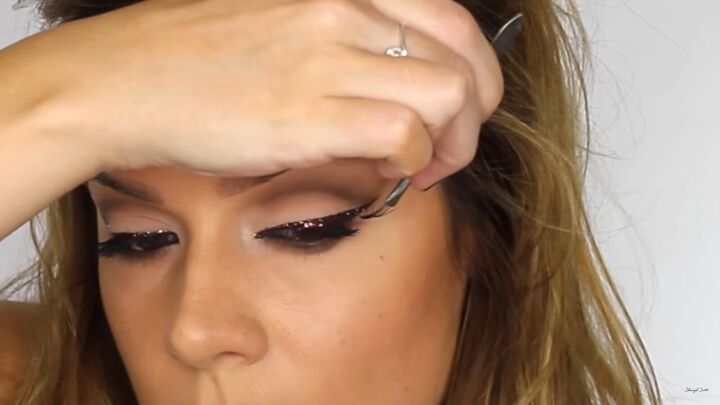
7. False lashes
For lashes, go with some individual flares in different sizes. Although cluster lashes can take a little bit more time than a straight lash, I absolutely love the result of them. To add some drama and volume to the bottom lashes, apply some mascara.
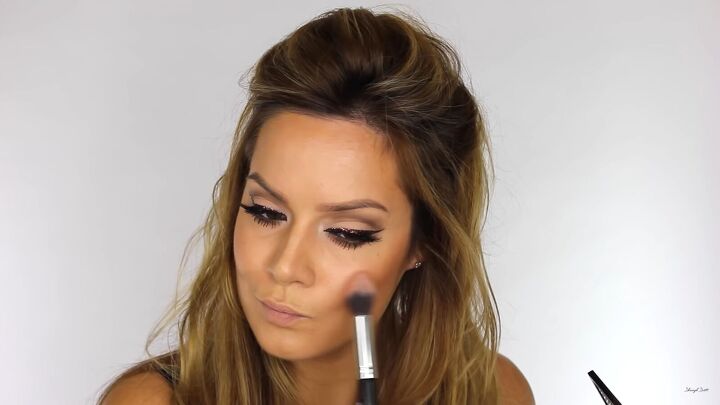
8. Blush
Next, apply some blush and then go over the top of it with your foundation brush to tone it down ever so slightly.
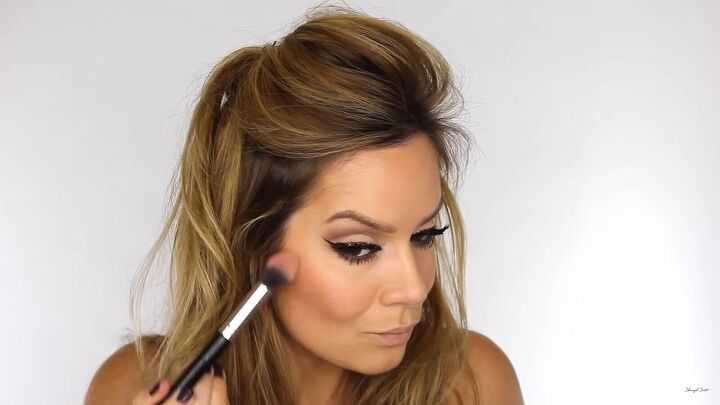
9. Highlighter
Next, apply some highlighter. You might prefer to use a warm color on your cheekbones in keeping with that chocolatey, bronzy theme. Then, take some highlighter in a champagne color and apply a small amount to the very tip of your nose and the top of the cupid’s bow.
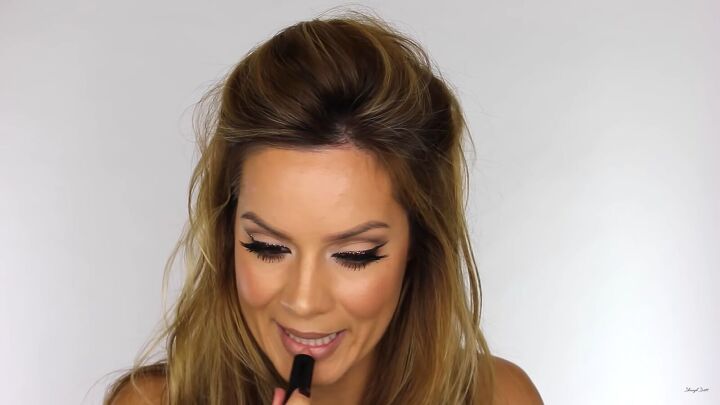
10. Lipstick
Go in with a matte finish lipstick and apply it around the outer edges of your lips. You can use any taupe-colored lipstick for this. Then on the center of your lips, use a nude.

11. Setting spray
To keep everything in place, finish off with some setting spray.
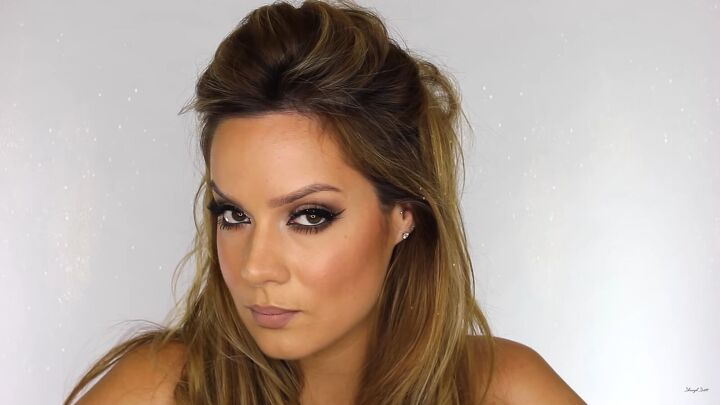
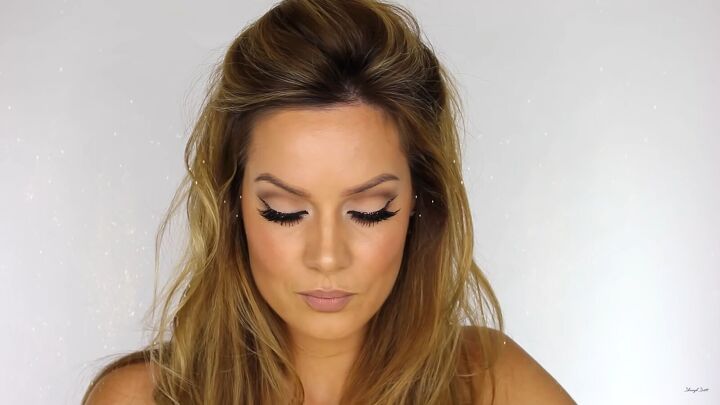
Glitter eyeliner look tutorial
I hope you enjoyed this tutorial on how to do a festive glitter eyeliner look. Everyone loves a little bit of glitter towards the holiday season, and this is a really gorgeous look for you to try for the holiday party, Christmas, or New Year's Eve.
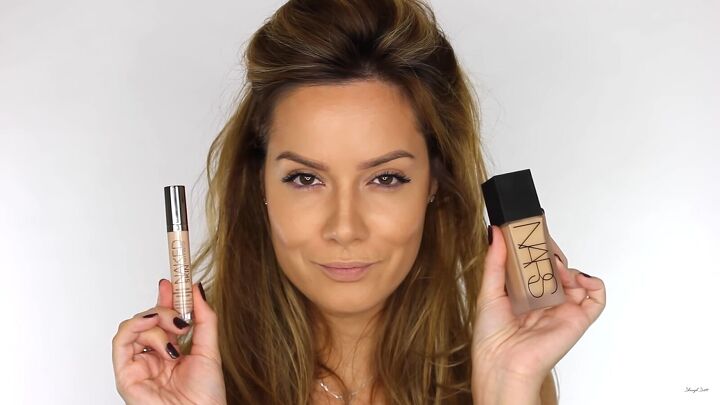
Products used
- NARS All Day Luminous Weightless Foundation
- Urban Decay Naked Skin Concealer
- Illamasqa Skin Base Foundation (used as contour)
- Bobbi Brown Sheer Finish Pressed Powder
- Urban Decay Eyeshadow Primer Potion
- Urban Decay Naked Basics Palette
- Zoeva - 325 Brow Light Brush
- E25 Brush - Blank Canvas Cosmetics
- Rae Morris No.8 Medium Point Brush
- E24 Flat Shader Brush - Blank Canvas Cosmetics
- E23 Pencil Brush - Blank Canvas Cosmetics
- Bobbi Brown Long-Wear Gel Eyeliner
- Certifeye Chocolate Glitter
- Certifeye Glitter Glue
- Peaches & Cream Flare Lashes
- Too Faced Cosmetics - Better Than Sex Mascara
- Urban Decay Afterglow 8 Hour Powder Blush - Rapture
- F40 Contour Brush - Blank Canvas Cosmetics
- Becca Shimmering Glow Palette
- Melt Cosmetics Laced and Nood Lipsticks
- Urban Decay Chill Setting Spray
The author may collect a small share of sales from the links on this page.


Comments
Join the conversation
VERY PRETTY!!!!
Very nice!! Thanks for these amazing directions. Holiday makeup extraordinaire