How to DIY Cute Green and White Swirl Nails

Hey guys! I want to show you this really cool green and white swirl nails look I created.
It’s a very modern, kind of abstract look that goes with everything and looks really fabulous.
I love creating unique and interesting patterns on my nails to enhance and elevate the style of my overall look.
Tools and materials:
- White gel
- Green gel
- Metallic drawing gel
- Topcoat
- UV nail lamp
- Detail brush
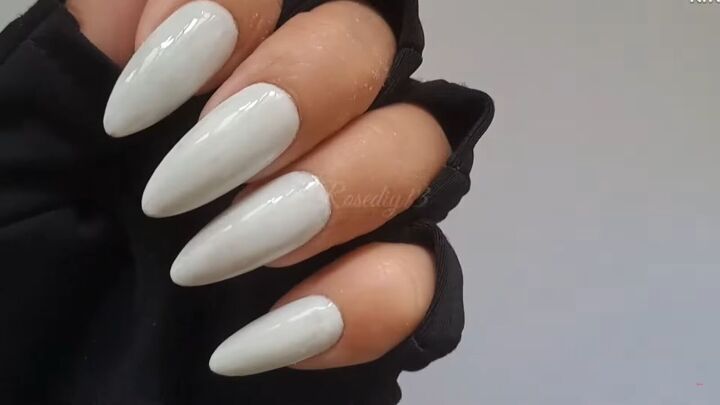
1. Paint the base
Start by painting your nails with a clean white base.
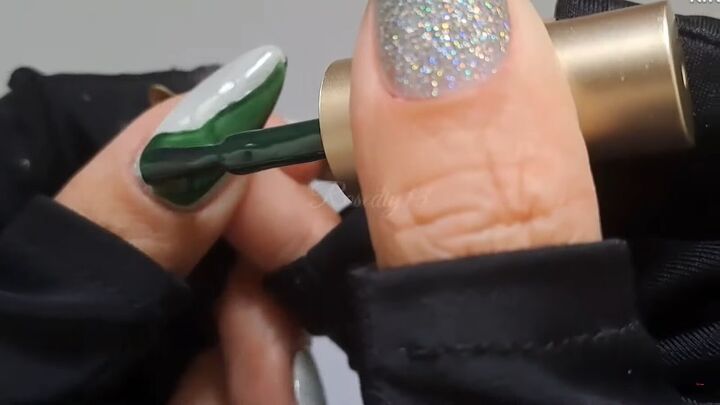
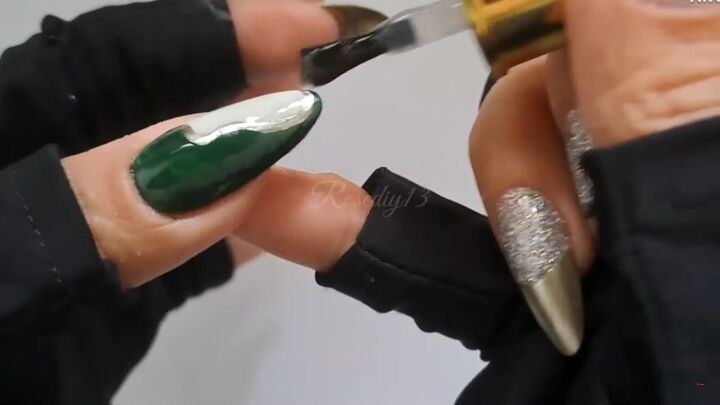
2. Choose your accent color and start painting
Take a second color to start creating the accents.
I’m using green but if you don’t like green, or don’t have green at home, pick a color that works for you.
You’re going to use the color to create a swirly kind of look on each nail.
You can start at the bed of the cuticles and make a wavy line that goes to the top or one edge of the nail.
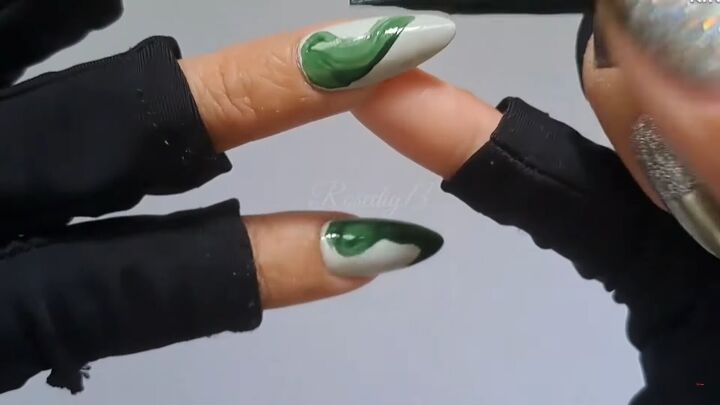
You’re going to want to make the swirl a little different on each nail so switch things up as much as you can. You create variety by making the swirl on different sides of the nails or at the center.
You can also make the curves go in different directions on each nail. Just create as much variation as possible on each nail while still using the same design concept.
3. Apply second coat
Once you have finished painting your accent color, cure and then apply a second coat.
Use a small detail brush to fill in any spots where the white shows through the color.
You want the green, or whichever accent color you chose, to look completely solid.
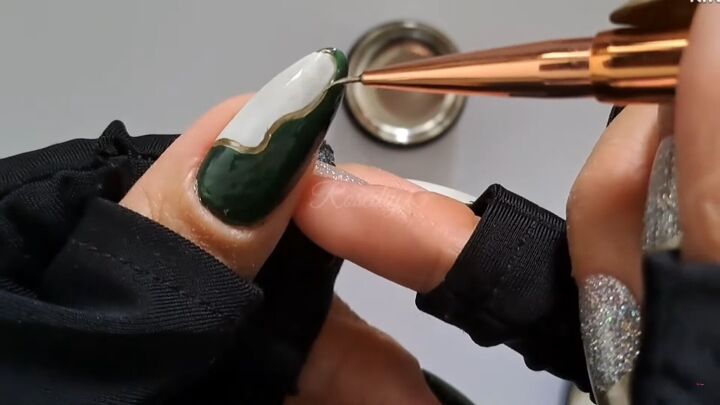
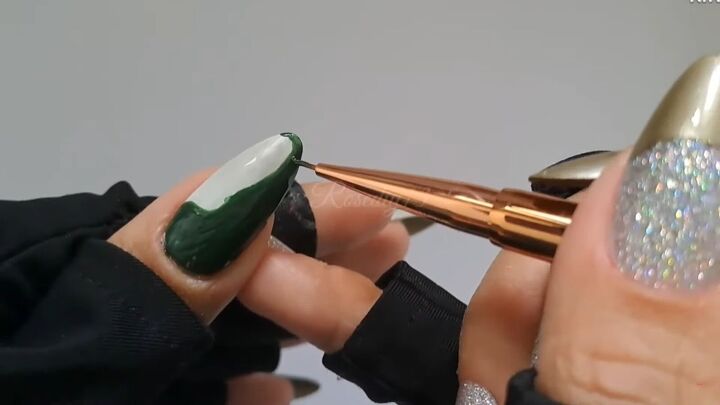
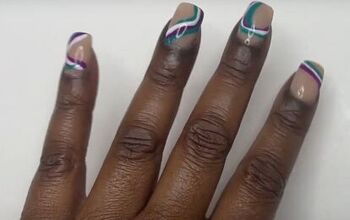
4. Add metallic detail
Now we’re going to add a little more detail to really elevate the look and make it look like a professional manicure.
Use a metallic drawing gel and a small detail brush to create more details around the accent color.
Use the gold to draw borders along the edges of the green. You’re going to want this border to be a nice solid color so go over the lines a couple of times so it’s nice and opaque.
5. Apply the topcoat
Once you’re finished, cure and apply the topcoat.
The topcoat will make everything look nice and smooth and will also protect your work so the polish will stay as long as possible.
After applying the topcoat, cure again and enjoy your DIY gel manicure!
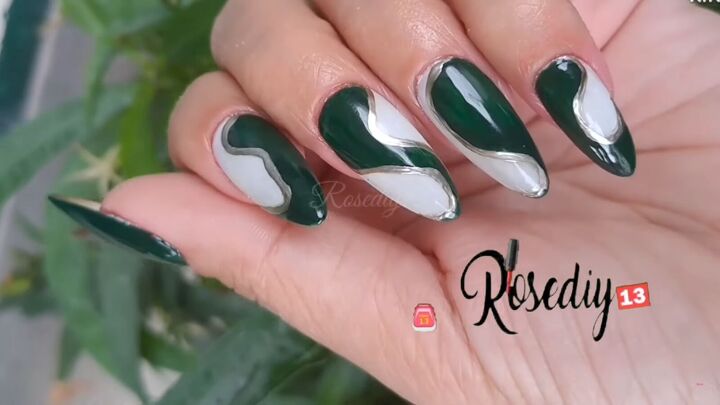
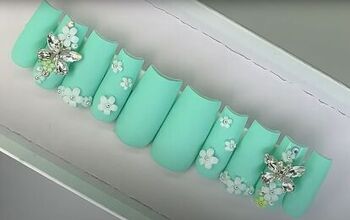
Green and white swirl nails
I love that this look is so pretty and interesting, but you don’t have to have any real artistic skills to pull it off.
I also like that you can do it all freestyle. This way if you mess anything up you can just adjust it to look however you want.
Creating your own nail art is so much fun. It’s a great way to get creative and add stunning detail to your style.
Are you feeling inspired to try this technique? I want to hear all about your nail polish adventures.
Make sure you leave me a comment and let me know how this nail art worked out for you. Have a great day!
The author may collect a small share of sales from the links on this page.


Comments
Join the conversation