How to DIY Cute Brown Swirl Nails

In this tutorial, I will show you a great brown swirls nails design that you can do at home.
I will demonstrate on a set of press-on nails, but if you have beautiful natural nails, then go ahead and create this design right on them.
Tools and materials:
- Nude gel nail polish
- 4 shades of brown gel nail polish (or two shades mixed to make four)
- White gel nail polish
- Small crystals
- Nail dotting tool
- Nail glue
- UV lamp

1. Start with your base coat
Apply two coats of nude-shade gel polish to your nails.

2. Mix your colors
With whatever shades of brown gel polish you have, use them as they come or mix them together on mixing paper, to create the four exact shades you want for your nails.
Also add some white polish to your mixing paper.
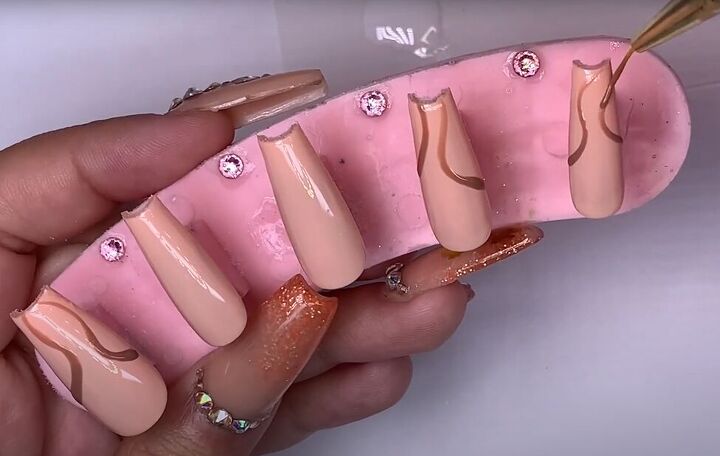
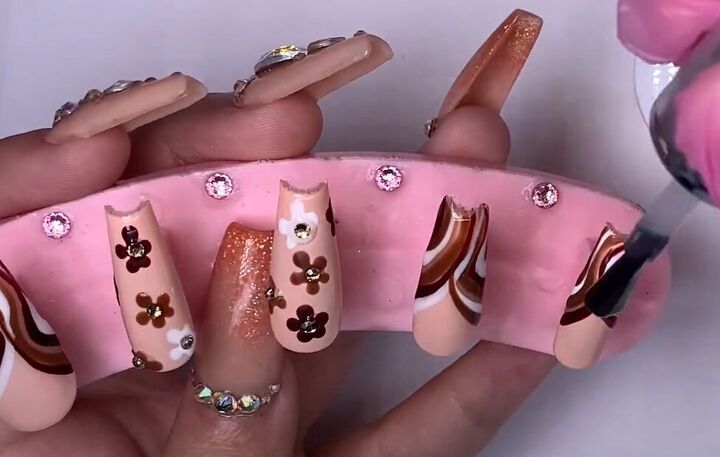
3. Start your swirl design
Using one of your light brown shades of polish, draw two swirls on your thumb, ring finger and pinkie nails.
Cure your nails for at least 15 seconds between coats.
Now use a darker shade of brown to make matching swirls on both sides of your light brown swirls.
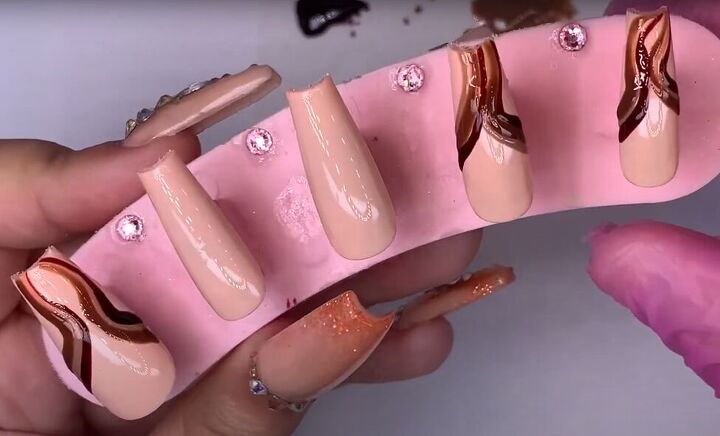
Outline the swirl design with white gel polish.
Whether you outline the whole swirl, or just parts of it, is totally up to you. I used a combination of both, and they all look great!
Finally, I added another dark brown shade of polish to the design, sometimes on top of a swirl and sometimes beside it.
Do whatever appeals to you!
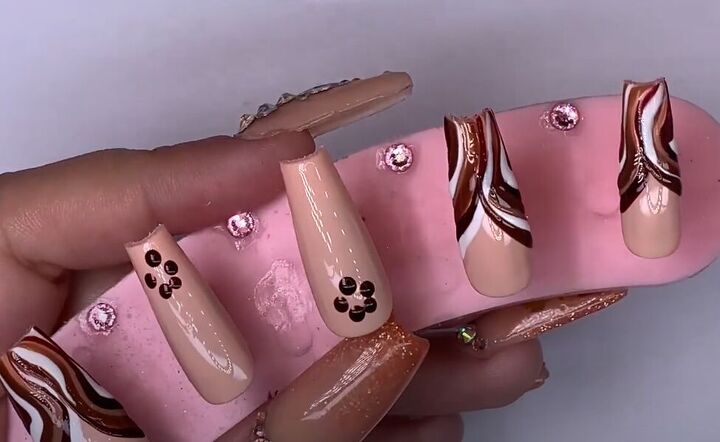
4. Create a flower design
Start with a dark brown shade of polish and make five dots in a circular pattern, using a dotting tool.
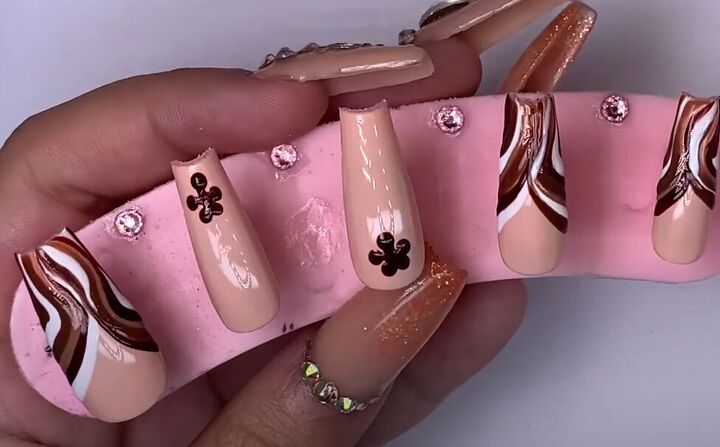
Then, connect the dots in the middle, using a small nail brush, to make a flower.
Make more flowers using different shades of brown, and in white. Try creating flowers that appear to be going off the edge of your nail.
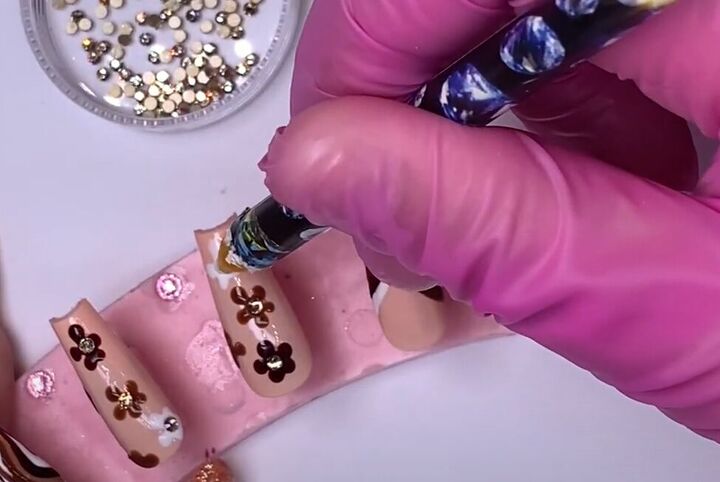
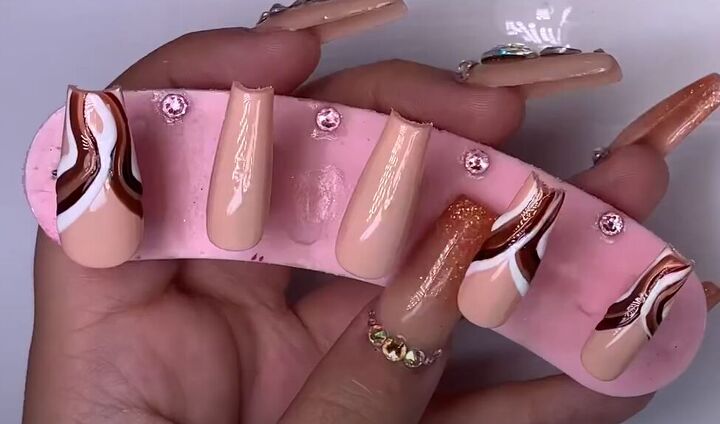
5. Glitz it up!
Use nail glue to add some small crystals to the center of each flower.
6. Add top coat
Apply a generous, clear top coat to all your nails.
The crystals in the middle of the flowers are small enough that you can apply the top coat right over them.
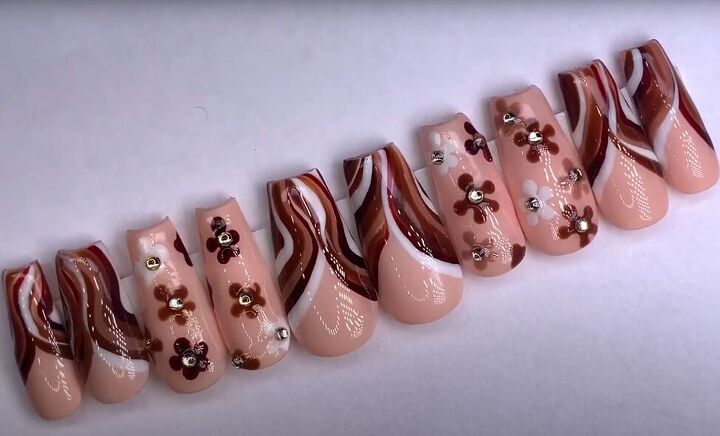
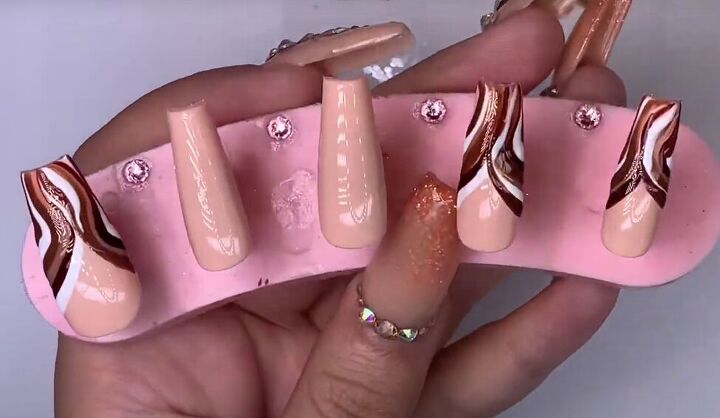
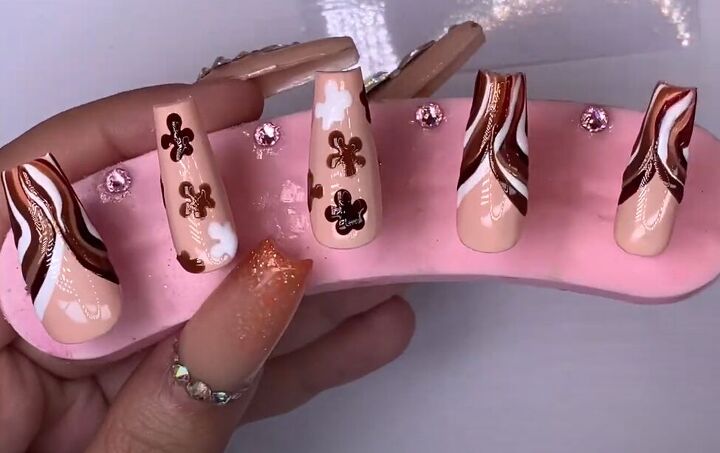
Brown swirl nails
Here is the full set of brown swirl nails, ready to press on!
Give this a try, and don’t be afraid to try some other color combinations as well.
Please leave a comment, to let me know how your brown nail art design turned out!
Next up, check out my post on How to DIY Cute Spring-Summer Orange Nails.
The author may collect a small share of sales from the links on this page.


Comments
Join the conversation