This Lovely Round Straw Bag Was Actually Made From Placemats

I’ve been seeing the round straw bag trend all over the Internet, and it looked like something I could easily make myself. So, I bought two straw placemats from the dollar store, grabbed some scrap fabric and an old leather belt, and put together this oversized straw beach bag with leather handles!
If you want to see how I made this cheap circle straw bag, inspired by Kate Spade straw bags, as well as other summery wicker and rattan purses, keep reading!
Tools and materials:
- 2 Circular straw placemats
- Fabric
- Leather belt
- Scissors
- Needle and thread
- Velcro
- Hot glue gun
- Sewing machine
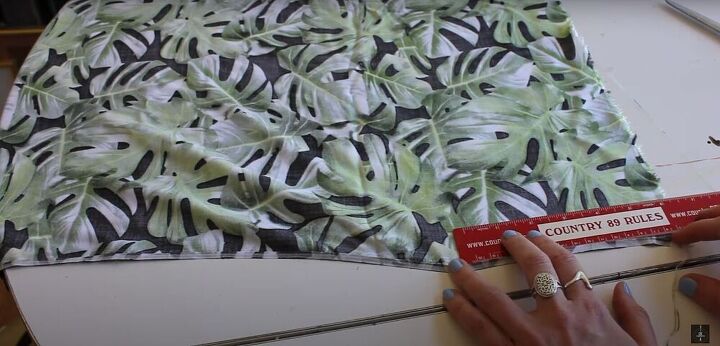
1. Measure and cut the fabric
To begin, I measured around the edge of the placemat to figure out how much fabric I need. Then, I cut a strip of fabric of that length, with a width of 6 inches.
As you’re measuring, remember that the fabric only needs to go about three-quarters of the way around the placemats, since you need to leave room for the opening of the straw bag.
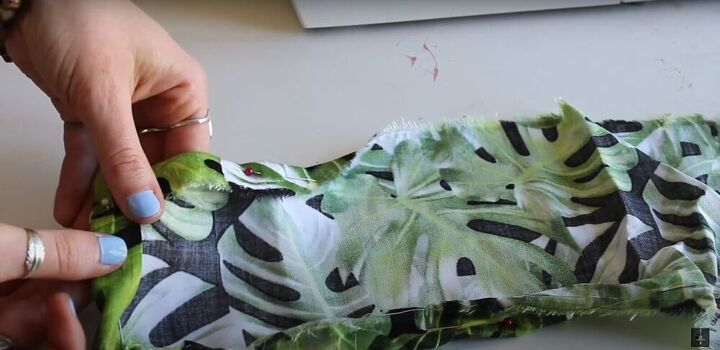
2. Fold, pin, and sew
On both ends of the fabric strip, I folded all the edges in by about half an inch, then folded the short ends over once more to hide the raw edges. I pinned everything in place and then sewed down the short edges.
Once the ends of the fabric strip were hemmed, I folded in one long edge of the fabric about half an inch. Then, I pinned the folded fabric along the outer edge of one of the placemats, about two inches from the edge.
If your placemat has a right side and wrong side, make sure you’re pinning the fabric to the wrong side.
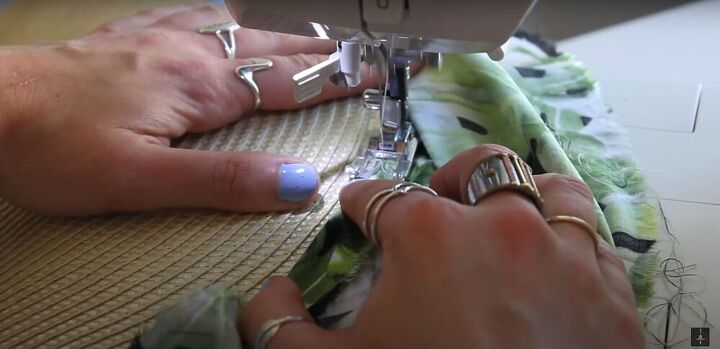
I didn’t bother to pin the entire length of fabric to the placemat - just the first few inches. Instead, I folded the edge inward as I was sewing. You may also prefer to hem the edges before sewing, instead of doing it all at once, as I did.
It was a little tricky to start attaching the second placemat, but once I got going, it went smoothly.
With the right side of the fabric facing up, I folded the edge of the fabric under and stitched as close to the edge as I could. I sewed it down about 2 inches from the edge of the placemat. Again, make sure the wrong side of the placemat is facing up as you’re sewing.
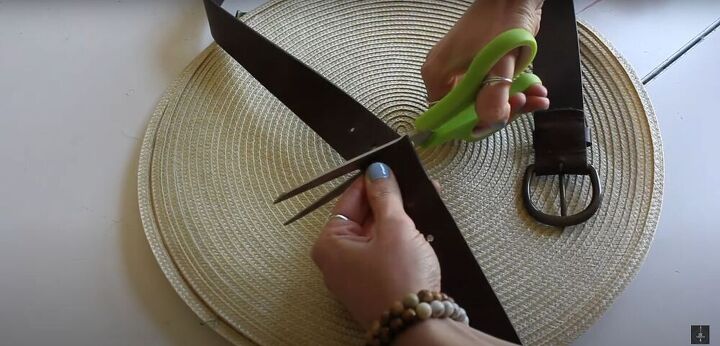
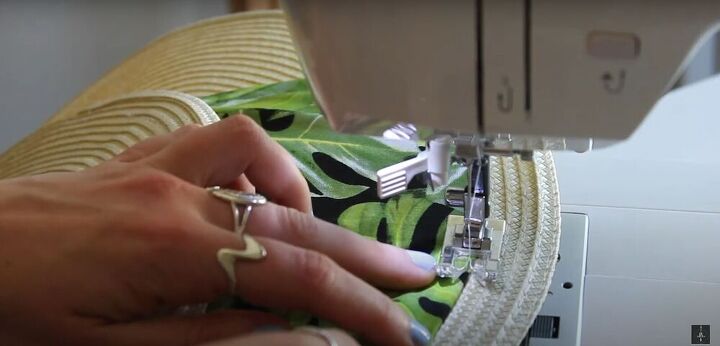
3. Cut the leather handles
I used a leather belt for my strap, which is very difficult to sew, so I left myself two holes on the belt, which I will use to sew through to attach the strap to my bag.
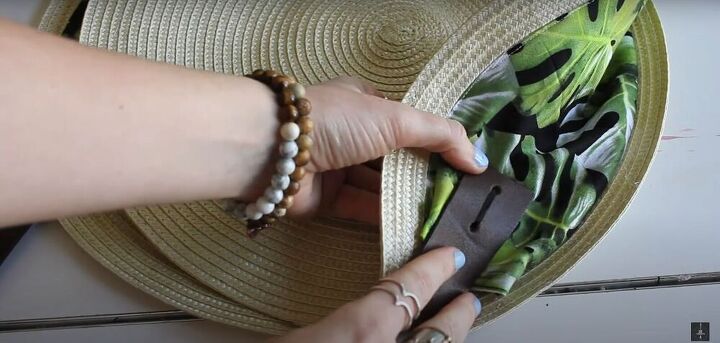
4. Sew the belt onto the fabric
I hand-stitched the belt to the upper edges of the fabric, on both sides.
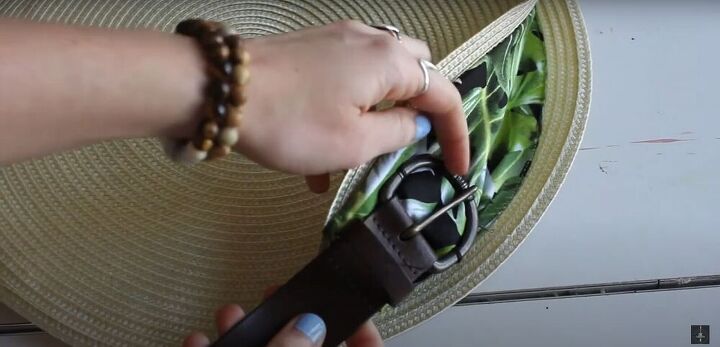
On the second side, I left the buckle intact and sewed around it to attach it to the fabric. This will probably not hold up well with heavy items in the bag, but if you add some thicker fabric behind the ends of the strap, that can help reinforce it.
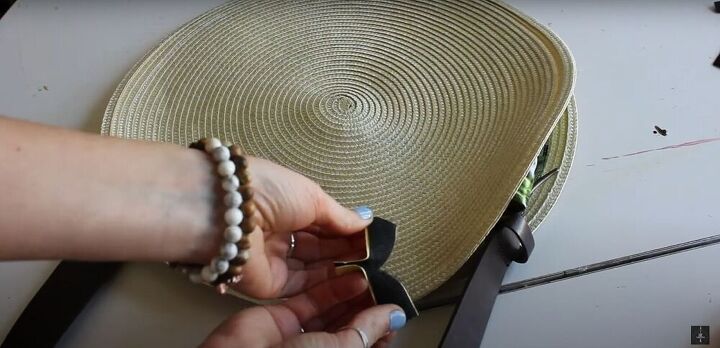
5. Attach velcro
As a closure for the opening of the bag, I used a strip of velcro. The velcro I used had a sticky back, but I also reinforced it with some hot glue.

Round straw bag tutorial
My summery round straw bag is complete! I hope this tutorial was helpful. I really found this very easy to do, and I’m sure I’ll be using it a lot this summer. Let me know what you think of the design of this simple DIY circle straw bag.
The author may collect a small share of sales from the links on this page.


Comments
Join the conversation
Well done ! A roomy & pretty bag !!
Looks great!!!